One of the things I want to do is make a device that allows for the splitting of adherent human cells.
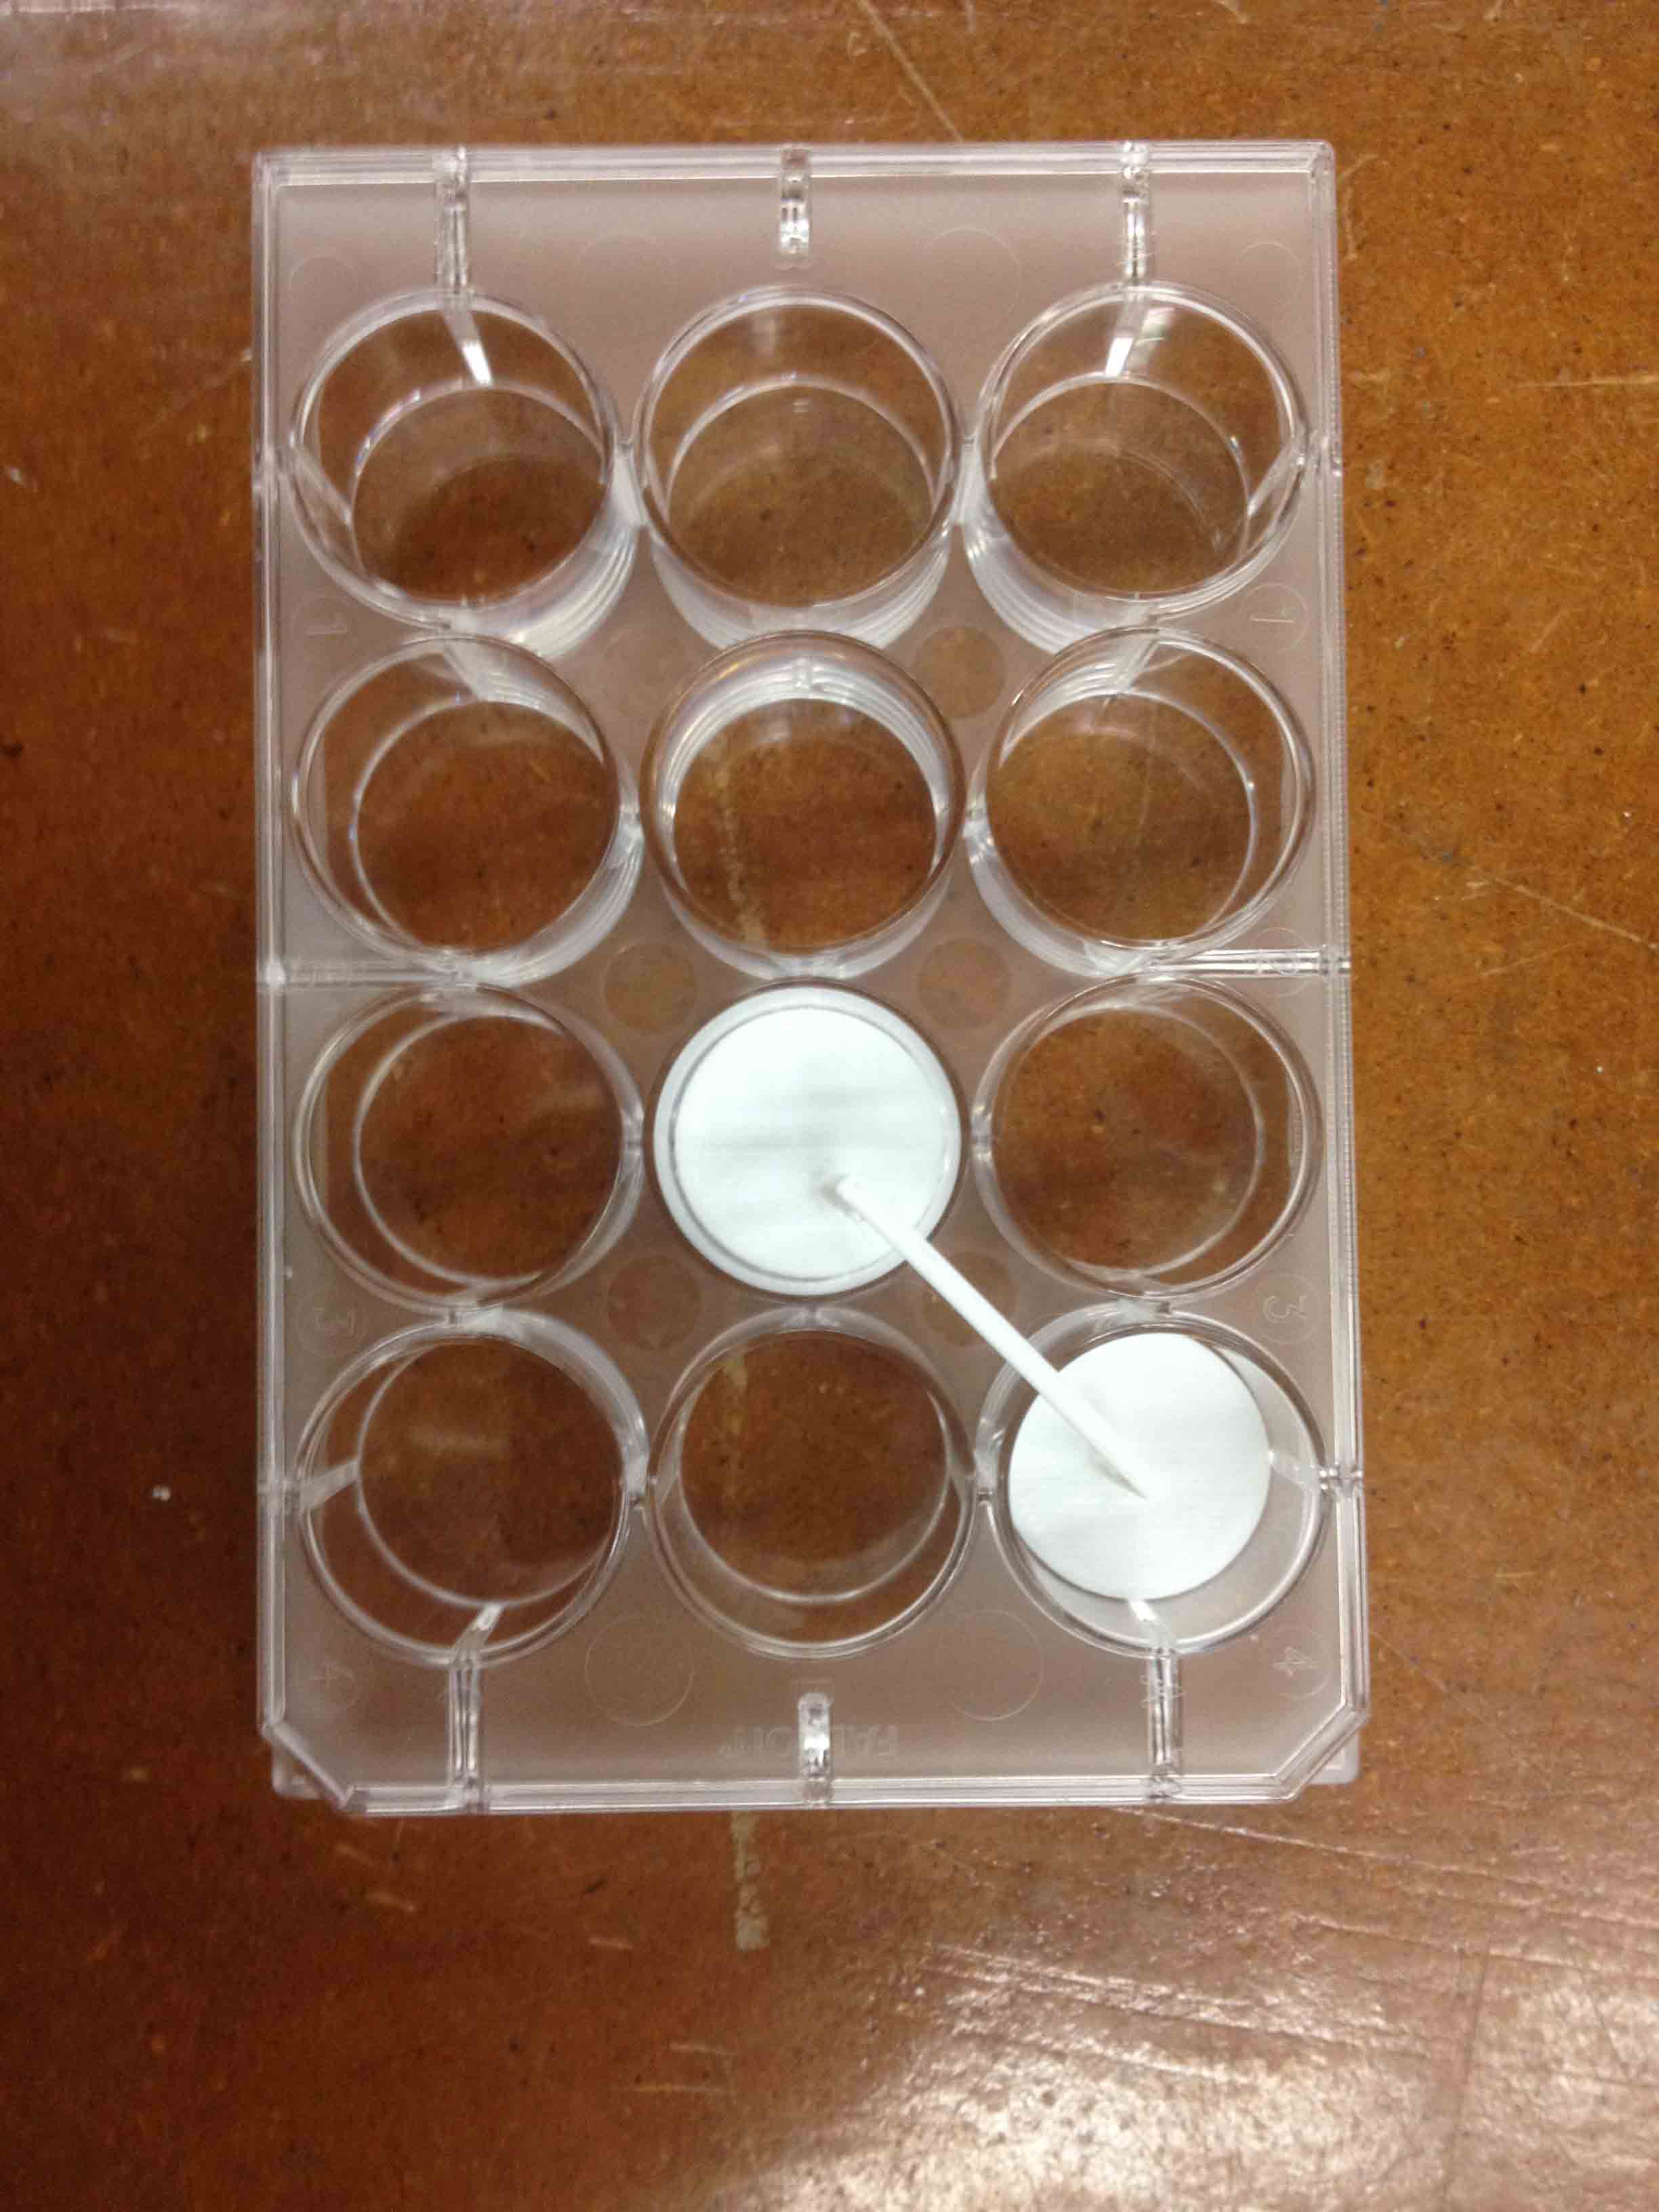
Towards that goal, I decided to print connected cell culture inserts. In this case, I used a 12 well plate, but this would be particularly useful for a 96 well plates.
Splitting cells in 96 wells entails the following steps: 1) Remove media from cells 2) Add Phosphate Buffer Solution (PBS) 3) Remove PBS 4) Add Trypsin (enzyme that helps dissociate cells) 5) Add media to neutralize trypsin 6) Transfer some cells to new plate 7) Add more media to cells
If you have a 96 well plate, this process involves a lot of time and 96 plastic, sterile pipette tips for each step. To get around this, I thought the cells could be split by physically moving a set of connected inserts from one plate to another.
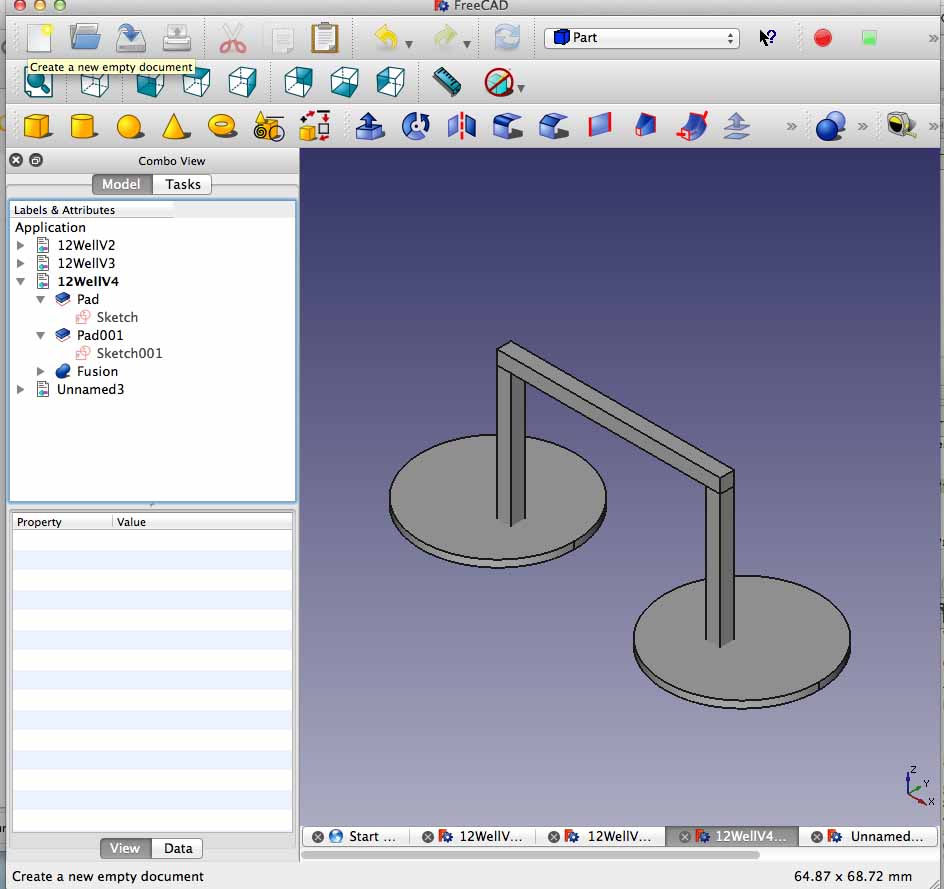
I decided to try and learn an open source CAD program for this assignment and went with FreeCAD. There was a steep learning curve, but I was able to make a simple insert connecting 2 wells. I couldn’t find the dimensions of the cell culture plate online so I had to make the measurements with a ruler.
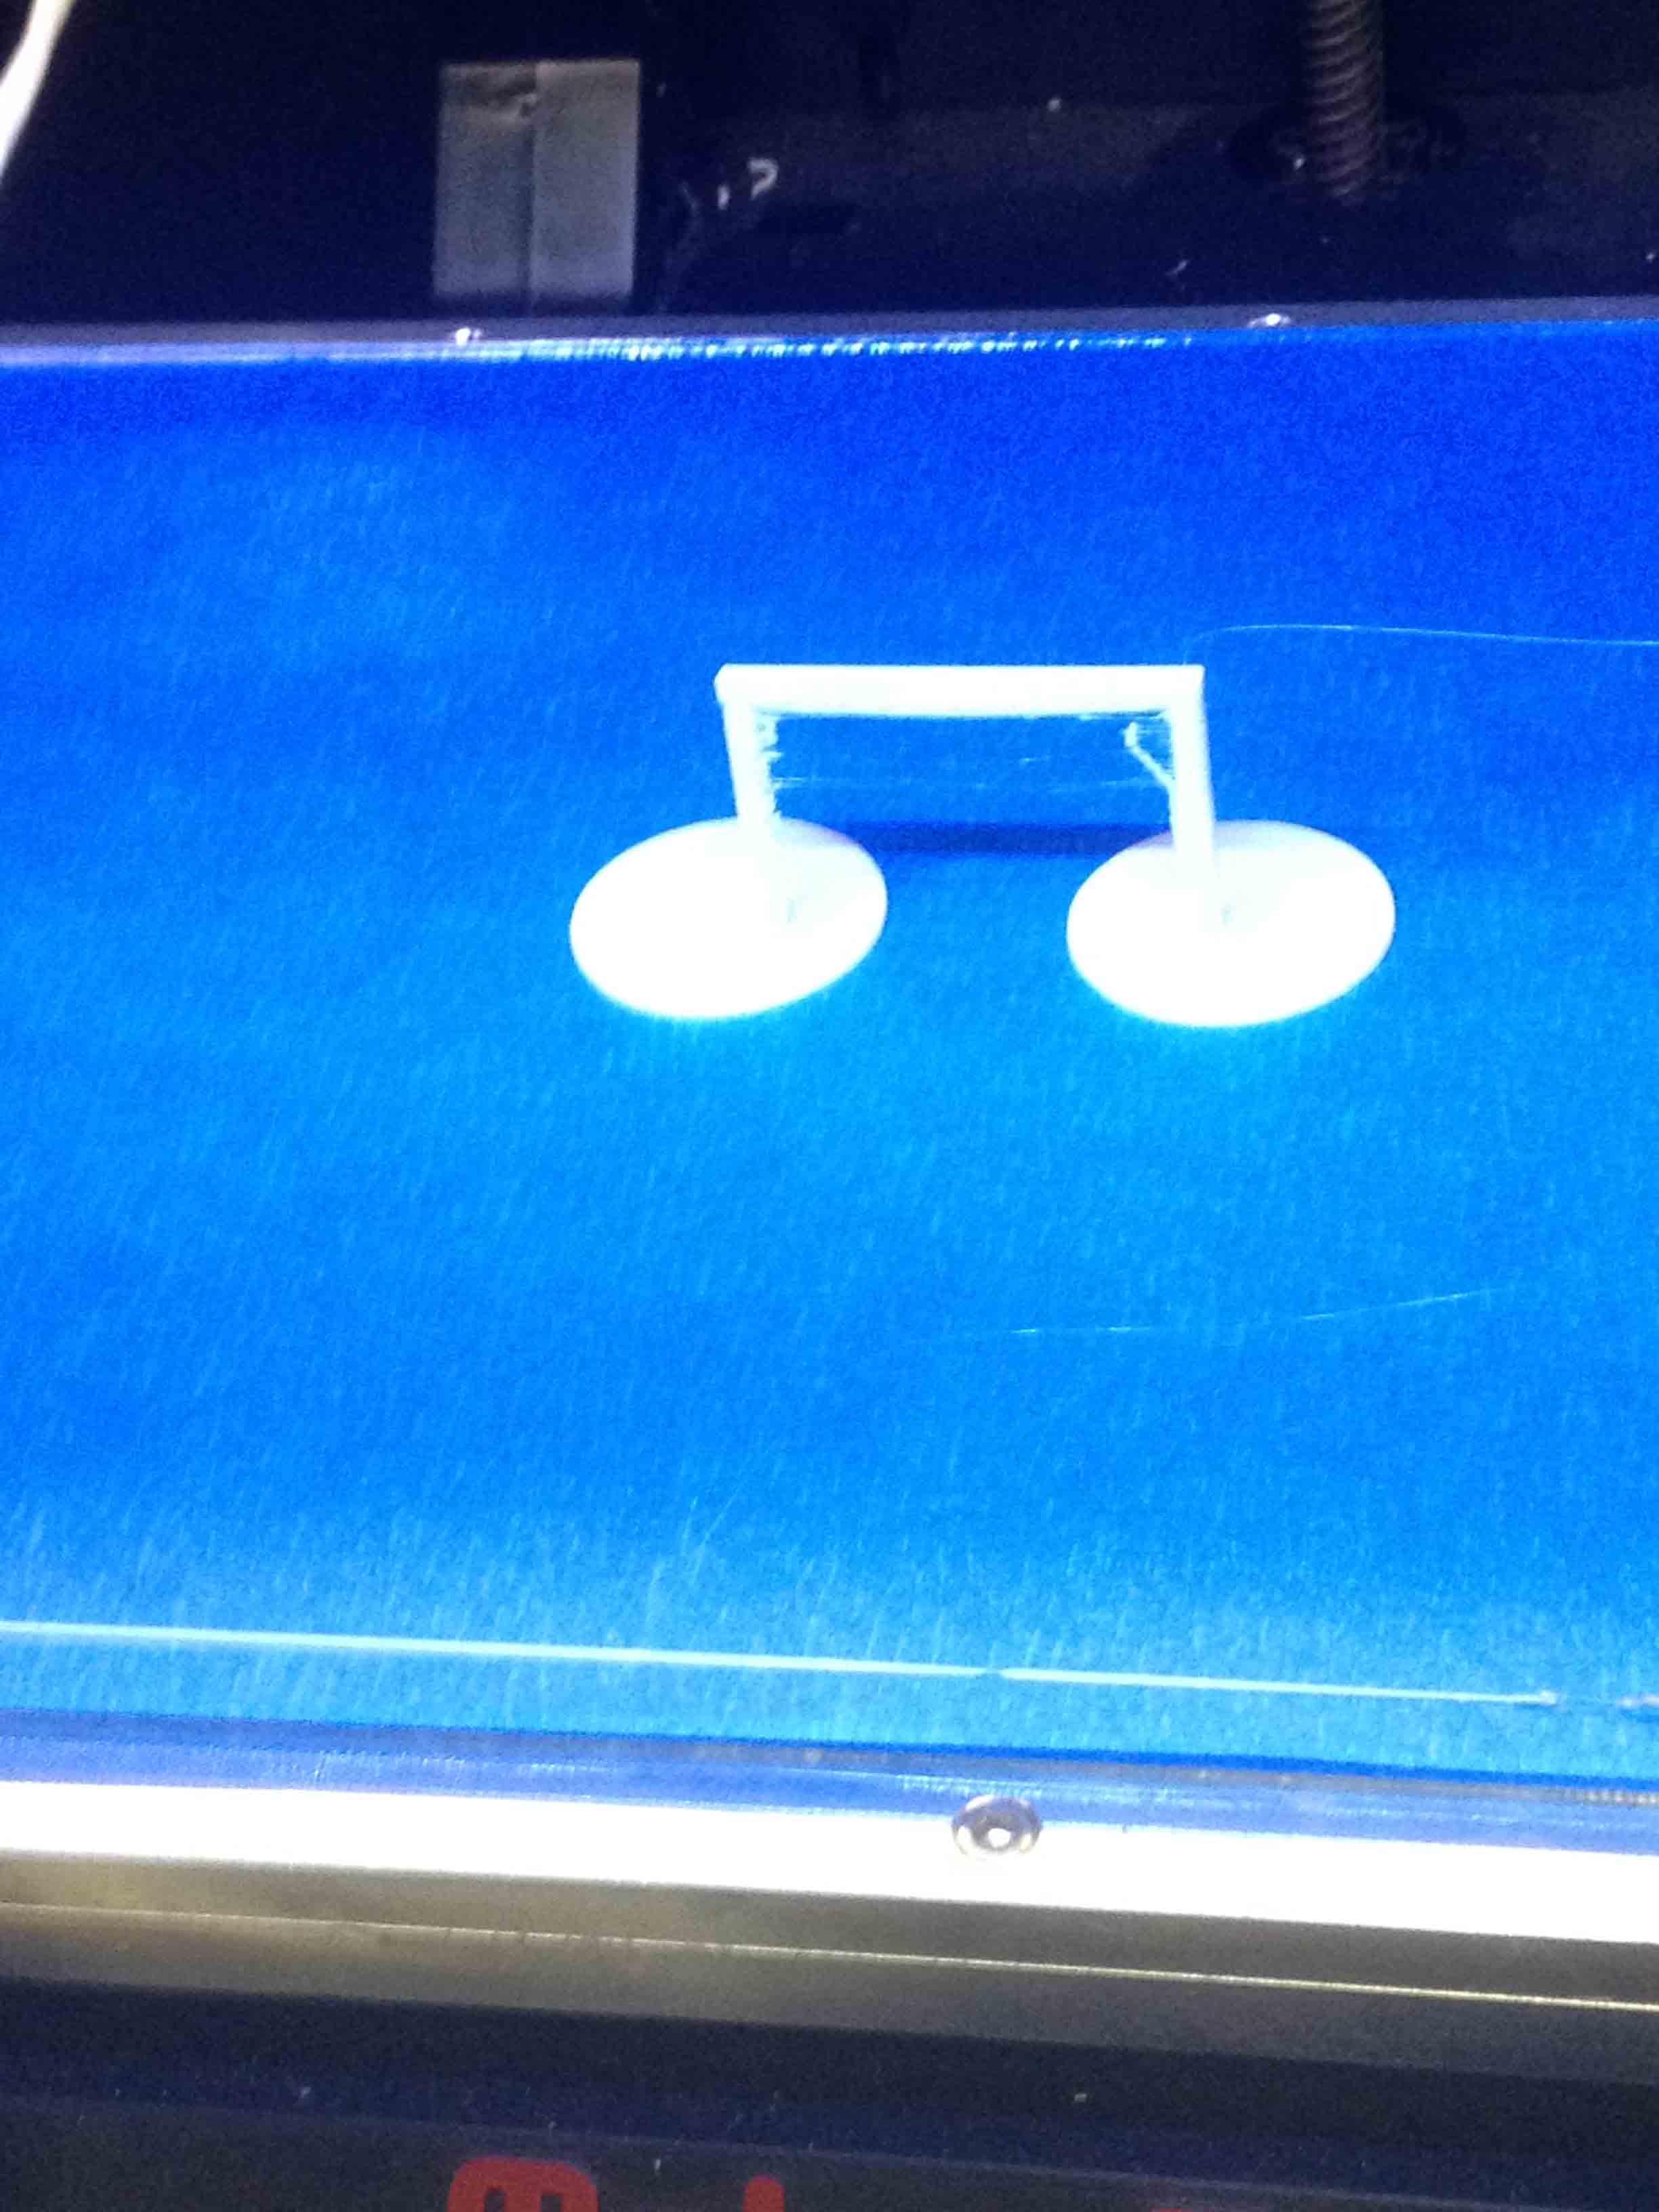
I used the Makerbot Replicator 2 Machine.
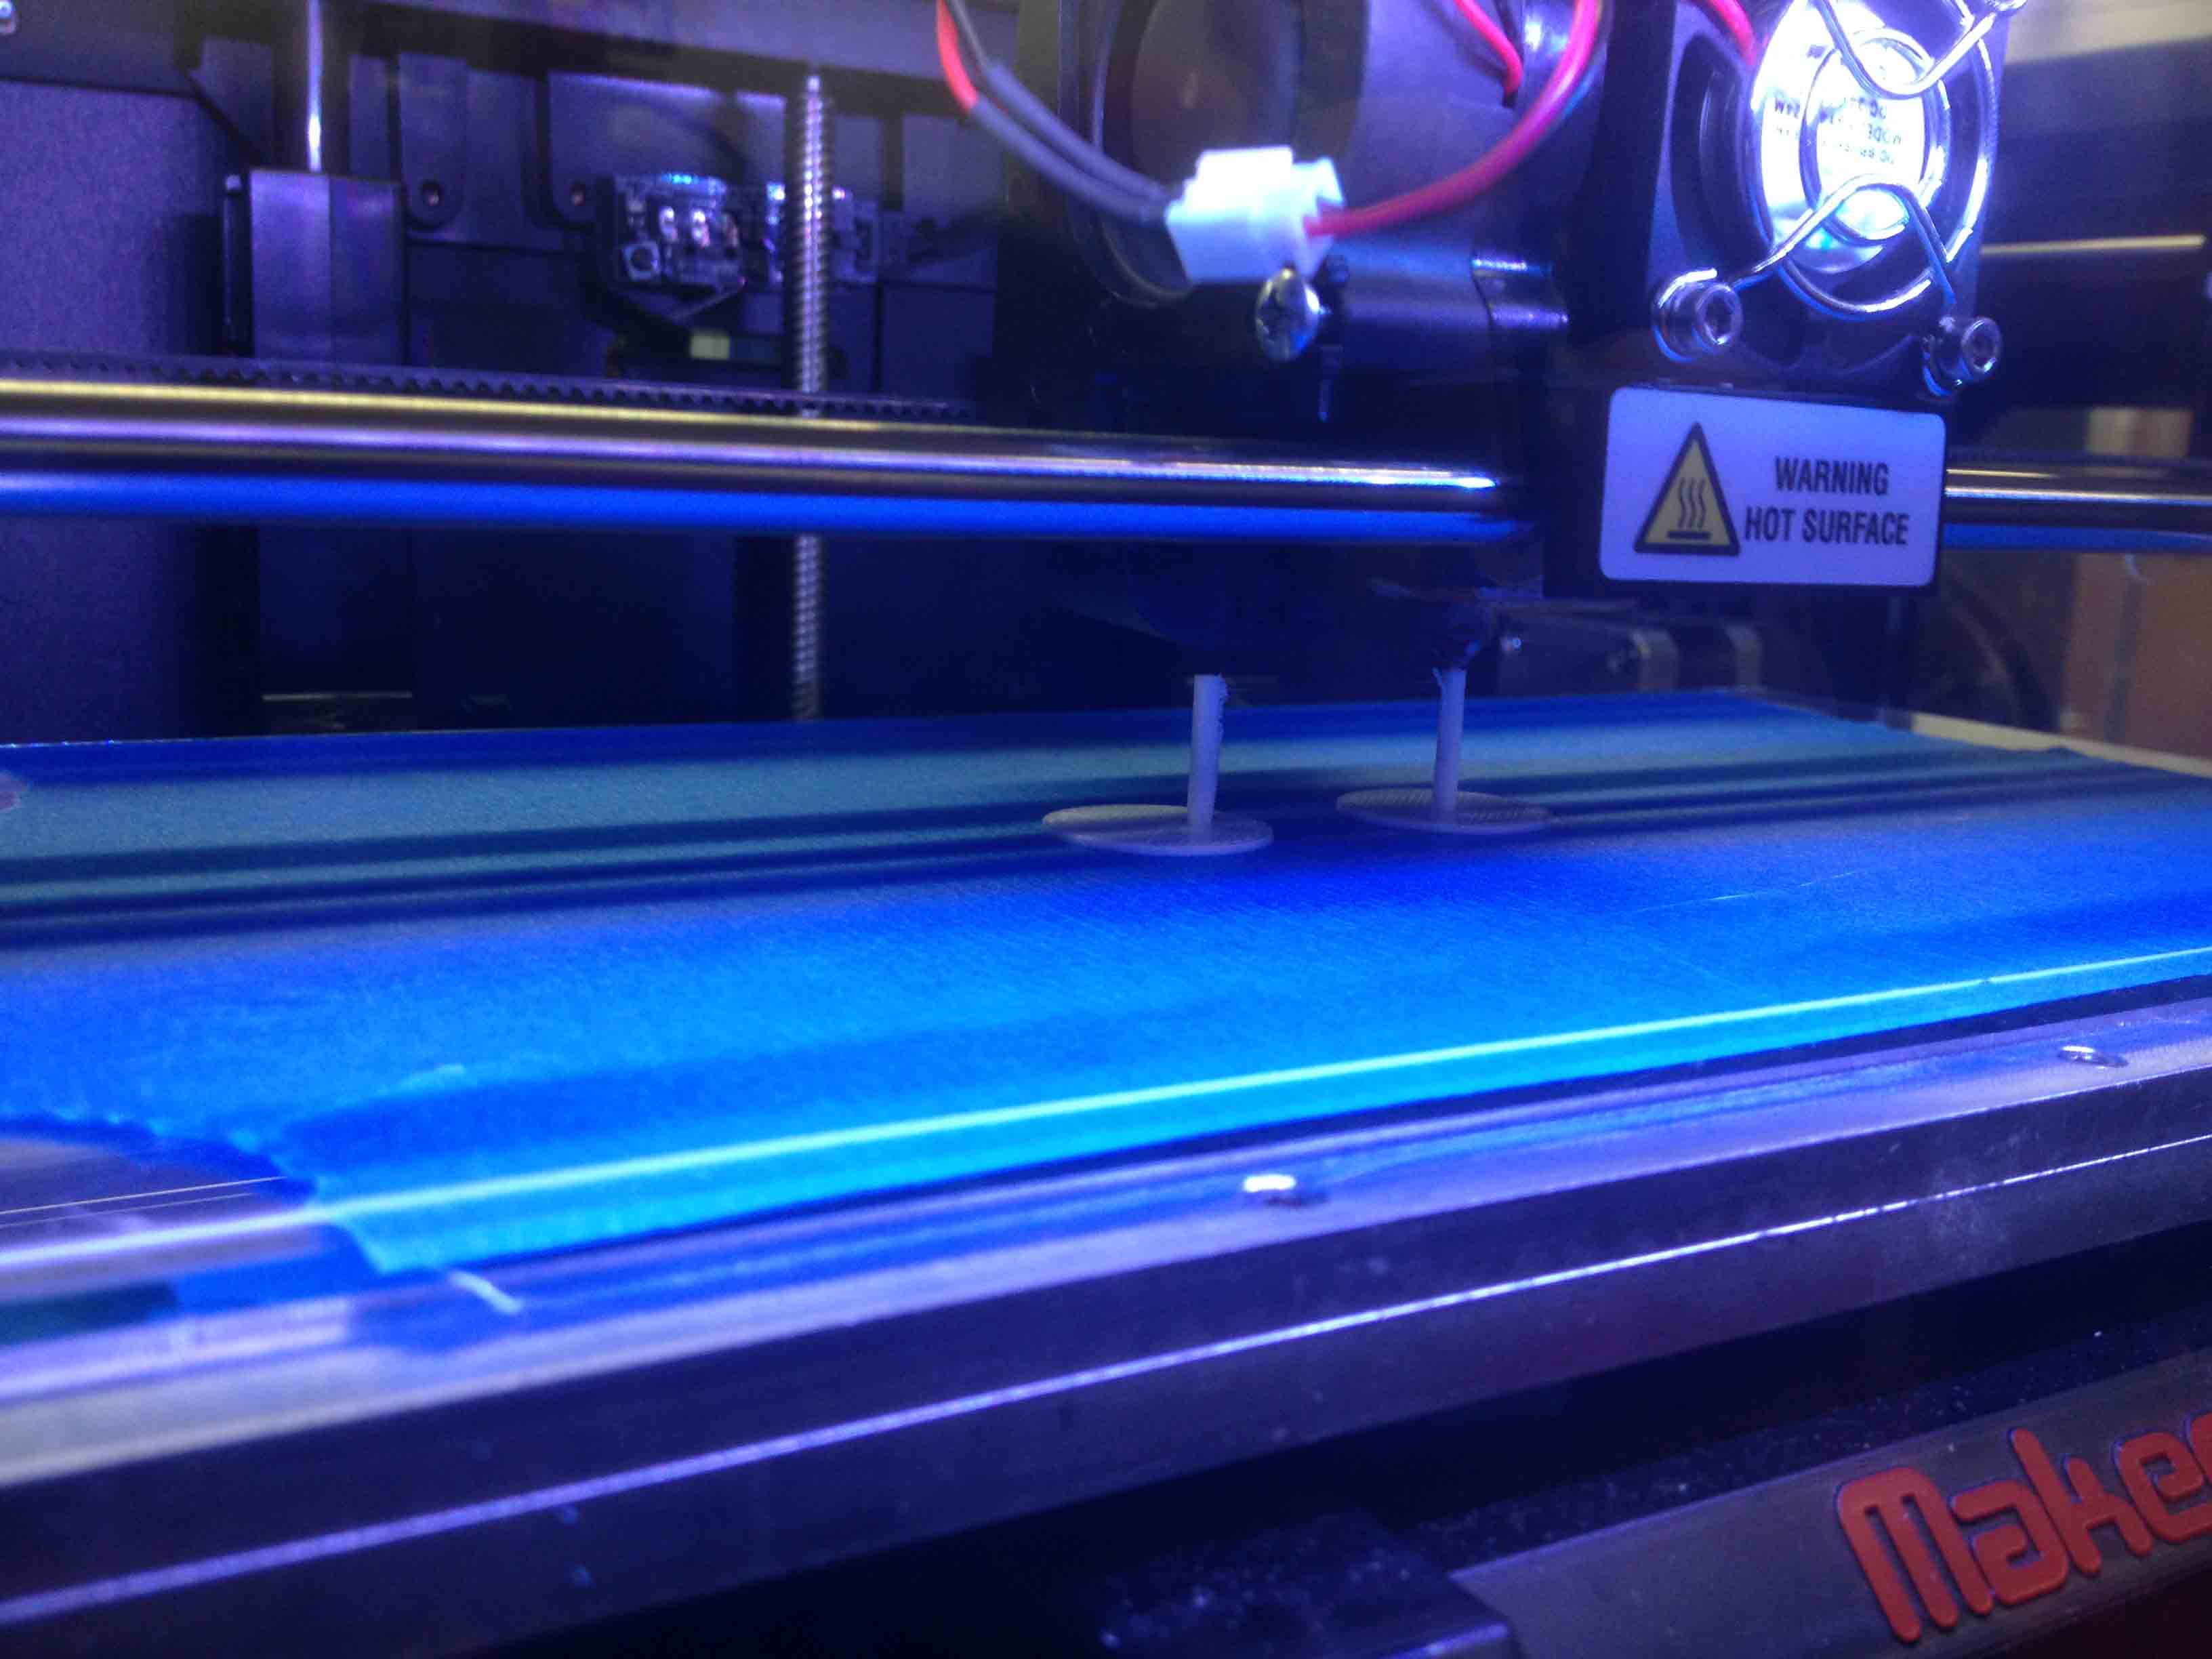
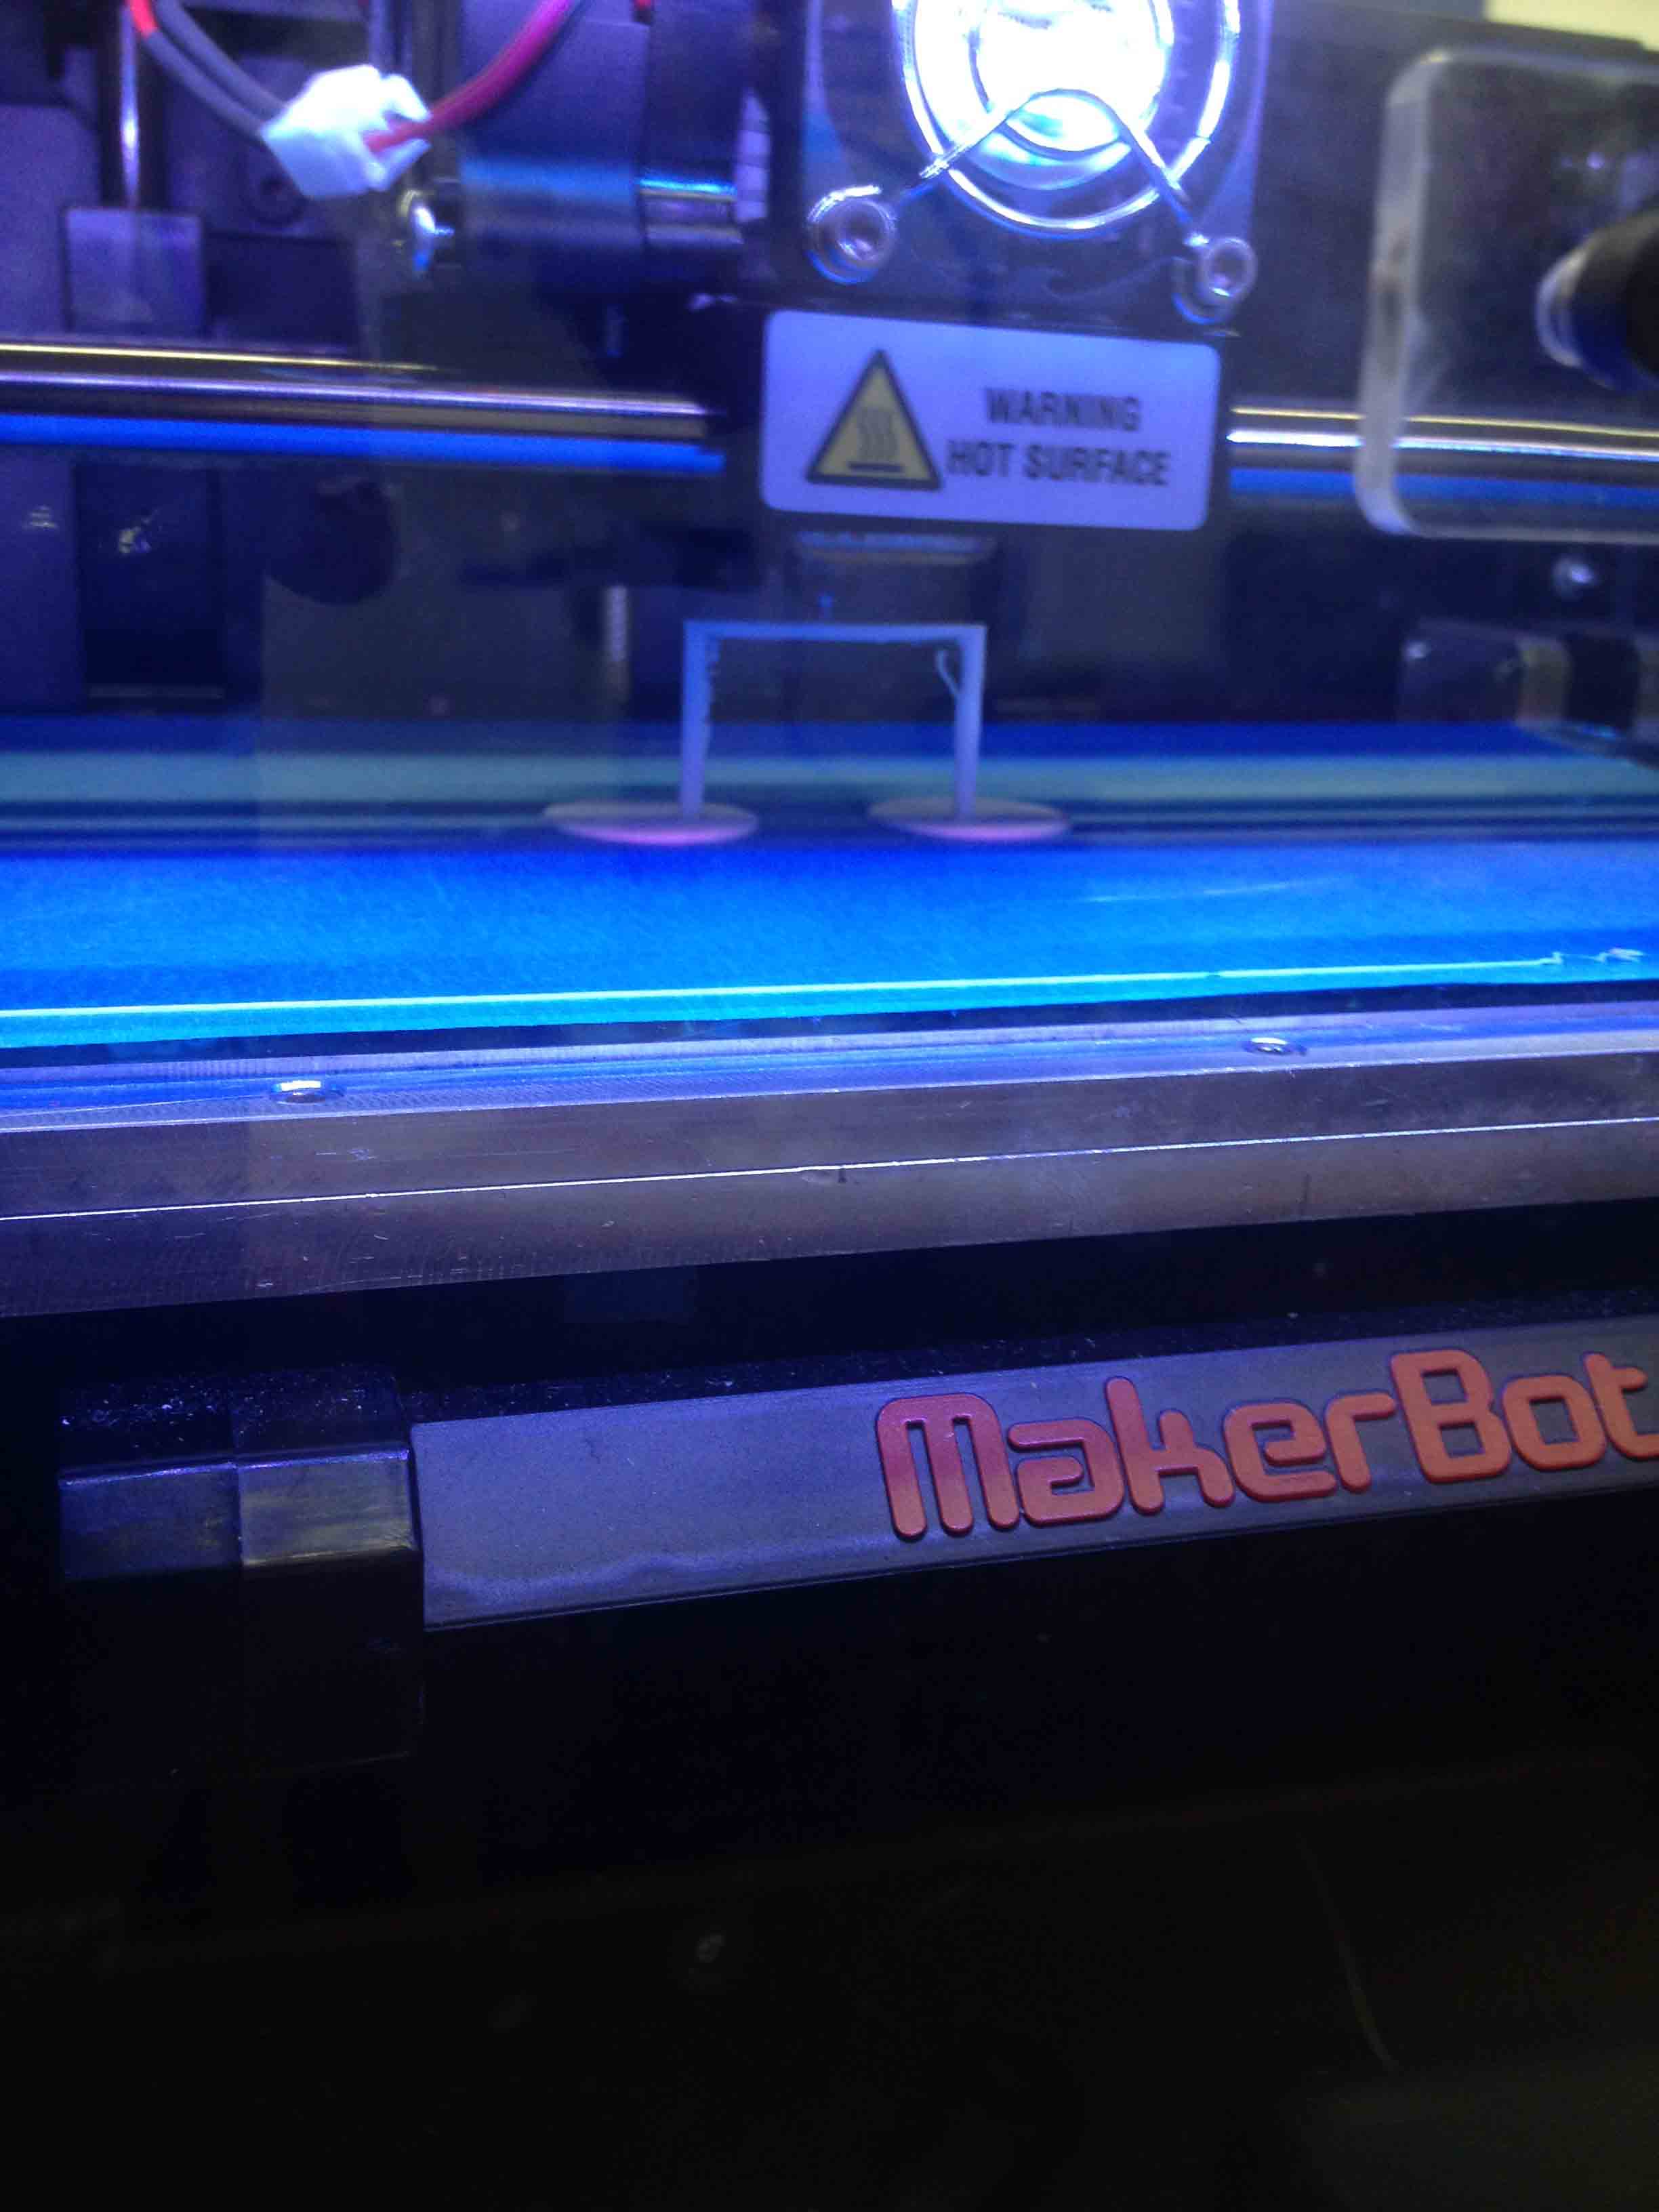
One of the questions I had was whether the 3D insert would be able to print the piece at the top connecting the wells without the use of supports (as the 3D printer prints from the bottom up).
I used an insert height of 1 mm, because although the machine can theoretically do 0.1 mm, I wanted to make sure I could scrape it off without breaking the insert.
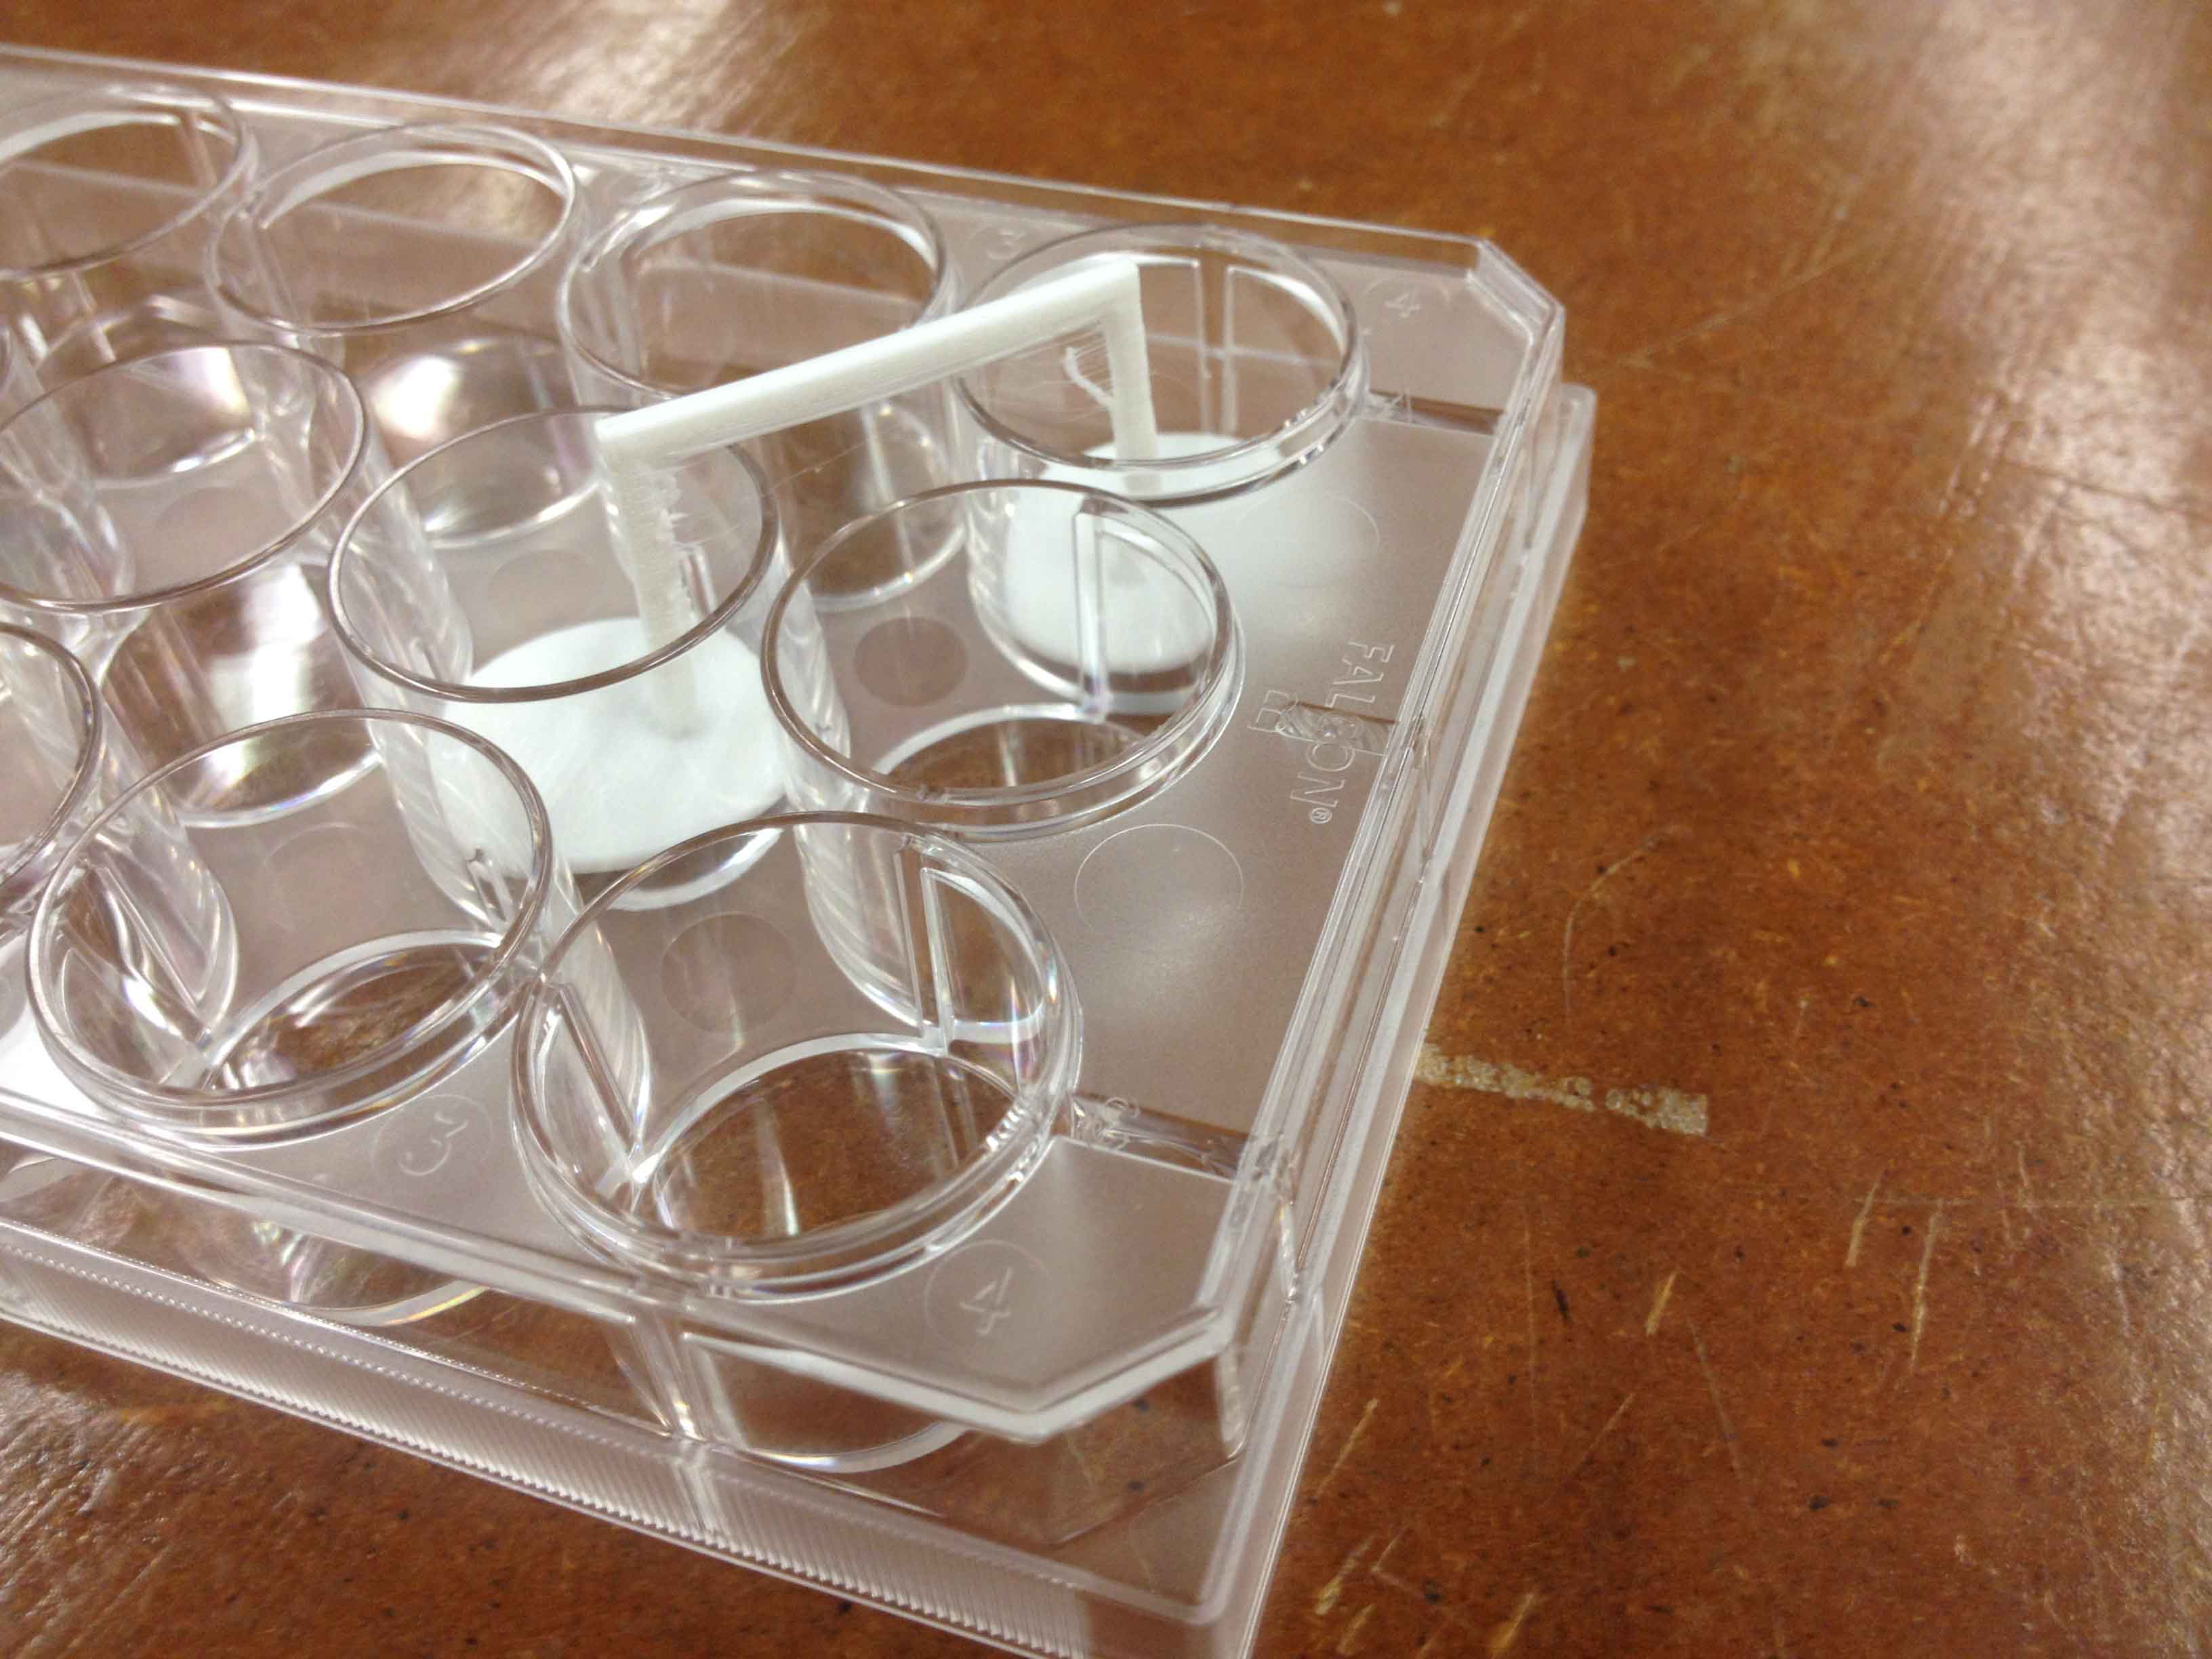
It fit pretty well into well, although for the final version I will make it so the insert does not fill the whole well so that some cells will stay behind in the original plate.
For the next iteration, I will also make the height of the device a bit shorter so that I could close the lid with the device inserted.
For this week we were also assigned to try the 3D Scanner. With the help of Andrzej, I scanned my head. The result was somewhat questionable:

For comparison, here is my head at the time of scanning.