Week 1 - Press fit kit
Beagle CardboardFor this week’s assignment, I set myself an implicit goal of learning at least one CAD tool. This was my first attempt ever with CAD tools, which I found to be quite rewarding, but also rather frustrating (as is the case with anything with a learning curve).
Fueled with motivation, I went through some tutorials and started modeling. What appeared as a perfectly feasible task, turned to be much more difficult than I estimated. The main issue was an error in judgement - I tried to make a press fit model of something that’s inherently asymmetric and complex, and to top that - I tried to do it with a tool I had just learned.
So, while the first day was very frustrating, there was a silver lining. By shooting high, I learned SolidWorks sufficiently well to do other stuff - and I’m sure that the basics I learned will help me down the road.
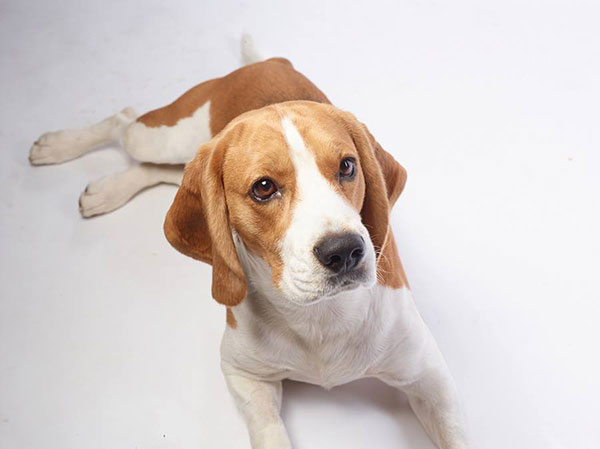
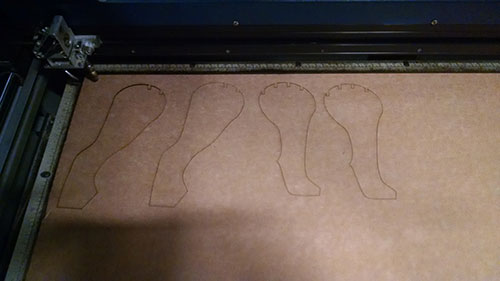
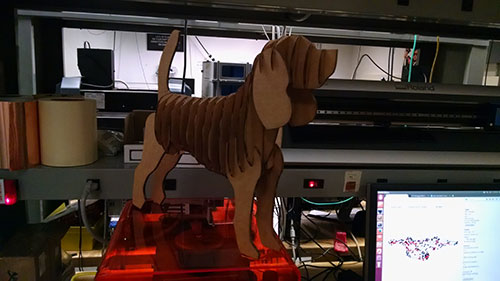
I created a model in SolidWorks for that purpose. Once I modeled it in 3d, it was easy to print everything out and plug it together. But to get there was a bit of a process. First, I got an outline of a Beagle, and used the Sketch Picture feature in SW which makes it easy to turn a 2d image into a sketch. Normally, it helps to have two orthogonal 2d images of the object you’re trying to model, since you can model the two perpendicular dimensions, and then extrude it to a 3d object. In my case, I did not have a second image to complement the side view, and I found it difficult to extrude the dog model in a realistic way. While this is the correct way to do things (create a full 3d model and then slice it to pieces for the laser cutter), I was short in time and decided to brute force my way to a 3d model. I modeled each of the back pieces individually (using some predefined parameters), and eventually ended up with this 3d model:
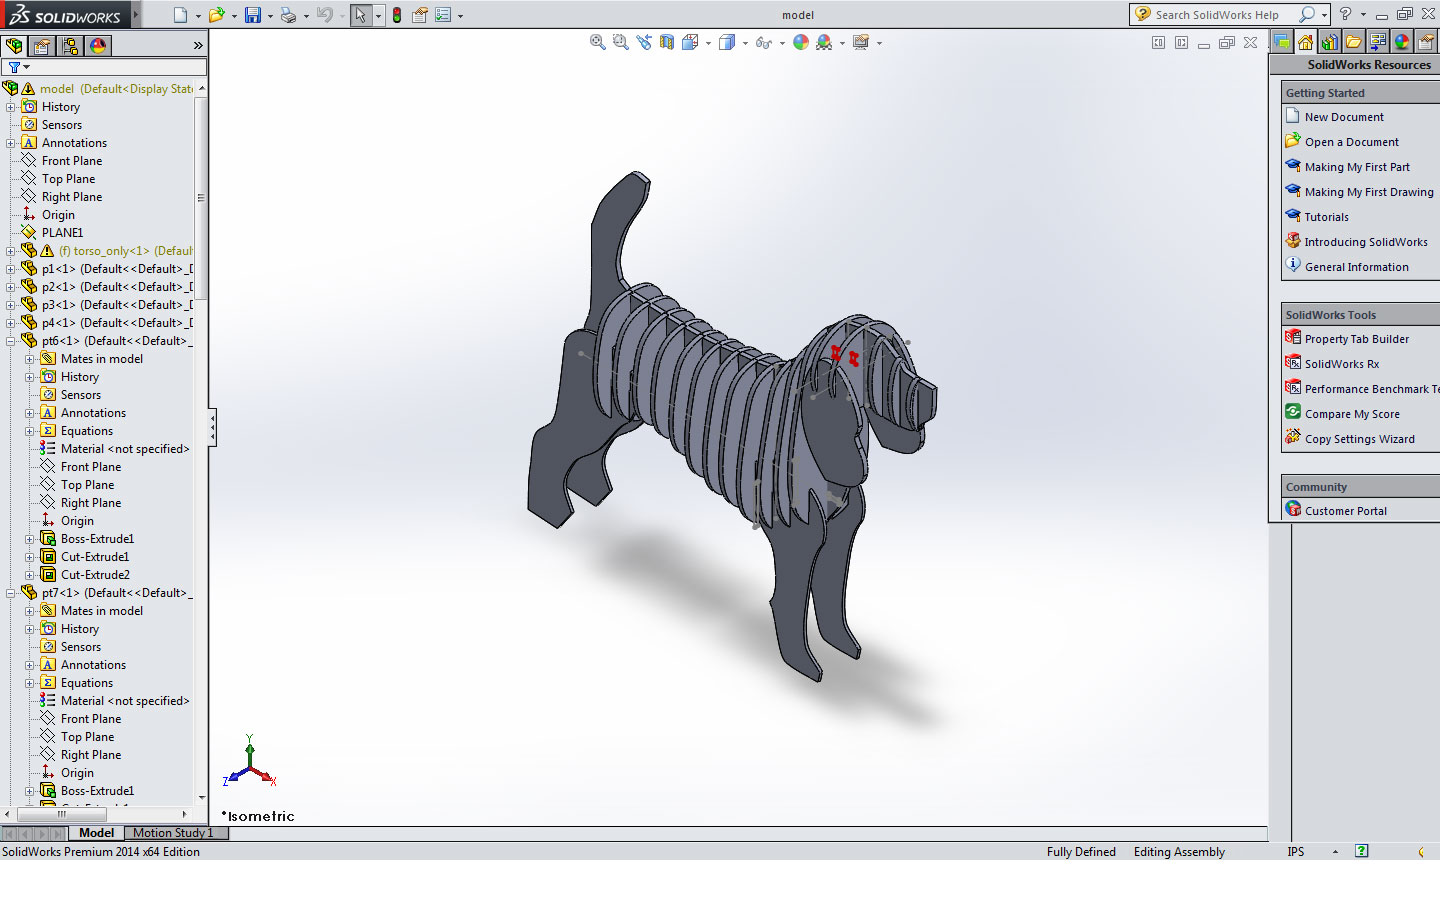
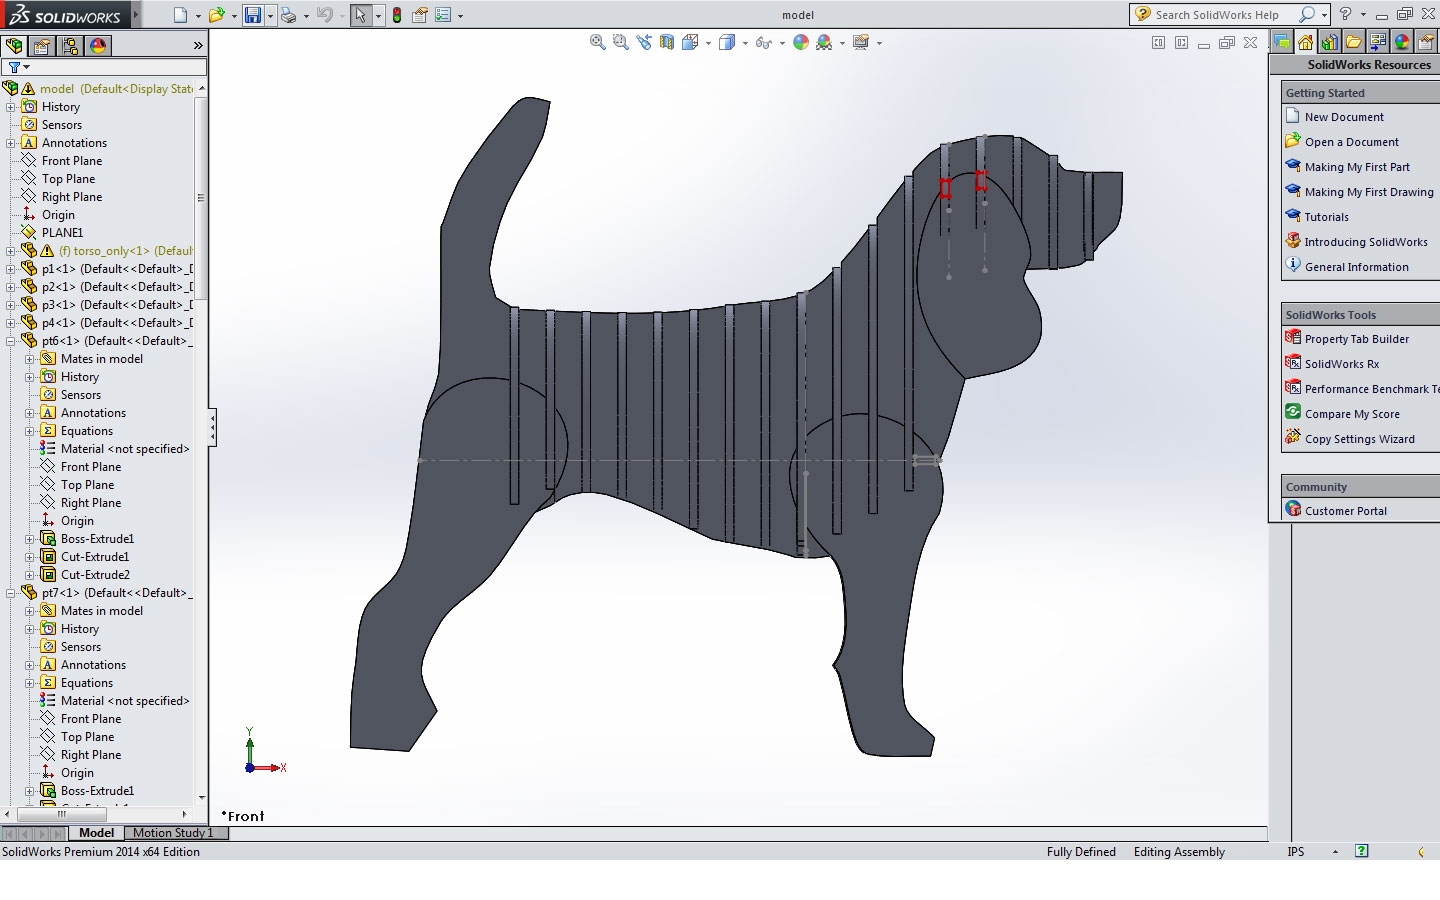
For the parameters, I used 0.145” for the holes width, and 0.3” for the height. As it turns out, 0.145” created a really tight fit (too tight for my taste). While I stayed with that parameter, I think using 0.15” is the better alternative. As to the height - I changed it for the more important parts, as it was too short to fit tightly.
All in all, I’m happy with the result: