It turns out this week is mostly about how to CAD things that can be printed by a 3D printer.
It's pretty easy to print once the file is ready. But, designing a file that could be 3D printed effectively is non-trivial.
I knew I wanted to have a moving part in my 3D print. I also knew I wanted a camping spoon and fork. After some thought about how it could be designed,
I thought a spoon/fork duo could be feasible. At first I was going to have them fold together with a hinge. I looked up how to 3D print a hinge.
It seemed totally doable, but I also wanted to try to make a moving part completely from my brain rather than with some guidance (possibly foolish,
but allowed me to learn a lot more). I decided on the design of having the spoon and fork spin out from each other using a jagged, circular piece
inside a slightly larger version of the outline of the jagged, circular piece. Attached to one circular piece would be a fork and
attached to the other circular piece would be a spoon. The positions when spinning the fork and spoon around each other would be discrete,
and they would create a nice clicking noise.
I first designed the two circular pieces. I used Rhino and found myself using the rotate function many times. I fit the inner circular piece
inside the outter one by making the spacing between each jagged stopper one millimeter larger in the outter one. However, each jagged stopper segment
needed to cover the same number of degrees of the circle despite being different sizes. So, the positive inner piece just had more space
between each of its jagged edges as well. Both the inner and outter pieces were made by strating with a cross section and then "extrude planar curve."
I made the inner piece slightly taller than the outter piece and attached the spoon to this extra height. The fork got attached to the
bottom of the outter piece. I figured this design would work for 3D printing because the "gear" was built from the bottom up with one piece vertically inside the other.
The fork was completely on the ground, so that would be no problem to print, and the spoon would definitely need support while printing.

We were told to minimize the height of our projects in the interest of time. While the height would be slightly minimized by rotating my piece
90 degrees over the x-axis, it would cause the inner gear mechanism to need support. I thought these two piece were too tight of a fit for it to be worth the risk.
Once the desing process was done, I had Rhino show me "naked edges" and fixed all of them so that there were none left. I then used the command "mesh"
and saved it as a .stl file. The MakerBot software takes in .stl files.
I thought this would be ideal for the ABS printer because that printer gives support that can be dissolved and is much sturdier than the Z-corp.
However, it was already in use when I got my .stl file in, so I went with setting up printing on my own with the MakerBot. The maker bot is
about as sturdy as the ABS printer, but it makes supports that you have to break off yourself.
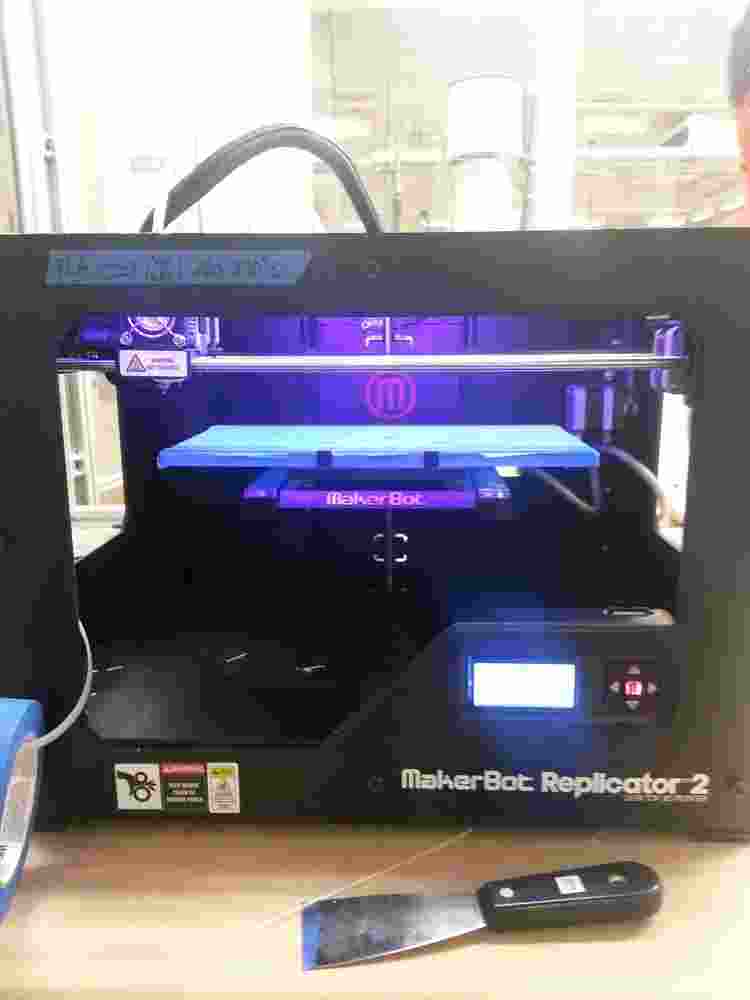
When the TA saw my .stl file, he said that supporting the spoon would take a really long time. He recommended I print the fork and spoon pieces
separately and then place them inside each other at the end. This would work in theory, but I was worried they wouldn't fit inside each
other in practice. However, I decided to try that. In Rhino, I just moved the entire spoon mechanism to the side of the fork piece.
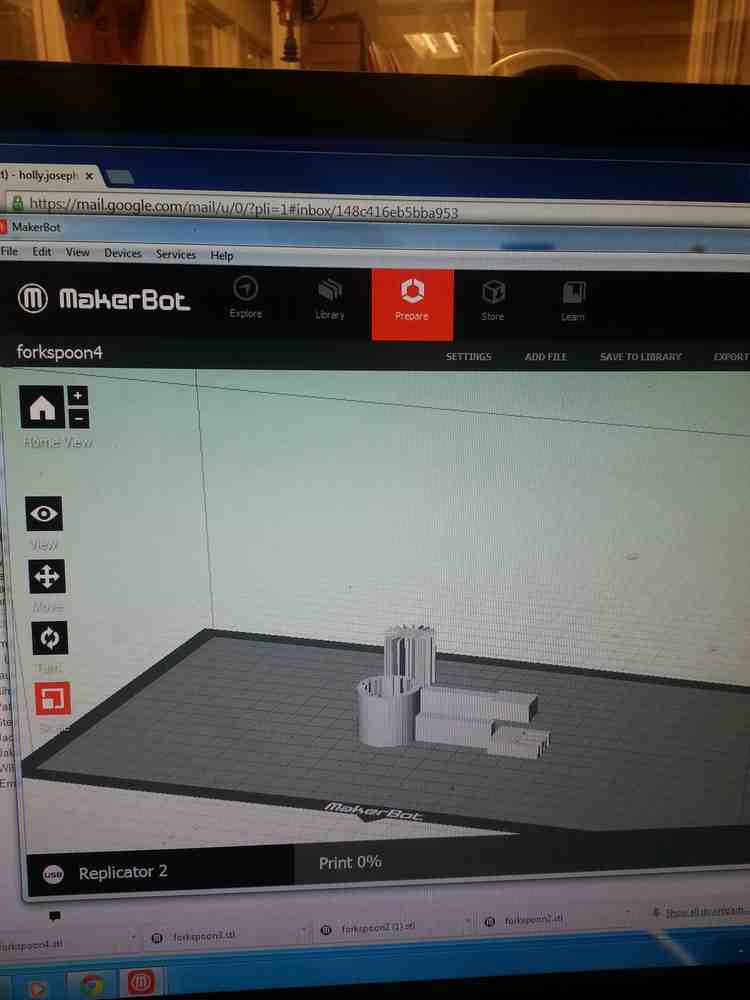
It looked great on the MakerBot software. I chose to have no raft (a raft is a platform for your piece) and supports on in the print settings.
I sent it to print, but when it began, the handles didn't print at all. I stopped that print and checked "Print Preview"
Print preview showed no signs of a handle at all. I went back to Rhino, remade the handles, and sent it back to the MakerBot.
This time, the print preview showed the handles. I sent it to print, and it seemed like it was doing great, so I left the room.

The MakerBot runs at 230 degrees Celsius!
I returned two hours later to a complete job. However, the inside of the negative jagged circular piece was completely filled in.
I attribute this to moving the spoon beside the fork. Perhaps, the mesh layer did not get moved. Either that, or the MakerBot software thought it had to support the inside.
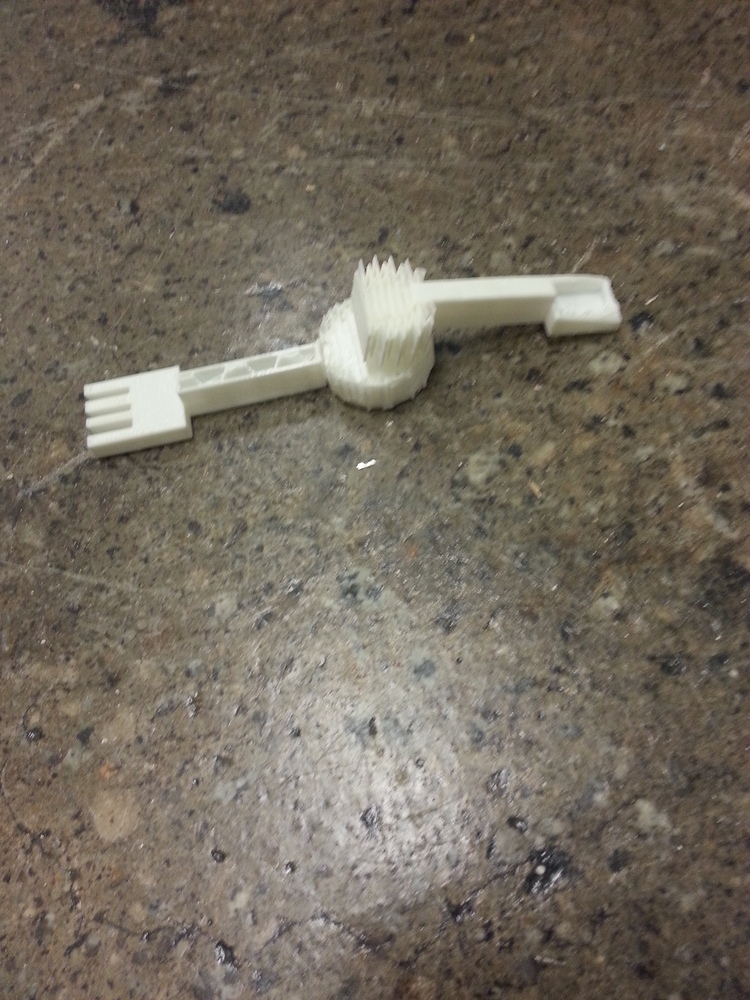
Anyway, I then sent the print in the original way with the supported spoon. Unfortunately, it connected the two interlocking pieces together.
It looked completely correct when the MakerBot software rendered it, so I am not very sure whether the problem has come from the Rhino file or the MakerBot software/hardware.
I think the next step would be to design it from scratch and try it again. At this point though, I think I have learned the skills meant to be learned this week and
perhaps I will try again on my own some time.
Pro tip: Get your designs in early. I got mine in on Sunday and there was already a huge line for all other machines, so I had to use the MakerBot which also had a huge line, but a shorter make time.
3D Scanning!
In lab, we learned how to use "Sense," a device that you rotate around an object to render a 3D mesh. In lab, we scanned someone's head'
and it turned out great. There were a few holes, but the Sense software allows you to fill holes. I decided to try to scan my hand.
Someone helped me because you need to walk around the object you're scanning. In the picture below, you can see the platform where I held
my hand and the Sense machine, but for similar reasons as for why I couldn't scan it myself, my hand is not on the platform for the picture.
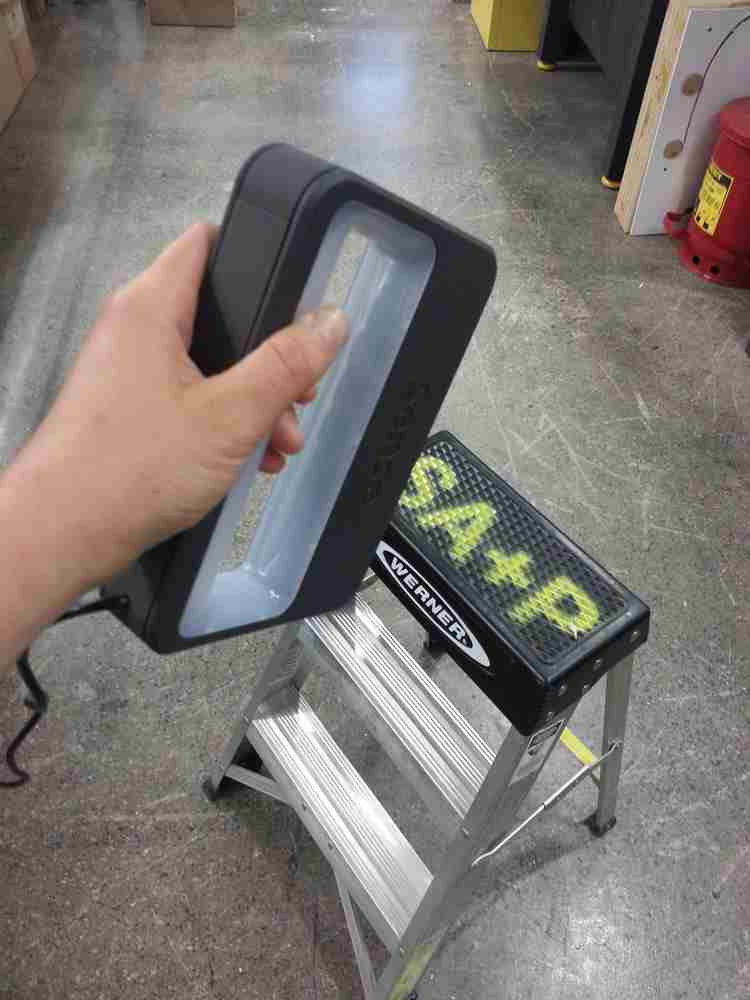
We also found that it is extremely difficult to keep the image you are scanning inside the target while rotating around it.
The sensor loses track often, so we had to redo it several times. In the end, I was happy enough with my hand (despite that it had 6 fingers.)
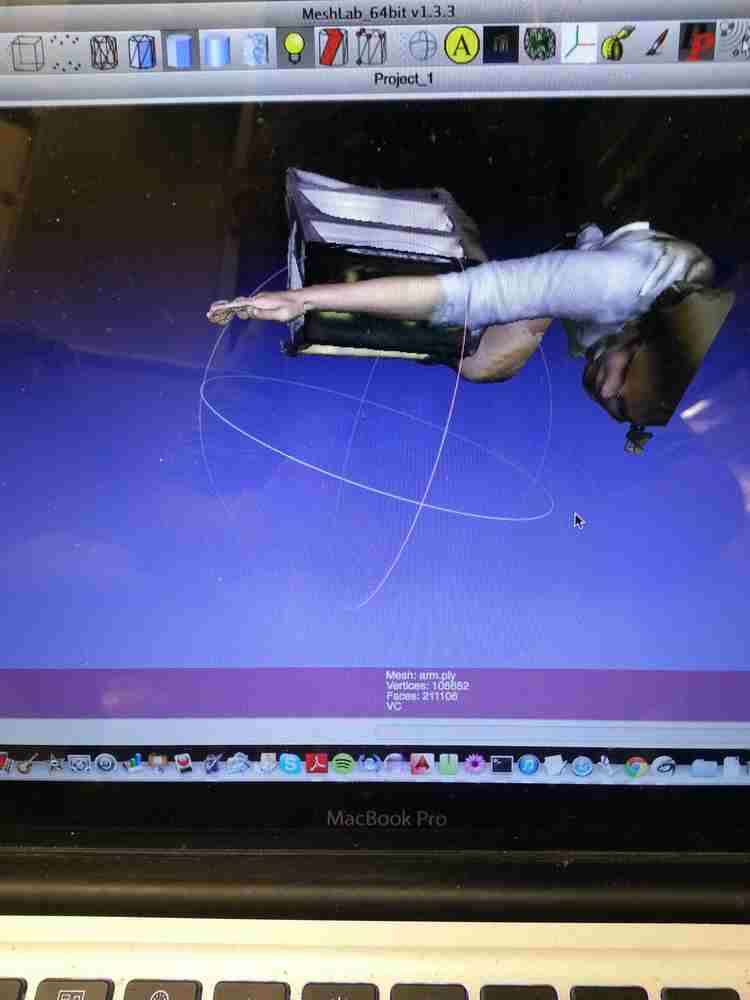
It was likely my fault for slight movements while scanning. I e-mailed it to myself. The Sense software sends .ply files. So, I downloaded "Meshlab" to open it.
