Step One - Mill the Board
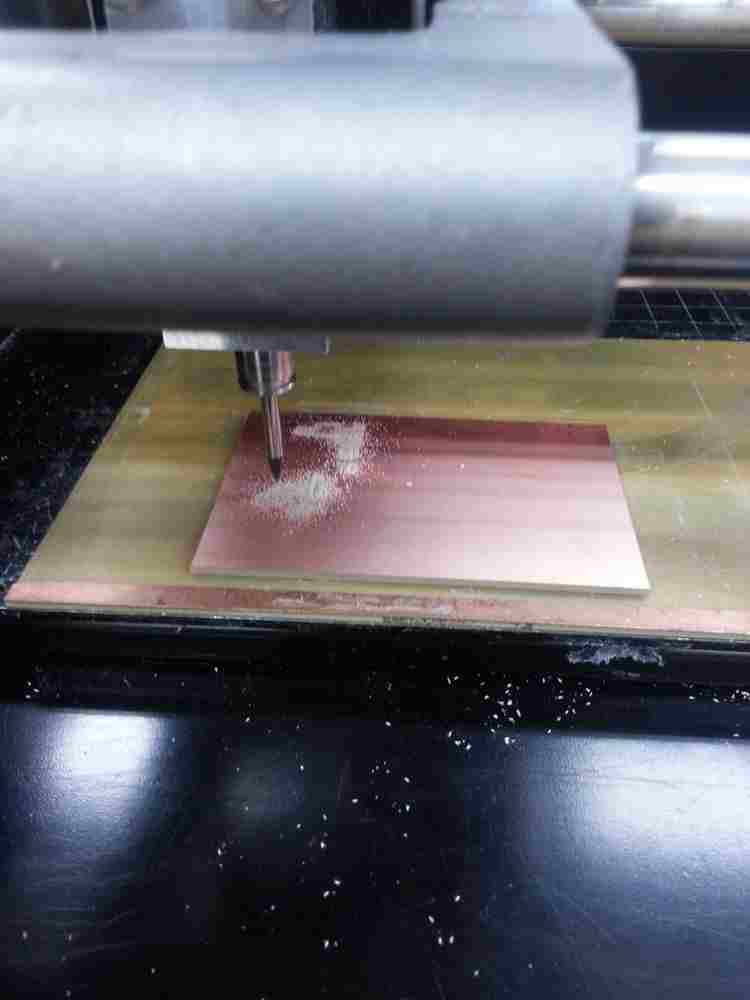
Place the copper board in the Roland MDX20 machine plate. Hold the plate down with two-sided tape. Load the trace and file into the machine through the fab module.
Place the 1/64 endmill in the machine. Set the origin of the endmill to the bottom left corner of your circuit board. Click "Calculate Path"
If the path looks okay, click "send path" and wait for the trace to complete. It takes about 6 minutes.
Now load in the outline file. Switch the endmill to 1/32. Make sure your origin is the same as the origin from the trace milling. Click "calculate path."
If it looks okay, click "send path." This should cut your board from the copper plate. You may need to repeat this porcess with the starting depth
increased slightly to ensure it gets cut all the way through.
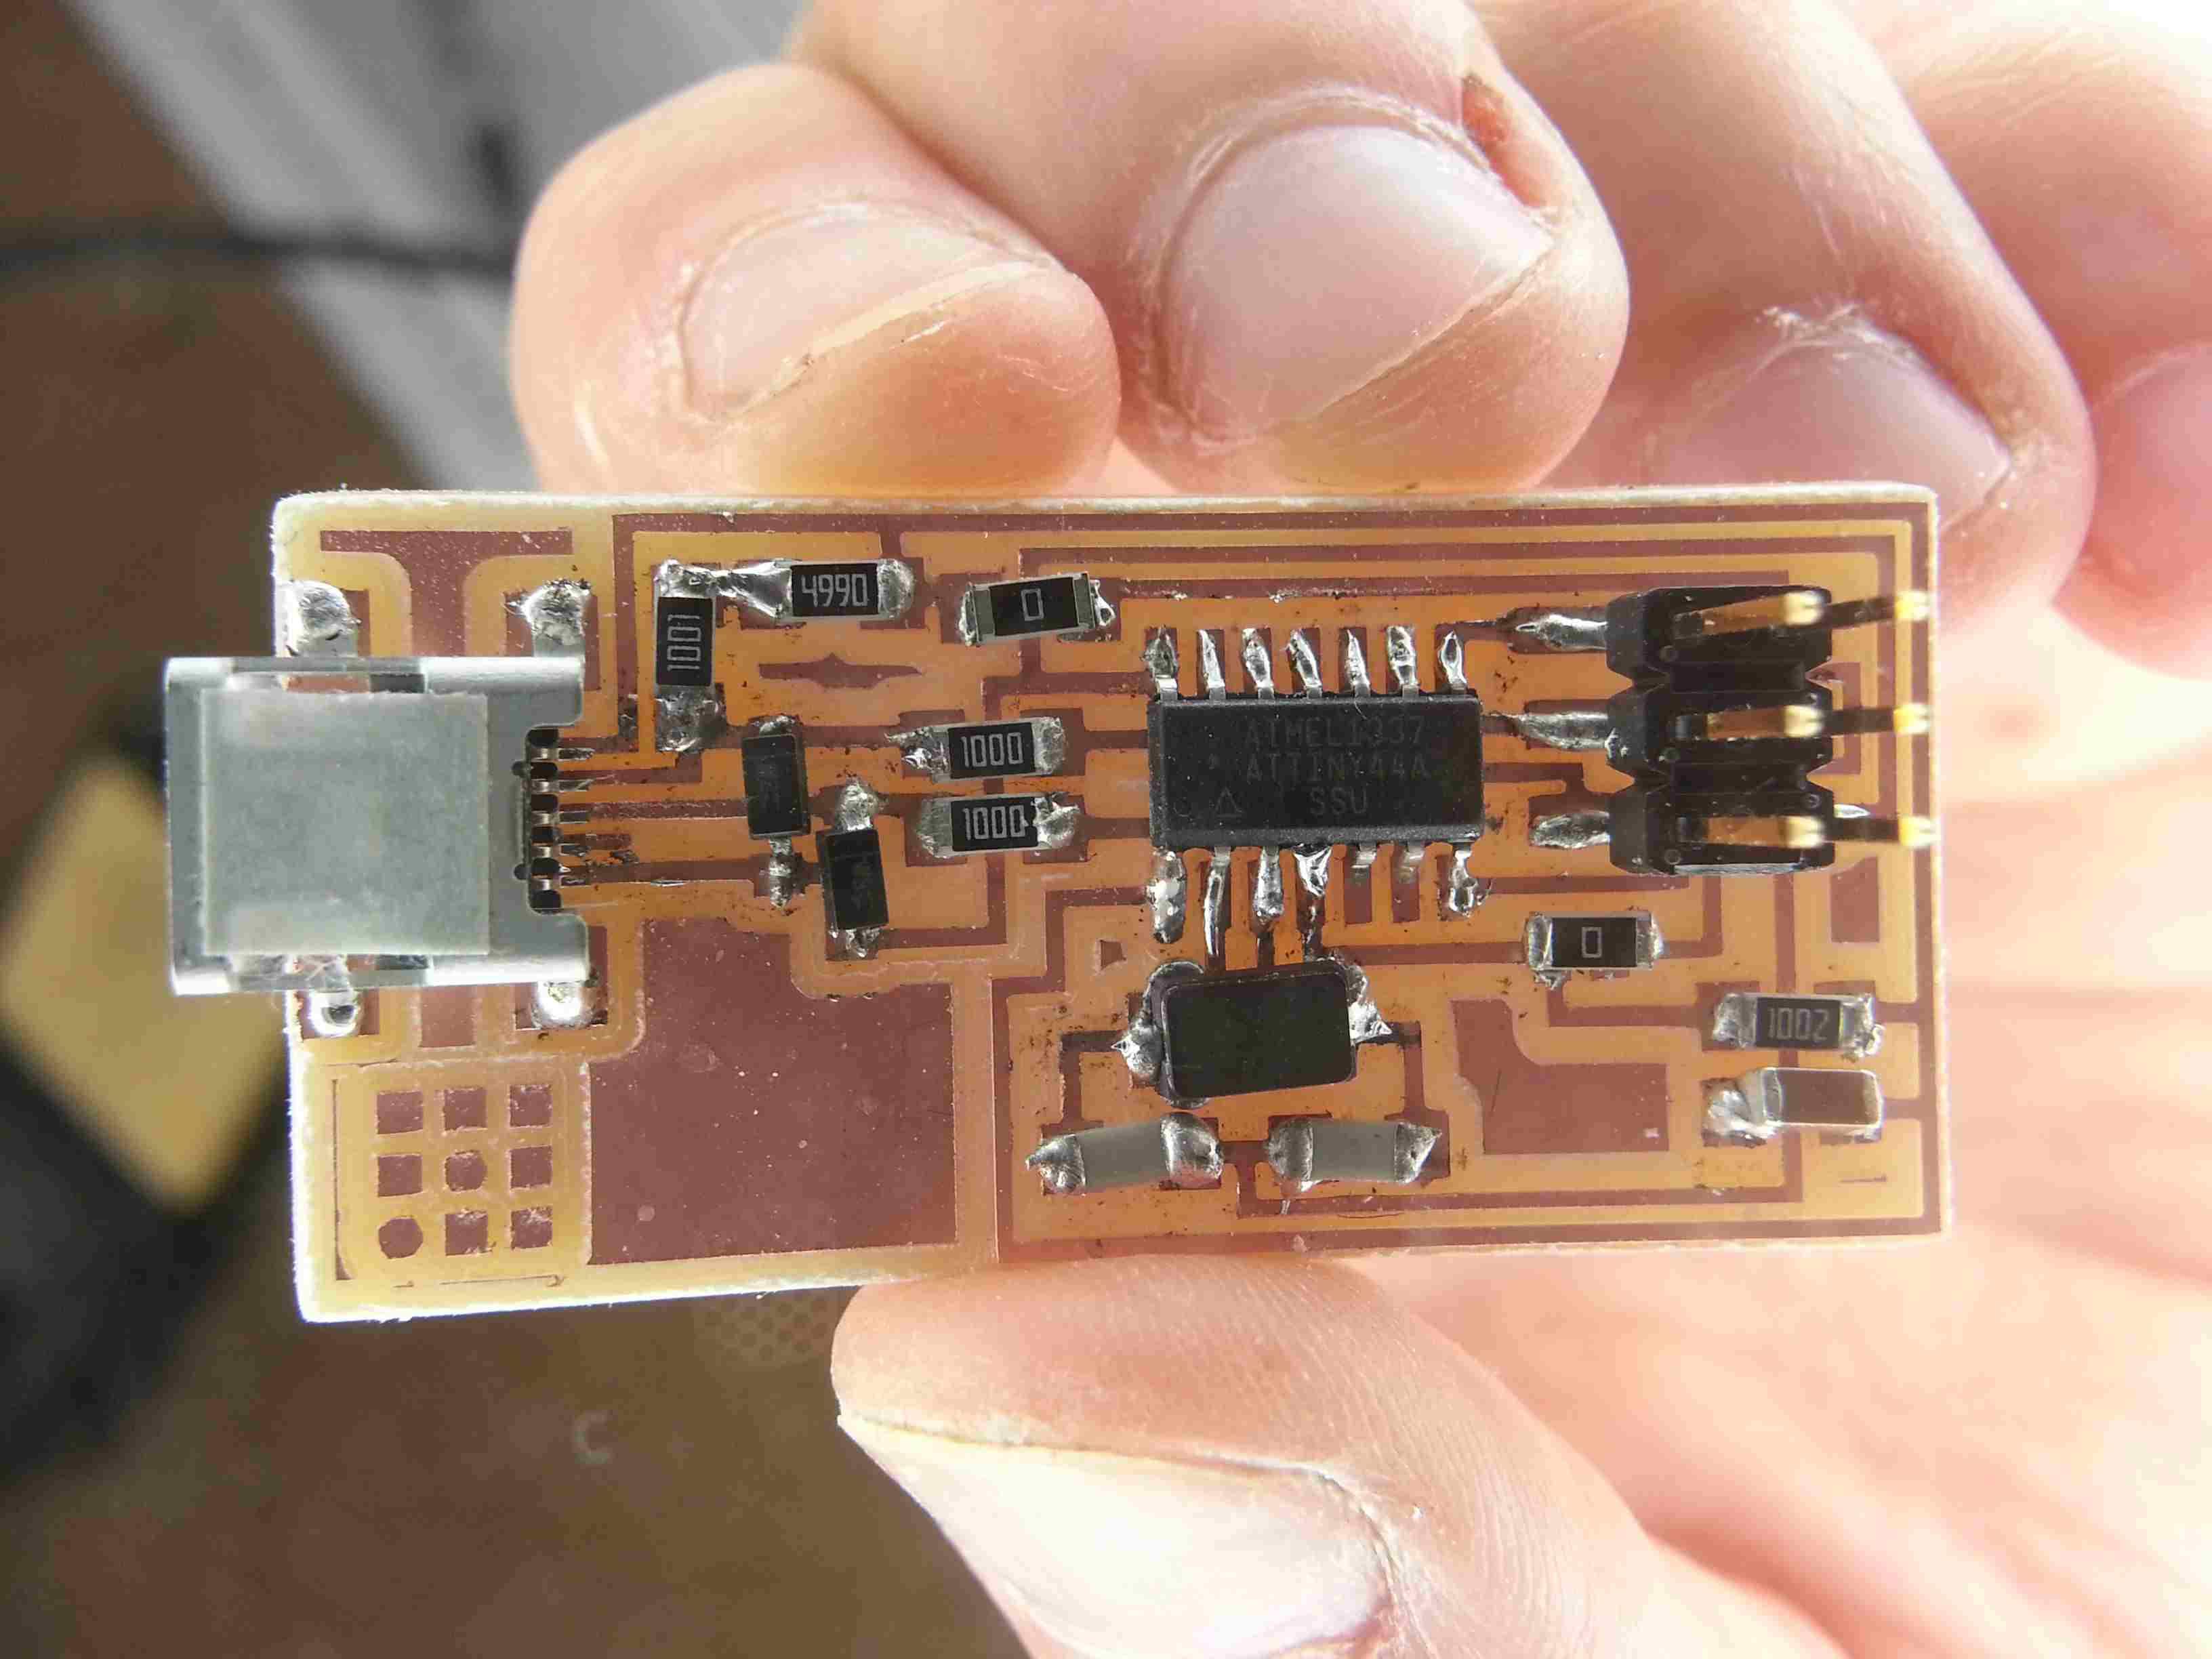
Step Two - Put the Components on the Board
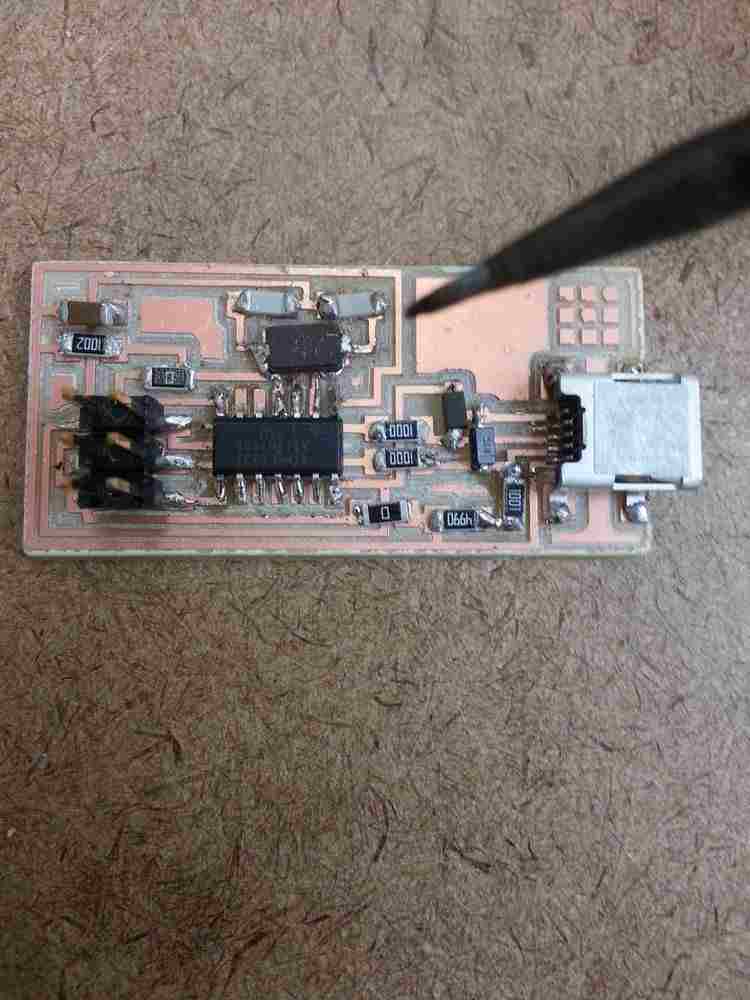
Using the diagrams from the class as a guide, solder the electrical components onto the board. I found that soldering the USB port on was the most difficult.
The USB port has 4 extremely tiny parts to get onto extremely thin copper strips on the board. The trick is to get a very small amount of solder
on the iron and spread it evenly using the flux. The crystal is also a little bit tricky and I found it easiest to create small solder tabs
sticking out from the crystal and attaching them onto the copper board.
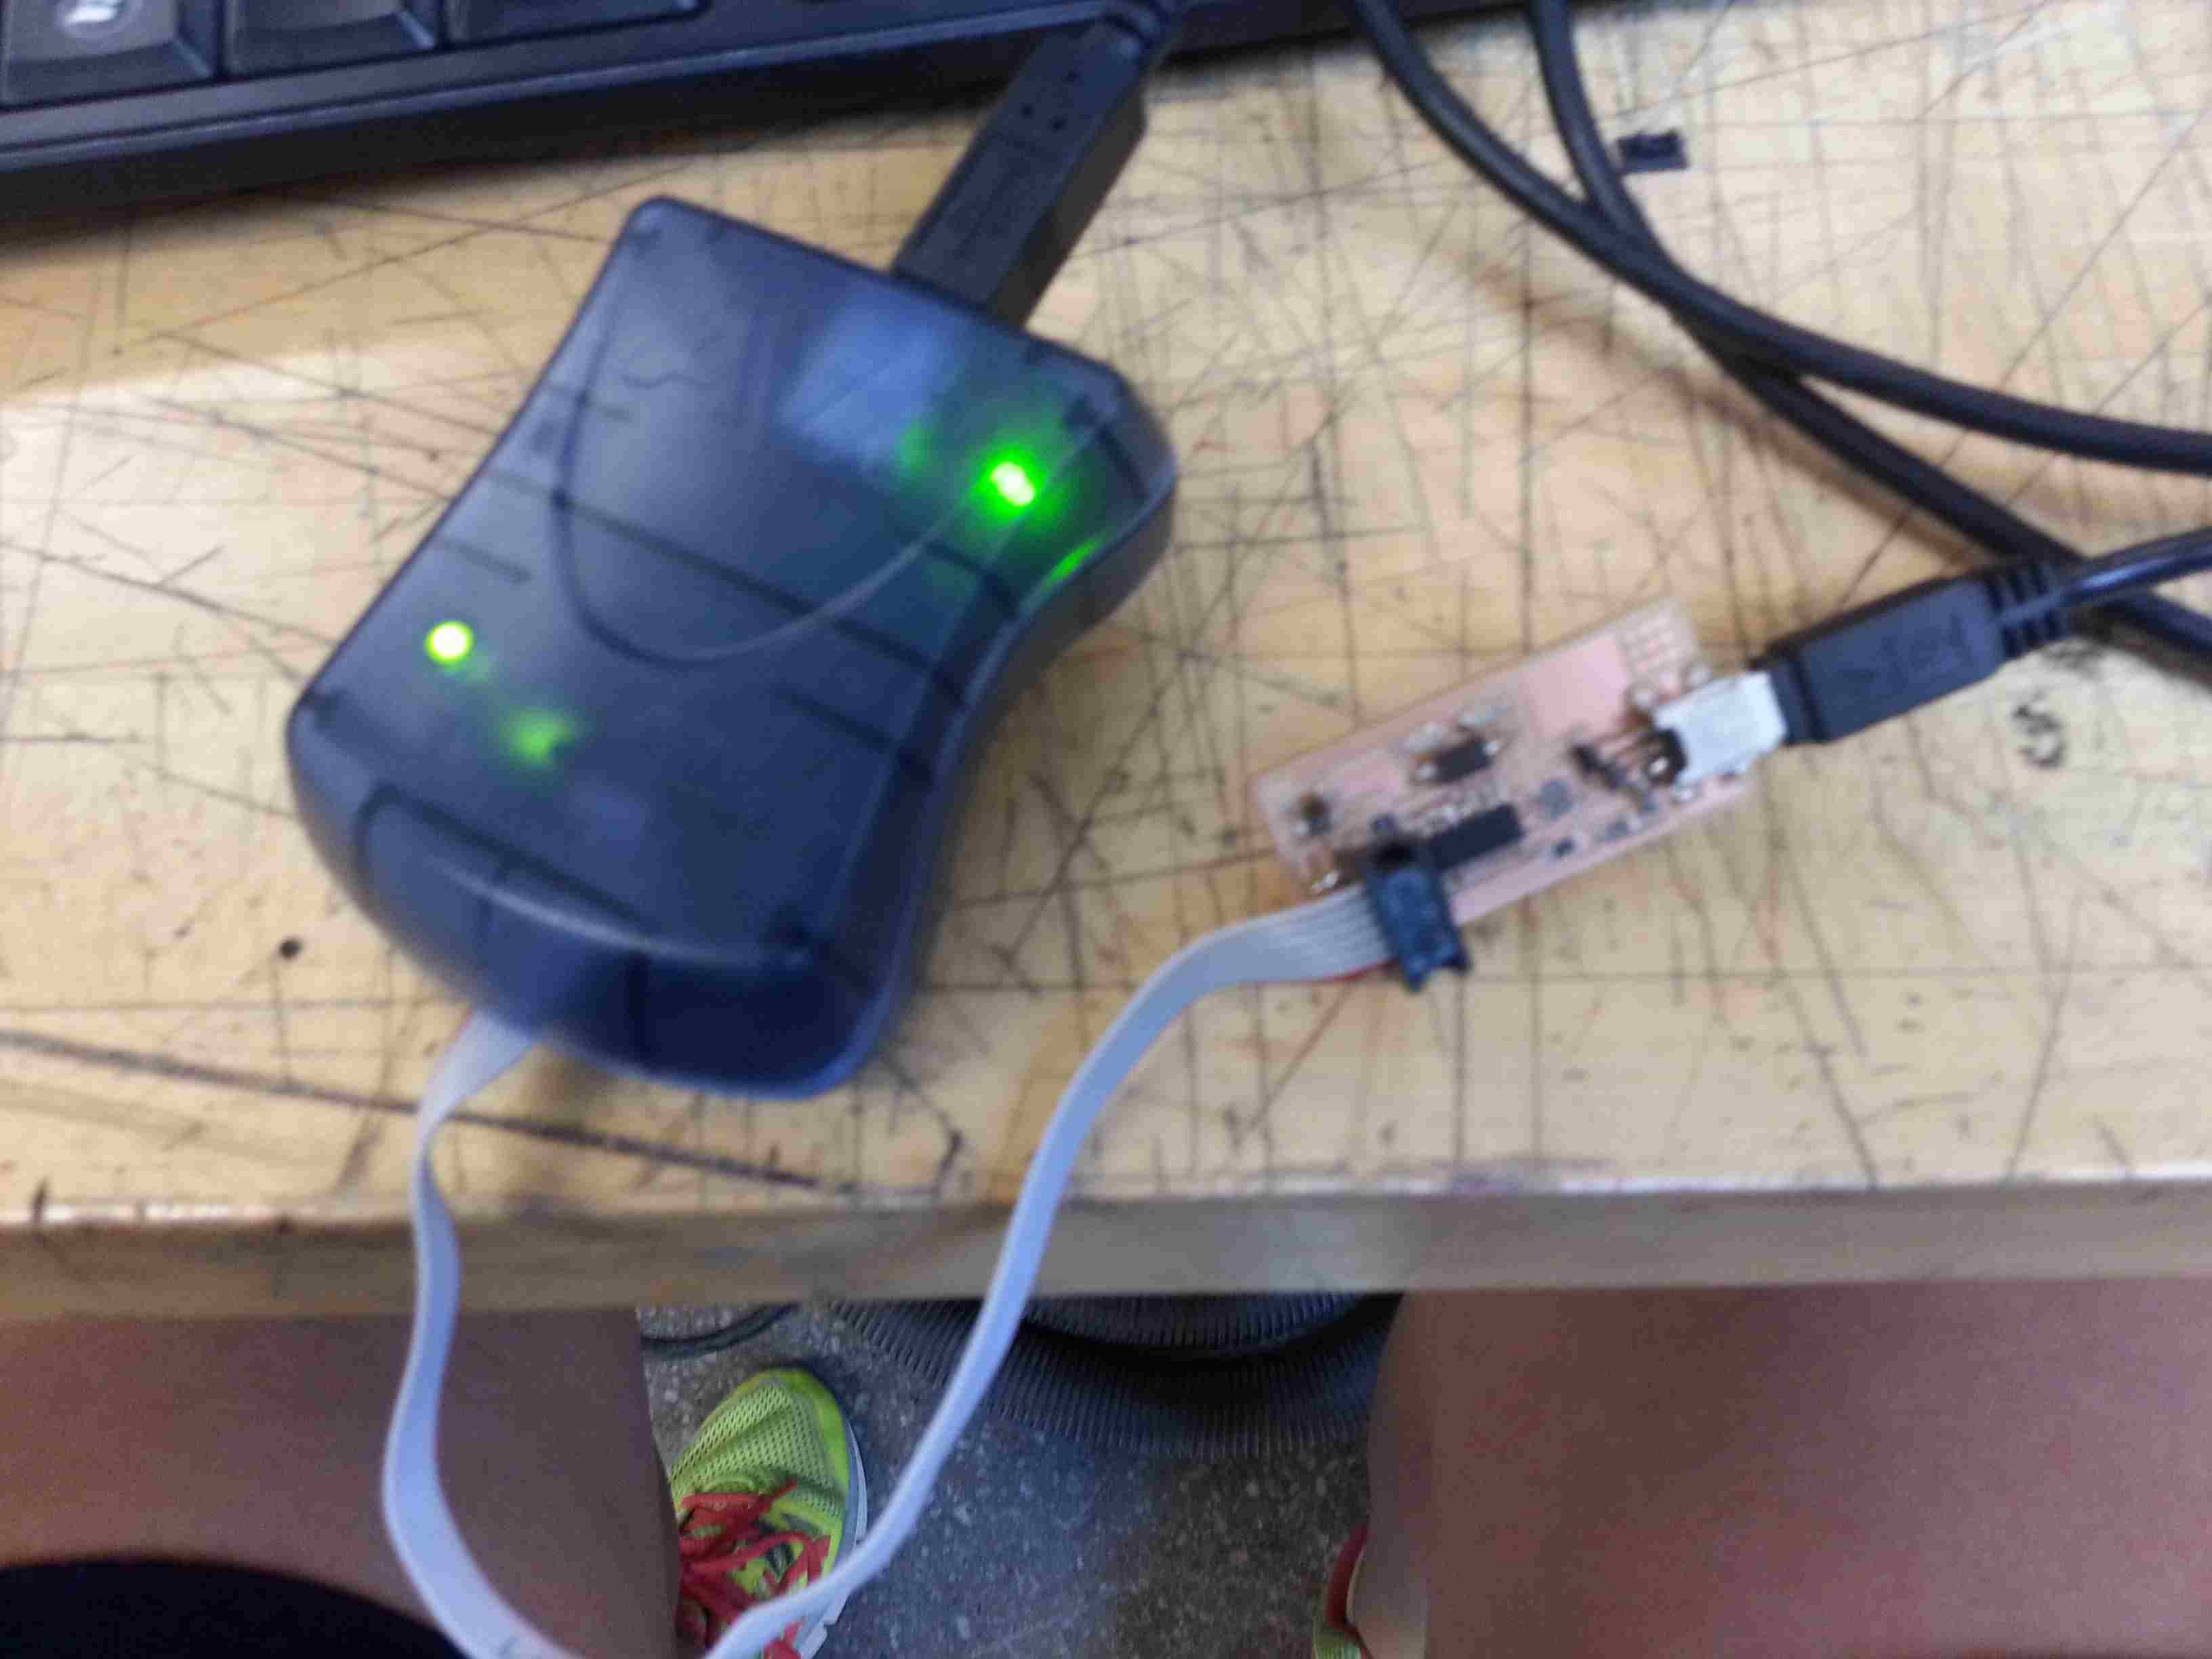
Step Three - Was soldering successful?
Attach the board to your computer (that has the fab software downloaded already) using a mini-USB and the programmer connected to the 2x3 port.
If it's a green light, all is good! If it's a red light, power is not getting to the board. If it's yellow, then some connection is porbably off.
At first, I had a red light. I re-soldered the USB port and got a green light. However, between unplugging the coard and replugging it in,
some connection came loose and I got a yellow light again. I use the volt meter to try to find where the problem was. One of the USB ports had
disconnected. I re-soldered it and got a bridge. I went through several iterations of bridge to no connection to bridge, until a green light returned.
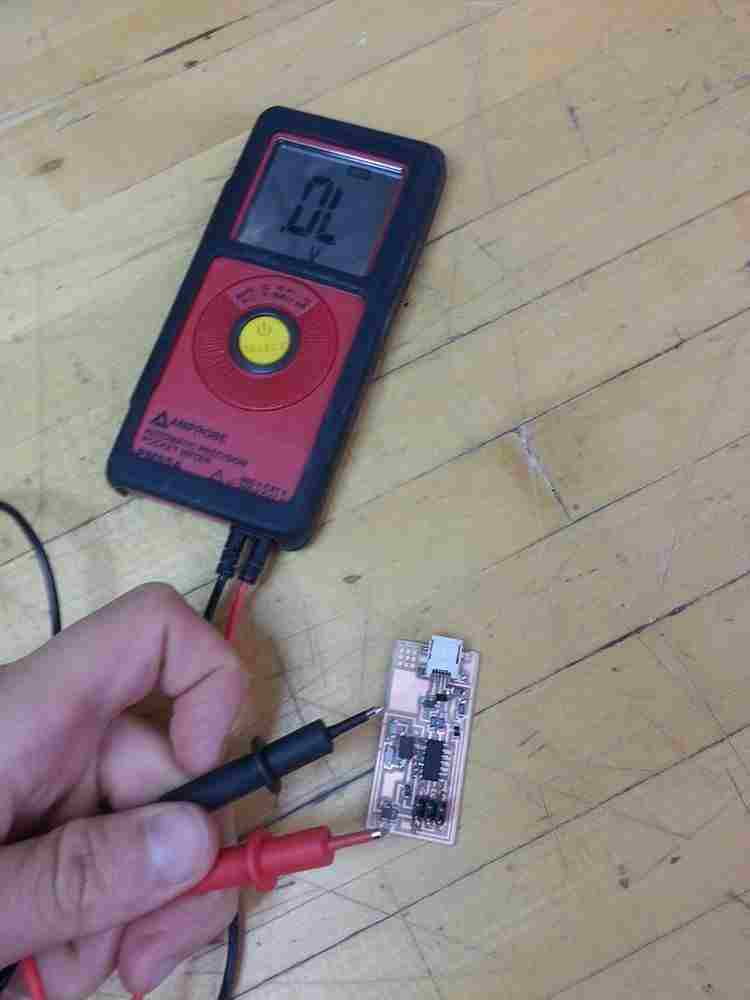
Everything is working!
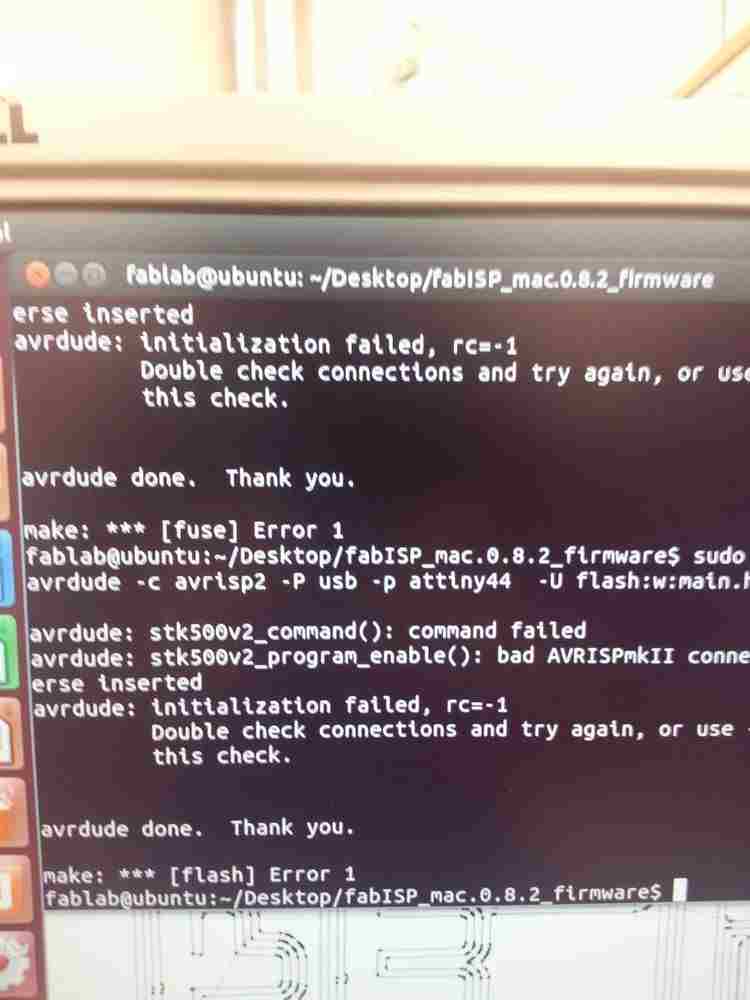
Step Four - Program Your Board
I found it easiest to use the computer in the shop because most of necessary files had already been downloaded. There are essentially just
two lines needed to program the board in this case. Using the tutorial from class online is the easiest.