Assignment 5: Modify the Hello World Board
Designing the Board
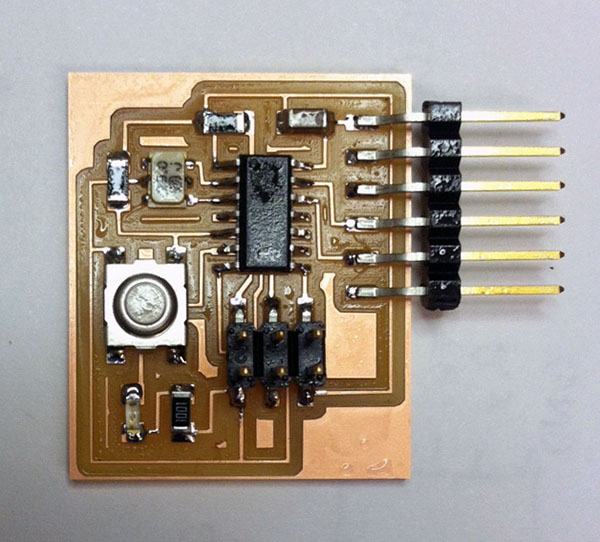
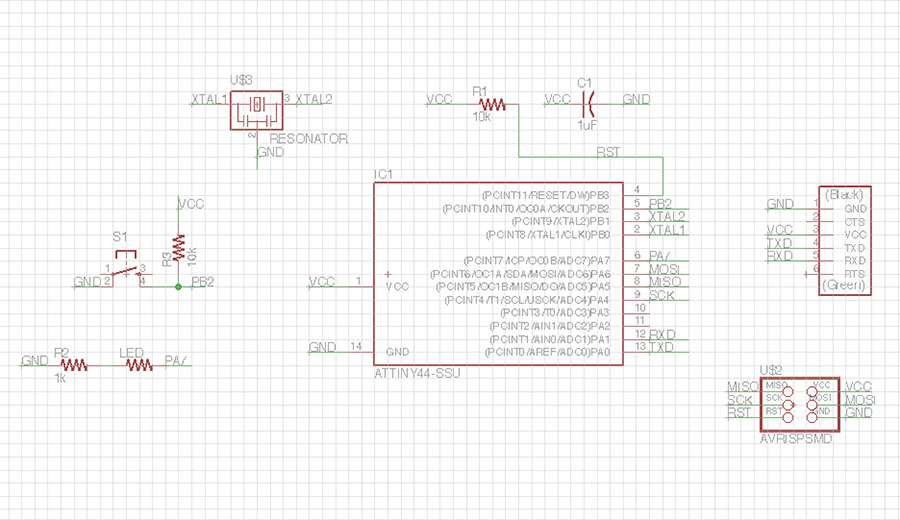
This week, we designed electronics boards by modifying the Echo Hello-world board template provided to us by the class. I designed mine in Eagle, and added a button and an LED. I'm still in the process of understanding how the electronics work, so I found that I had to rely pretty heavily on the advice of the TA's to get everything hooked up. There was no LED in the library when I created the schematic, so I used a 1206 resistor since it has the same footprint.
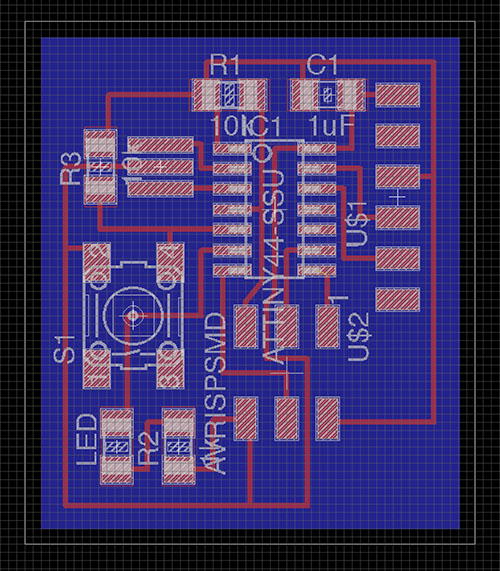
Once the schematic was done, laying out the board was a bit more like solving a fun puzzle! It made me understand why you'd want to have a double sided or multilayered board - trying to keep wires from crossing is difficult! Unfortunately, one thing I didn't realize until after fabricating the board is that 45 degree traces are preferable for signal integrity and reliability. So next time I make a board, I'll be following those design guidelines (and also try to make something that looks more appealing!).
Fabricating the Board
Fabricating the board took a bit longer than expected, since the West section was experiencing a number of different problems with the Modela. When I came in to the lab, some of the TA's had just finished trying to fix it. I ran the machine following the instructions they gave us. They've since changed some things with the way the computer sends instructions to the machine since I made my board, so I don't know if these instructions are still relevant, but what I did was:
- Open "StartModuleServer" on the Desktop.
- In the fab modules, under input format, click "Load Settings", and load the file "LOAD_THESE_SETTINGS" (on the Desktop).
- Load the image. Make sure the Modela is out of view mode. Then follow the usual process.
It worked fine for the traces but when I tried to do the outline, it cut a diagonal line right across my board.
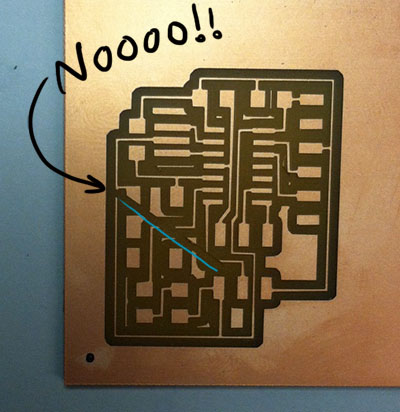
So I restarted the machine and went back to do my traces again, and although I thought I'd followed all the steps right I got another weird set of diagonal lines. I restarted the machine and tried again, this time cutting air to make sure the path looked right. It worked fine the second time around, so I must have done something out of order before.
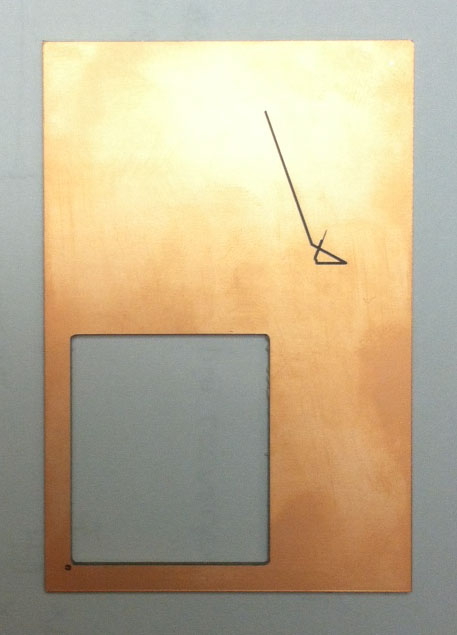
This time, when I went to cut the outline, under "Send command" I changed "dsrdtr" to "rtscts". I cut air to make sure it worked, and then cut the board just fine.
Soldering the Parts
Soldering the parts was fortunately very straightforward, and didn't take much time at all. The only difficult bits were soldering on the resonator, which took a few tries, and making sure the button was oriented correctly.