Assignment 6: Molding & Casting
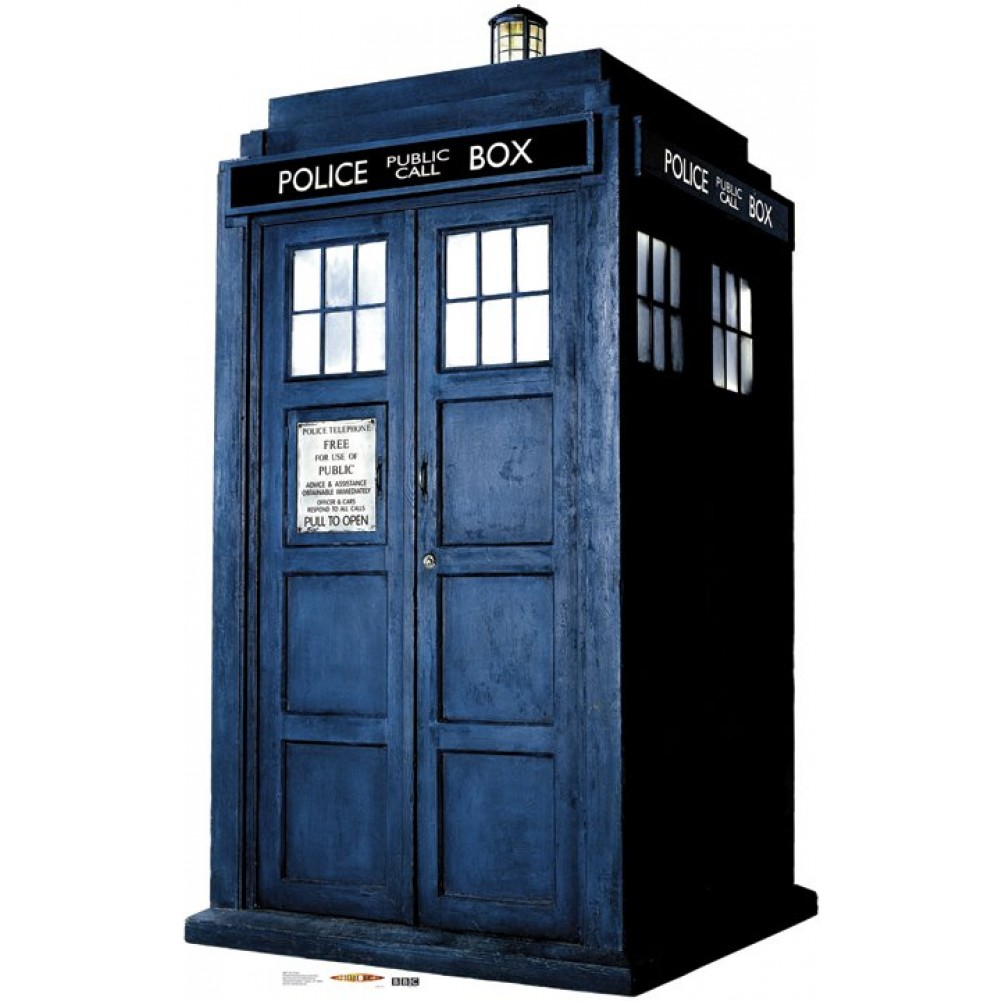
For this assignment, I wanted to make a chocolate mold. I'm a GRT in MacGregor, so I decided I'd surprise my residents with some custom made chocolates. I emailed them and asked for "symbols or objects" they thought represented the entry (without telling them why). The one that got the most votes was a musical note, followed by the TARDIS from Doctor Who. I decided to make the TARDIS since I thought it would be more interesting.
Designing & Machining the Positive Wax Mold
I designed the mold in SolidWorks, and then used the Fab Modules to convert my .stl to a .png file. I milled a piece of machinable wax on the Modela, because the rumor was that the ShopBot had a bit less precision (and also it was in use more often). One thing that was tricky was the very small text. It required a 1/64 or 1/32 end mill, but after playing around with the tool paths, I realized it would take a very long time if I used only those tools (I unfortunately don't remember the exact time estimates but it was estimating several hours); also, the smaller tools aren't long enough to reach the full depth of the cuts. Instead, I used a 3 step approach:
- Mill out a pocket with a 1/8" end mill.
- Mill out the TARDIS a 1/16" end mill. It won't get the details of the text.
- Mill out just the small features (the text, the small windows because I wanted them to have sharper corners) with the 1/64" end mill.


|

|
In the end, I'm not actually sure this approach took any less time. It took about 4 hours to machine the whole thing (the machining time alone was 30 minutes for the rough cut pocket, 60 minutes for the rough+final with the 1/16", 30-40 minutes with the 1/64"). There was a lot of time not actually machining, because it took time to set up each new process, change the tool, modify the files, etc. Also, this approach was a lot more prone to error. For instance, I didn't exactly center the part in the pocket, and so the final mold isn't as nice looking as it could be (fortunately it's the parts that aren't actually making anything that don't look as nice). Another mistake was not realizing how much deeper the 1/64" pass would go, so certain features are deeper than others, which makes the part assymetrical.
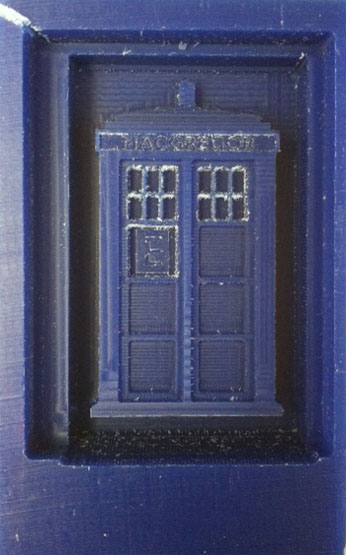
Anyway, when it was all finished, I was pretty amazed by the level of detail it was able to capture (the whole thing is about 3" tall). There was some bits of wax shavings, most of which I got off by a combination of washing the wax, picking at it with a Q-tip, and using the side of a really tiny flat-end screw driver to "shave" some edges. However, I wasn't able to get all of it off, and I was really worried that the rubber mold would pick up those details.
|
|
Casting the Rubber Mold
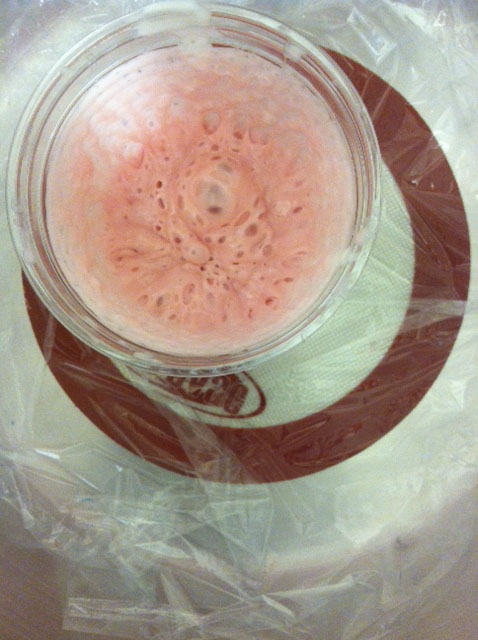
I used the Smooth-Sil 940 since I needed to make a mold that would be food safe, and our awesome TA/Shop manager, Charles, provided us with it. Woo! The Smooth Sil 940 required a 1/10 ratio by weight. Fortunately, the shop had several really tiny scales that were able to measure those small quantities (don't forget to tare the scale at 0 with the cup on it, it'll make your life a bit easier).
The Smooth Sil 940 is really, really viscous. Part A is super goopy, and Part B is very liquidy, so I decided to pour Part B into Part A rather than using a third separate cup, because I was worried I'd lose so much of Part A from it sticking to the inside of the cup. I decided when stirring it to not worry about air bubbles and just stir it as well as I can because it was so thick and difficult to stir. The pot life is 30 minutes, which is a fairly good amount of time (the whole process from when I first started pouring Part B into Part A, to having it in the mold and degassed took 20-25 minutes), but I didn't want to push it.
After mixing it, I put it in the vacuum degasser and held a vaccum for 3 minutes at 29mm Hg. Be careful here, because the stuff expands to around 3 times its volume. I put a piece of seran wrap on the bottom so if it spilled over, there wouldn't be a mess. I ran two cycles like this, thinking that it collapsing might pop some existing bubbles and bring some more out; I'm not really sure if it made any difference.
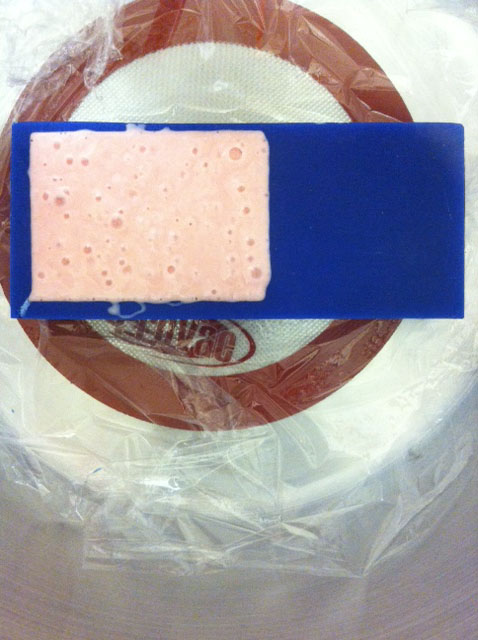
After that, I poured it into the mold. This Smooth Sil is goopy enough that even if you try to pour out a thin stream, you actually wind up pouring out more of a thin ribbon that folds on itself. This is fine, but I think it was trapping more air in when it folded on itself. I also wasn't sure if it was so viscous it wouldn't go into the really small areas. Because of the air bubbles, I put it into the vacuum degasser again. By this point it was thick enough that some of bubbles got pulled to the top, but didn't pop. That's fine though, as long as they're out of the way of the actual molding surface.
|
|
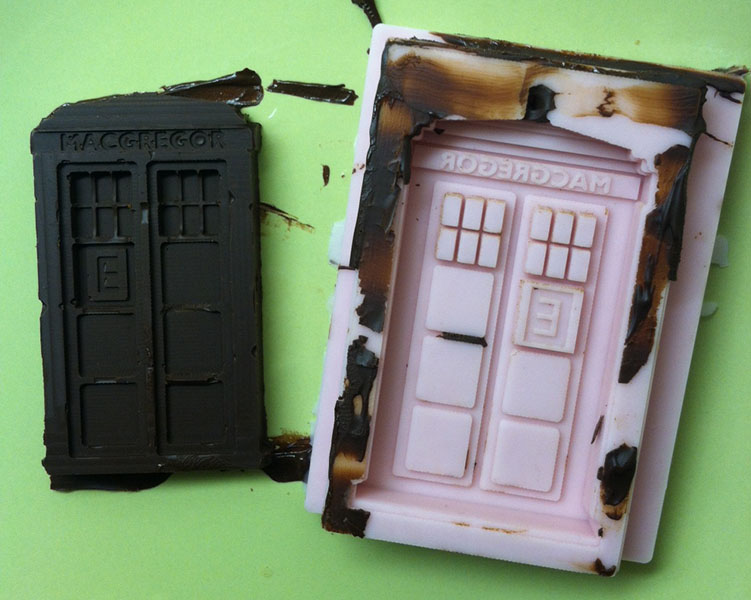
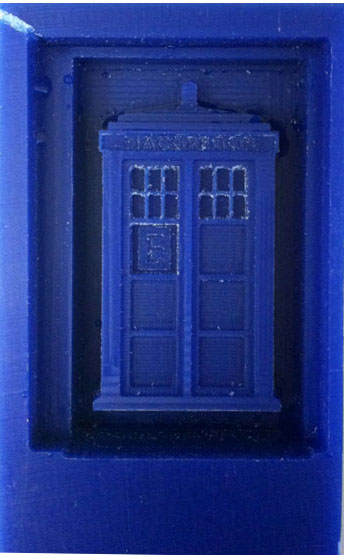
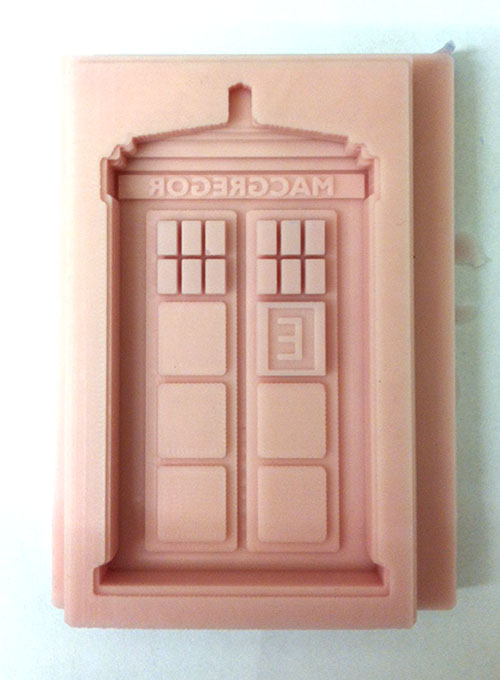
The Smooth-Sil 940 requires 24 hours curing at room temperature, and then baking at a higher temperature (the website says one thing, and the written instructions say another, but I'll get back to that). Getting the rubber mold out of the wax block was really quite difficult. Fortunately I had the help of Keiichi in trying to get it out. It took the two of us, 4 popsicle sticks, and a scraper to pry it out. But when it came out, I was honestly shocked at the fidelity of it. The little shavings I'd been worried about somehow disappeared, and the text picked up with an incredible level of detail. There is a tiny, tiny bubble by one of the windows.
I put my part in the oven with Ander's at the temperature of 200F (I wasn't able to stay, but Anders was in and out to monitor the oven). The website says it should be cured at around 100C for 4 hours. The instructions that came with the box suggested heating it at 80C for 2 hours, and 100C for 1 hour (I think - I don't remember for certain). Anders heated ours at 200F for 2 hours and then raised the temperature to 225F. However, when he went to pick up the part, someone had turned off the oven. The parts were still warm, but we don't know exactly how long it had to cure. Since I don't know much about making things food safe, tonight I plan to put it back in the oven another hour to let it cure a bit more. However, I did do a single test cast of (possibly not food-safe) chocolate in it!
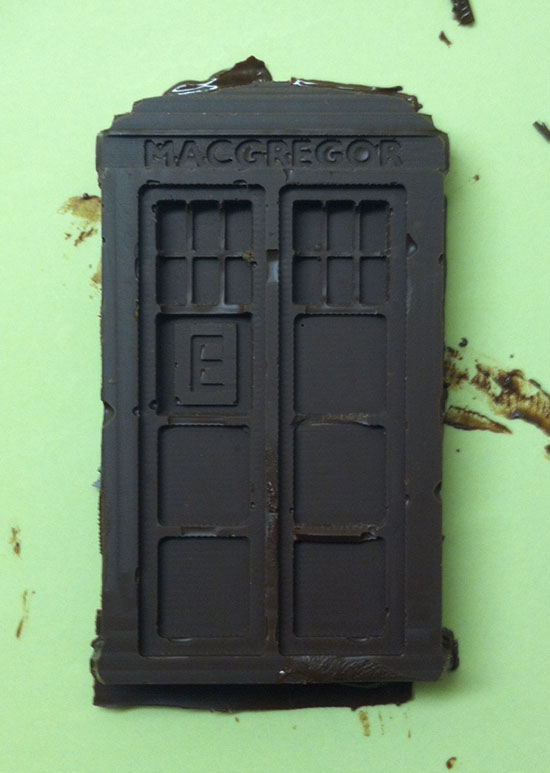
Here's the result! As you can see, the light at the top broke off - that's something that I should have thought about before making it such a small feature. The chocolate was also still a bit soft when I took it out, so I'm going to see if more hardening, and also pulling it out with the light first helps at all. And hopefully tonight I'll be making chocolates for E-Entry!