Kate Mytty

How to Make (Almost) Anything

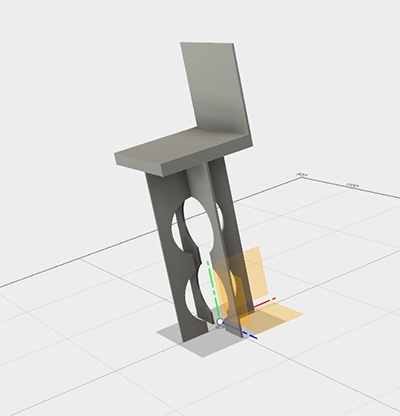
Project 5: A Stool to Sit on

Background: I was inspired by the smart work of the crew that made the Alien Flatpack Stool and I set out to build a super simple, sleek stool that my boyfriend could use in lieu of his super awkward and uncomfortable stool at art school.

I learned a lot in the process. First, that I needed to be a more experienced designer to achieve the same ratios of Alien Flatpack Stool. I really like their minimal use of materials - and while I played around with minimizing the use of materials, my ability to manipulate the software still has me using mostly 90 degree angles. Second, making a piece that is ergonomic takes a few trial runs - and is something I will aim to do in the future. Third, Autodesk Fusion failed to export my dxf file for me - which meant that at the last minute, Jose (a super helpful classmate) had to help me redesign my piece in a much simplier form in Solidworks. All in all though, my second attempt to make furniture was a nice expansion from the first (see week 2).

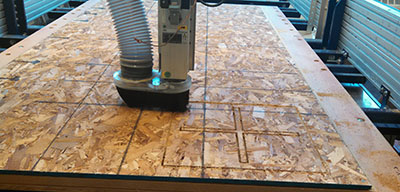
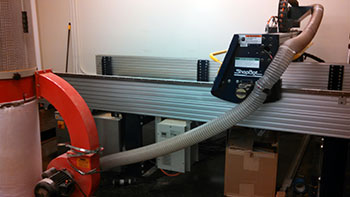
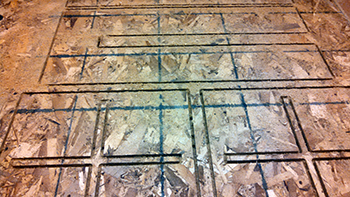
Software used: I used the newly launched AutoDesk Fusion. It's a cloud software - which means I didn't have any of my files store natively. This was nice in some ways - though super frustrating when I went to use the Shopbot and couldn't export the dxf file.

  • Project 5: A Stool to Sit On
  • What: A first attempt at making a stool for an graduate art school student

Project 04a
This was the original design. While you can't see it in the design, I layered every
piece twice knowing that the material we'd use was relatively thin to support such a high stool (30").
Project 05b
Then came the time to use the ShopBot. This was after Jose kindly helped me
redo the design in SolidWorks. Thank you, Jose! It took me a few rounds of cuts to go the whole way through the board.
I finally fixed this by resetting the drill bit - which while it seemed tight, may have been loosening in the process.
Project 05c
This is the amazing Shopbot. I now have a greater appreciation for it,
especially after remembering 7th grade shop class where all of this was done by hand.
Project 05d
Here's a glimpse at what the piece looked like as it was being printed.
Project 05e
This is the final piece after the tabs were removed and the it was put together. It was relatively sturdy.
Next round, I'd tweak the legs to have either another center support so as to
be more sturdy or not have the intersection design. I'd also add a foot, back and arm rest - and have a bit more fun with the design with a better material.

2014 Kate Mytty. This is under Creative Commons. Please do let me know if you use something.

Powered by Type & Grids