Step 1: Make a Mold.
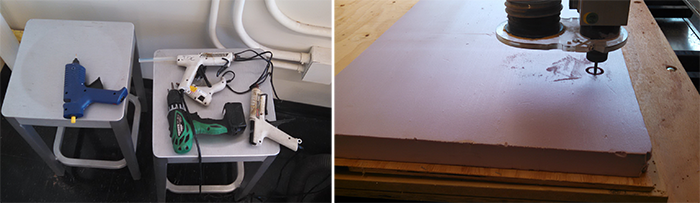
The first step was to make a mold. I decided I’d make a mold that I left
within my composite. I made it out of foam and used the shopbot —
the shopbot by now has become an old friend. Jose and I
were working together and found five glue guns for placing the
foam on the shopbot. First, we installed a piece of scrap
wood and then added the foam with the hot glue.
Step 2. Prepare to make resins and then make resins.
Then it was time for making resins. Photographing the process would have been difficult
given the amount of resin on my gloves. The process entailed:
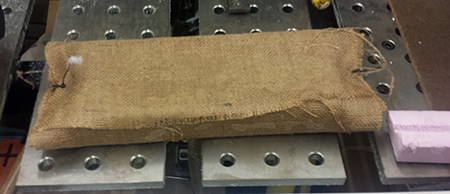
1. Cutting the burlap to fit the object. This turned out to be more important than
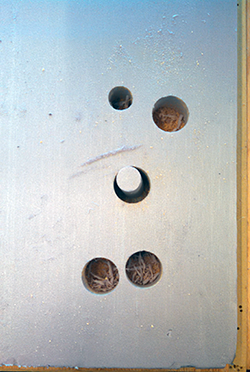
I originally expected. The first time, I cut holes in the burlap to match the holes in the block.
When I went to add the the burlap to the foam block, I found it was impossible
to hold the burlap to the foam block - much less make the holes stay in the right spot.
In other words, resin does not act like a glue - so find a way to make
the fabric stay in place before you add it. This perhaps could have been fixed
by adding more resin and or by texturizing the foam to make it catch the burlap more.
I ended up taking a long piece of burlap and wrapping it around
the piece and then on the ends, using zip ties to hold the ends together.
2. Making the vacuum bag. It’s pretty self-explanatory. Cut out plastic,
use the mastic tape to hold the plastic bag together. Leave the
sealed portion open until you’re ready to put your piece in. There will be holes in
this - no matter how hard you try not to let holes form in the seal.
3. Mix the resin and add to the piece. Again, pretty self-explanatory.
The amount of resin needed is more than I expected. I put the resin on layer
by layer and then put everything on the block.
4. Add items to bag, attach vacuum tube and seal bag
Notes: The vacuum smoked a lot. We asked around and this was expected.
Though, Anders called later and said he walked into a room of smoke -
and the vacuum hadn’t seemed to be working. Apparently the vacuum
had been clogged inside the machine somehow. This will
undoubtedly affect the final outcome.