3D Printing and Scanning
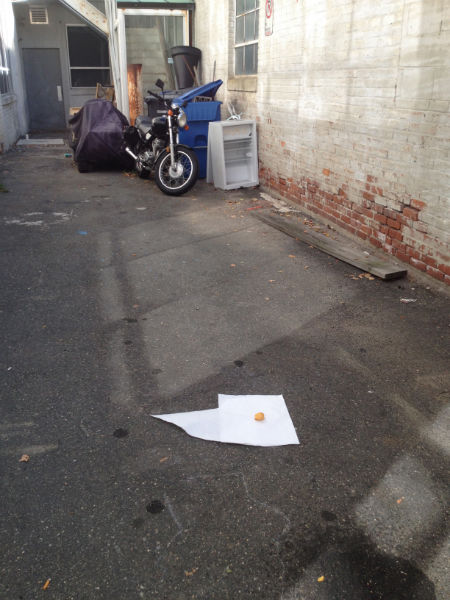
I downloaded 123D Catch onto my iPhone and attempted to use it to 3D scan a fortune cookie. I did
it in an alleyway in the shade (still plenty o sun).
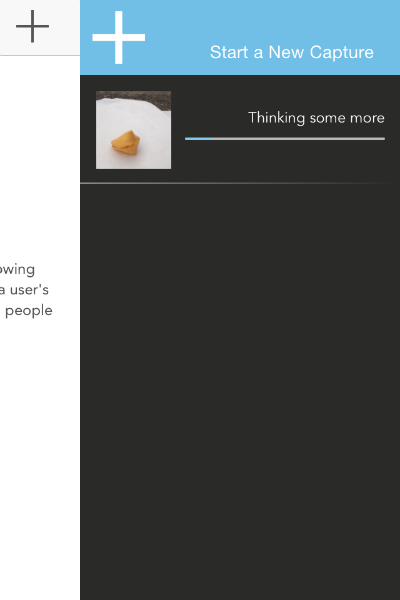
Here is the cookie on the white sheet.
 It took 123D catch about 20 min to compile the 30 or so photos into a 3D image. Bit of a slow thinker if you
ask me.
It took 123D catch about 20 min to compile the 30 or so photos into a 3D image. Bit of a slow thinker if you
ask me.
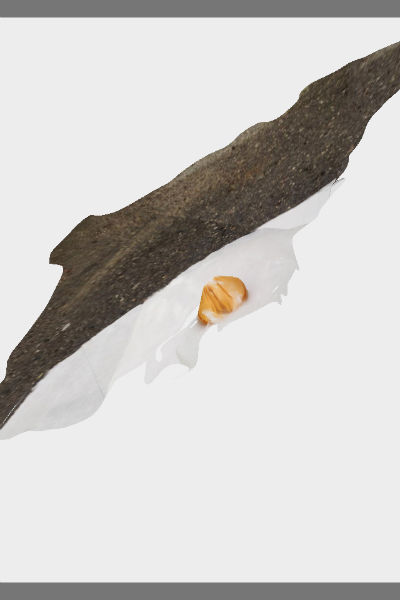 Here is the resulting 3D image. Obviously, it's kind of garbage. However, I was not the most careful or
meticulous photographer as my labmate Sean noted. Thus, I can't put the blame on the app.
Here is the resulting 3D image. Obviously, it's kind of garbage. However, I was not the most careful or
meticulous photographer as my labmate Sean noted. Thus, I can't put the blame on the app.
Onto the printing.
I used solidworks to CAD a little cup. The liquid-holding portion of the cup cuts in at
the top and thus makes it a good option for 3D printing over using a mill.
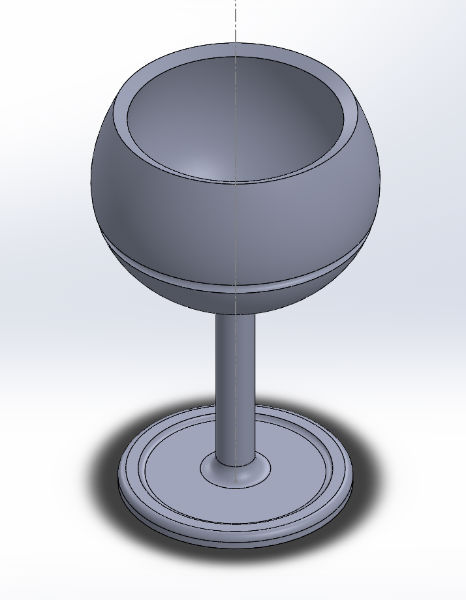 Here is the SW model of the cup. I made the liquid-holding portion's profile using a spline and then
doing a revolved base thin-feature around the centerline.
Here is the SW model of the cup. I made the liquid-holding portion's profile using a spline and then
doing a revolved base thin-feature around the centerline.
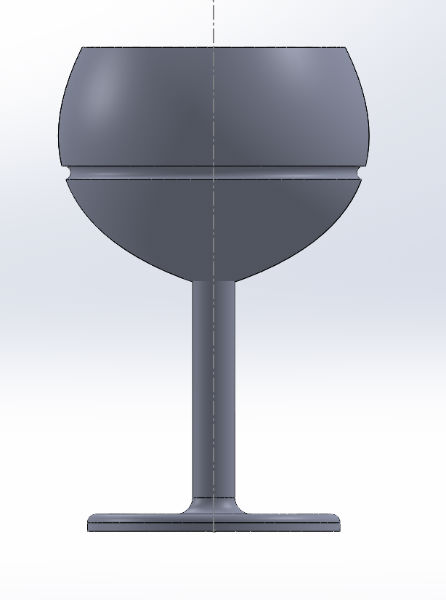 I made a little cut into the side plus a shallow
reservoir at the bottom for catching small spills. Mo elegant.
I made a little cut into the side plus a shallow
reservoir at the bottom for catching small spills. Mo elegant.
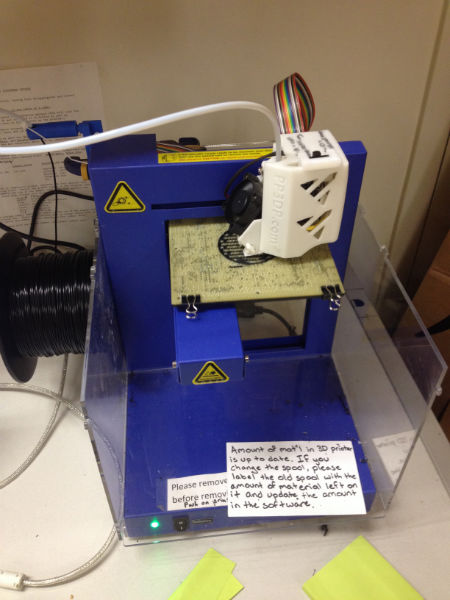
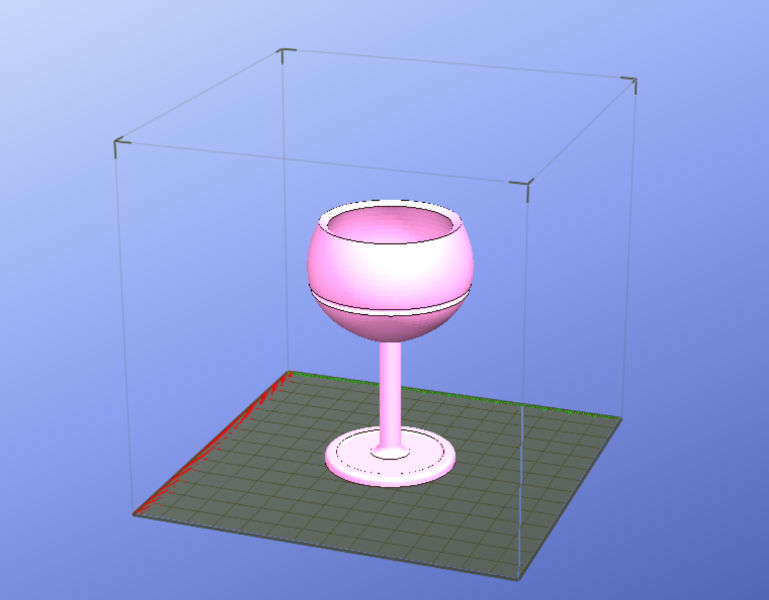 I then used my lab's Up! 3D printer to print it! Here is how it looks on the computer as you are
placing your stl file.
I then used my lab's Up! 3D printer to print it! Here is how it looks on the computer as you are
placing your stl file.
 Here it is printing the "raft" which is support material you later break off by hand.
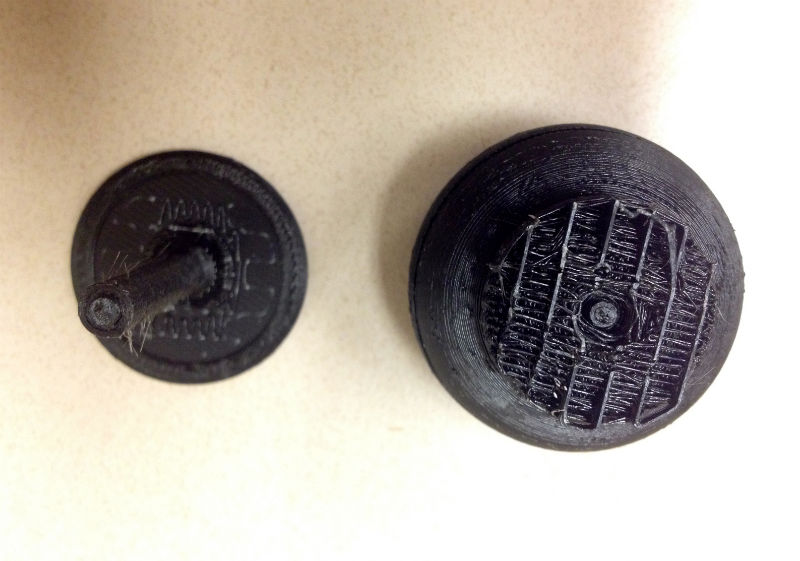
 And here it is all done, surrounded by the support material
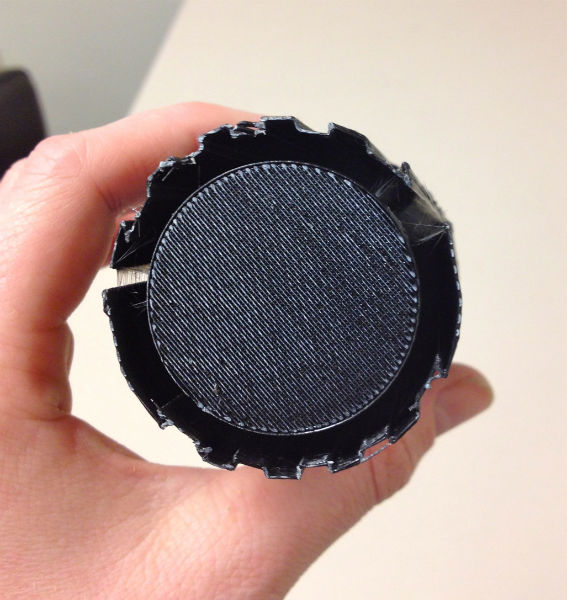 A view from the bottom after breaking off the raft to reveal the shape of the
support material
A view from the bottom after breaking off the raft to reveal the shape of the
support material
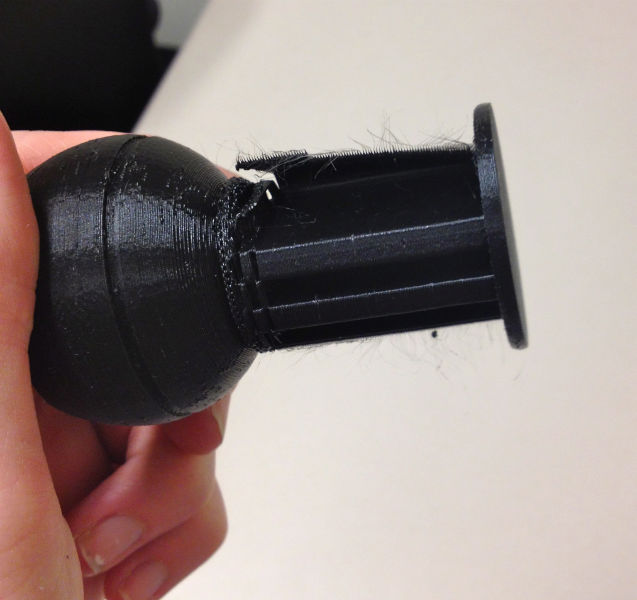 You can see there are layers of support material.
 And I broke it.
 Balancing act to show how it'd look if I hadn't had the touch of an elephant.
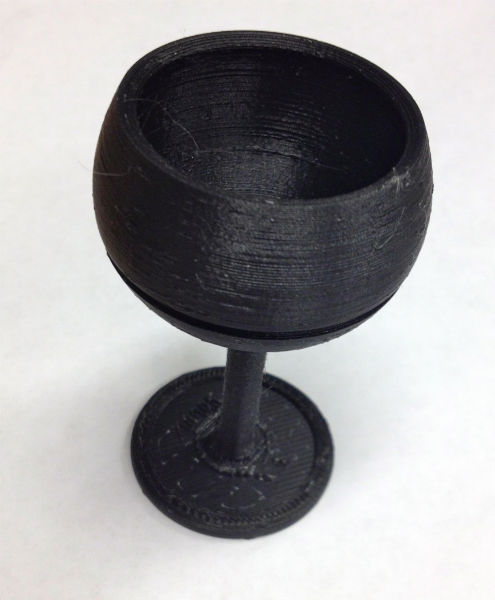
 In it's current state on my shelf. Ce la vie. Lesson learned, must be more careful breaking off support
material. Or perhaps use a printer with soluble support material when printing structures with thin
features.
Document
In it's current state on my shelf. Ce la vie. Lesson learned, must be more careful breaking off support
material. Or perhaps use a printer with soluble support material when printing structures with thin
features.
Document