Week 02 Press-fit construction kit
Laser Cutting
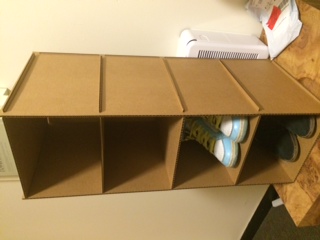
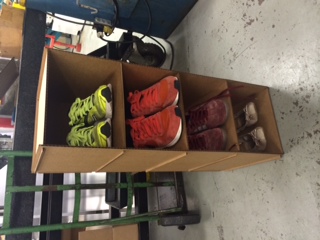
This week for the press-fit construction kit, I made a shoe rack. I have four pairs of shoes at home but they are always either under my bed or somewhere in my room. I spend about thirty mintues a week to find my missing shoe.
The peices were designed in Solidworks and then exported as a dxf file to be cut for laser cutting
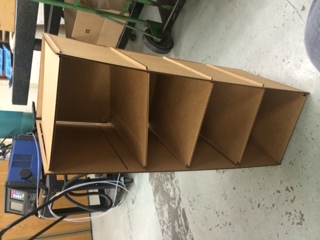
It was difficult to make the right measurement.
I had to estimate the length, width and height of each cubicle. I was fortunate enough to learn the right width of the holes from my classmates. If I hadn't known the magic number, I would have wasted many cardboards.
I thought 0.2 inch was thick enough for bottom, but since press-fitting carboards will have some weight of shoes, this thin bottom would break right away.
I made bottom a little bit thinker. Be sure to think about the full scope of the model before you print it. Think about the weight that each joint has to bear.
I didn't work on the edges. So, it was quite difficult to press-fit every part. It probably took about ten to twenty minutes to assemble all the parts. Assembling was the hardest part.
Vinyl Cutter
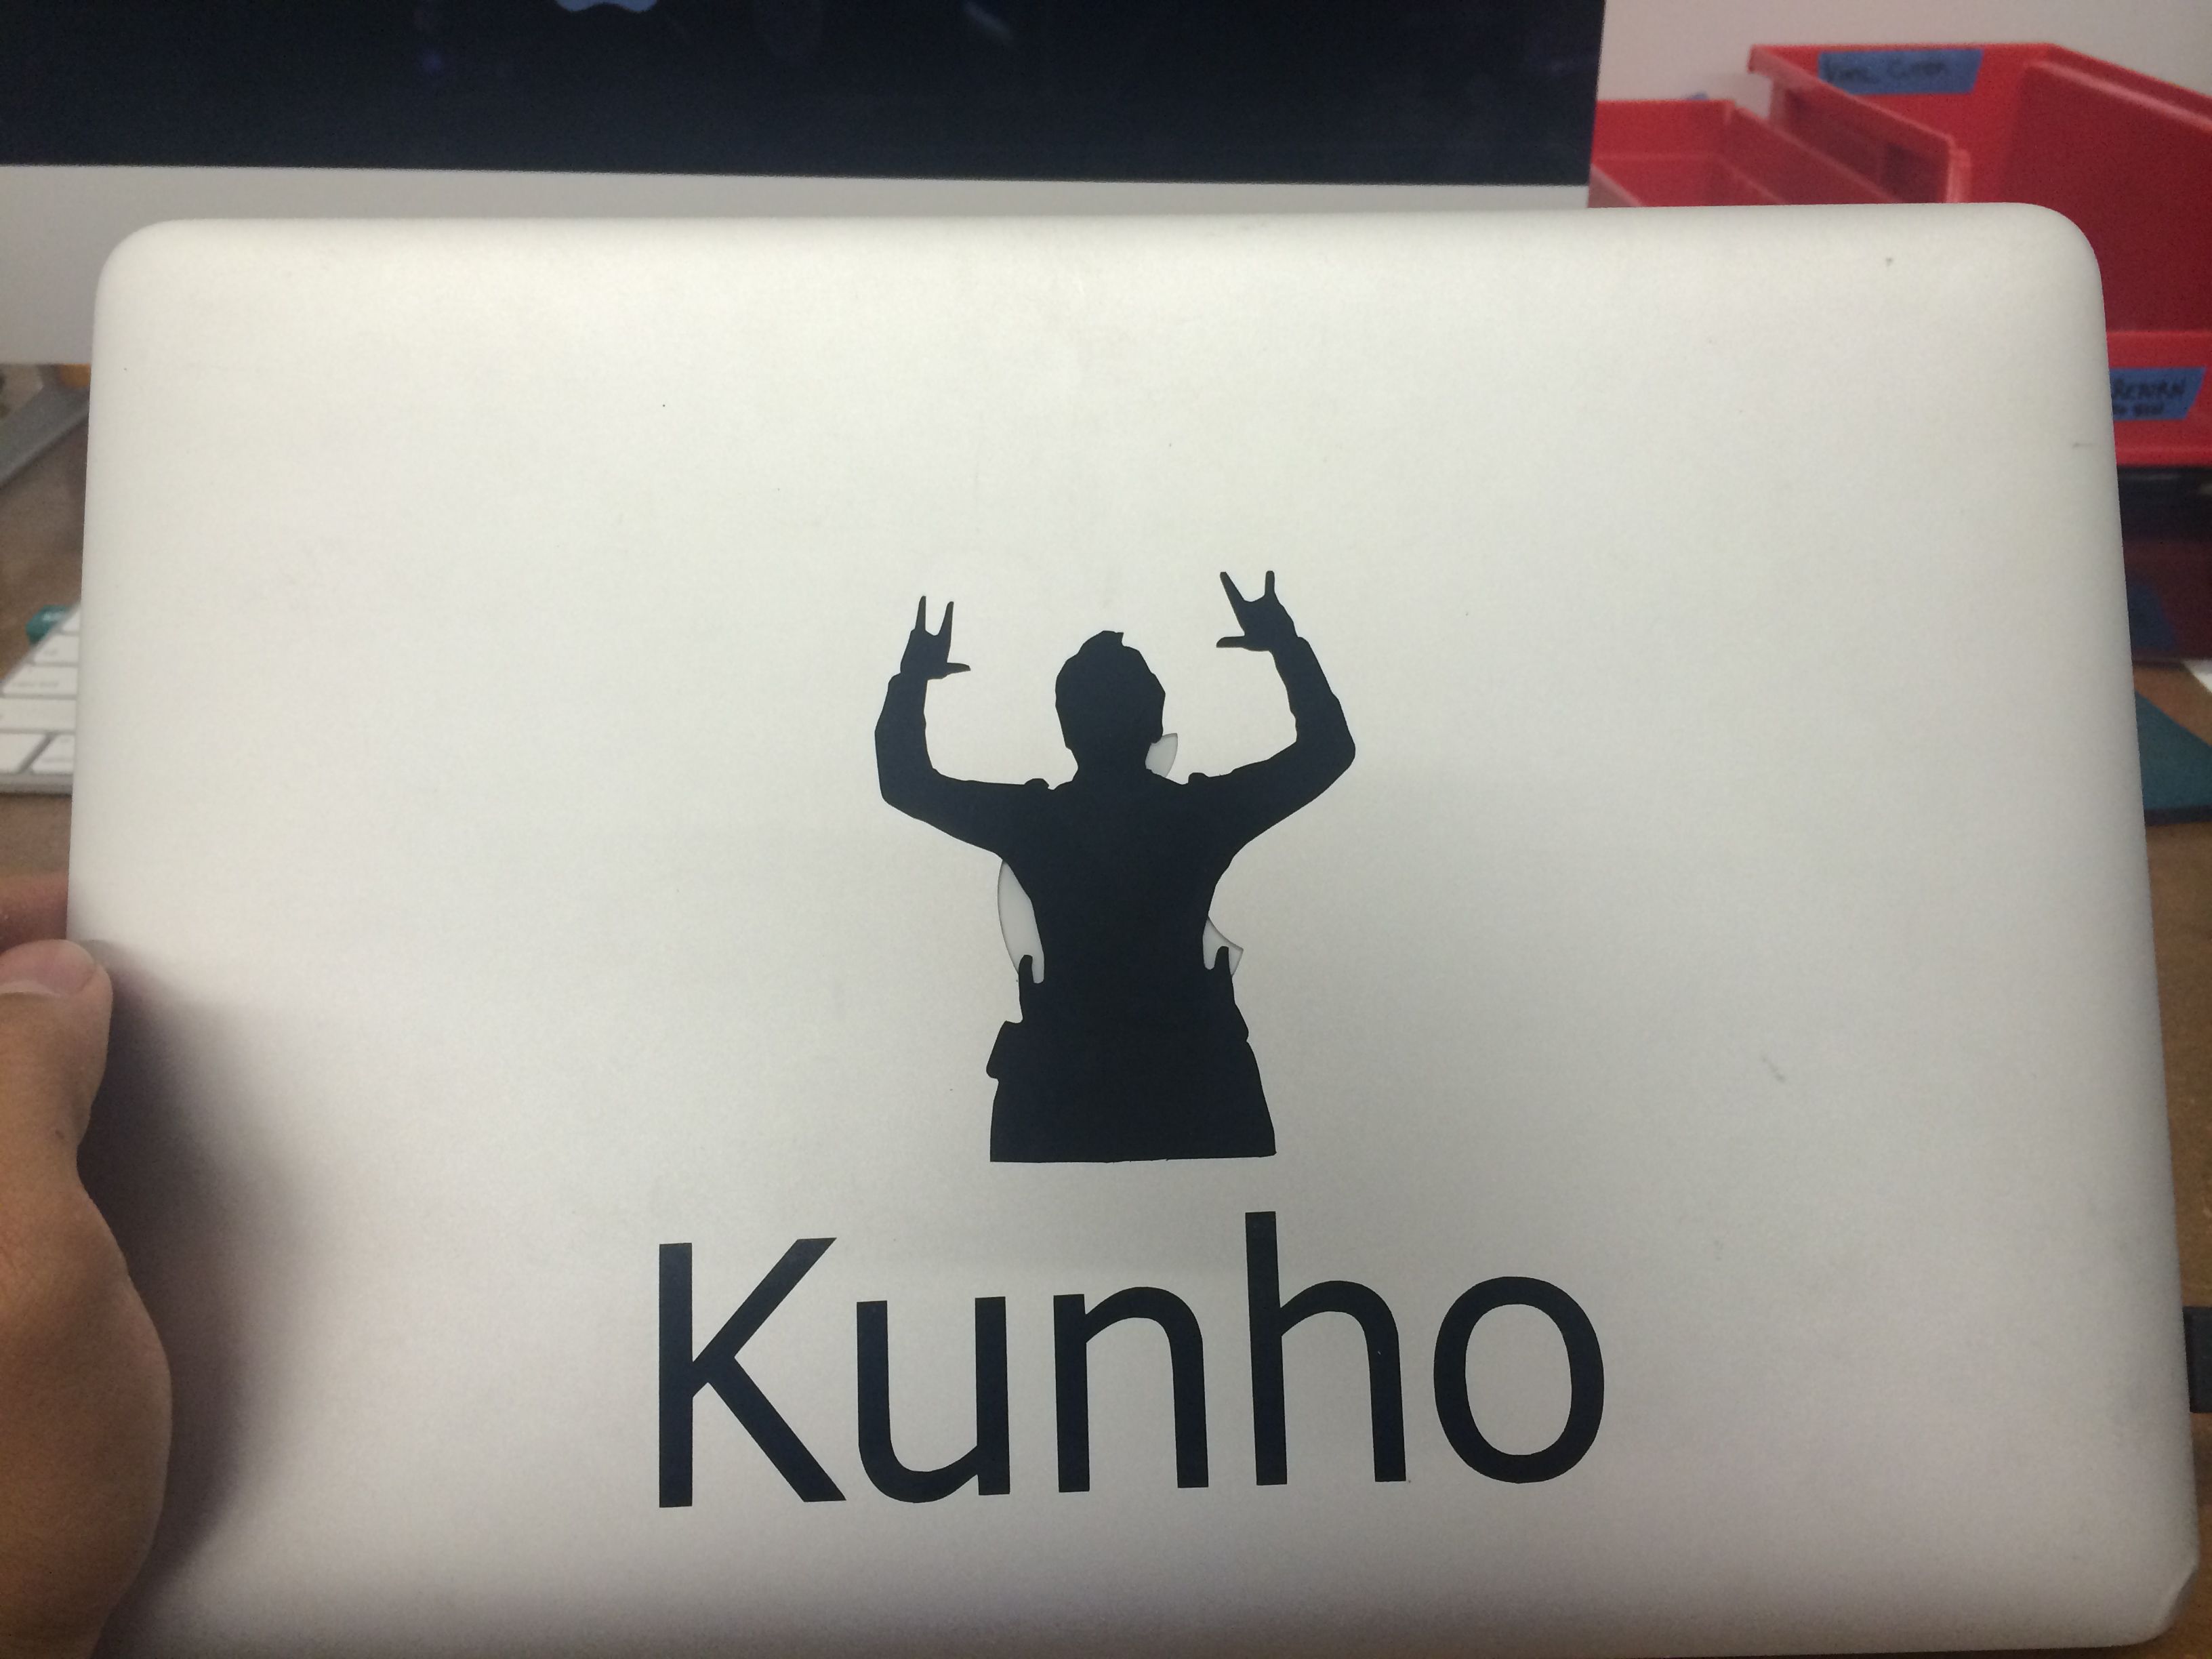

I made a decal for my computer. I used a photo I took in high school and turned them in black and white using Photoshop. I trimmed the edges a bit with Photoshop to have a better quality photo.
One difficulty I had with a computer at Harvard was the login name. Do not log in as a guest beause this will not let you connect to the cutter. Log in as ROB.