Week 4: 3D Printing

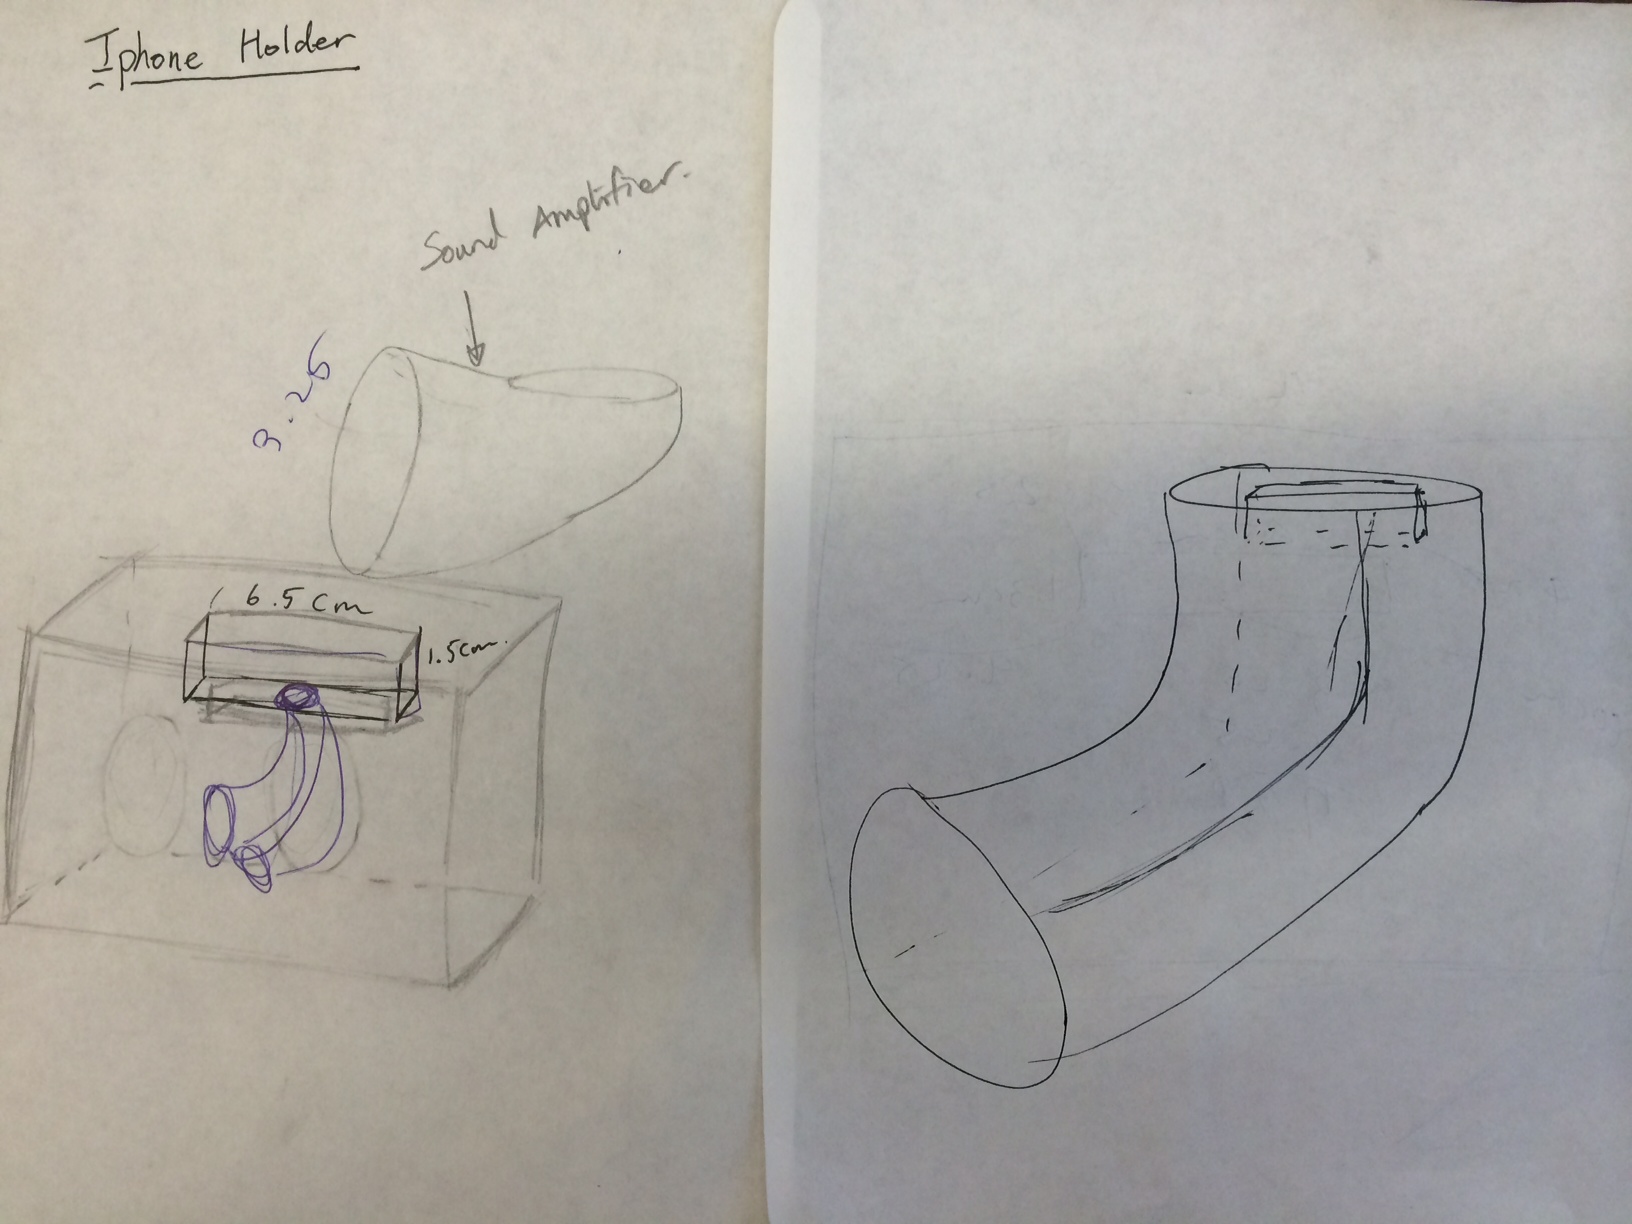
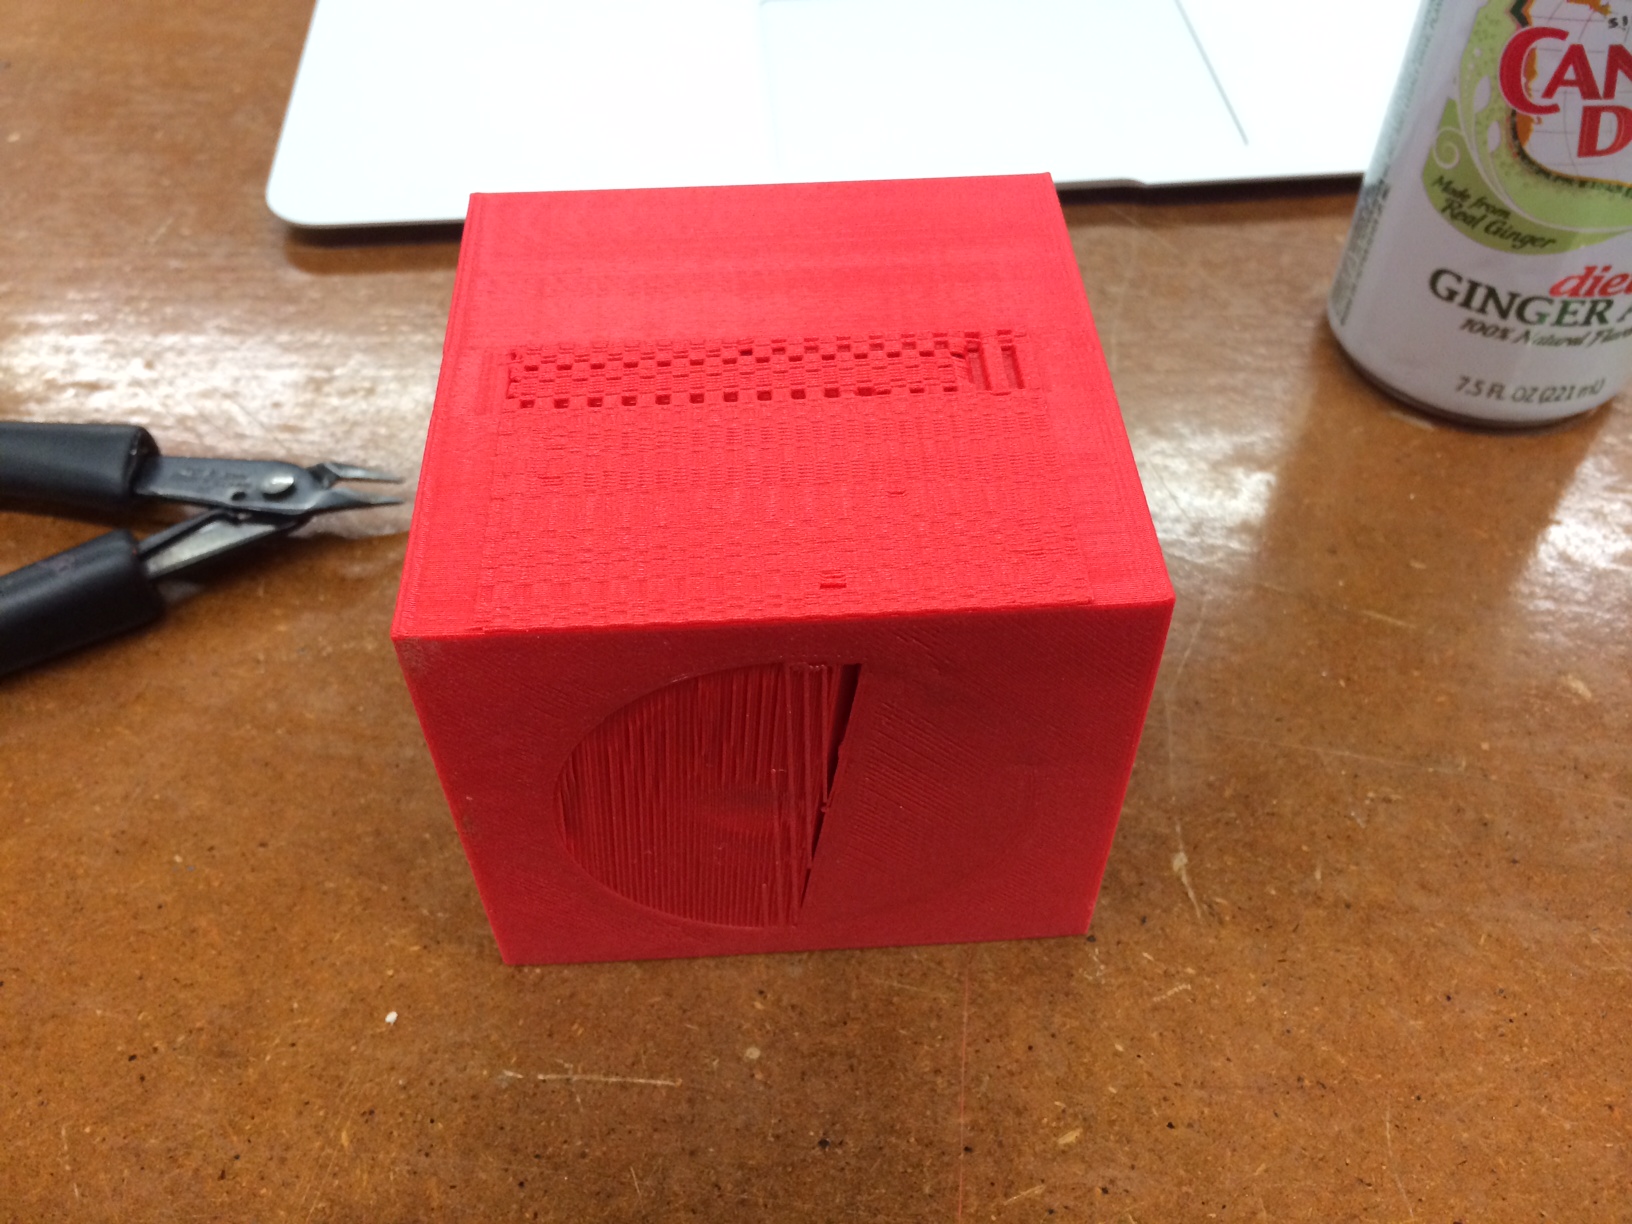
As you can see from the photo, I miserably failed many times. Without following Neil's advice, I ambitiously modeled an Iphone holder that's 10cm * 15cm * 10cm. Modeling it with Rhino was a challenging part, but with help from Nathan and Oliver, I was able to finish the design relatively quickly :)
I had a few ideas about the iphone holder, but I chose to do a box because it was simple and easy to design. I started drawing the design on Monday afternoon. I would have holes to direct the sound waves better and have a convenient phone charger while holding the phone up straight. I began printing the gigantic iphone holder, but the estimated time was 10hrs. I used makerbot 2. BE SURE to center the 3D Model. I went ahead as I started at 1:00am. At 8:00am, the wire connection had a problem.
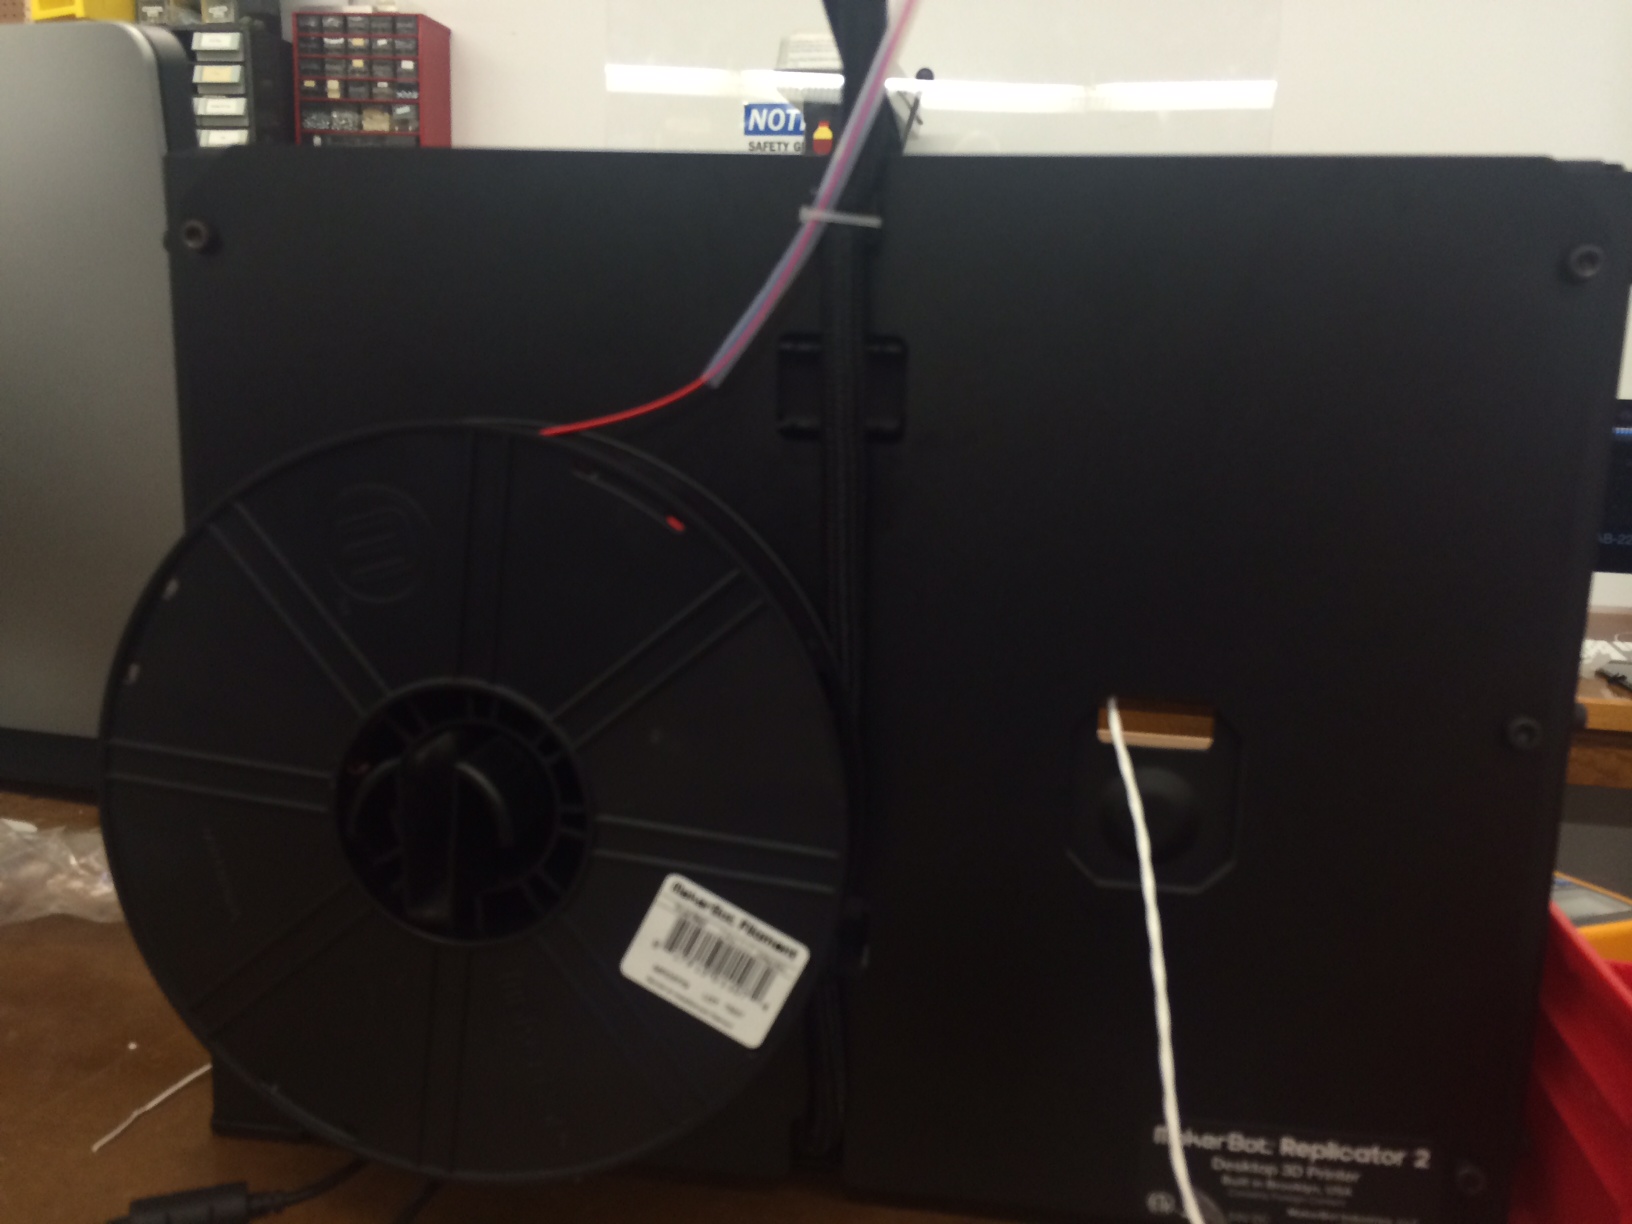
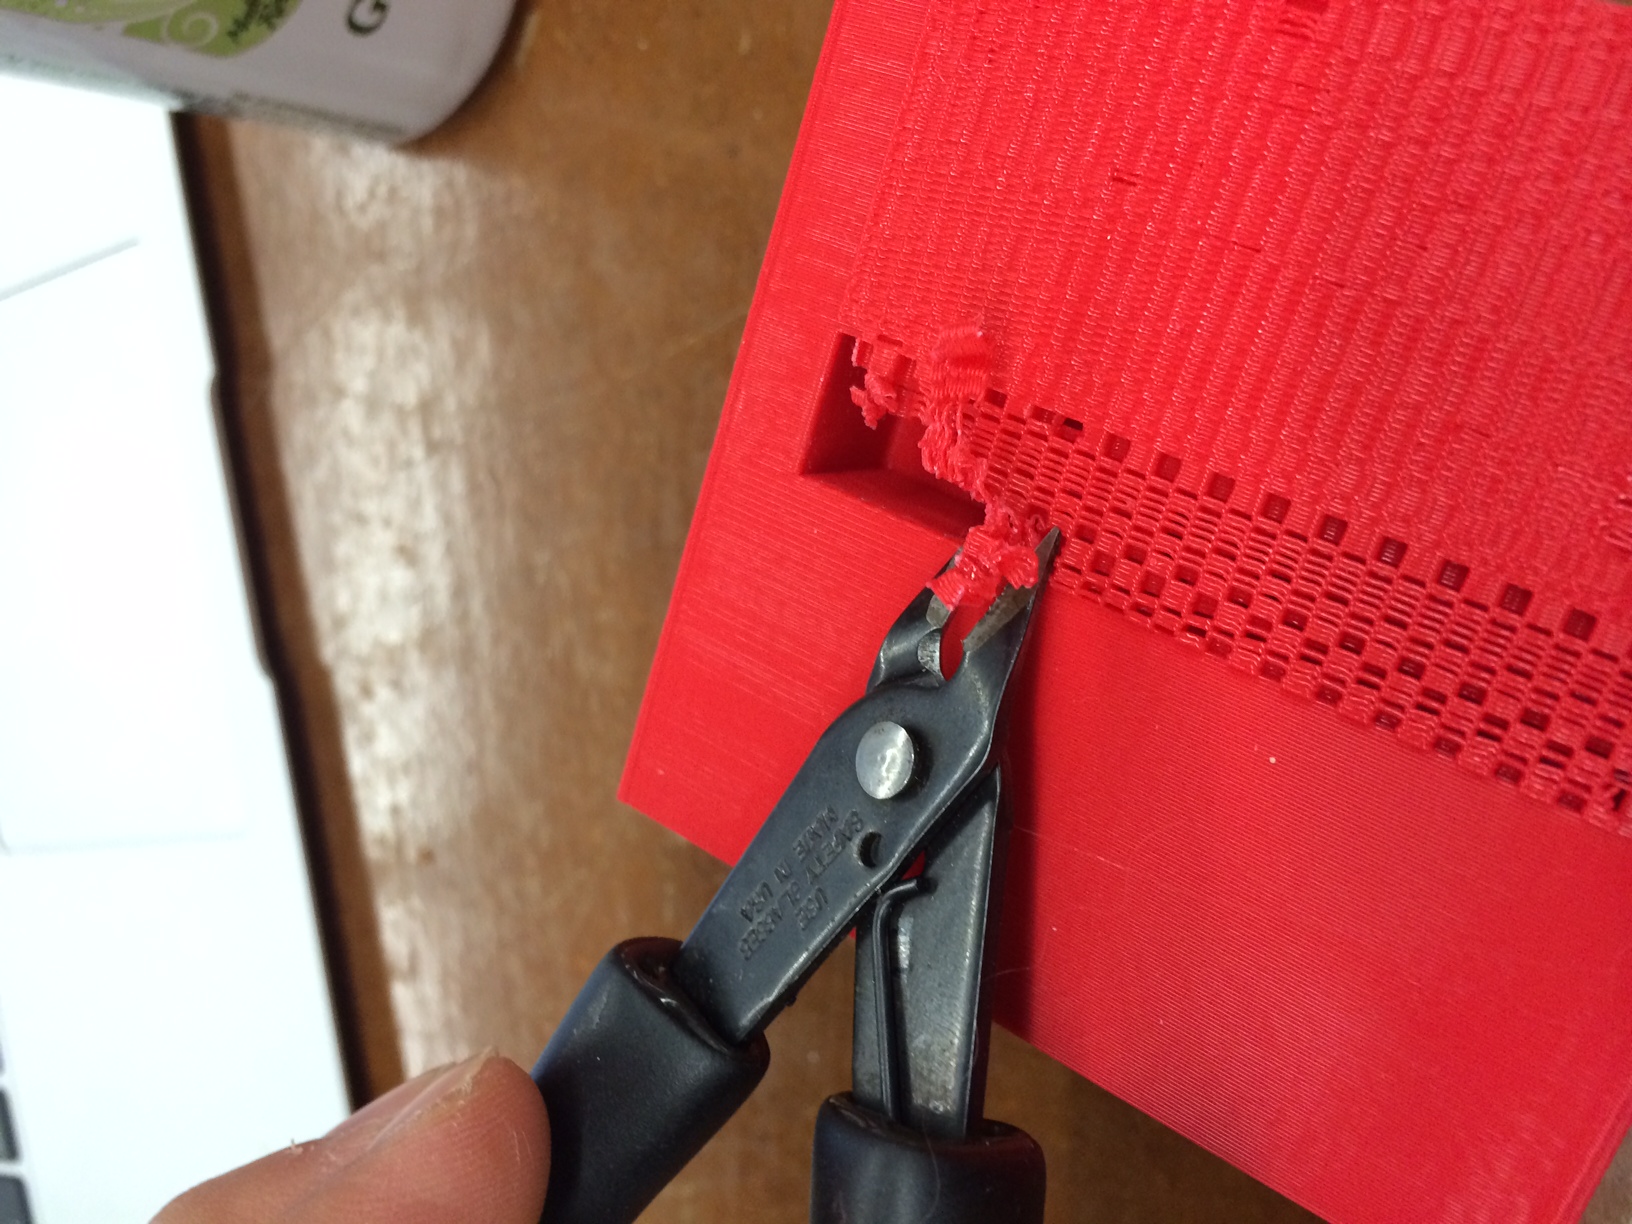
One thing I learned is to check the wire connection before starting the machine. Be sure to have the wire tightly attached to the machine. If it is not, it will get tangled up and cause a problem later on. You don't want to repeat many hours of work again due to that problem.
After noticing that it is simply impossible to print 10 hours of material without getting into a trouble, I changed the design quite a few times from having two holes to merging them to one. This part required some Rhino techniques. Best tutorials can be lynda.com
For 3D printing with Makerbot replicator 2, I think it is best to design something small because you never know when the machine will go wrong and you don't want to waste hours and hours of your busy day.
First Deisgn
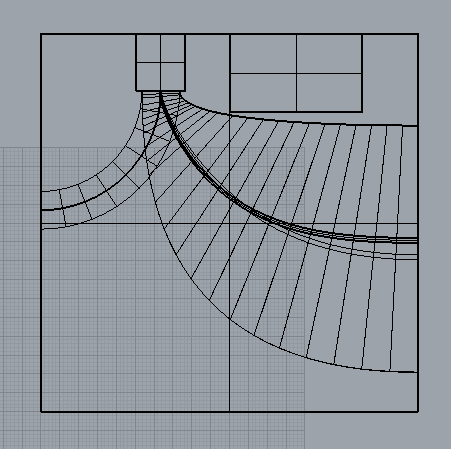
The biggest challenge for me was to merge these two front holes. I tried to make a big round hole and two separate holes since iphones have two speakers. I couldn't do "booleandifference" for these two holes that will merge into one circle at the end. What I ended up doing was to make a line where these two holes intersect and split the holes into two parts and merge the parts where they don't intersect.
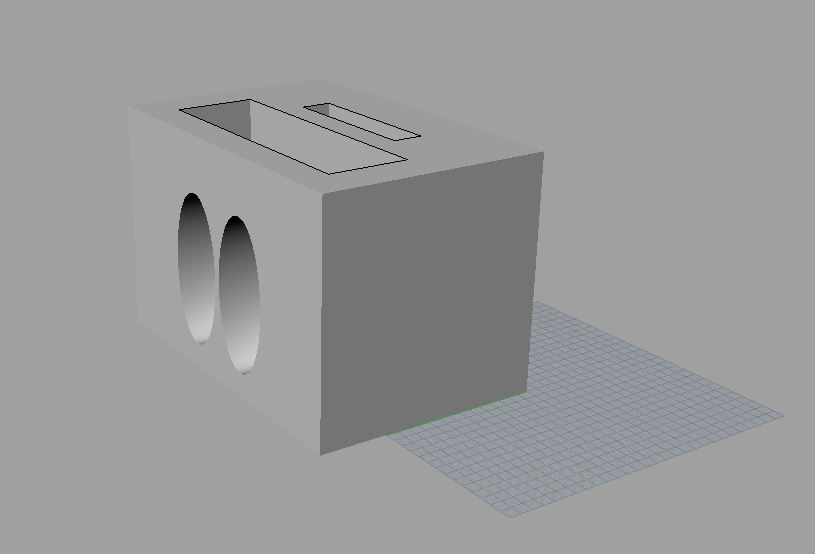
I made a simple 8cm * 8cm * 7cm cube with only one phone holder slot on the top and one hole for charger and another for speaker function. I made another mistake because I didn't join all the parts. The cube was open polysurface. I learned that it needs to be "closed polysurface" for the 3D machine to recognize it as one cube. If not, even though the design has an empty spaces, they would try to fill the second, third or how many "cubes" you have. So, I had my front hole filled.
Another function that I readily used is the "support" Only problem with the support is that you need to take the parts out once they are done.
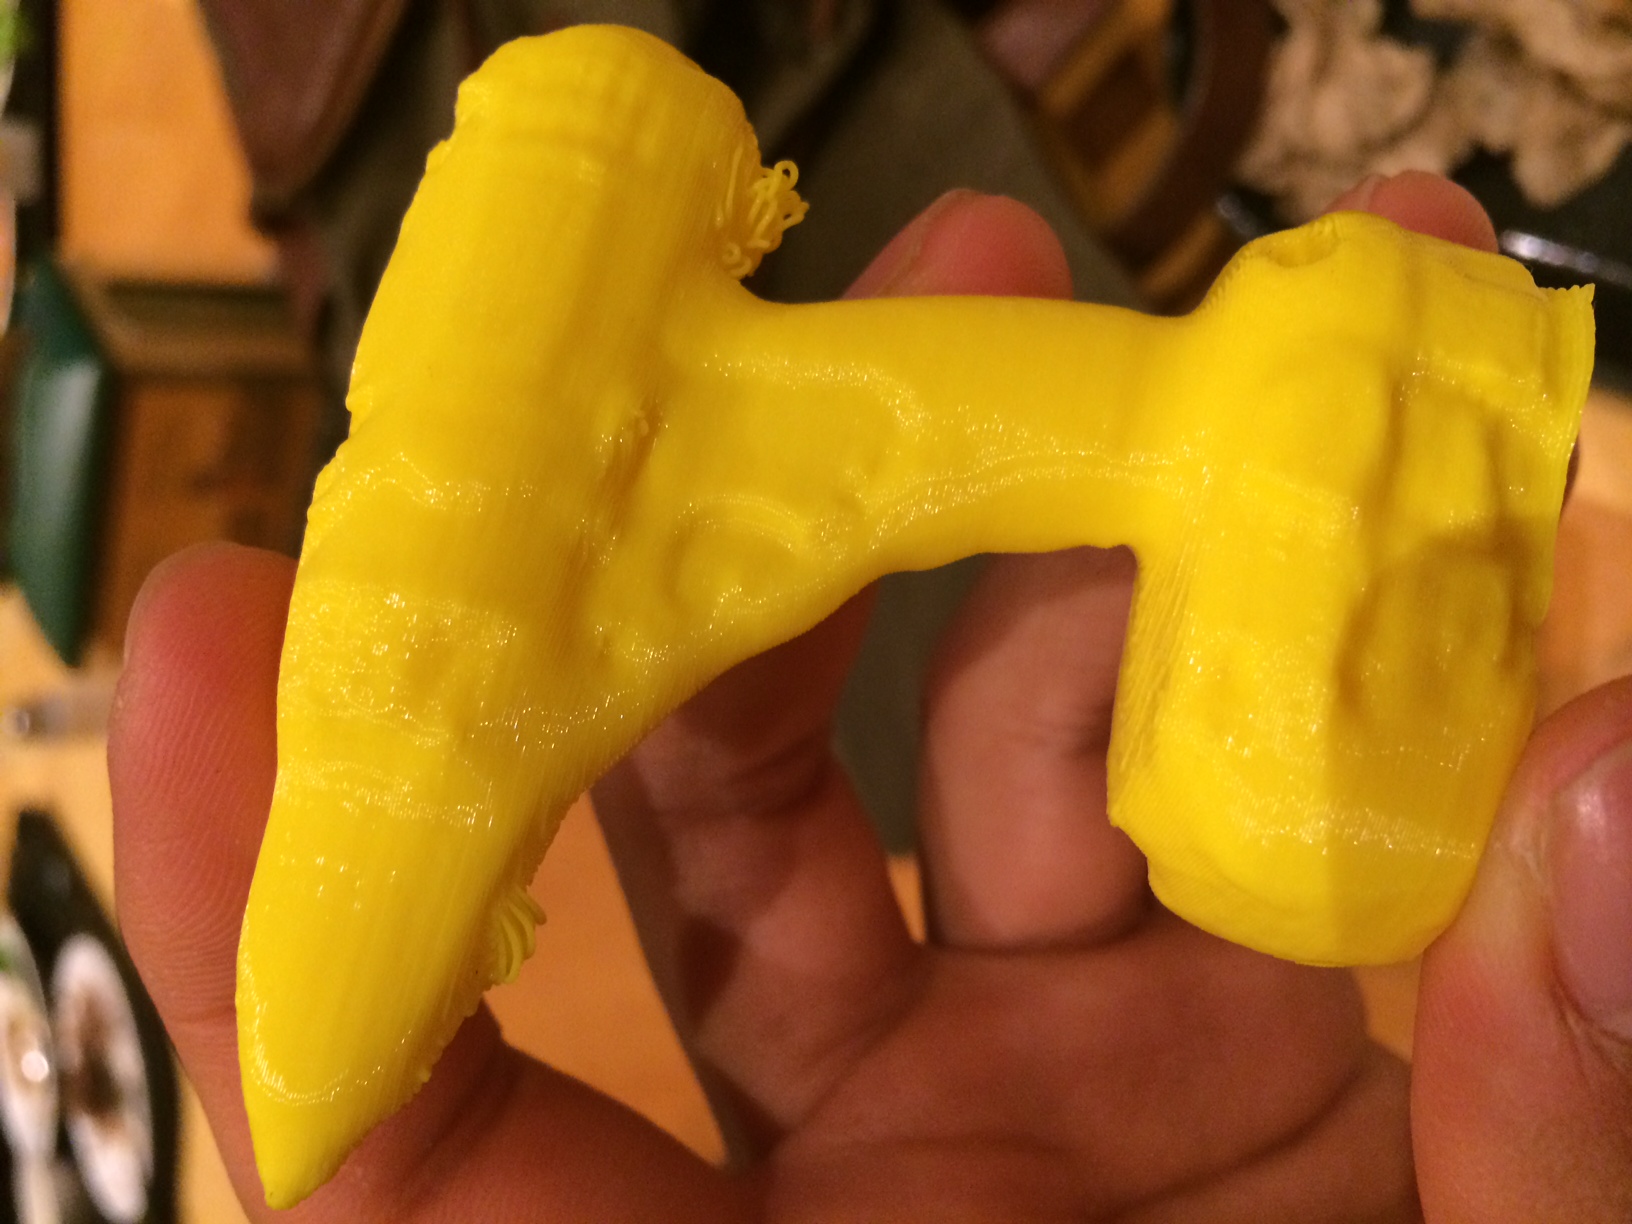
I used 3D scanner to scan a drill. It was a pretty easy process, but one thing to keep in mind is to have the drill stand on its own on a clean table. You need to be able to rotate the 3D scanner completely 360'. If not, you will not be able to have the scanning done. It was a bit tricky to have the scanning perfectly done, but it was manageable with 3 tries.
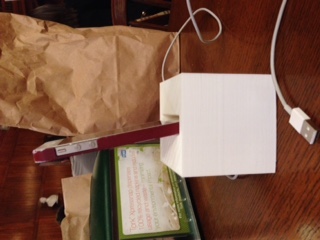
This is the final pictures of the final product. Altohugh it looks vastly different from the original design, what I learned is from countless trials and errors. I knew that I had to make it smaller for the style purposes. I reduced the width of the holder to make it more simple. Moreover, the depth of the hole that iphone goes in has been deeper because when it had its charger connected, it reclined forward, not making the iphone hold still.

Lessons learned this week:
1. Always check the plastic fiber before you start, because if you don't have them straightened out, it can stop your process.
2. Think about your design in a way that it does not need support. Having support will enable you to make your product, but because you have to remove them individually and it may not be removed perfectly, I encourage to design to have minimal amount of support