This week we are learning molding and casting, which has a few more steps than you might expect:
- Design a 3d model with “registration” and a “pour hole.”
- Mill the part out of a wax block.
- Create a silicone negative from the wax block.
- Fill the silicone negative with a casting material to form the final part.
Designing the part
I wanted to make something that would prevent the ends of cables from falling off of my desk. There are a few subtleties in modeling a mold part:
- We are using a 2.5 axis machine, so all cuts have to be vertical. You can divide the piece into multiple sections to achieve this.
- Include “registration” ports so that the parts can fit together cleanly.
- Include a hole that is exposed to the outside where liquid can be poured.
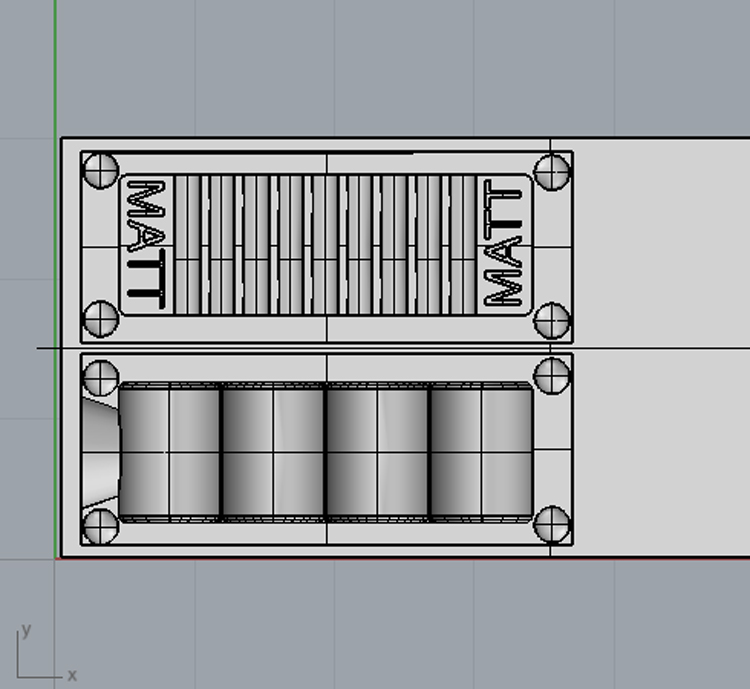
Here is a work in progress of my model that shows these features:
 |
Milling
I milled the part on the ShopBot and had a great time learning the MasterCam software.
 |
Molding
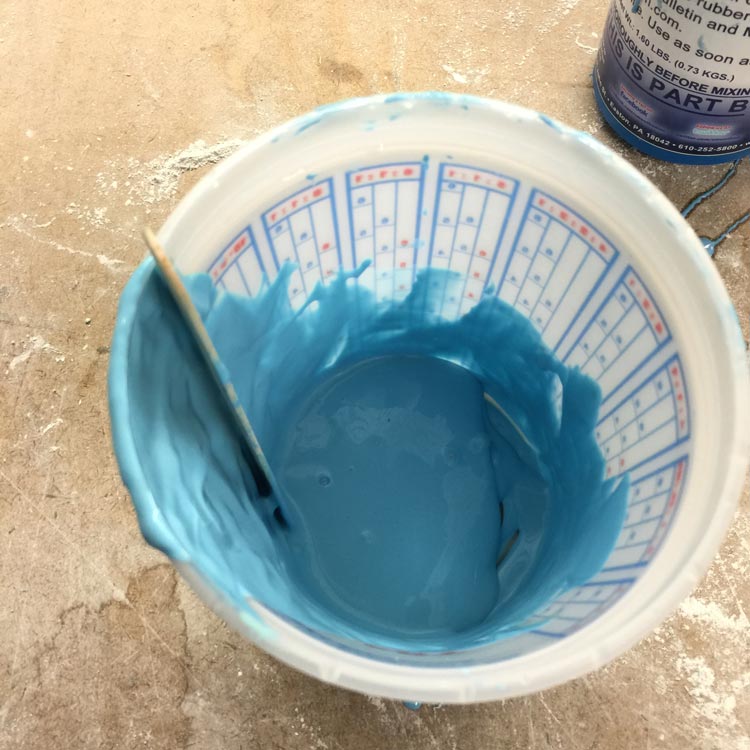
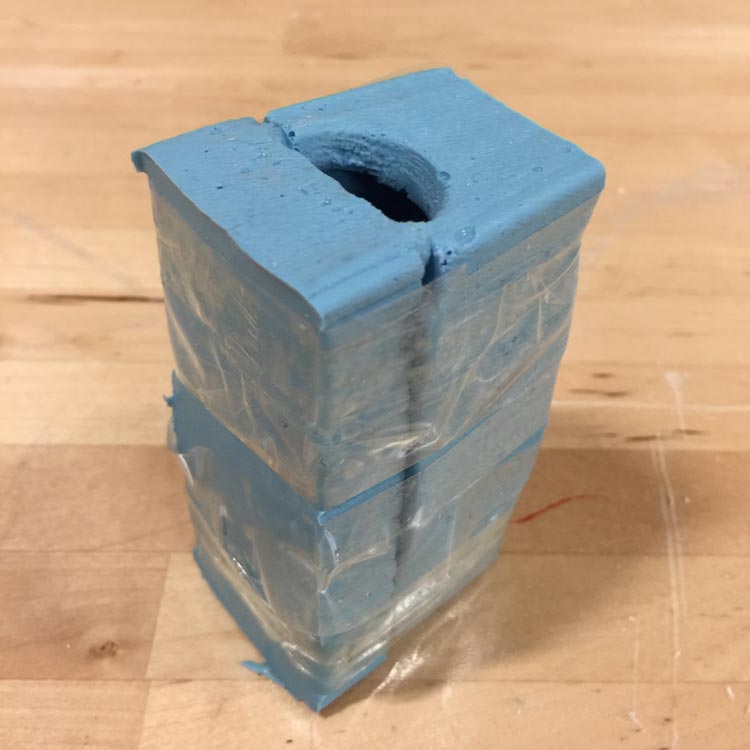
Creating the mold is the easiest part. I mixed some OOMOO 25 as the mold:
 |
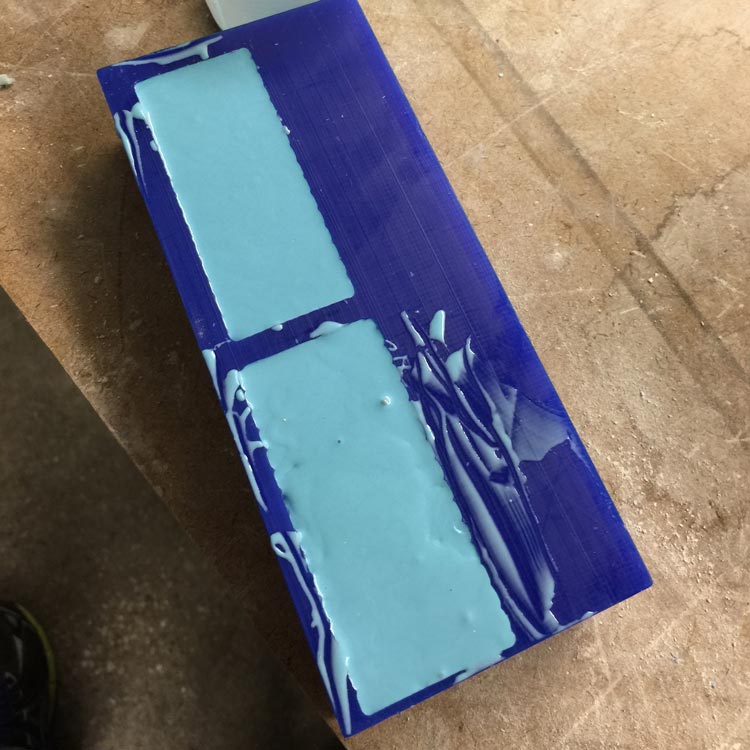
And then filled the wax cavity:
 |
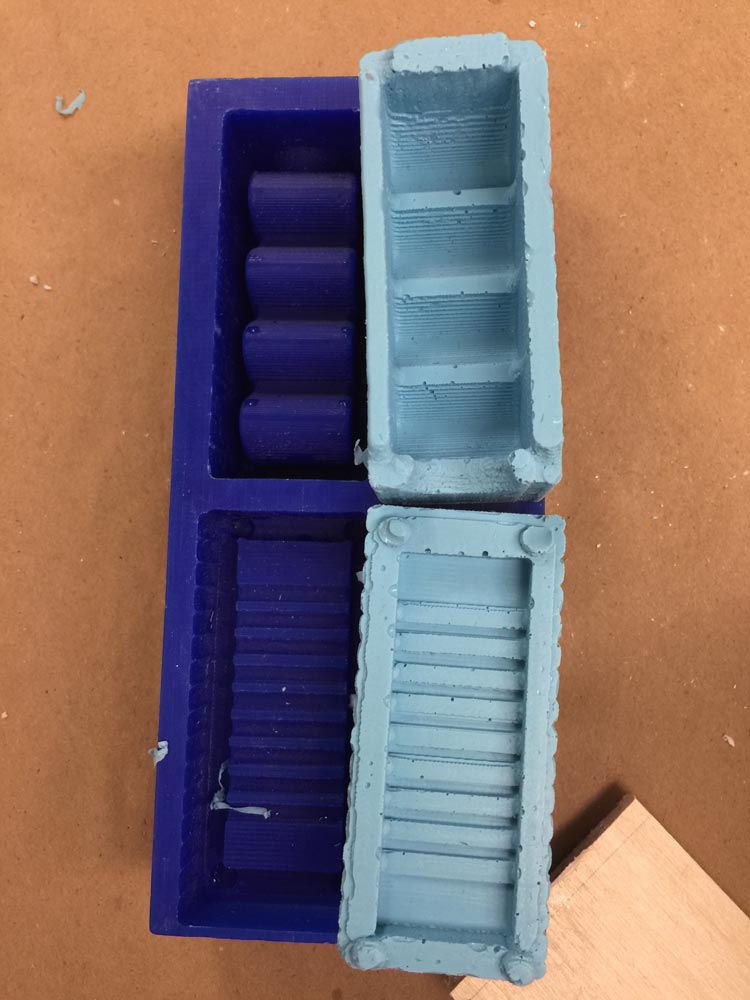
Tada! It comes out really easily, even without anti-stick spray:
 |
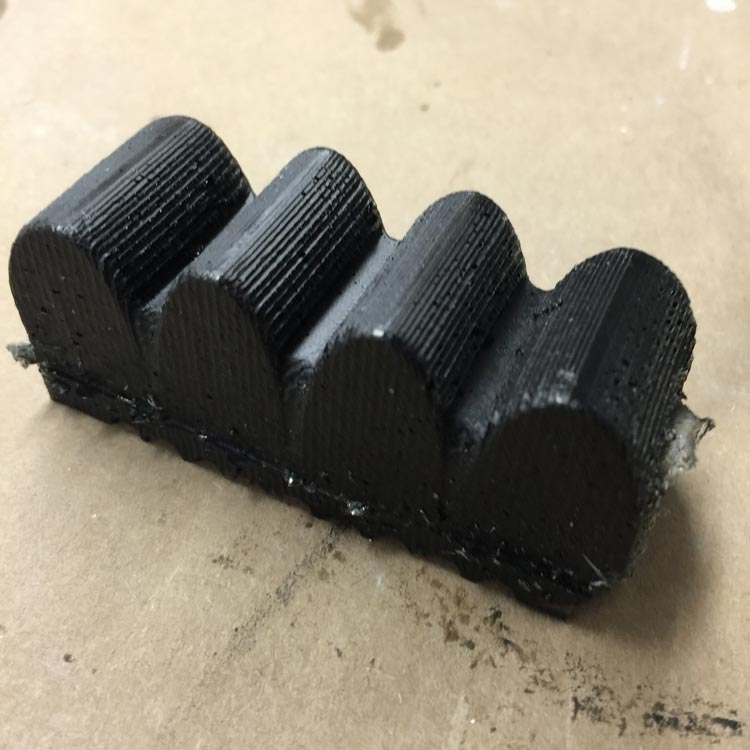
Casting
I used SmoothCast 256 with black dye as my casting material. It’s pretty straightforward to use, just follow the instructions on the box.
 |
 |