This week is “composites” week. The provided materials were burlap and epoxy resin. The basic premise is to layer
burlap and epoxy on top of a mold, and then add pressure to compress the burlap.
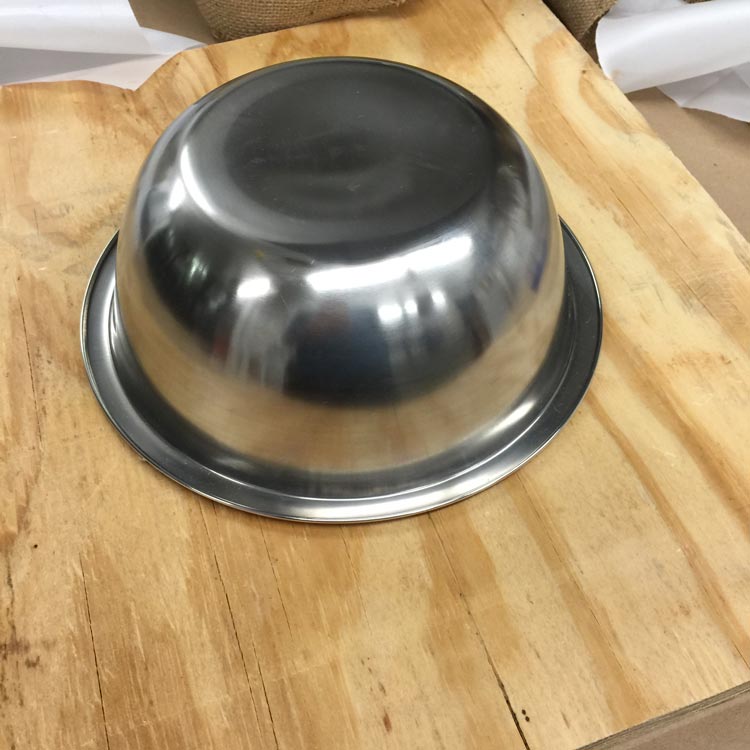
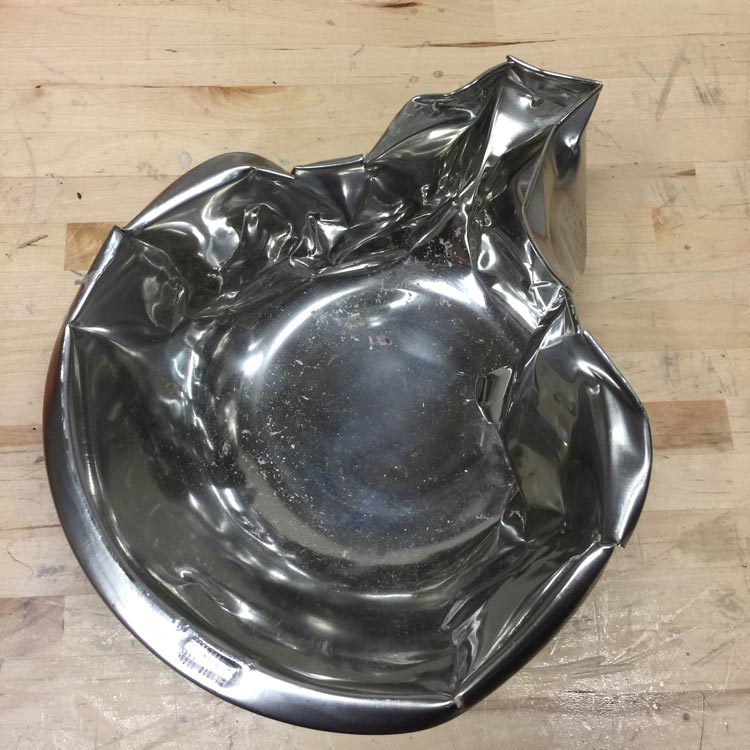
I decided to make a “hat,” and I actually found a perfectly-sized bowl to serve as the mold:
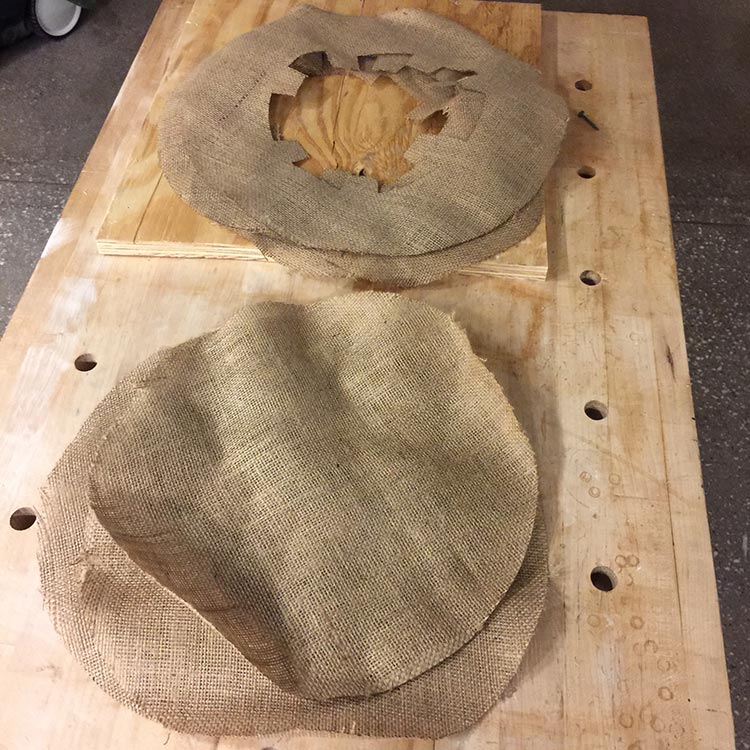
Laser-cut burlap
 |
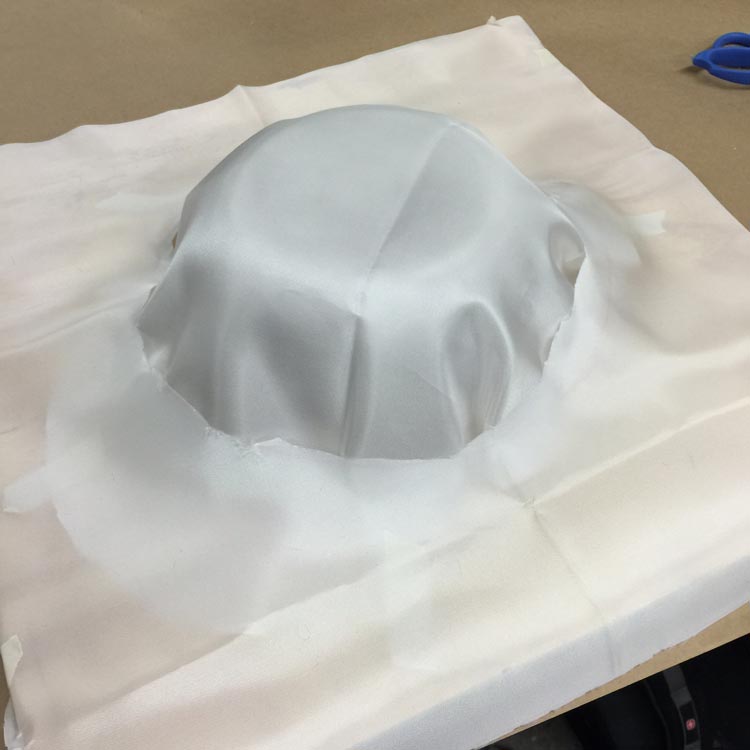
First layer on the mold is a 'release plastic'
 |
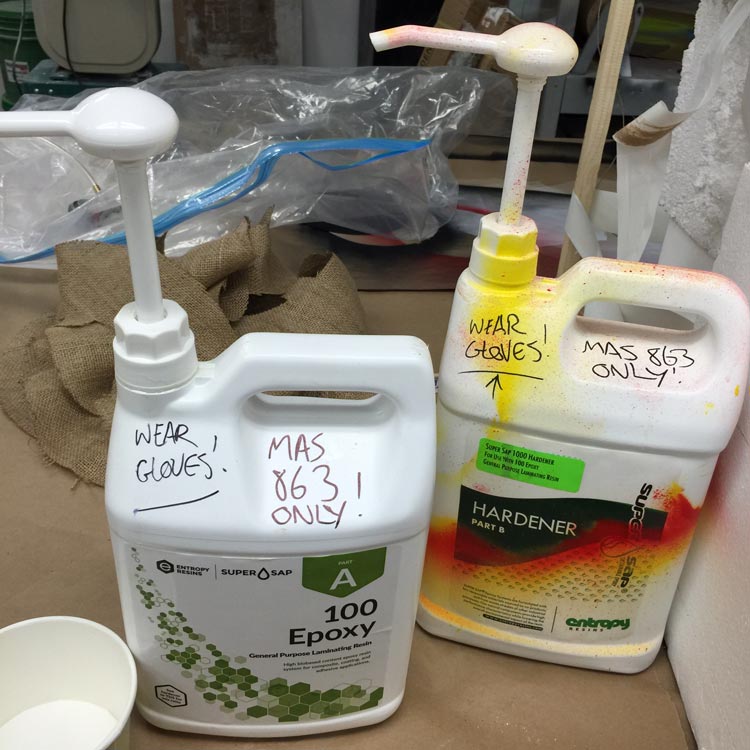
The resin that we used. 1 pump of hardener for 2 pumps of resin.
 |
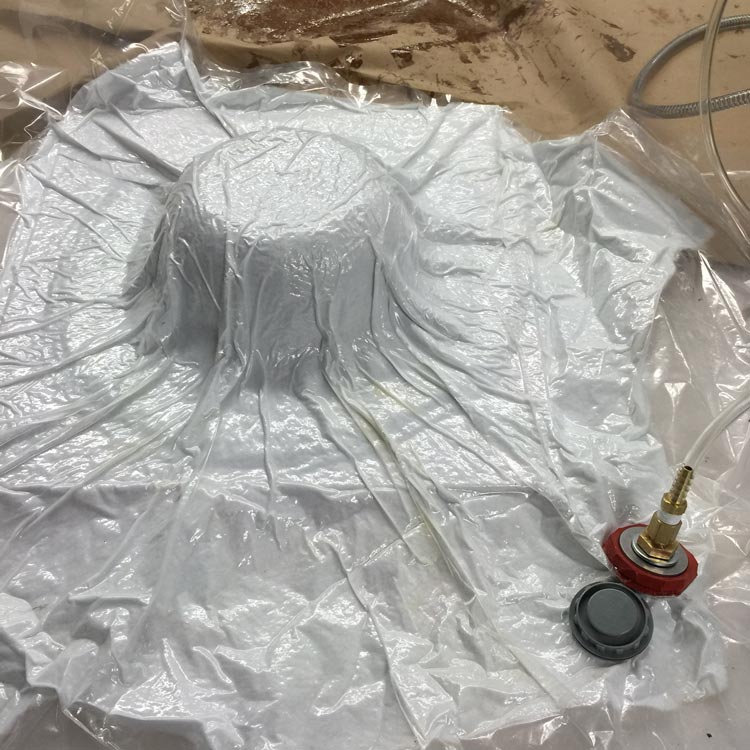
Seal the entire composite in a vacuum bag for 4 hours.
 |
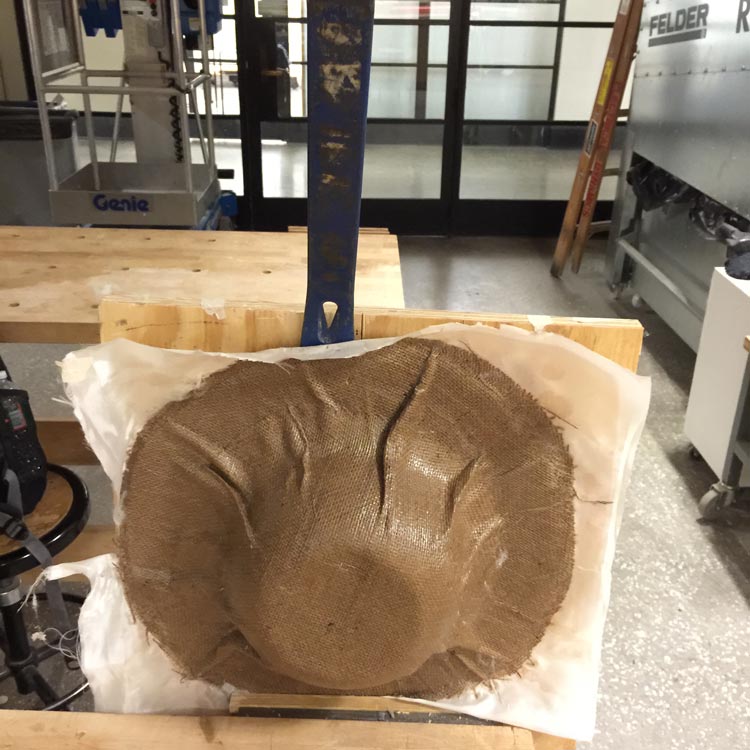
The hat needed some help to get come off of the mold!
 |
Matt vs bowl
 |
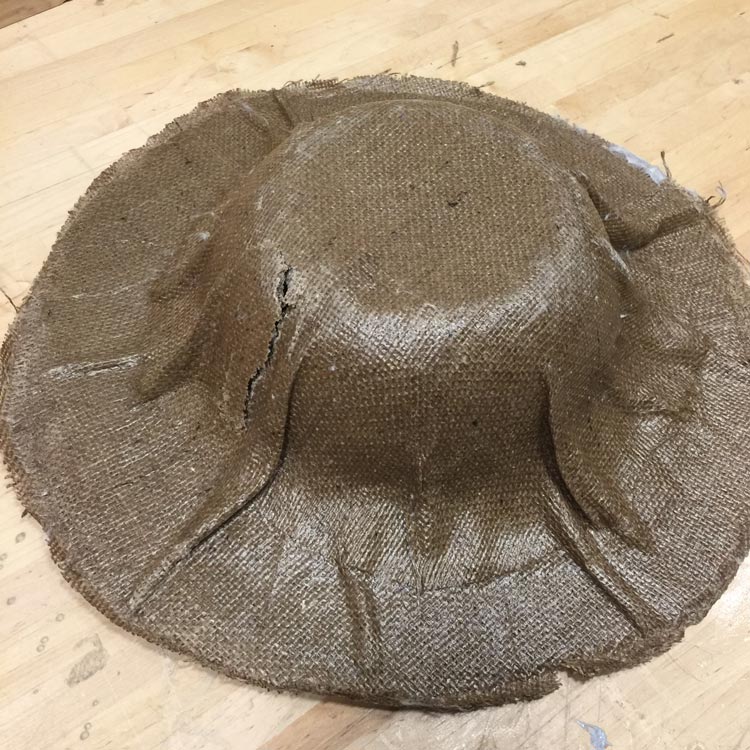
The final hat!
 |