For my final project I built a sous-vide immersion cooker:
 |
Sous-vide is a method for cooking food in a temperature-controlled water environment for longer than normal cooking times, at an accurately regulated temperature. Sous-vide cookers are often used in high-end restaurants. In the past few years, however, they have become more popular in household kitchens.
An average sous-vide cooker costs $2000, with low-end cookers going for around $300. I wanted to build my own cheaper version of the device. I also wanted to be able to control it via Bluetooth, so that I could leave the device in my room and control it from anywhere on my floor.
Just want to see the food it can make? Click here
Electronics
The electronics for the cooker are fairly simple. We really are dealing with three components:
- A waterproof temperature sensor: DS18B20
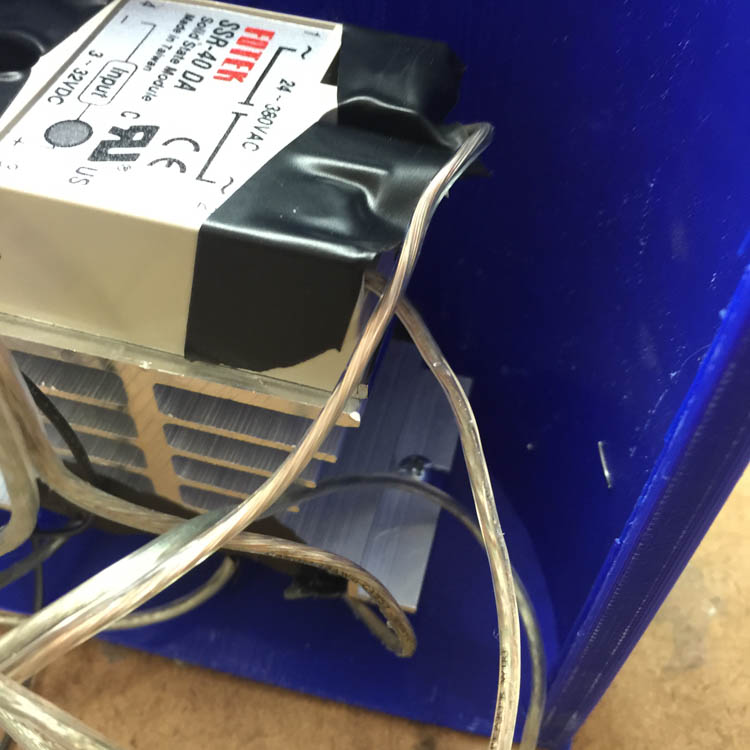
- A switched AC current via a solid-state relay: SSR-25da
- Bluetooth for serial input / output: BLE Mini
I got a chance to play around with the temperature sensor and BLE mini device in week 11. I also got the solid-state relay working in week 10. This week, I brought all of the components together on a single board.
Reading Temperature
Step 1 is to read the temperature of the water. I found a handy device which could do exactly this, a DS18B20:
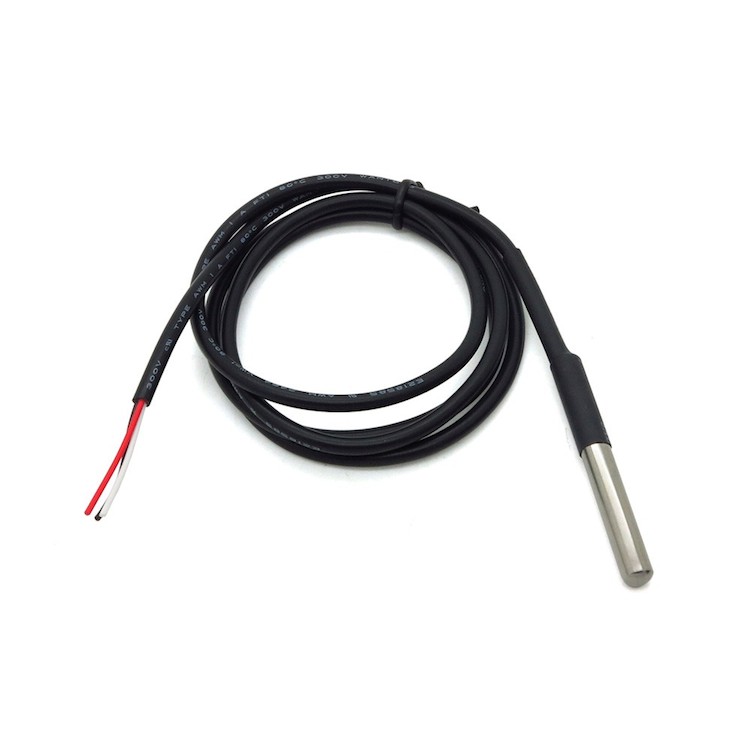 |
This is known as a “one-wire device,” because data from the sensor is transferred over a single wire. We also connect a VCC and GND wire, so there are three wires in total. In software, there is a OneWire Arduino library which lets you create a OneWire bus for data transfer. Dallas Temperature created their own library on top of the OneWire library which provides intuitive commands for reading temperature:
#include <OneWire.h>
#include <DallasTemperature.h>

// Where the temperature sensor probe is connected.
#define ONE_WIRE_BUS 14

// Setup a OneWire instance to communicate with any devices.
OneWire oneWire(ONE_WIRE_BUS);

// Pass our oneWire reference to Dallas Temperature.
DallasTemperature(&oneWire);

void setup() {
  // Start up the library.
  sensors.begin();
}

void loop() {
  sensors.requestTemperatures();
  float tempC = sensors.getTempCByIndex(0);
}
Switching AC Current
I used these guys to heat water. They’re AC powered, so we need a way to turn them on and off via a signal from our microcontroller. The most common way to do this is via a solid state relay.
 |
The green wires are connected to a pinout and GND, and the white wire intersects a link to the heaters. When the pin is turned on, current from the wall socket can flow to the heaters.
Bluetooth
The final piece of the puzzle is Bluetooth. I used the BLE Mini device from RedBearLabs. The device is super simple to setup. Since I was using an ATMega which has hardware serial, I simply connected RX/TX to the microcontroller and powered the board. It worked on the first try.
Bluetooth + temperature sensing in action:
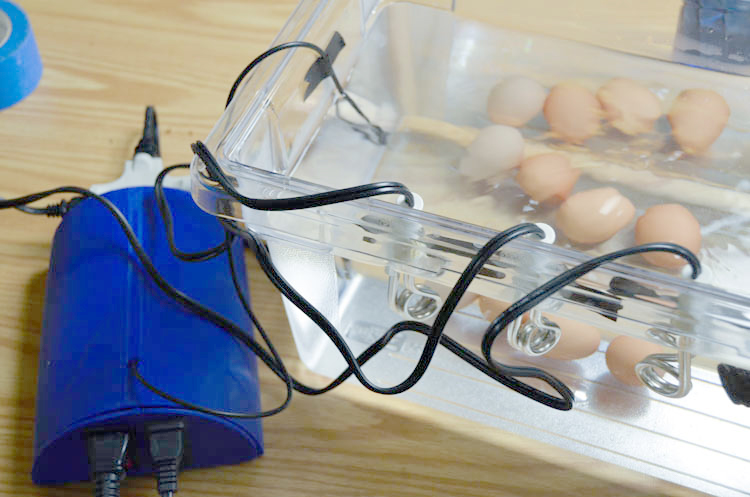
Power
I needed an AC -> 5V power adapter. The only thing I had on hand was an iPhone charger, but any ~1A power adapter would do the trick.
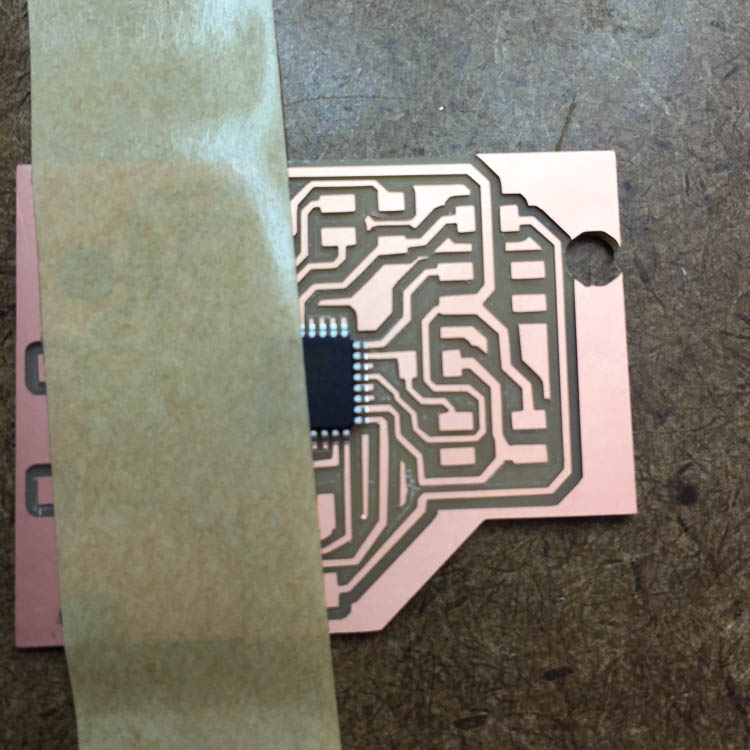
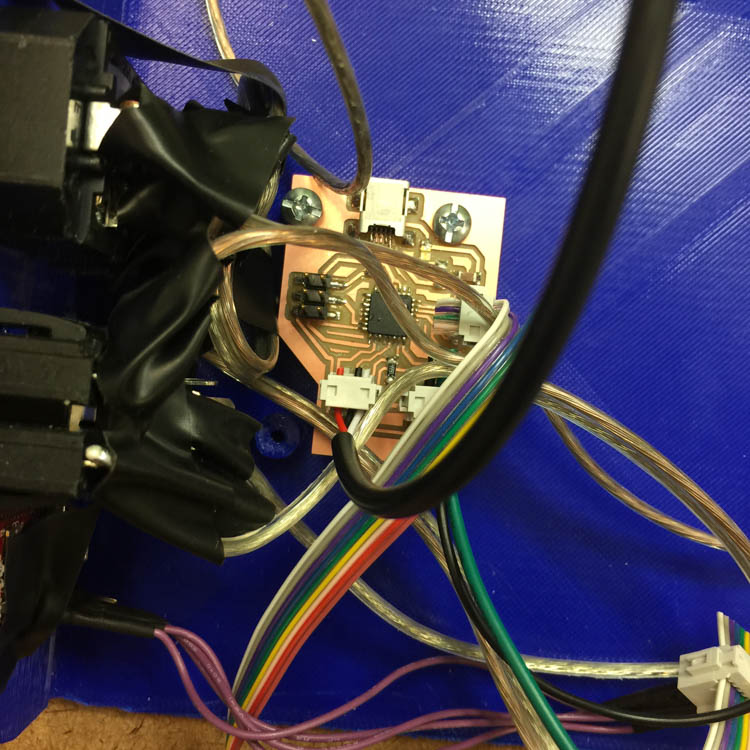
Board Assembly
Here is the schematic for my board:
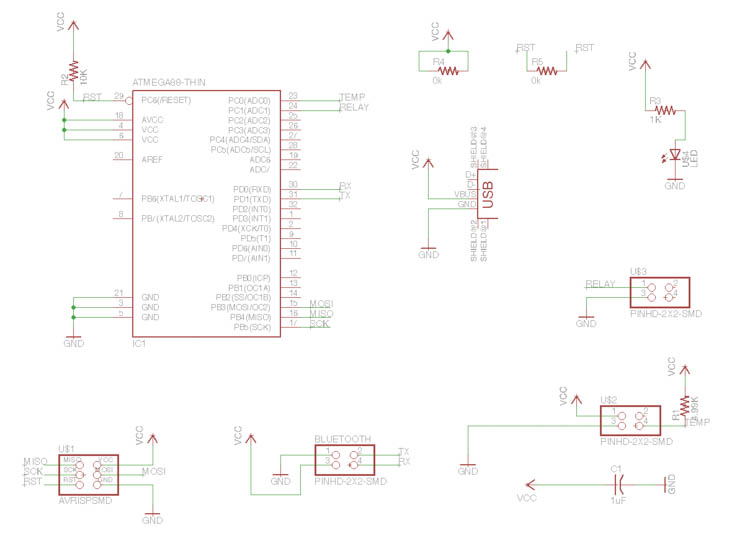 |
and the layout:
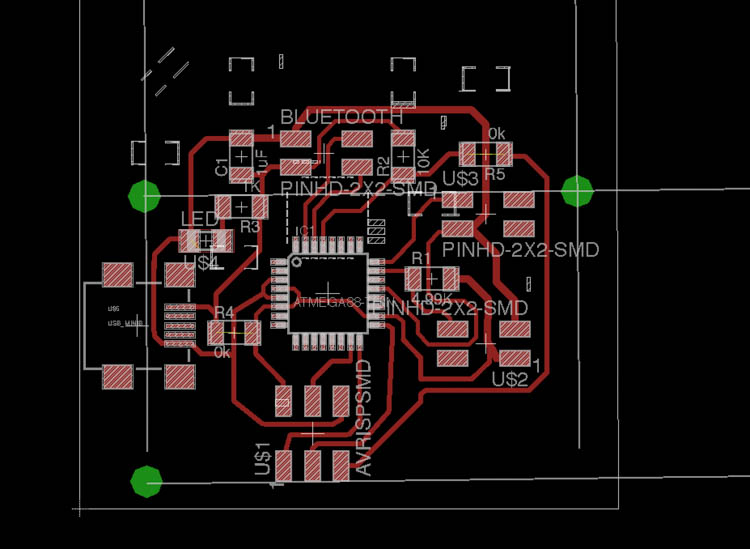 |
Some points about this design:
- An ATMega328 was required because the libraries are larger than 8kb.
- 2x2 headers provide an interface for input/output devices to the microcontroller
- The board is powered via 5V USB.
- I drilled holes in the board (shown in green) to serve as mounting points.
The only hard part about soldering the board are the small leads on the ATMega.
 |
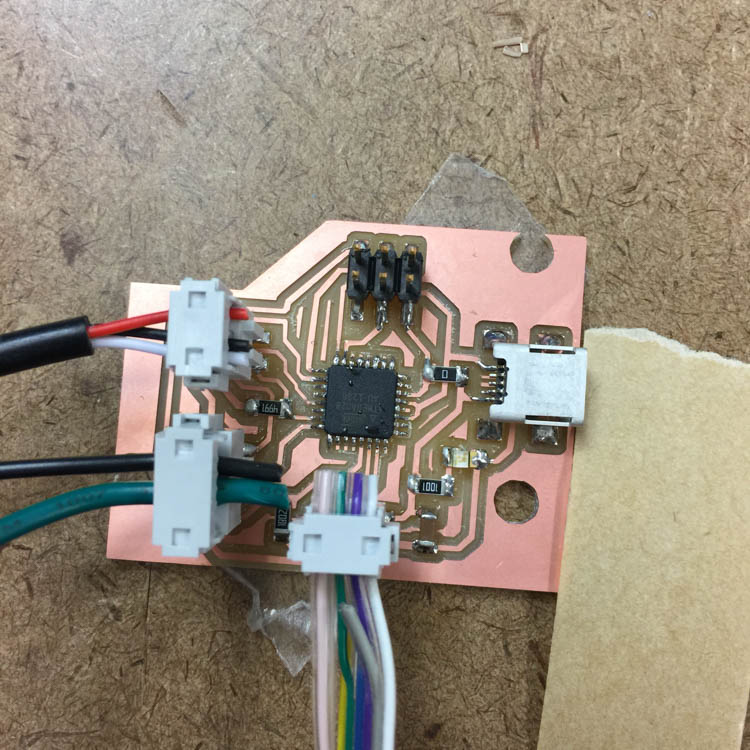 |
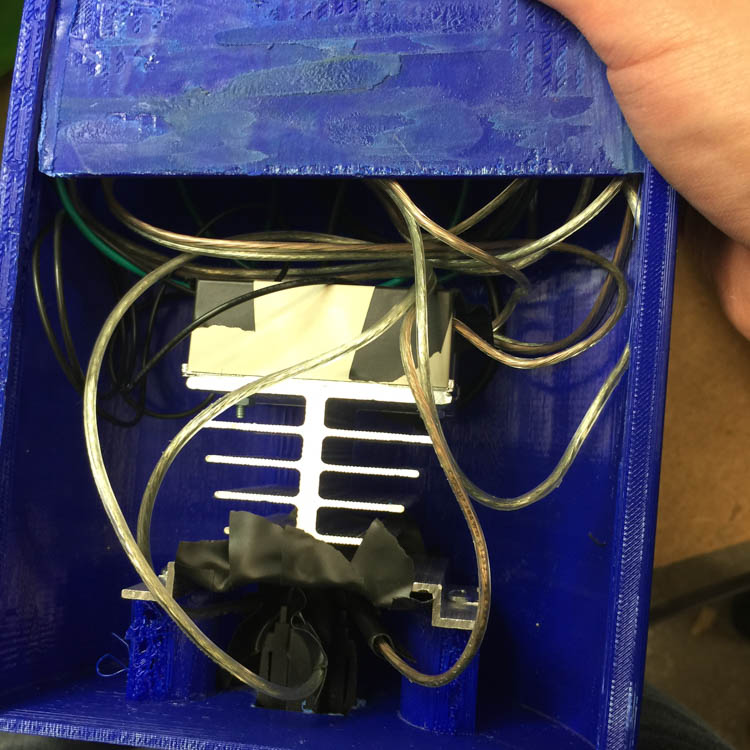
Hardware
Since I will be running 120V AC through my circuit, I needed to build an enclosure to house the various components of the device. No one likes electrocution!
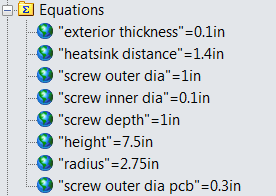
Design
My tool of choice for the design was SolidWorks. I wanted very precise measurements, because I would be mounting various components to the enclosure. Also, I wanted to be able to define the model parametrically, to allow me to quickly change the design if needed.
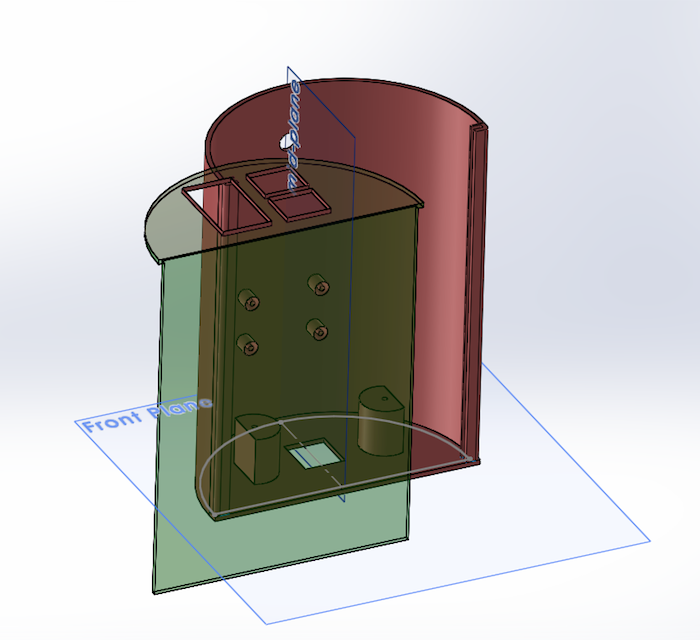 |
 |
Download the SolidWorks file.
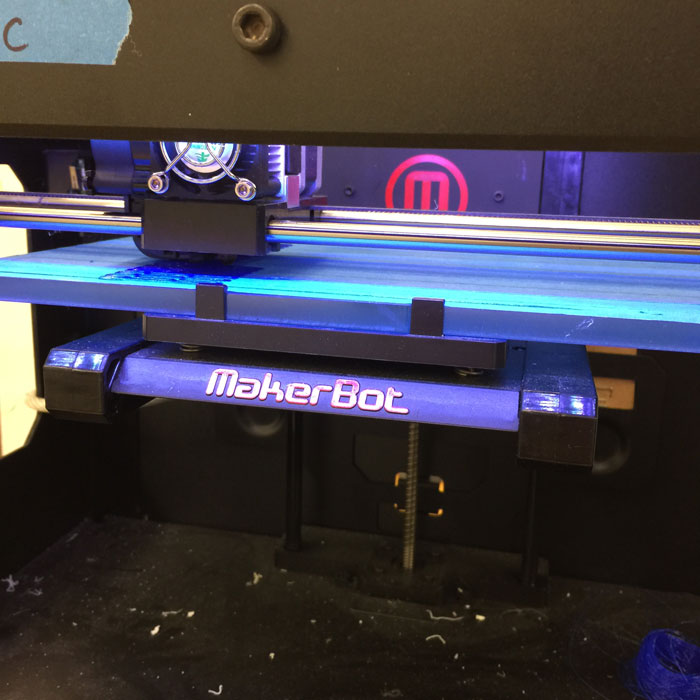
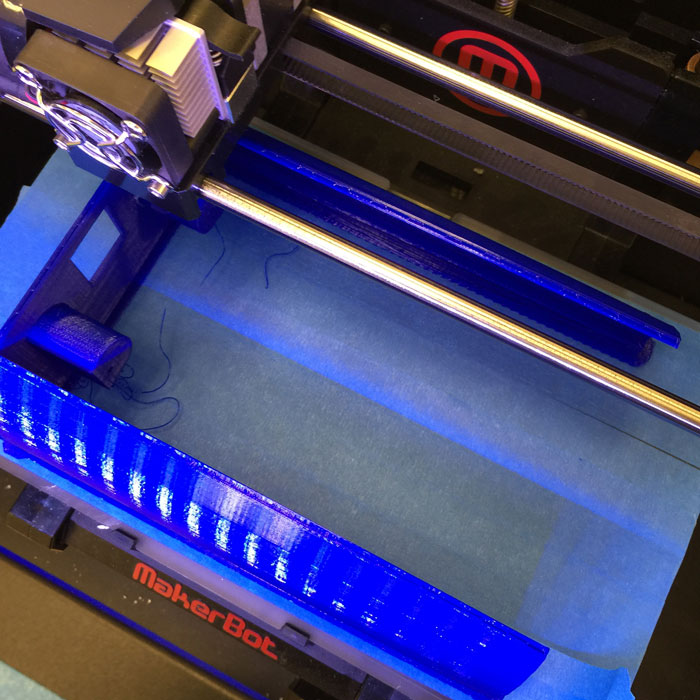
Printing
I used the MakerBot Replication 2 with PLA plastic. MakerBot has proprietary software for printing .obj and .stl files.
 |
 |
 |
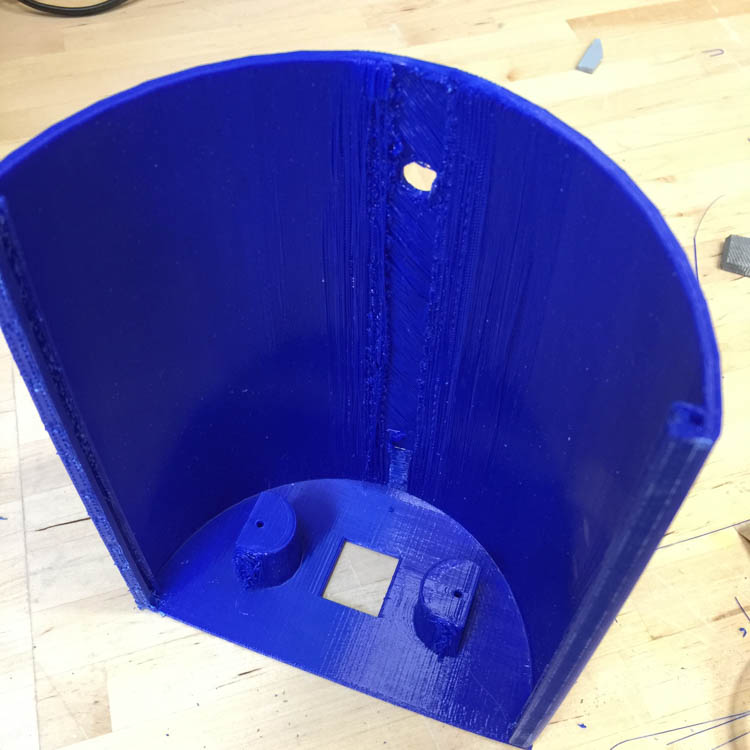
I was quite pleased with how the parts came out:
 |
 |
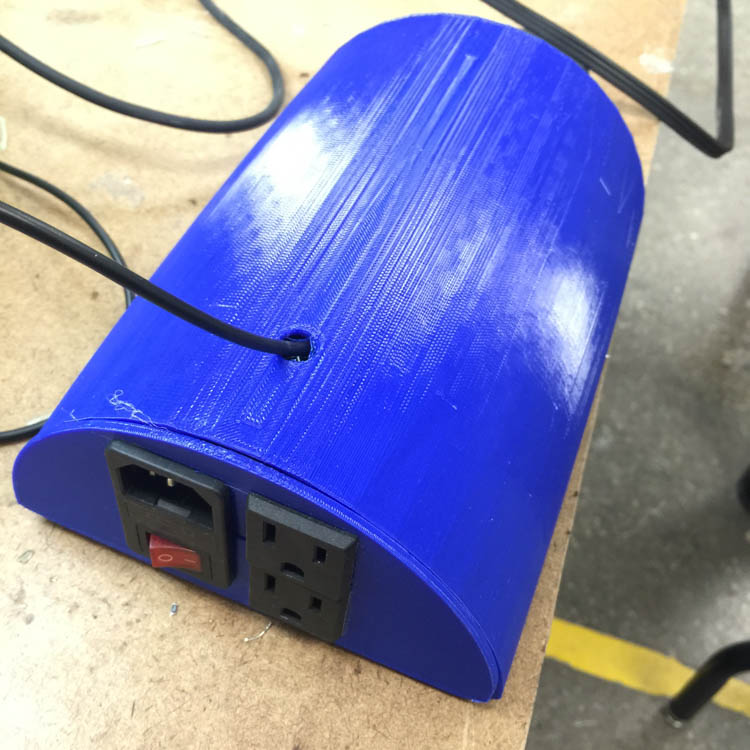
A few interesting points about my enclosure:
- I used a friction-fit sliding mechanism to attach the two parts of the case. Clearance was only 0.01”, so I had to do quite a bit of sanding to get the part to fit. Make sure to account for 3d printing artifacts when calculating your tolerances.
- For AC connectors, I used this female outlet and this male socket from Amazon. I copied the “mounting size” directly from Amazon, but really should have left some clearance to let the parts slide in more easily.
- Screw mounting works great with PLA plastic. I left ~0.1” holes and hand drilled 6x3/4” screws into the plastic.
- I also built a small power-strip. We power a circulation pump whenever the sous-vide is turned on.
- In order to make the device as general as possible, you can plug in any device which is switched on by the relay. This lets you connect devices other than heaters to the unit. For example, we could control a refrigeration unit with the same device.
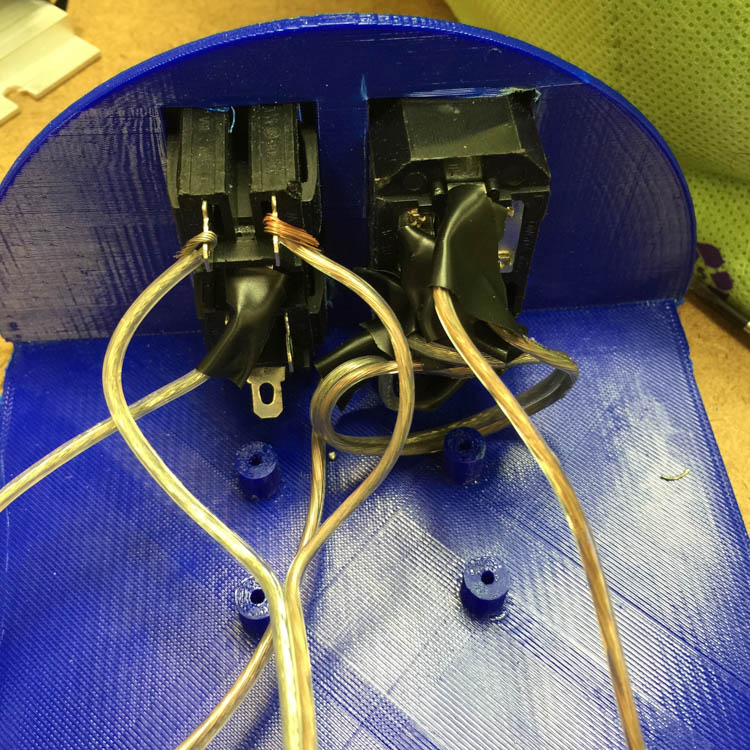
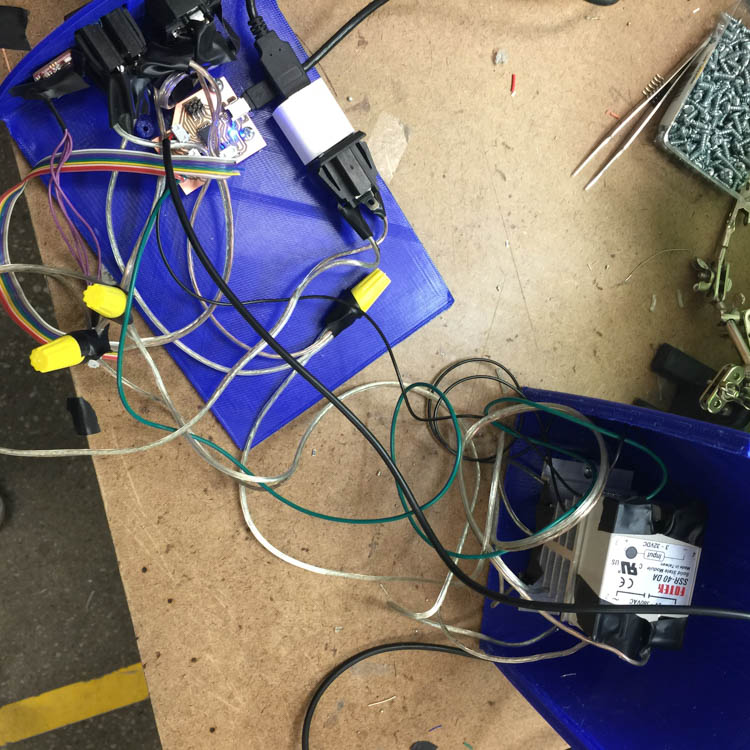
Assembly
Once my 3d prints finished, it was time to assemble everything together!
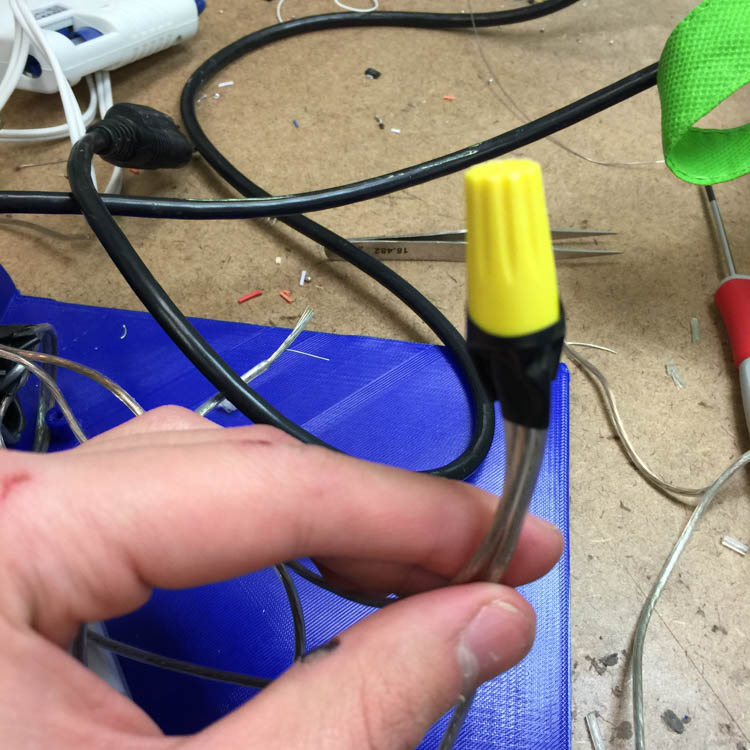
This was my first time working with AC power, but I learned a few tricks:
- 16 or 18 gauge wire must be used to carry the high AC current.
- Wire nuts work great for attaching multiple wires together.
- Don’t forget to solder wires onto the power leads.
- There is nothing wrong with copious amounts of electrical tape.
 |
 |
 |
 |
 |
 |
 |
Woo! That was a lot of work.
My post on Hacker News garnered a lot of feedback on the AC component of my design. There were safety issues in my original design which should have been addressed. Thank you to cnvogel and mikeytown2.
- I should have used crimped terminal connectors to connect the wire to the inlet sockets.
- Terminal blocks are safer than screw caps for connecting cables.
- I could have 3d printed a clip that goes over the terminals on the relay.
- Always design enclosures with a physical barrier between the “high voltage” side and the “low voltage” side.
- Running the AC through a device like this or this would have made it much safer, especially since we are dealing with water.
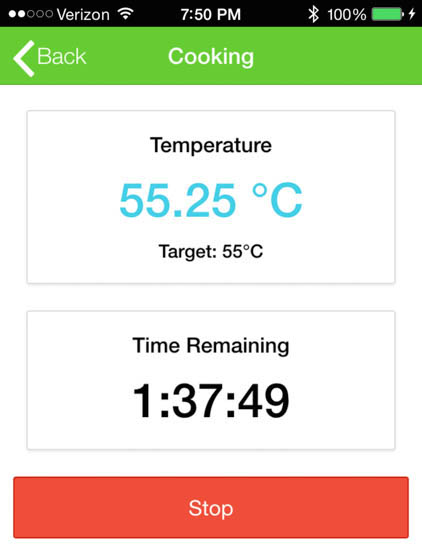
Application Programming
I go into detail about the SousVide controller application in Week 11. In essence, the app is a cross-platform mobile app that lets you control the temperature and duration of your sous-vide recipes. Some features include:
- Signing in (via Google) to save recipes.
- Notifications when the recipe duration has elapsed
- Preheating the sous-vide, and cooking when ready.
- Monitoring temperature and on/off state of the sous-vide.
 |
All of the code is available on my GitHub.
Cost
Parts:
- Immersion heaters: $7.87 x 3
- 25A SSR ($4) with heat sink ($2.50)
- BLE Mini: $31.99
- DS1820B sensor: $3.47
- Aquarium pump: $9.75
- Inlet male power socket with fuse switch: $4.85
- Female power sockets: $2
- PLA plastic (for enclosure): $15
- ATMega328 and other board components: $6
Total cost: ~$100
Overall, this project was much cheaper than buying a conventional sous-vide. Moreover, this device can control any arbitrary AC current based on temperature via Bluetooth. For example, we could use the same device to smoke meats or refrigerate beer.
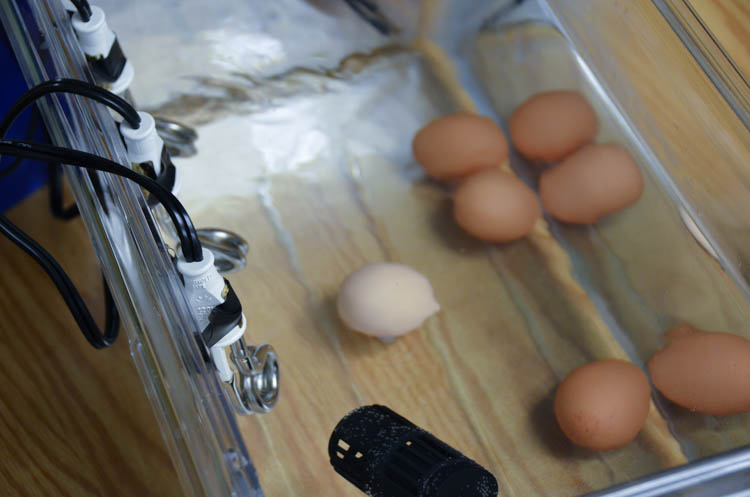
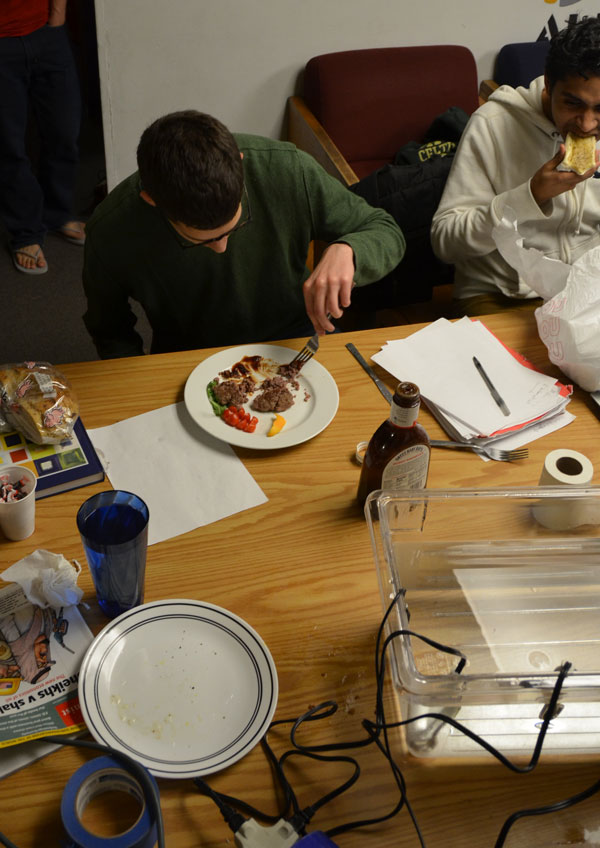
Results
Finally, it’s time for the food porn! A sous-vide is only as good as the food it makes:
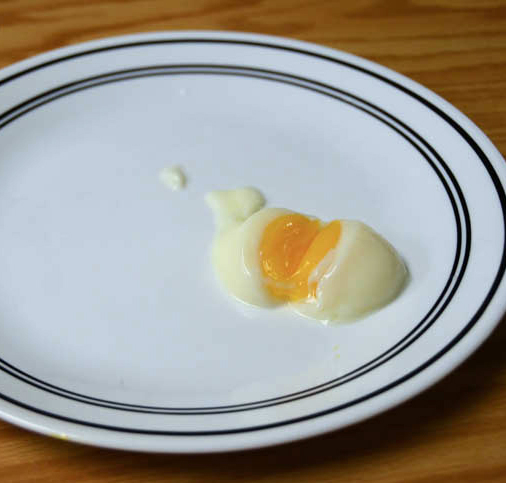
Eggs
My first test was cooking eggs at 76C for 45 minutes:
 |
 |
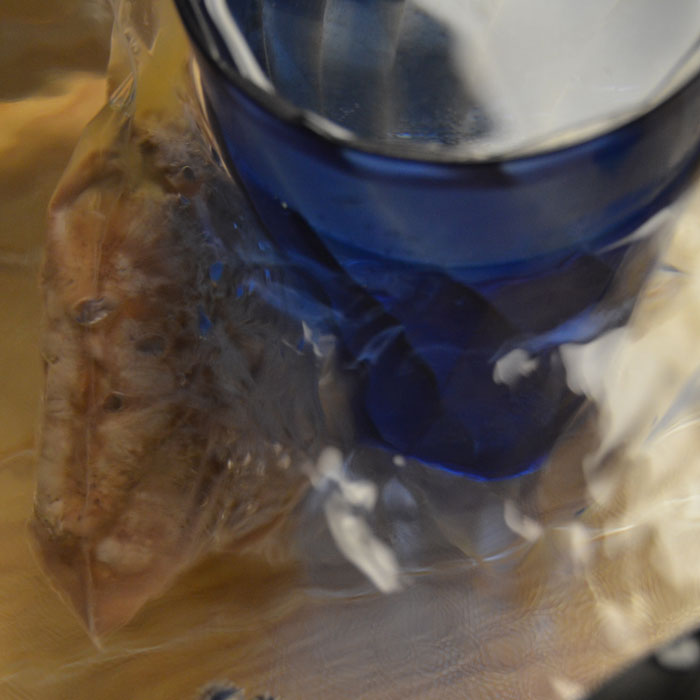
Hamburger
I cooked a burger at 57C and then seared on the grill for a great medium-rare:
 |
 |
 |
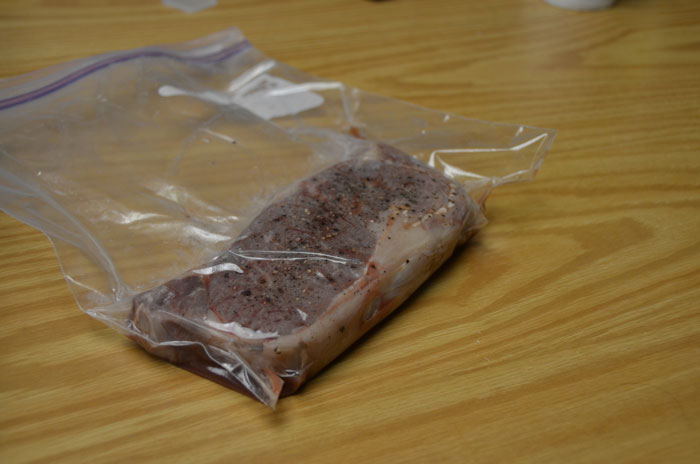
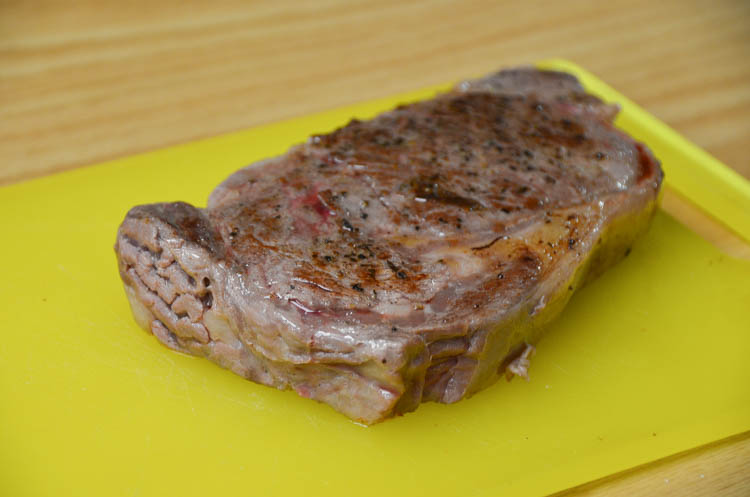
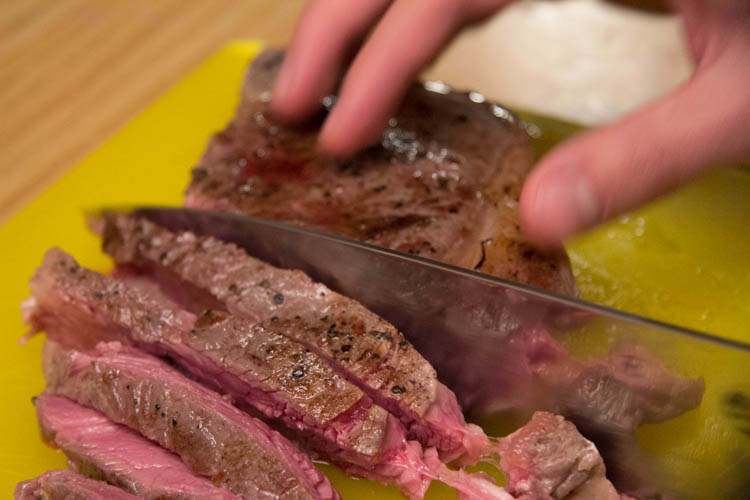
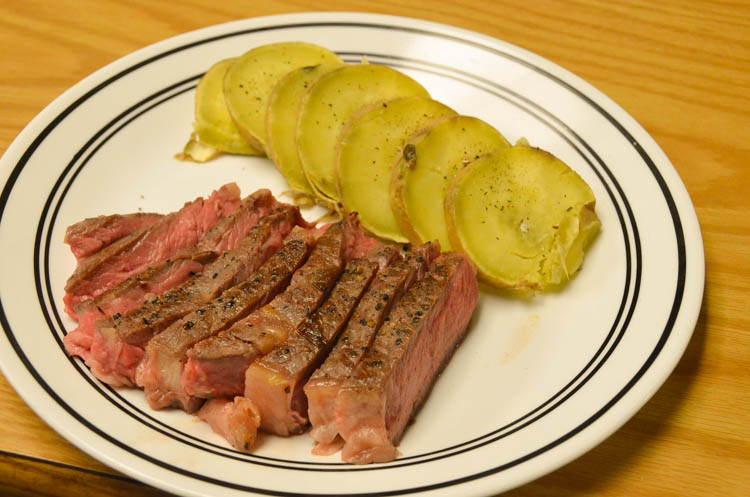
Steak
Steak is the quintessential sous-vide item. I cooked this boneless ribeye at 56C for 90 minutes.
 |
 |
 |
 |