For this week assignment we were asked to make an in-circuit programmer. It was my very first time dealing with electronics. I enjoyed it, but it took me quite a while to assemble all the components.
Process description:
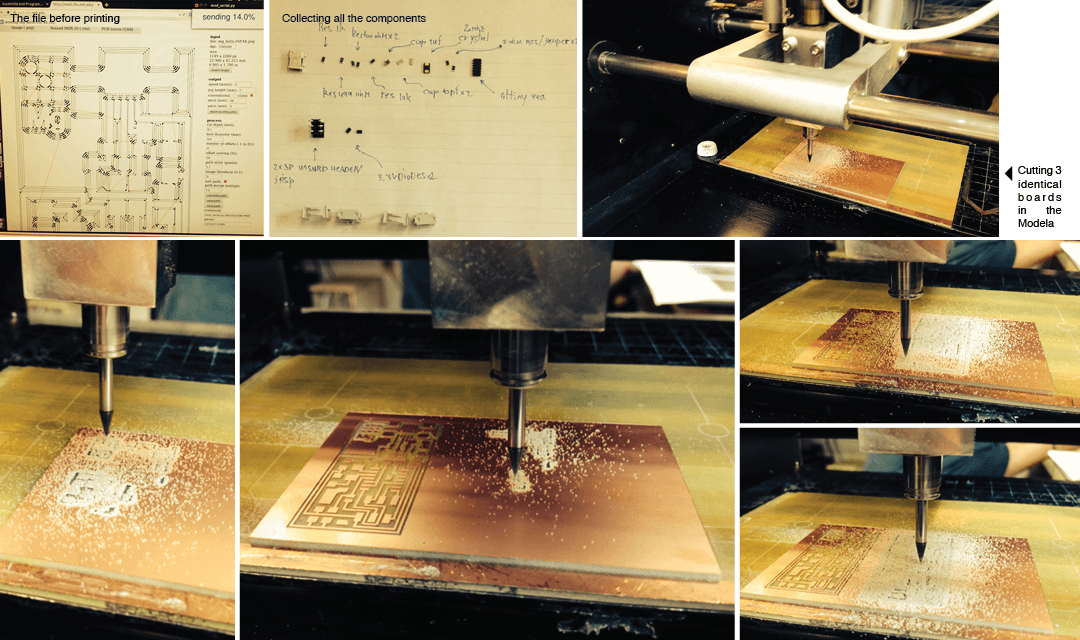
Before printing the board I added my initials to the png traces file (using photoshop).
Working with the Modela _ I really liked working with the Modela – the cutting is extremely precise and enables very delicate outcomes.
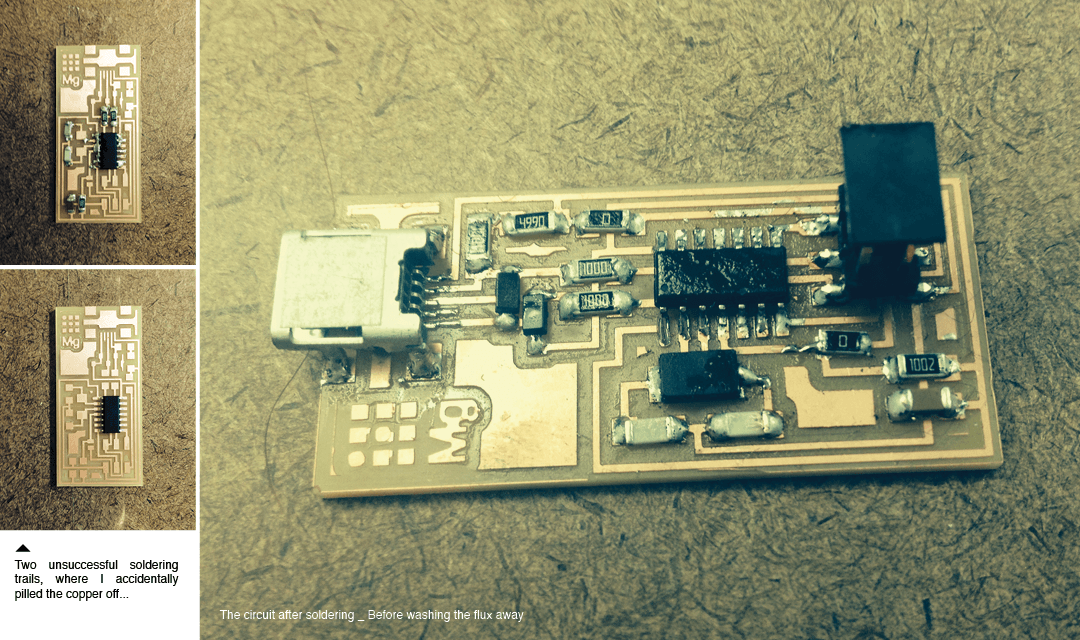
Soldering _ The part that I found most difficult was soldering – it’s a very delicate job that needs a lot of precision with tiny parts to solder. I used 3 different cooper boards until the final product (including). The reason that I needed to start over with a new cooper board was that I accidently pilled off some of the cooper from the board while soldering.
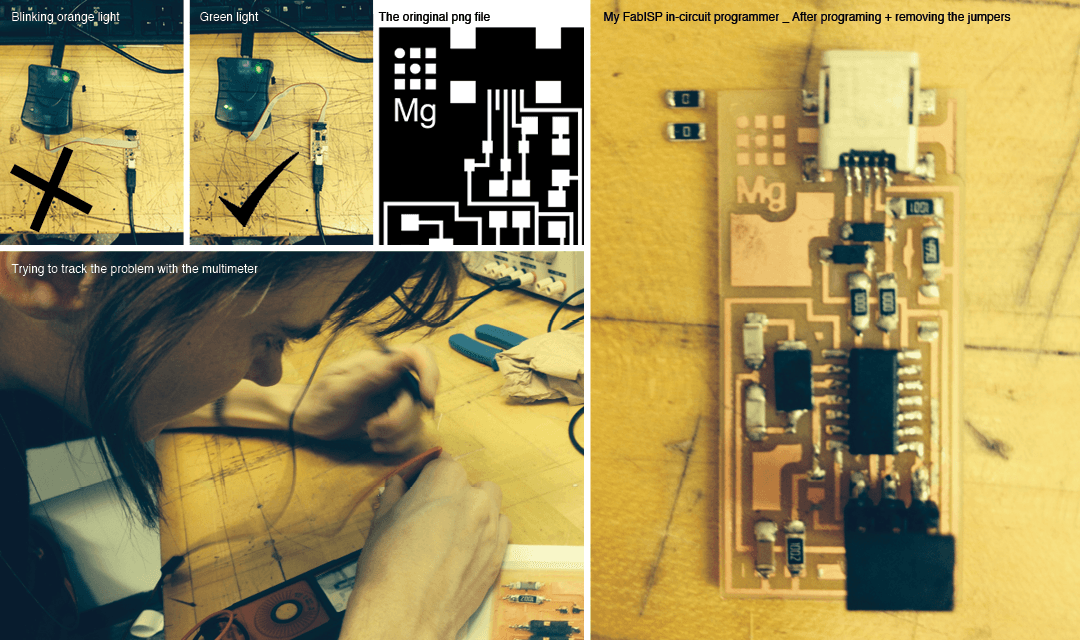
Programming _ Once my FabISP was ready for programming, I connected it to the ATAVRISP2 programmer, and the light was orange. I mistakenly thought it was yellow ,which means that the board is getting power but there is probably something wrong with the soldering. So I checked all the solder joint with the multimeter, and everything was fine… I was kind of frustrated that I don’t can’t find the source of the error, until consulting with other people which made me understand that the light on the ATAVRISP2 was orange and not yellow, which means that I only need to turn the direction of the cable! After that, programming the board was easy, following the tutorial instructions.