HOW TO MAKE (ALMOST) ANYTHING_MAS.863/4.140
Week 07_Embedded_Programming
In the past few weeks we fabricated a FabISP and designed and fabricated a board with LED and a button. This week we were asked to make the LED board do something... It was a long journey into electronics...
First I needed to de-bug some soldering issues in my board:
1. The LED pads needed more soldering to get current.
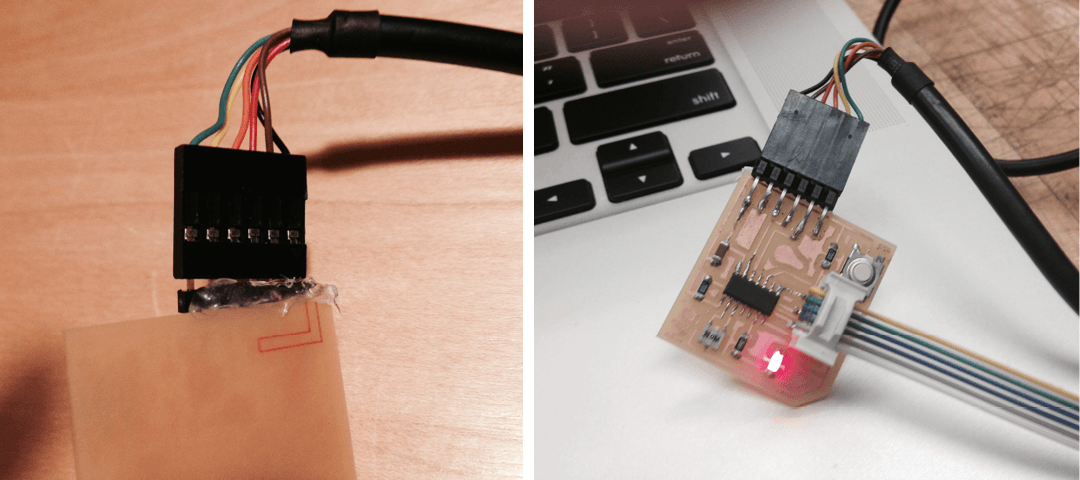
2. The header for the FTDI cable was loose, so I soldered it better and added some extra glue in the bottom of the board....
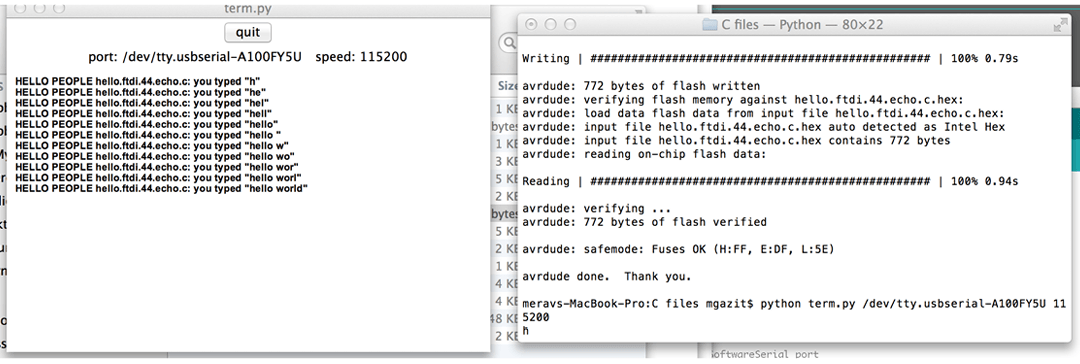
Then, I started programming the board in C. I successfully ran the 'HELLO WORLD' test
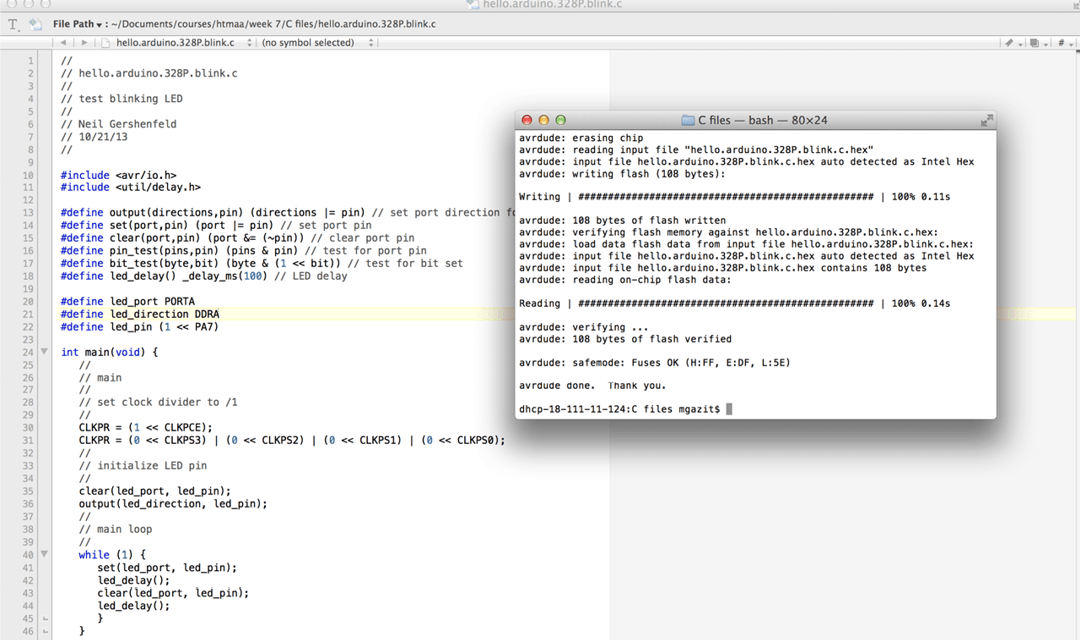
... and made the LED blink
Then, I wanted to check that the button is working. I choose a simple Arduino example for button. It worked, but the computer gave the message shown above(!). I was a little bit worried... I consulted Matt, the TA, and he said that it means I have a short circuit(VCC connected directly to GND with no resistance in between), created or triggered by the button. It took quite a while to find the cause for the short circuit...at the end, the conclusion was that I put too much soldering on one of the button pads, so it covered the button metal cover and put current in to it(!).... I fixed it by removing some of the soldering from the pad...
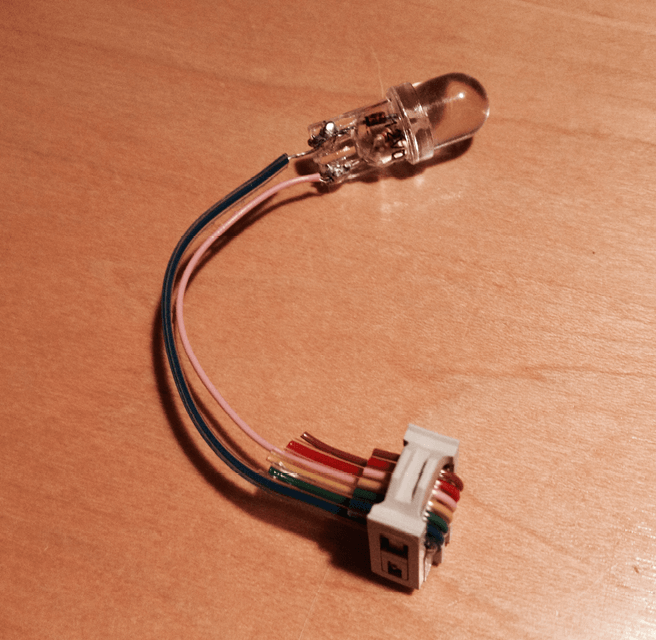
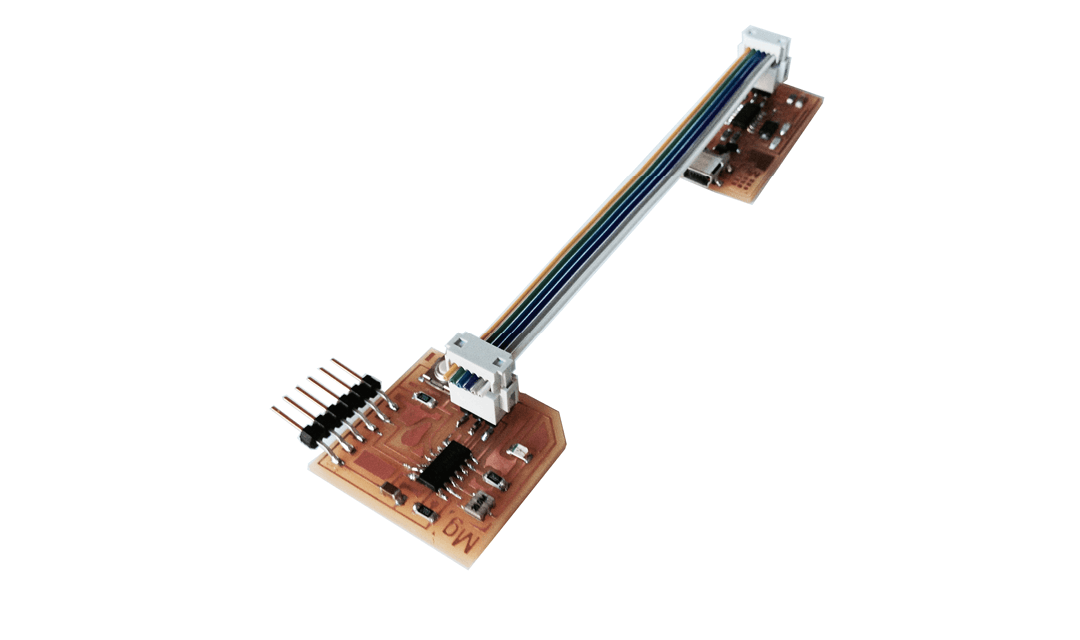
After solving all the aforementioned problems, I wanted to add something nice to my board without making a new one...so, I created an external LED to be connected to the avrisp header. I soldered 2 wires to the LED and connected them to MISO and MOSI pins which were of no use in my board. The main issue while assembling the cable was to figure out which of the wires belongs to each pin... (thanks Matt for all the great advices!)
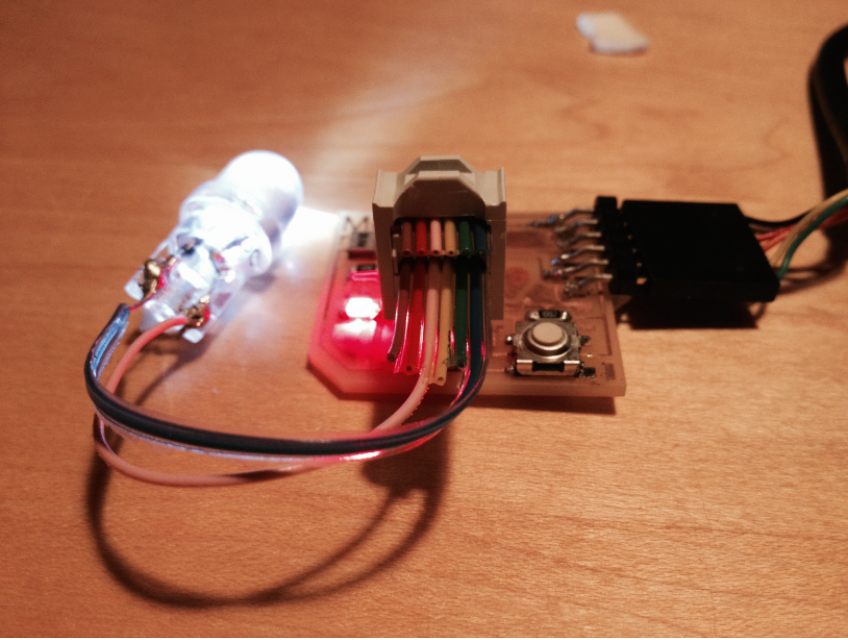
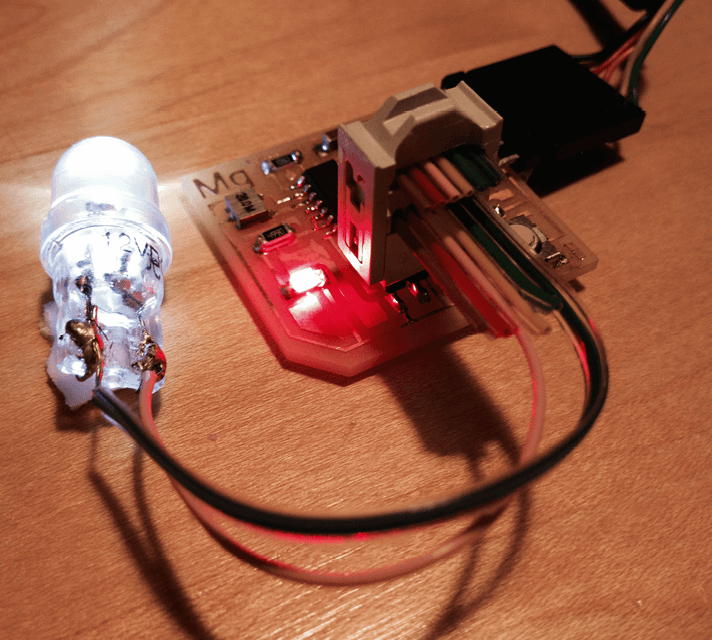
After some trial and error, it worked! I programmed the board with the FabISP, then disconnected the FabISP, and connected the external LED instead
In order to program the 2 LED and make them blink, I used the Arduino blink example code as a base, and modified it to make the 2 LED blink one after the other.
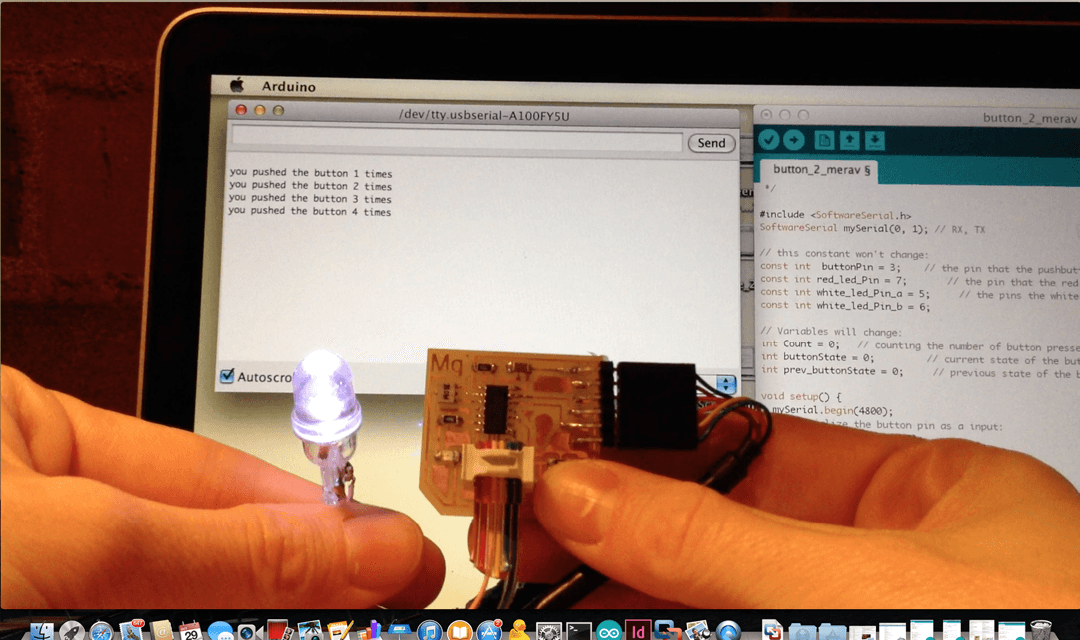
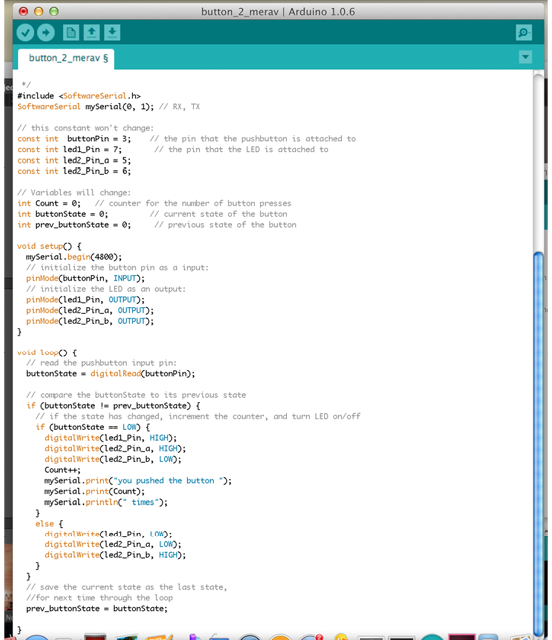
Now, I wanted to write a code that combines the 2 LED, the button, and some print statements. I downloaded 2 Arduino examples to get a basic code (‘Button’ and ‘Button State Change Detection’), and modified it to create the following code.
Snapshot of the code in Arduino