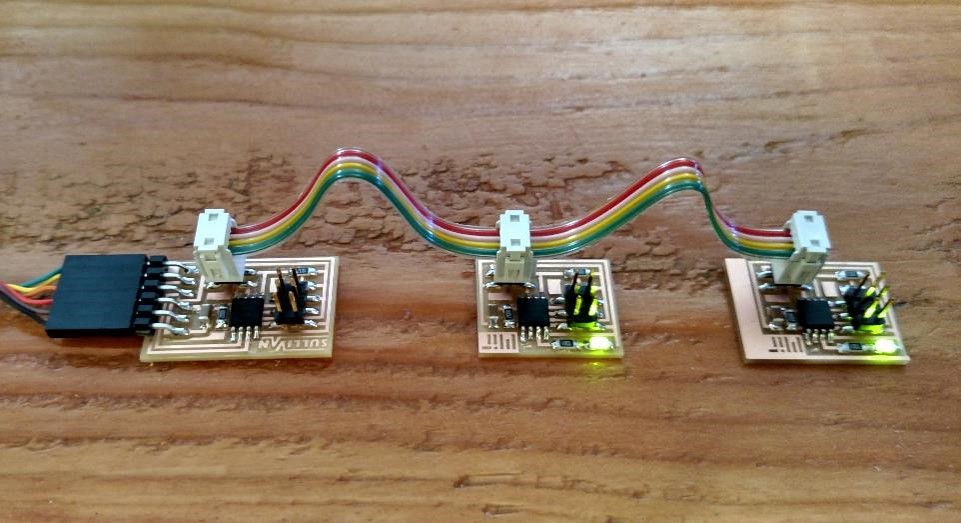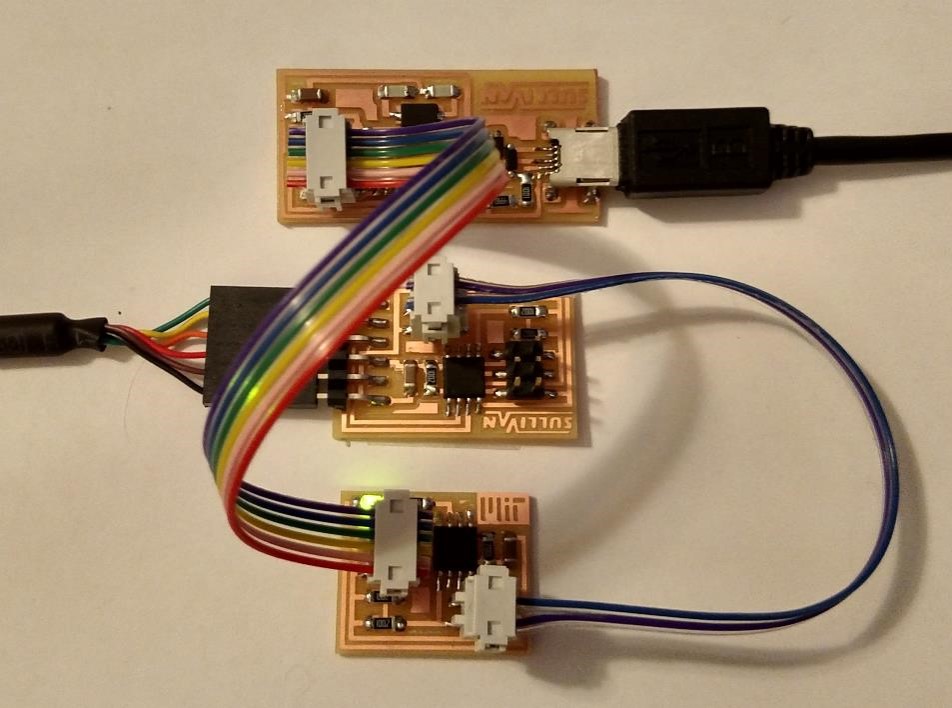
The objective for this week was to design and build a network
connecting at least two processors. I tried to use I2C
but I wasn't able to get it to work.

The objective for this week was to design and build a network
connecting at least two processors. I tried to use I2C
but I wasn't able to get it to work.

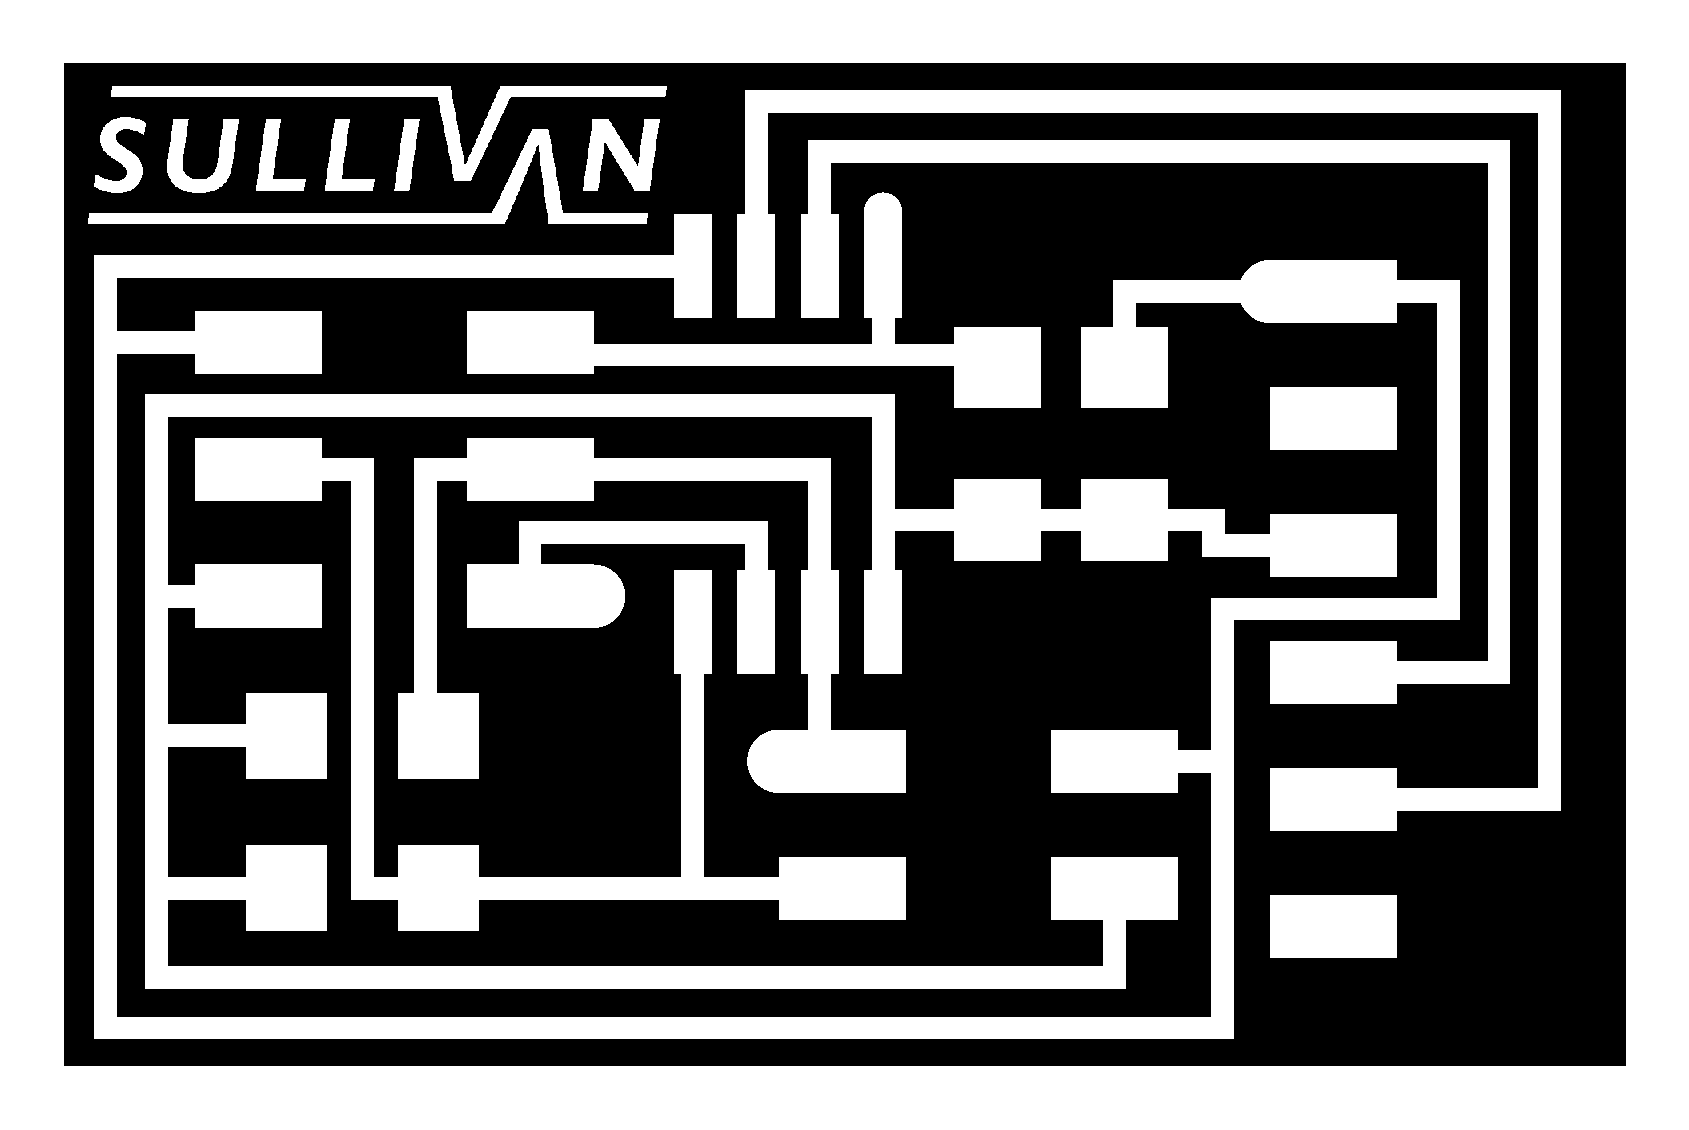
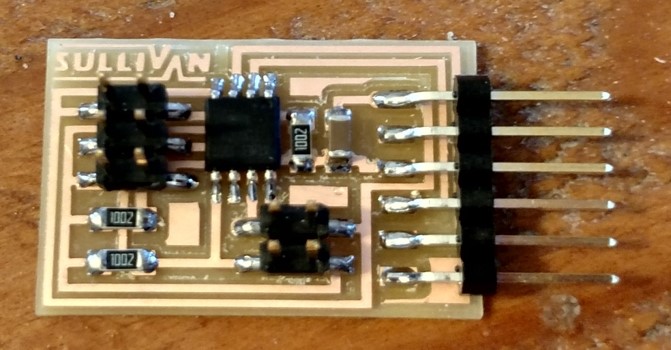
 My plan was to replicate Neil's I2C board and get used to
the fundamentals then move to more complicated stuff so initally I
left his design alone.
 This week I ran into several problems with the Roland Mill. First
I noticed that one of the set screws was badly stripped so I had an
end mill fall out while the Roland was running.


My biggest mistake was underestimating the difficulty of programming with I2C and not making the asynchronous boards as a back up before I left.