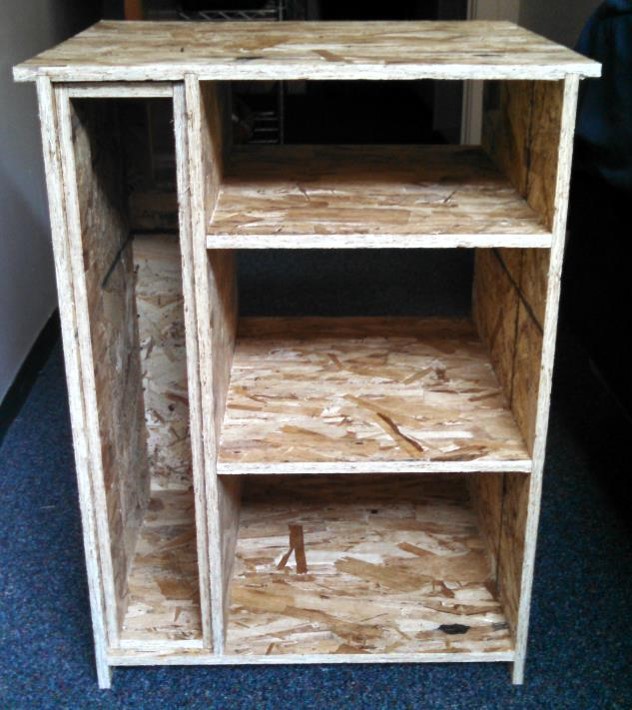
The objective for this week was to "make something big" so
I decided to make a new bed-side table for my room.
The objective for this week was to "make something big" so
I decided to make a new bed-side table for my room.
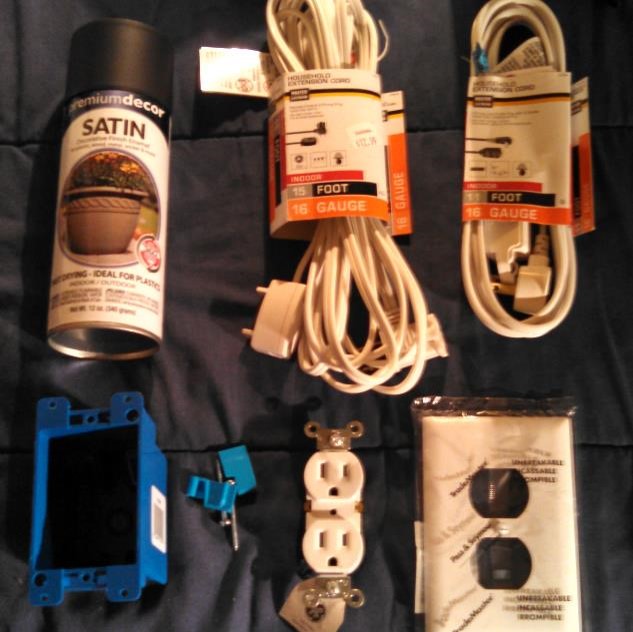
Here are all the supplies I bought for the table

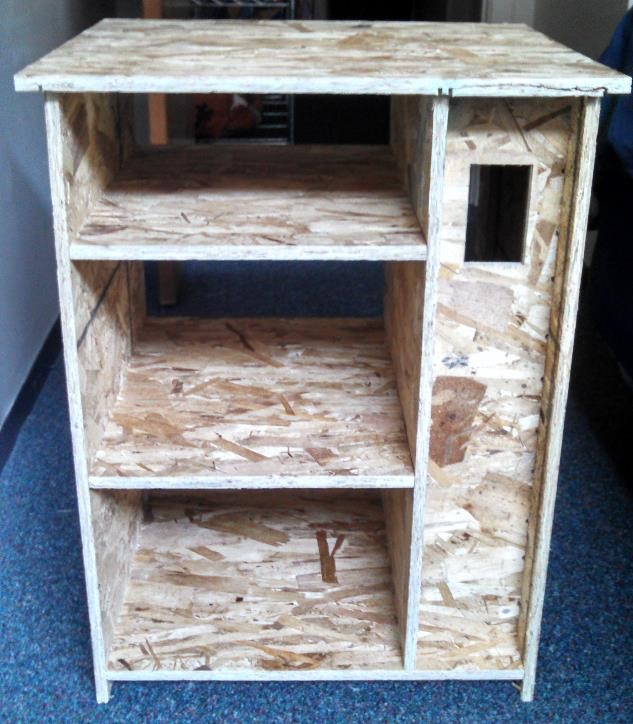
Here's the back with the hole for the outlet
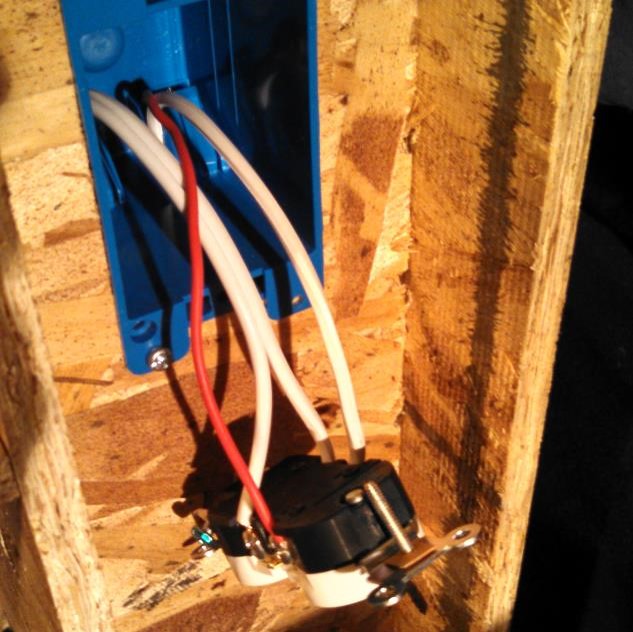
Here's the outlet installed and wired up
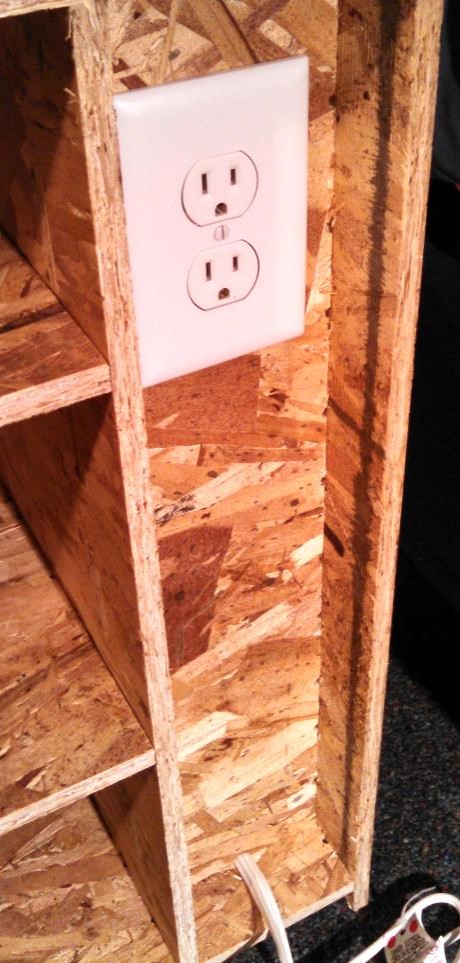
Here's what the finished outlet looks like
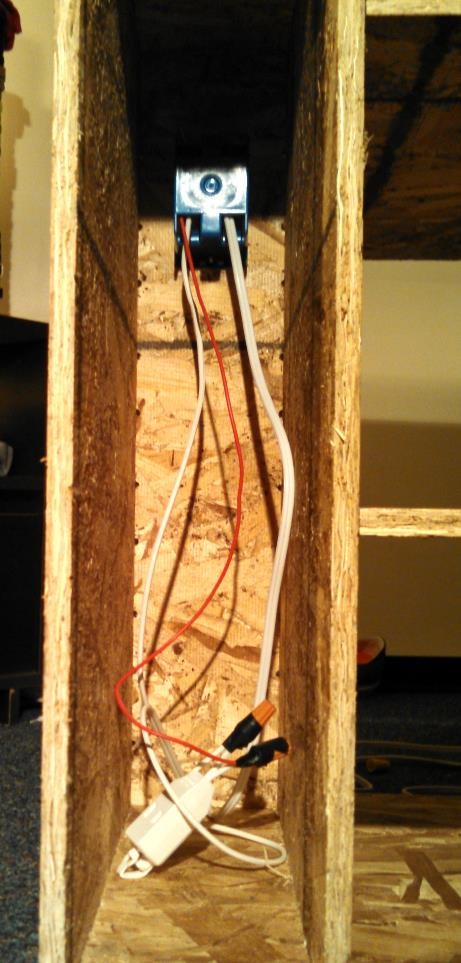
Here's what the wiring looks like inside
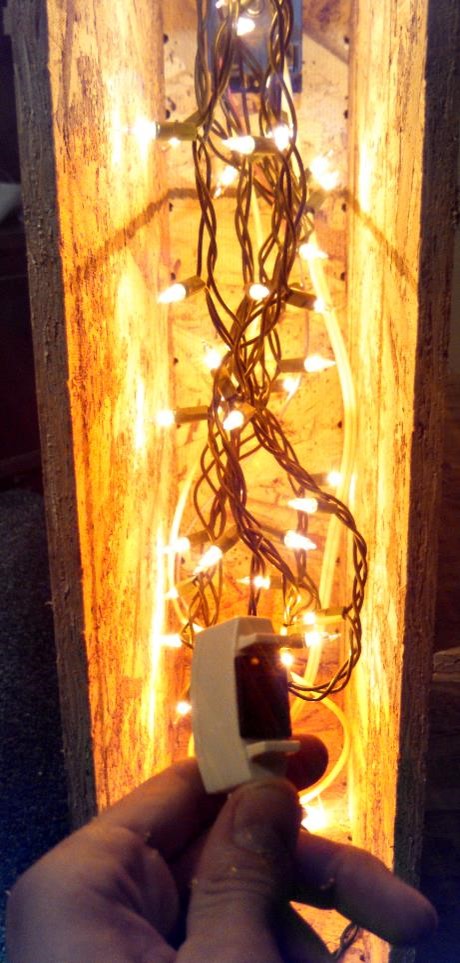
Here are the lights with a remote switch
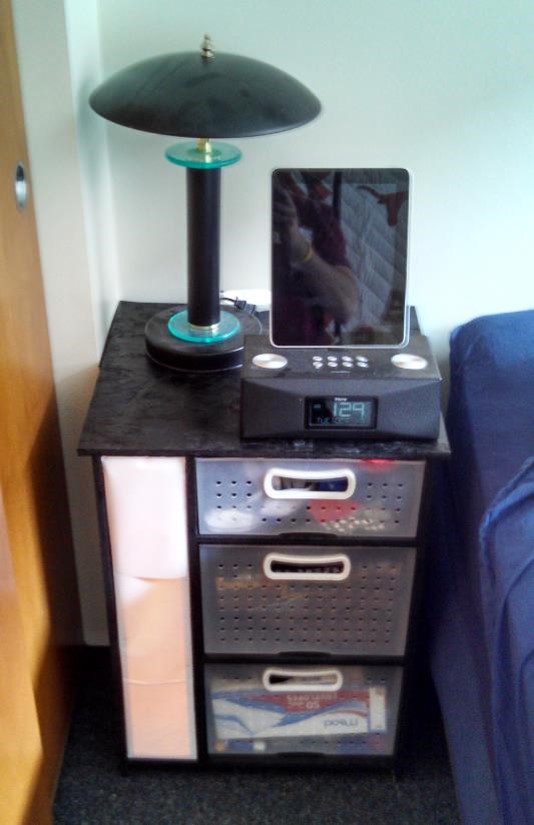
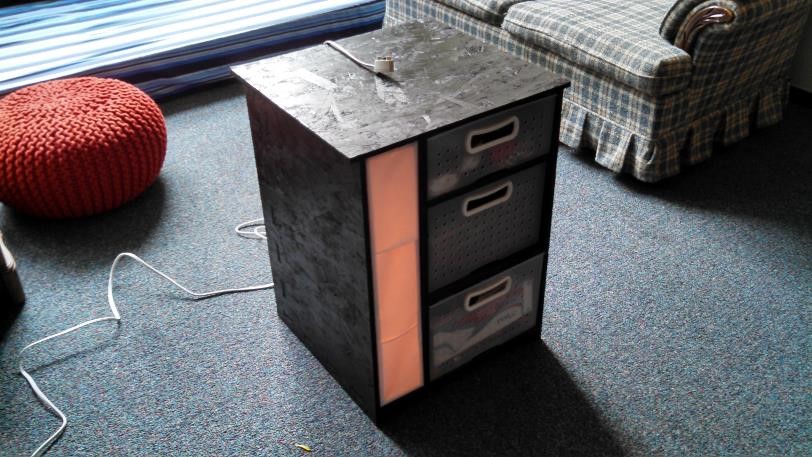
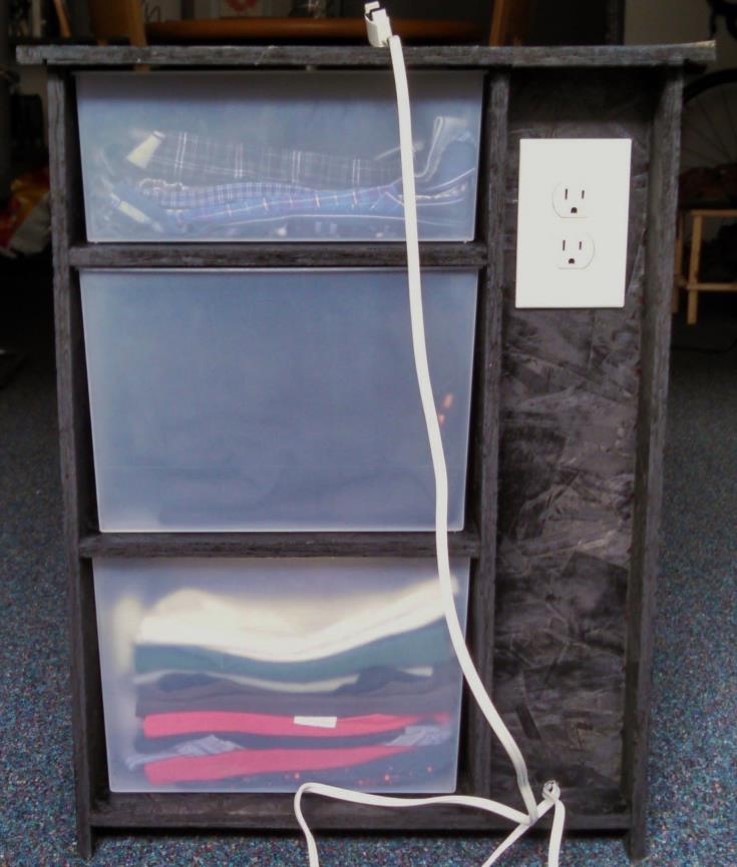 Finally, I added the drawers from the old Sterilite organizer and
painted the table black. Then I wrapped some paper in front of the
Christmas lights to give it a diffuse glow. I just used paper to show
the effect but eventually I plan on finding a better material.
Finally, I added the drawers from the old Sterilite organizer and
painted the table black. Then I wrapped some paper in front of the
Christmas lights to give it a diffuse glow. I just used paper to show
the effect but eventually I plan on finding a better material.
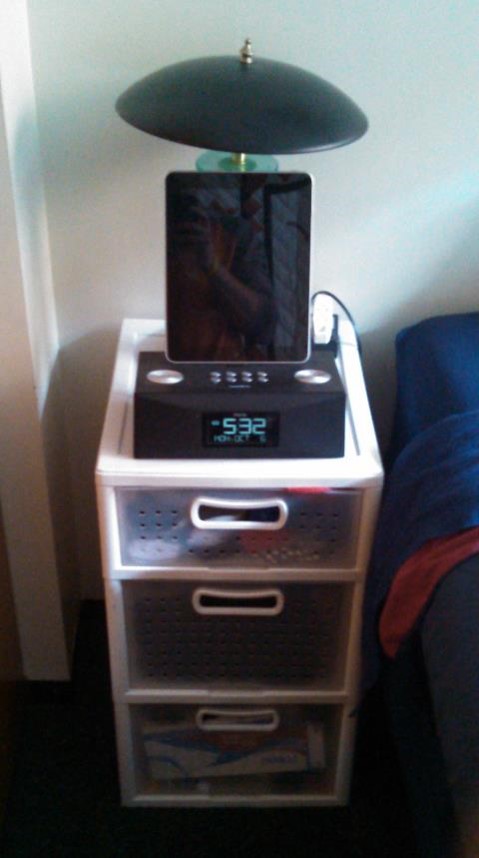
The finished product looks better than I expected and the
light works great! The drawers fit perfectly and now I have an outlet
that's easier to reach.
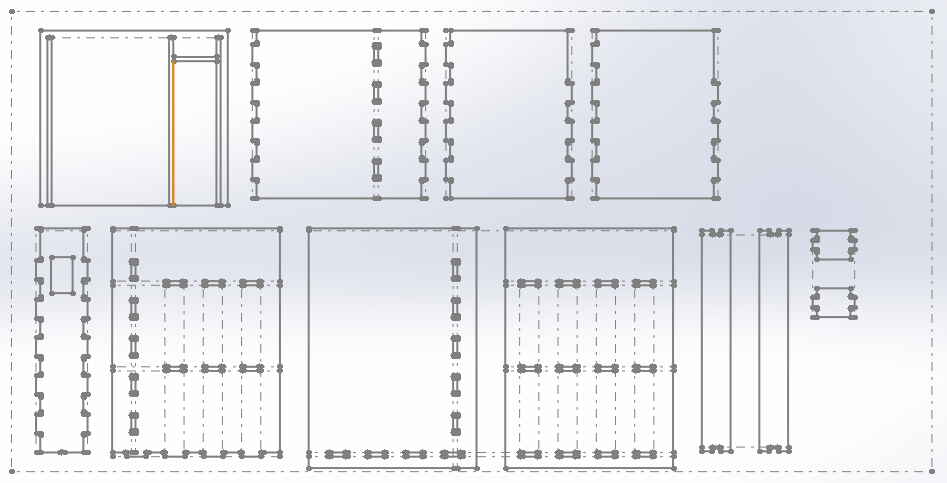
The biggest mistake I made was not measuring the OSB before milling
the parts. It made a bunch of little problems after the parts were
milled. It wasn't a huge issue but it did add some hassle. All the
other mistakes I made were explained before and weren't that big
of issues.
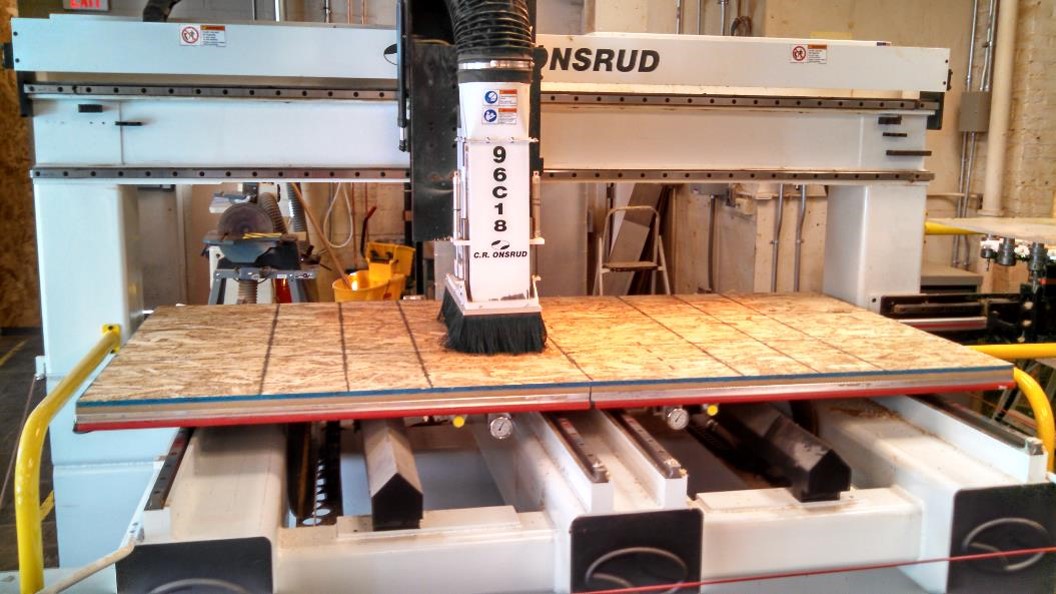
A small mistake I made that I never mentioned before was that I
made the dogbone radii a little too big. This forced the machine to do
multiple passes to remove the exess material. It doesn't seem like
much but it doubled the milling time for all my parts. If I were to
do it over again I would have made the diameters equal to the tool
diameter.