Week 10: Input Device
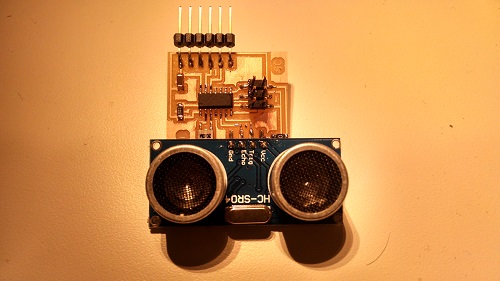
This week, we had to design our own board for a sensor, with surface mount microcontrollers, such as attiny44 or attiny45. I chose to go ahead with attiny44 since I needed more pins for my sensor.
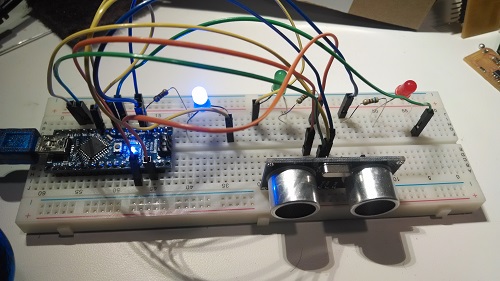
Prototype
I started by building a prototype using an Arduino nano.
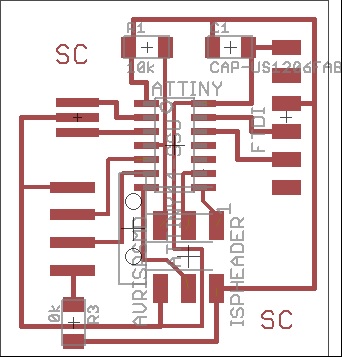
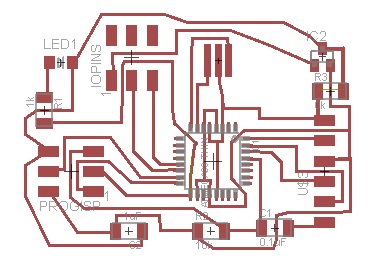
Board Design
Programming
The programming was straightforward. I keep the trigger pin high for 10 microseconds, and then make it low and listen for the sound wave to travel back on the echo pin using Arduino's pulseIn function.
long duration, distance;

SoftwareSerial mys(12,13);

void setup() {

 mys.begin (9600);

 pinMode(7, OUTPUT);

 pinMode(8, INPUT);

}

void loop() {

 digitalWrite(7, LOW);

 delayMicroseconds(2);

 digitalWrite(7, HIGH);

 delayMicroseconds(10);

 digitalWrite(7, LOW);

 duration = pulseIn(8, HIGH);

 distance = duration/58.2;

 mys.println(distance);

 delay(50);

}
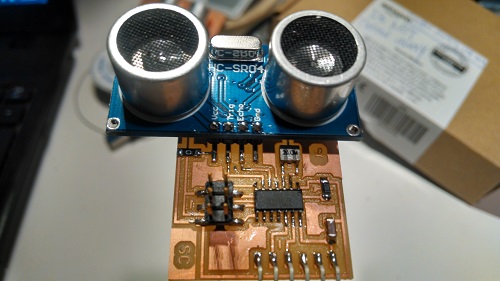
this proved to be too much code for the attiny, as the flash memory was full and it was complaining about larger program size. My suspicion is that Arduino environment's pulseIn library function might call some other libraries which was increasing the size of the code.
This was a nice board, but I had to let it go, and enter the world of atmega microcontrollers. Enough with flash memory frustrations.
Re - Board Design
I revisited this assignment in networks and communication week. I was gonna use the nrF24L01 module for that, which uses a 3.3V power source. In my design, I added a 3.3V regulator for that too.
Here's the distance sensor in action. Click the link below if the video does not load.