Week 1: Press-fit Neural Network
I have been fascinated by neural networks for a long time. Neurons are the main building blocks of the machinery for intelligence and large neural networks have certainly proven themselves to be capable and versatile. While simulated neurons still have some ways to go, they are still quite powerful tools of artificial intelligence. I would love to have a physical neural network construction kit that one can wire together easily to create smart objects or, in the worst case, interesting wall decoration.
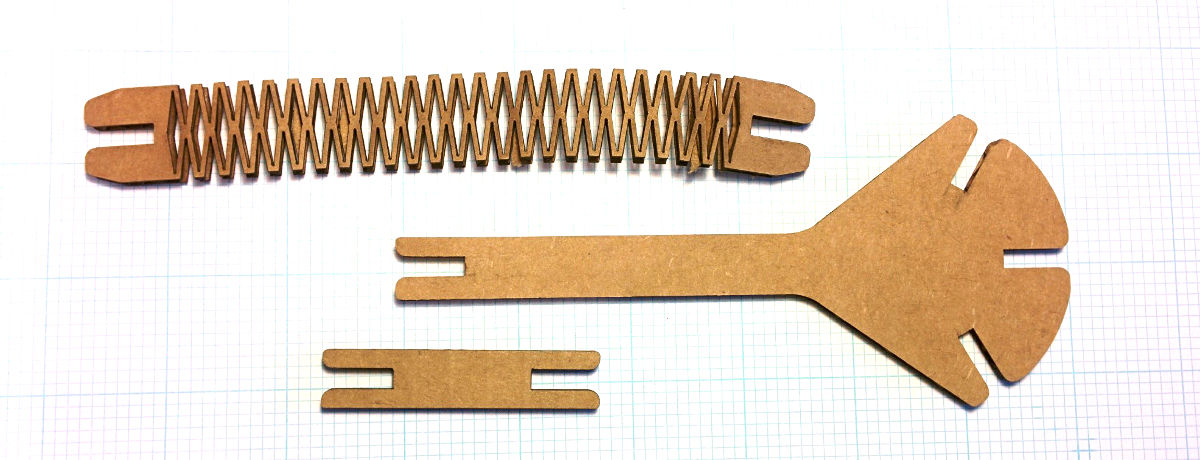
For the press-fit construction project, I wanted to have part that represents the body of the neuron with slots where the dendrites would be a and a long tail with the axon that would mate with the dendrite slot with the help of some connector pieces. Some point in the glorious future, the surfaces of these parts would be covered with conductive material such that signal and power can be transmitted using 2 lines of connection.
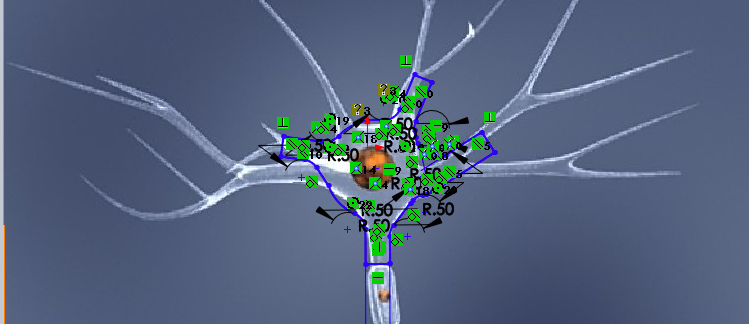
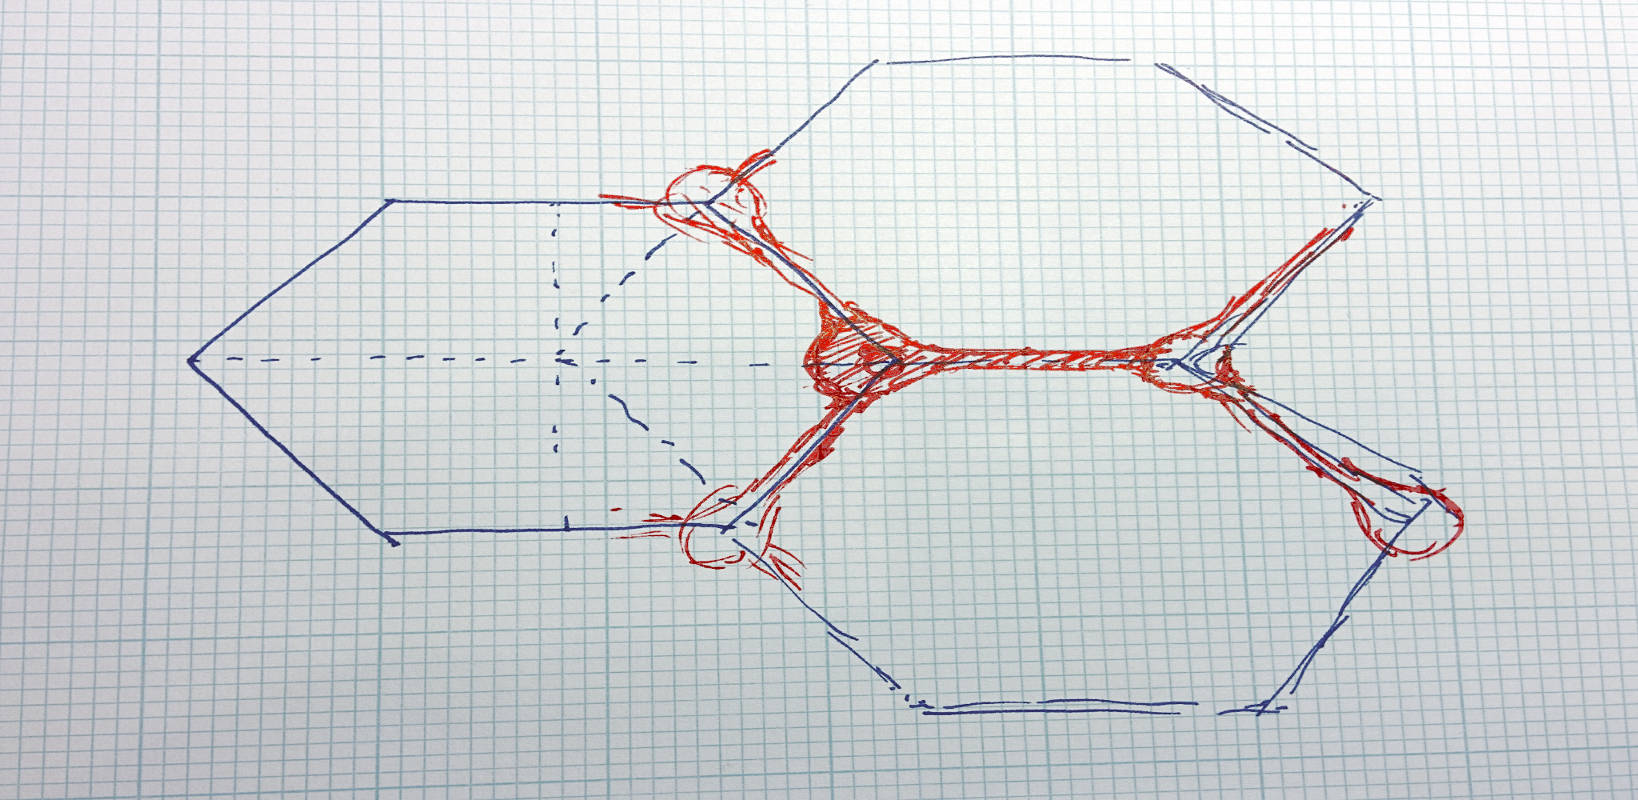
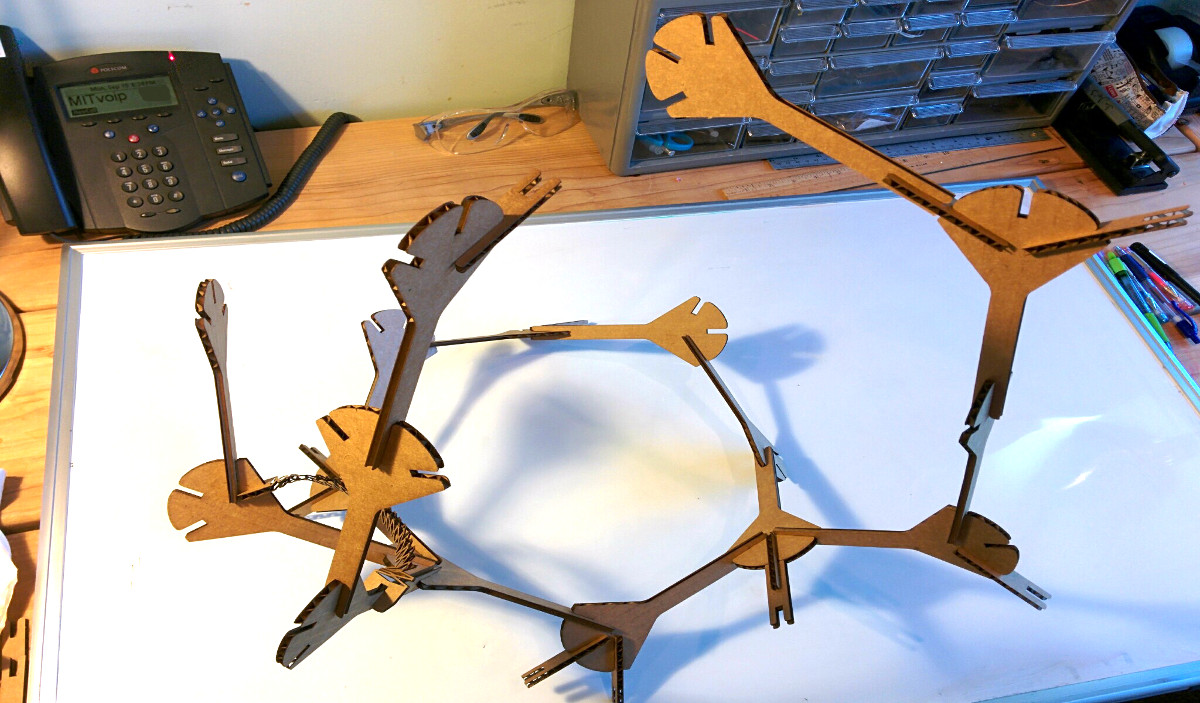
I started out by trying to create neuron parts that would look natural. The idea was that wired together they would look like an organic network. However, natural looking neurons do not tesselate easily. I had the idea of creating flexures as connectors between the neuron bodies but even then it looked messy rather than an organic whole.
So I scratched that and redid it with hexagons as the basic tile pices and then drew the neural network part over the connection point. Lesson learned: Get the tessalation right first before trying to make it look organic.
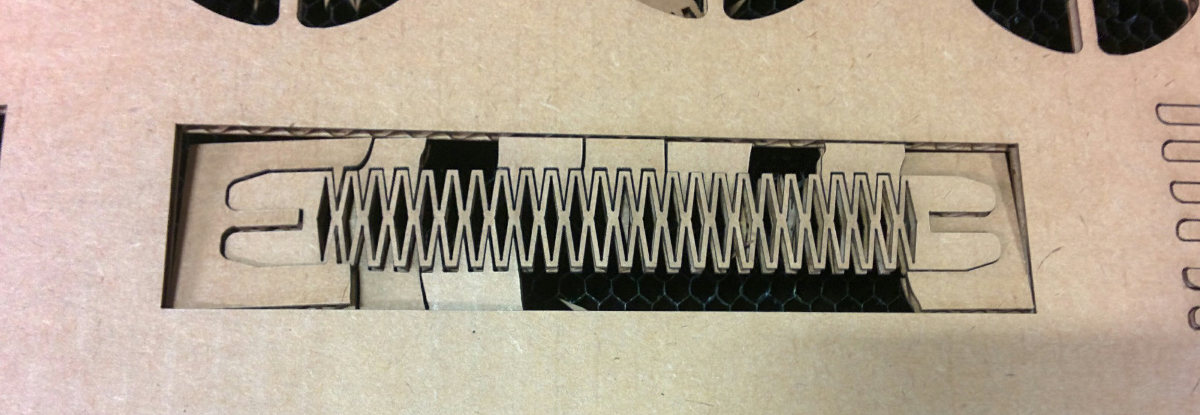
Here is the cut model:
One helpful thing I learned: solidworks lets you link in equations from an external file. Here slot_width and slot_depth are being driven from a text file for all the parts. To add equations, use Tools > Equations. When adding a smart dimension, set the value to ='variable_name'.
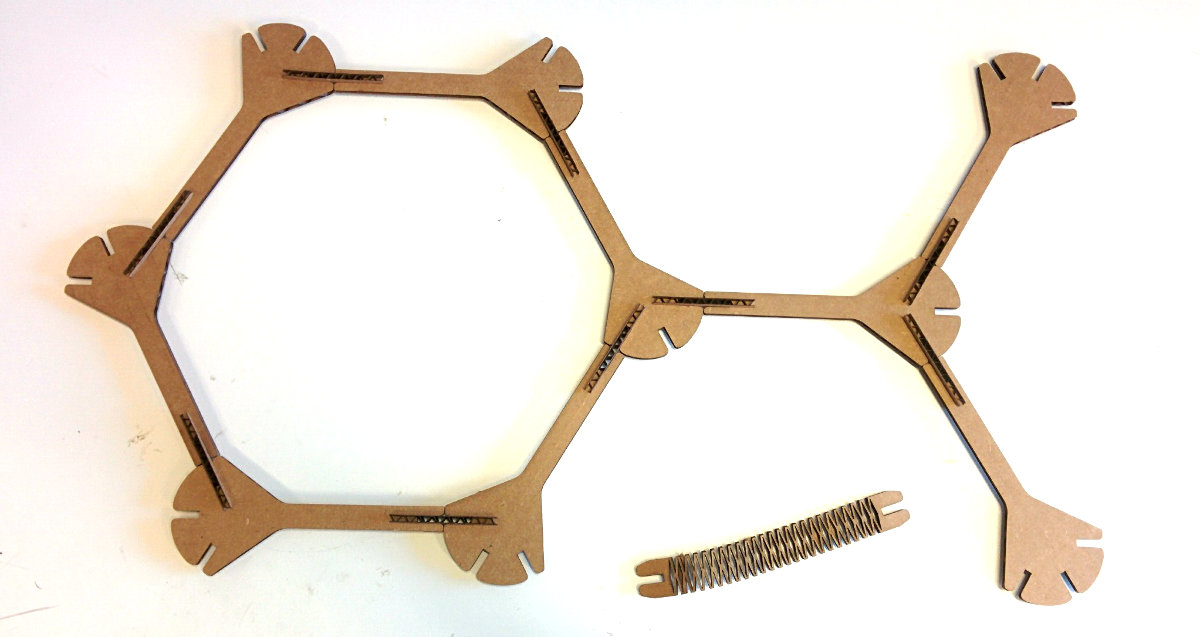
Cutting flexures was tricky as they were hard to push out of the cardboard once cut without damaging the flimsy connecting parts. One trick I found that was handy was cutting a box around the flexure and some connecting lines from the outline of the part to the enclosing box. This lets you pull the structure apart rather than having to push the felxure out.