Week 3: 3D printing: Spark-knife
The Problem

When I am going camping or hiking, the two tools I like to have on me are a knife and a fire-starter. For this week's assignment I combined the two into one tool which came down to attaching some kind of a fire-starting device to a knife. I wanted the knife to be light, foldable and made with good steel, and the firestarter to be sufficient for lighting fires with tinder and starting stoves. There are a few commercially available knife / firestarter combos but I either didn't like their blades or found them to be too bulky for my taste.
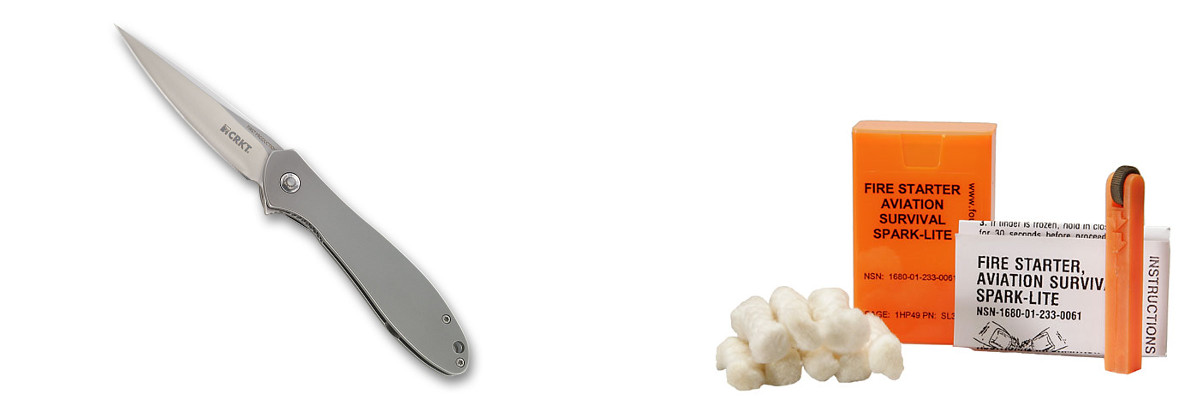
Picking the target knife was easy as I already had a CRKT Eros SS which weighs 3oz and has a decent AUS-8 blade. There is also an option to upgrade to a titanium version which weighs a mere 1.5oz. The knife has a pointy tip which is not ideal for camping but hey. Choosing the right fire-starter was more difficult. Best practice is to carry a ferrocerium. They are reliable and throw out a lot of sparks. However, I wanted to make something that would be smaller and took inspiration from Spark-Lite, a firestarter allegedly used by US Air Force for their survival kits. The mechanism is just what a Bic lighter or a zippo uses to generate sparks. A rotating wheel scrapes against a tiny ferrocerium rod that is pressed against the wheel by a spring. The rotation scrapes off bits of the ferrocerium rod and throws a modest amount of spark. While these firestarters don't produce as much sparks and have the complexity of few moving parts, they can be small and require just one hand to operate.
This is bit of aside, but it is worth calling out that starting a fire with these types of flint strikers will pretty much need a good tinder. I like tinder-quik myself. If you are somehow without tinder, you still might be able to make some out of your clothing. Les Stroud shows you how.
Designing
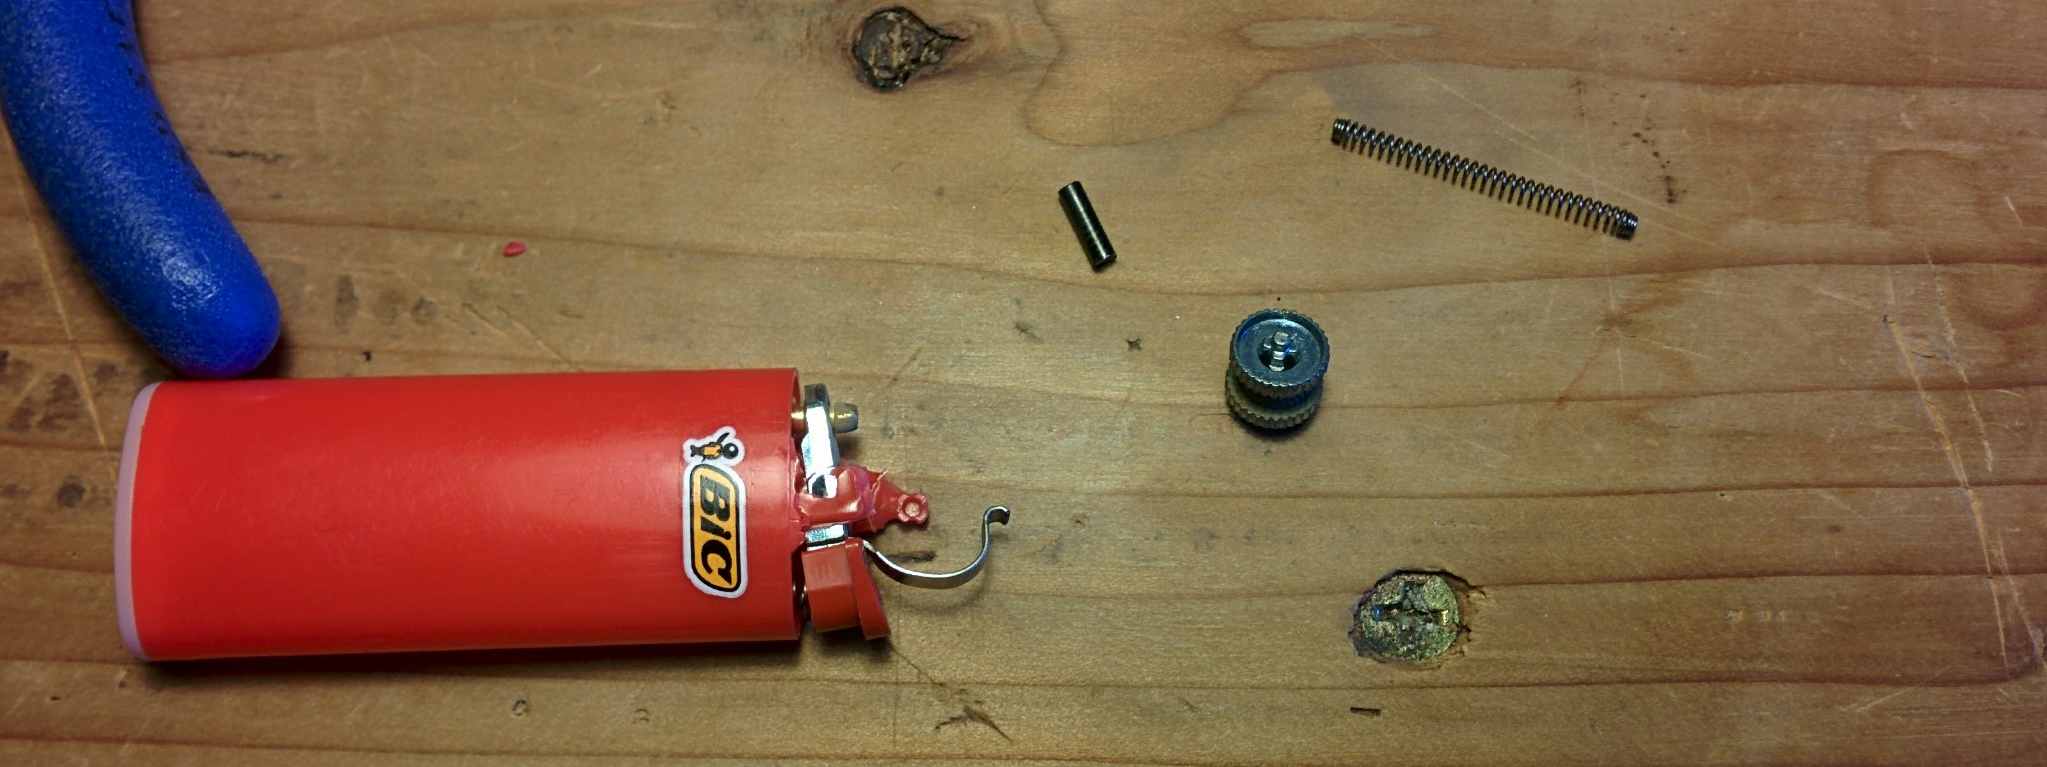
First I needed dimensions of all the parts I would be using. For the firestarter materials, I decided to cannibalize a Bic Mini Lighter. These lighters go for about $1 on amazon and so I was assured of a cheap source of parts for the future. Note to self: It isn't easy to burn off remaining gas in the bic. My bic melted after an impressive 30 mins into burning and the whole melted plastic fuel mixture caught fire. In any case, I had pulled out the striker, the tiny flint and the spring. I disassembled the knife and measured the parts with a caliper.
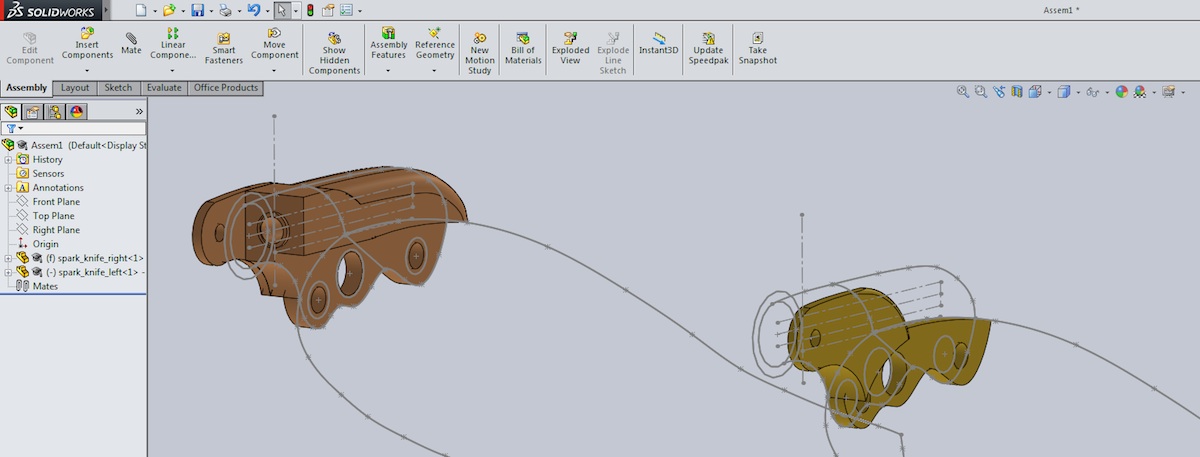
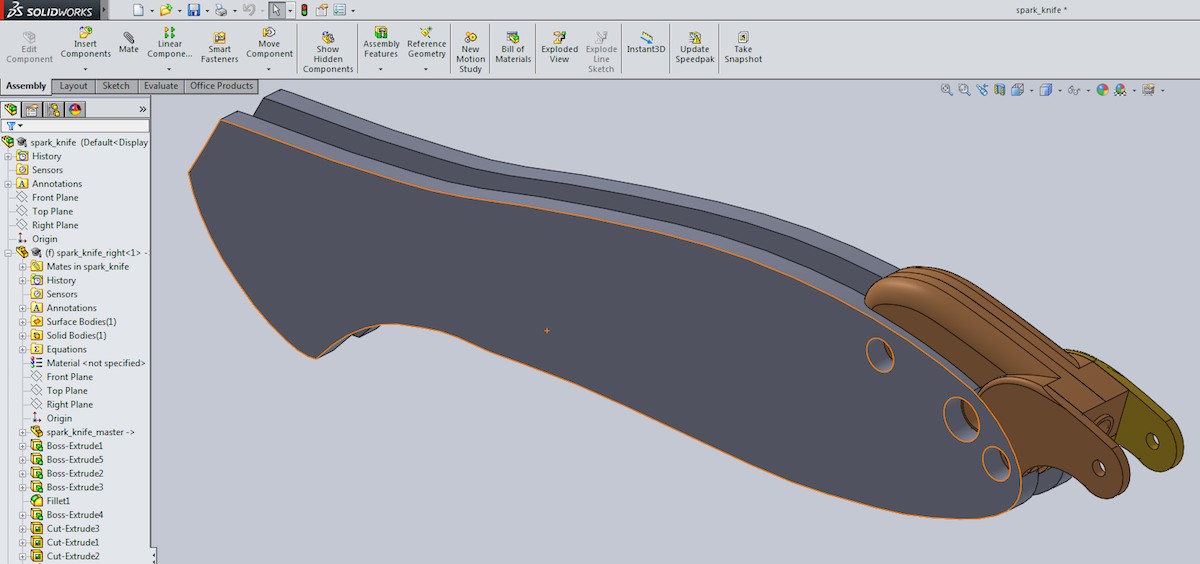
For the solidworks design, I roughly followed a top down modeling technique. I created a part for the master sketch. On a plane, I inserted a picture of the knife and then sketched in circles for the two screw holes near end of the knife. Scaling the picture was tricky but I used what I hope was accurate measurement of screw-hole distances as a reference for the scale. Then on this part I drew in sketches for all the components that I wanted to go into the attachment.

Then I imported the unabsorbed sketches of this part into new parts to create the rest of the parts. I made two separate parts to hold the striker wheel together. The bolts that hold the knife frame together keeps these parts in place. Having the parts be separable makes it possible to change the flint.
Notes to self:
- Master sketch modeling works. Need to do it consistently. In this projects some values are propagated by global variables.
- Think about adding affordances into the master sketch to make mating easy in the assembly stage.
- There has to a better way to get the shape and the parameters of the base part in. Xerox?
- Print a trial run right after tracing the basic shape in to make sure the transfer to cad model is accurate.
Printing
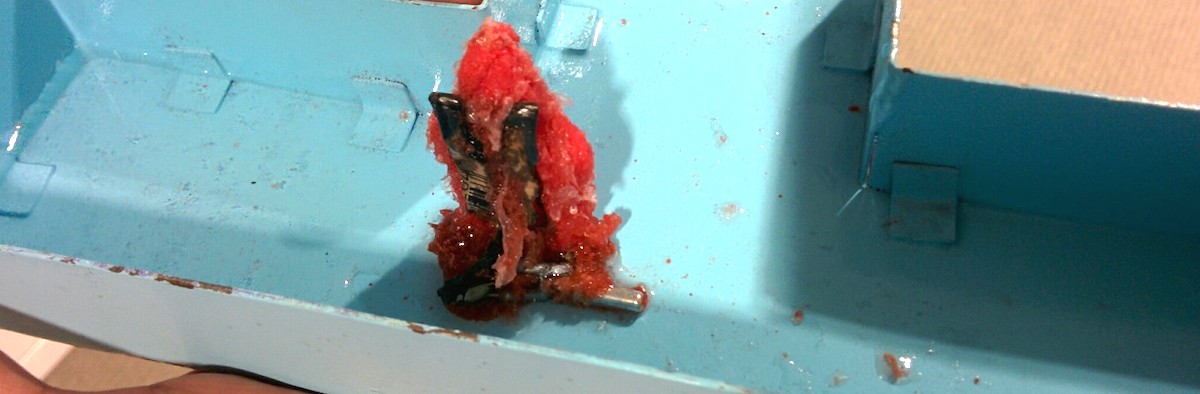
As an aside I tried using the lab's Form-1 printer to print my part. It took an hour to print and didn't quite come out. I found my part shaped objects floating in the resin which when fished out kind of looks like this:
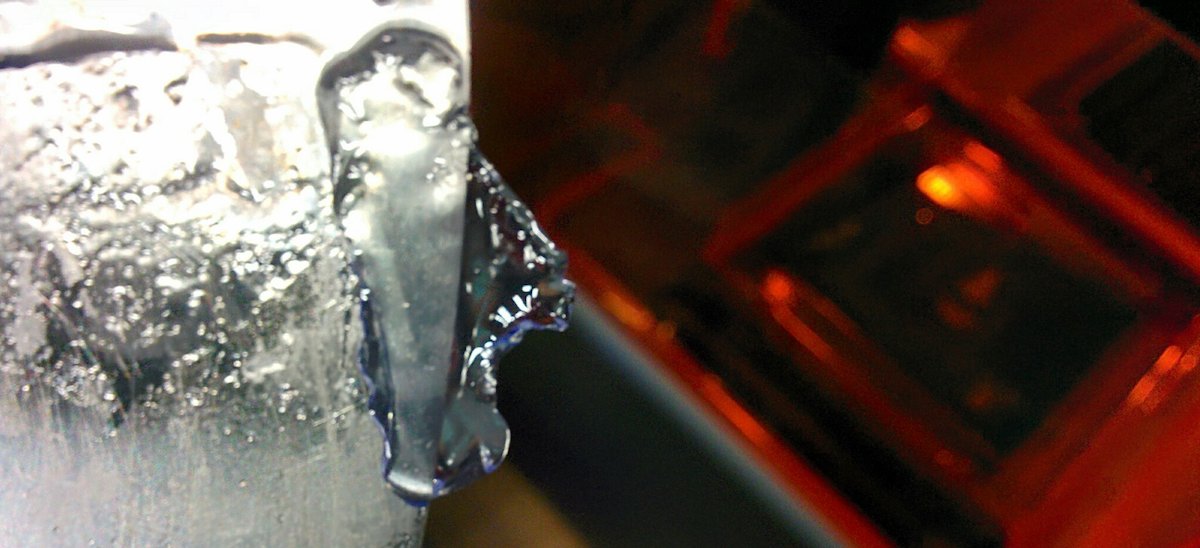
I am assuming our lab Form-1 printer is not calibrated right but couldn't figure out how to fix it. I ended up getting my part printed on the Dimension FDM printer. The FDM printer is not unlike the garden variety makerbot but prints in two different materials: one for the part and another for support. The support can be washed away. Here are the parts on the build plate with the support material:
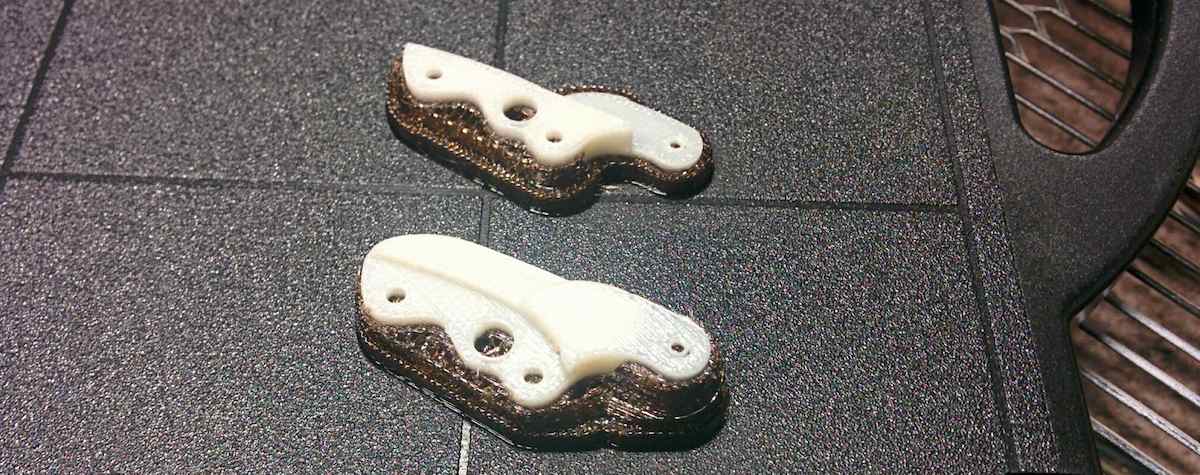
Looked good but the printing wasn't accurate. In general more material got deposited than what I had speced. Holes were smaller than design and two plates between the knife frame was a good .4mm thicker. The screw holes didn't quite line up which may have been a design problem. I did another iteration with some quick correction which mostly constituted making holes bigger but still had problems. The part didn't sit as flush with the knife as I had hoped and the spring wasn't going into the hole. So at the end of the day we go back to benchtop tools of dremel and drill press.
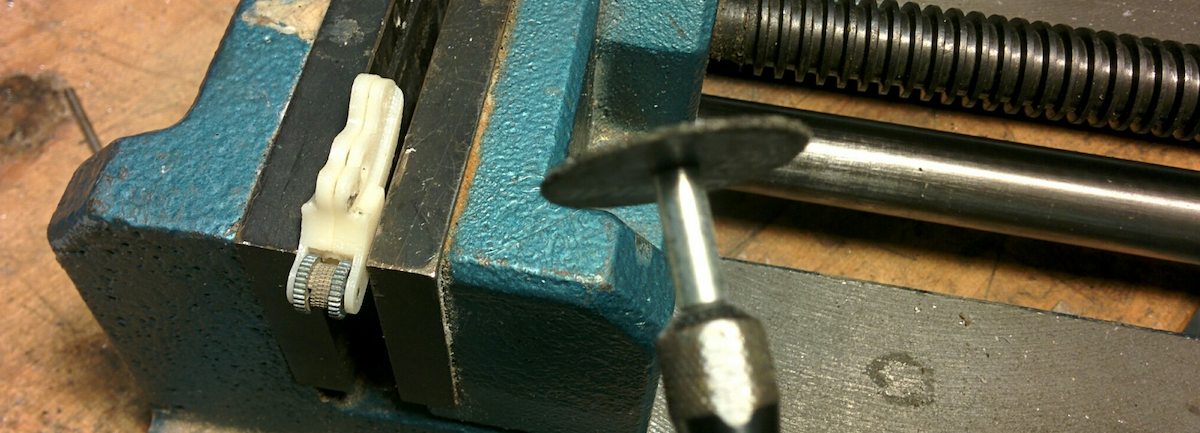
I cut out some of the plastic to help it fit better and with the drill widened the hole and took burs out of it. The screw-hole still didn't line up. Note to self: make a simple part out of the first sketch to make sure screw-holes and the contours line-up. I knew that loading up the flint was tricky by design. You have to push it in, hold it down, push the flint in, hold it down and then pop the stricker and the second plate on. A mistake could send the tiny flint flying across the room. However, I got it on the first try including the correct orientation of the striker wheel (assymetrical cross on the right looking down).
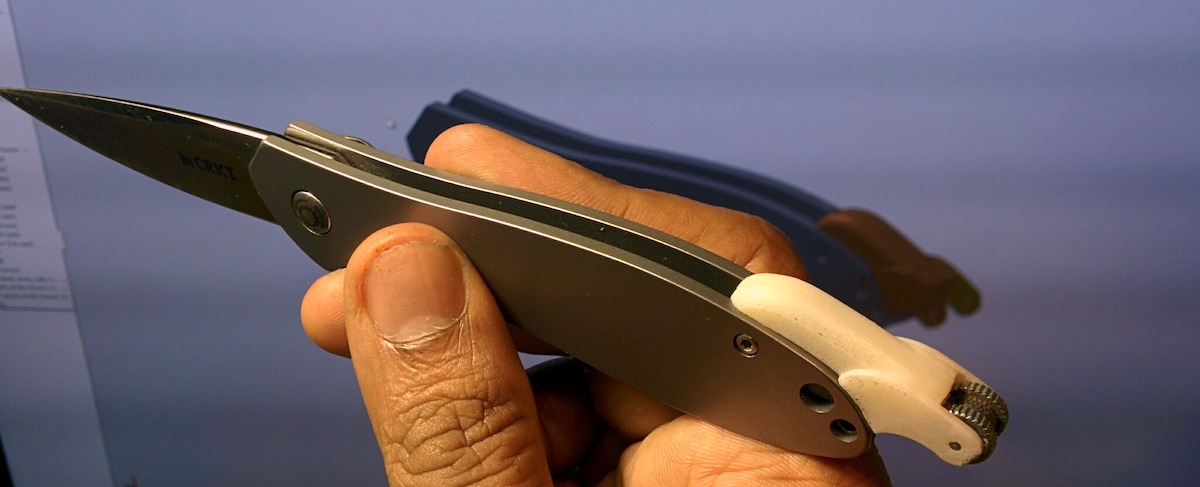
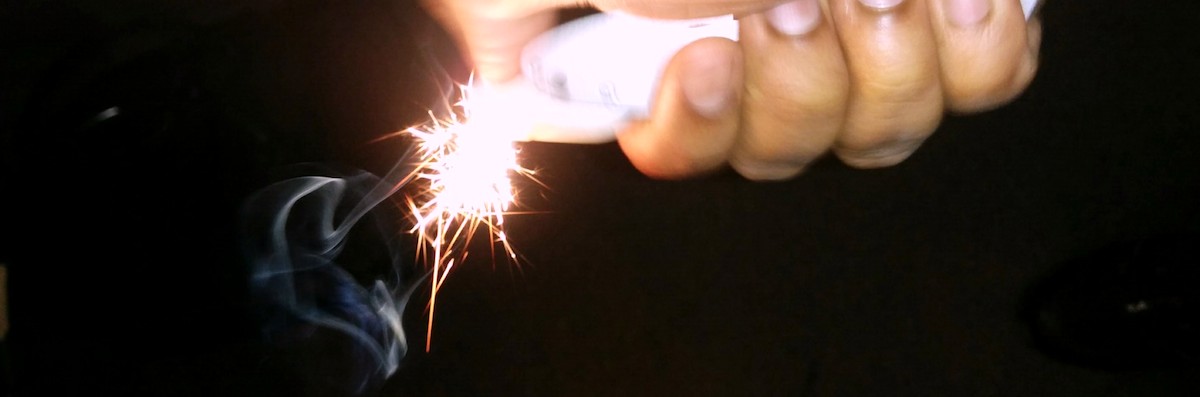
Overall it is pretty small as you can see from the picture. It is throwing out a good amount of sparks and I didn't have any problems lighting some cotton tinder on fire. Well, other than holding it too close to the sparker and getting cotton gummed up in there. Here is an youtube video:
Scanning
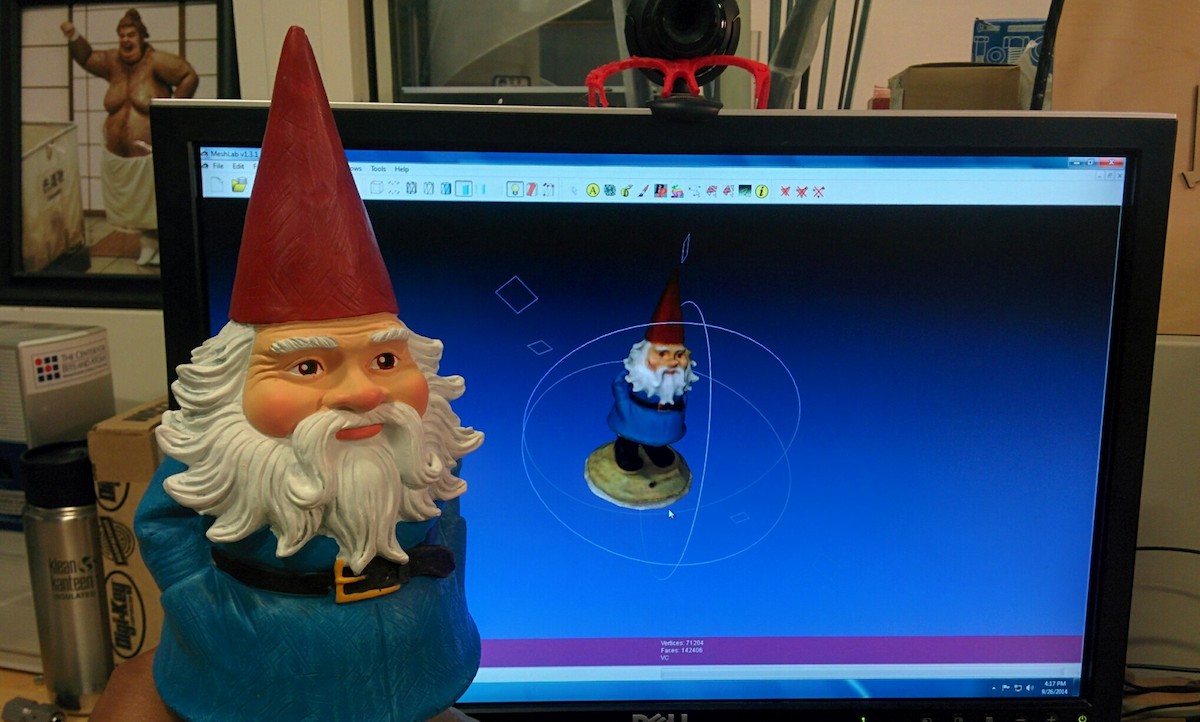
Scanning was a walk in the park by comparison. I used the Sense scanner to scan my desk gnome with. It took some patient scanner waving to get all of it scanned. Then some trimming and solidification later I had a pretty good model of it.
Bloopers
This is what happens when you try to burn the remaining fluid out of a mini-bic.