Week 6: Penrose Tiles
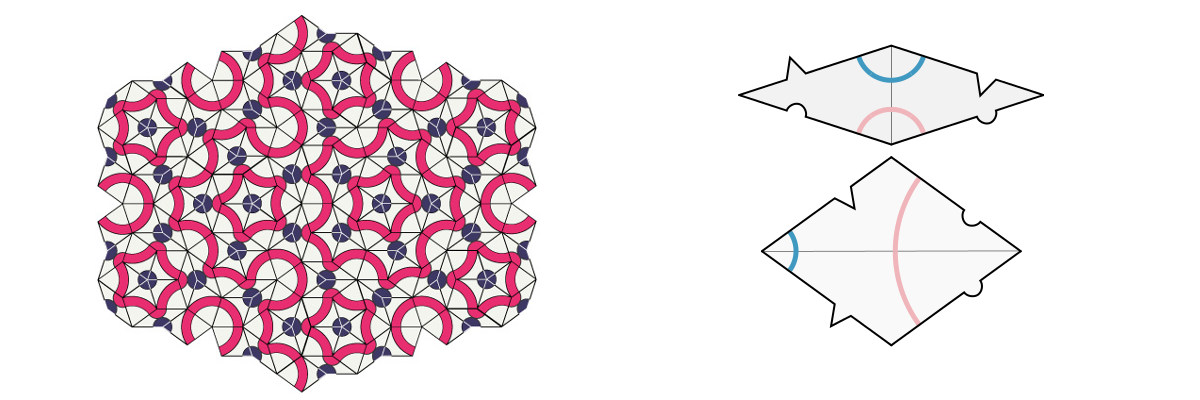
I have been getting interested in penrose tiles. The neat thing about these is that just a couple of simple shapes and a matching rule will produce a tessalation that is aperiodic. That is to say the pattern produced by the tiles never repeats. Most example of penrose tiling that I found produce very geometric looking patterns. I was intereted in creating in creating an organic pattern that hides the underlying rhombi and could be used as a wall decoration.
Design
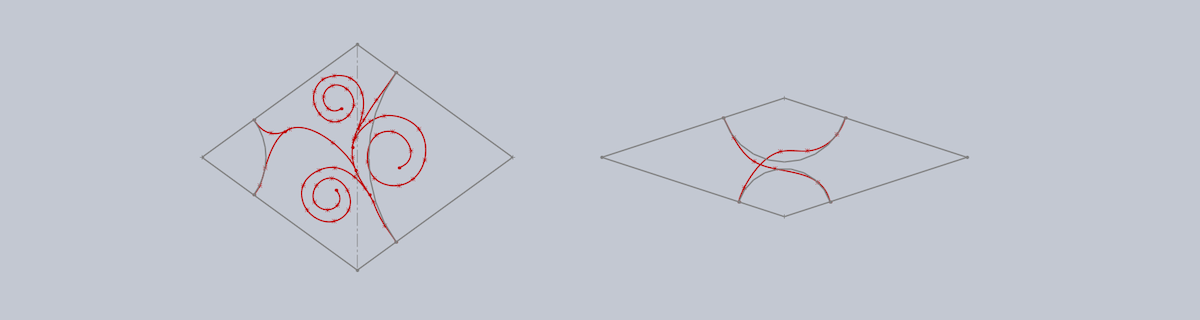
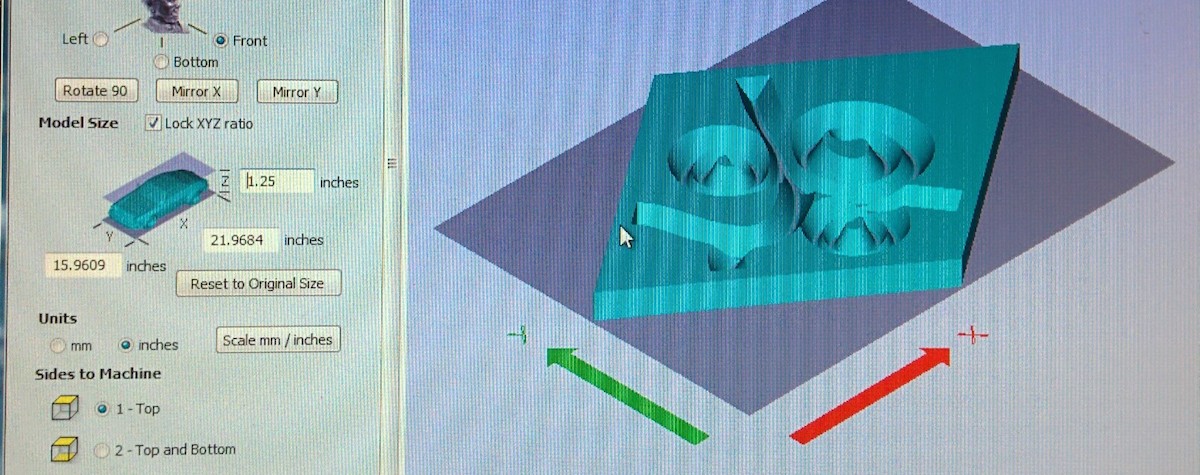
I start off with a handy master sketch where I take the basic penrose p3 tile and add the template for my organic pattern.
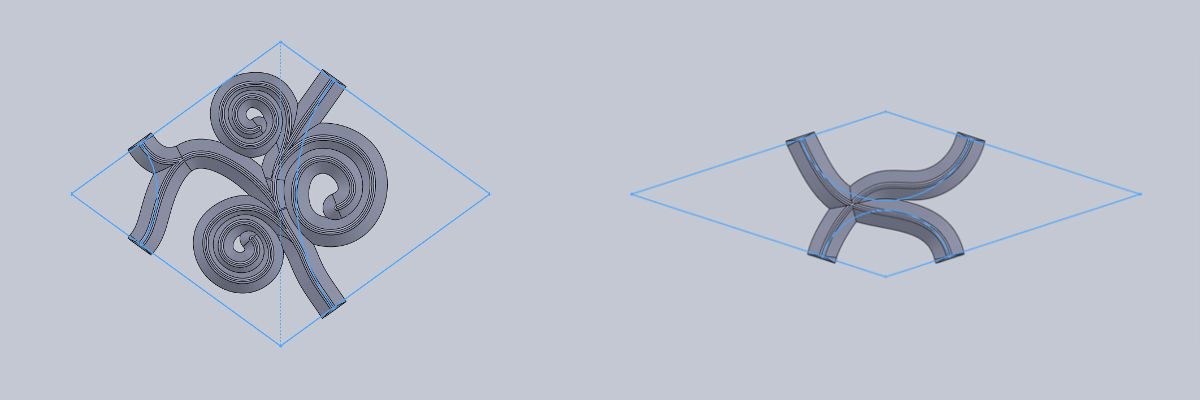
Then I create separate parts for the fat rhombus and the skinny rhombus and import the master sketch into each. For each of them I thicken the flourish lines with convert and outlines and extrude with an outwards draft. This process took a bit of fiddling around to figure out. Trying to sweep boss a shape down the path or an inwards draft didn't work because the shape was self intersecting.
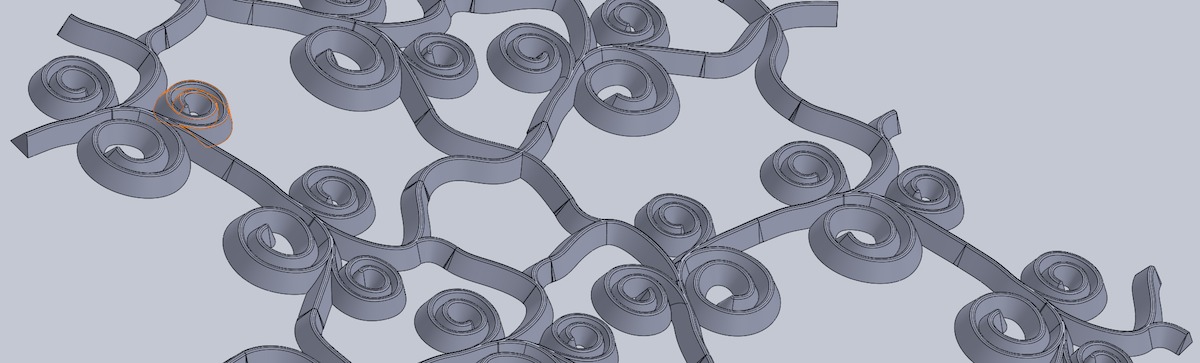
Here is an example of how the shapes look tiled:
Milling the mold
Given my parts were shallow and had large draft angles I went for creating a negative mold with the intention of casting my part straight into it and not mucking around with oomoo. To create the negative mold, I used solidwork's cavity tool to gouge out the rhombi.
Here I used partworks 3d to generate the tool path. Parameters for roughing and finishing passes:
- 0.25" Ball Nose end mill
- Pass depth: 0.25"
- Stepover: 50% for roughing, 40% for finishing (ugh)
- Spindle speed: 8000 rpm
- Feed Rate: 180 ipm
- Plunge Rate: 75 ipm
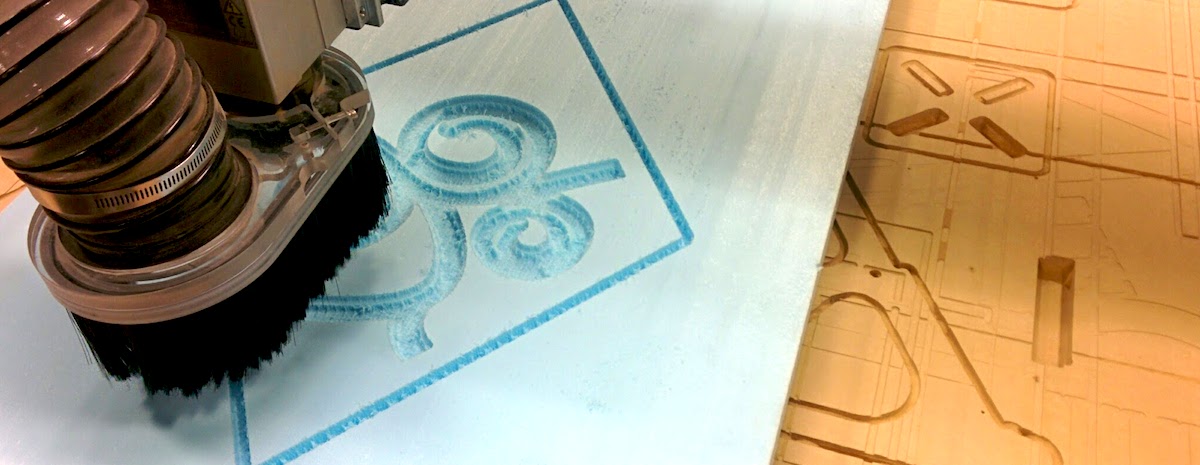
Shopbot does its thing. Note that the actual time taken by shopbot was 2x what partworks estimated. The two molds that were 1' on each side and about 1" deep took an hour and half to make and that too with a very high stepover. And at the end of it we got this:
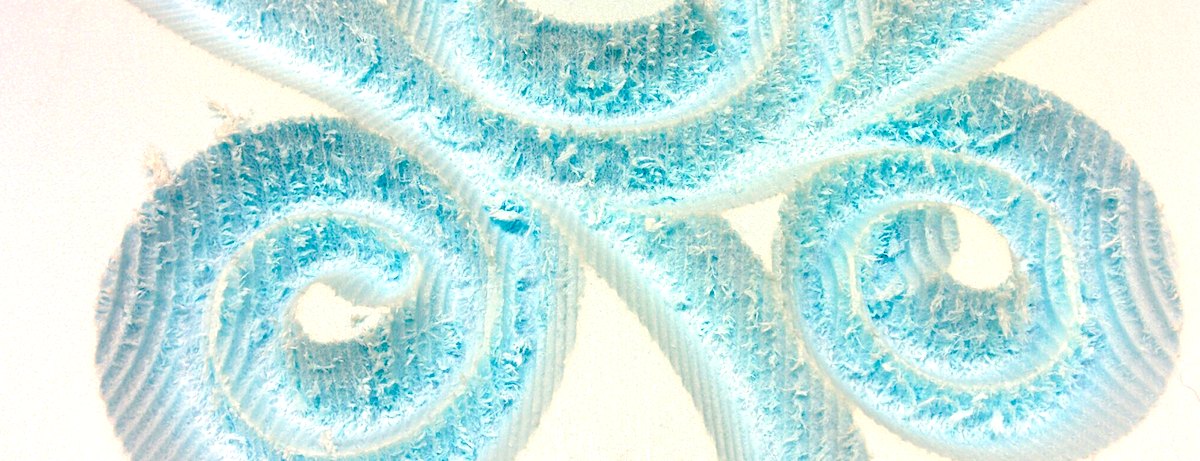
That looked awful. You can see the effect of the high stepover as it left distinct grooves in the foam. The hairiness may have been the result of the relatively low rpm (8000). I tried to sand it but the sandpaper took out chunks from the foam. I need not have been concerned because heatgun!
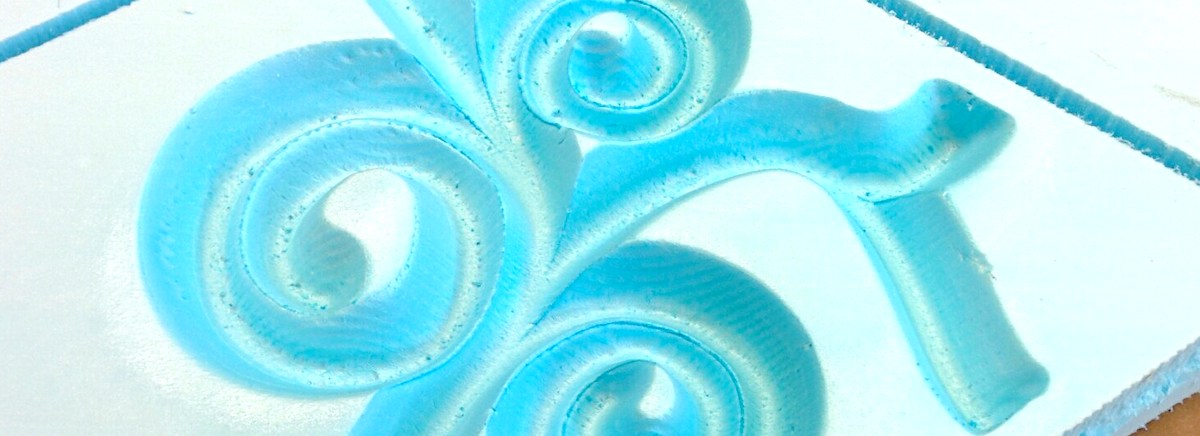
The heatgun was amazing at smoothening out the rough edges. It didn't quite take out the hairs though but left them curled up into little balls on the edges of the wall and particularly the bottom of the grooves. I figued the much acclaimed gesso would help here:
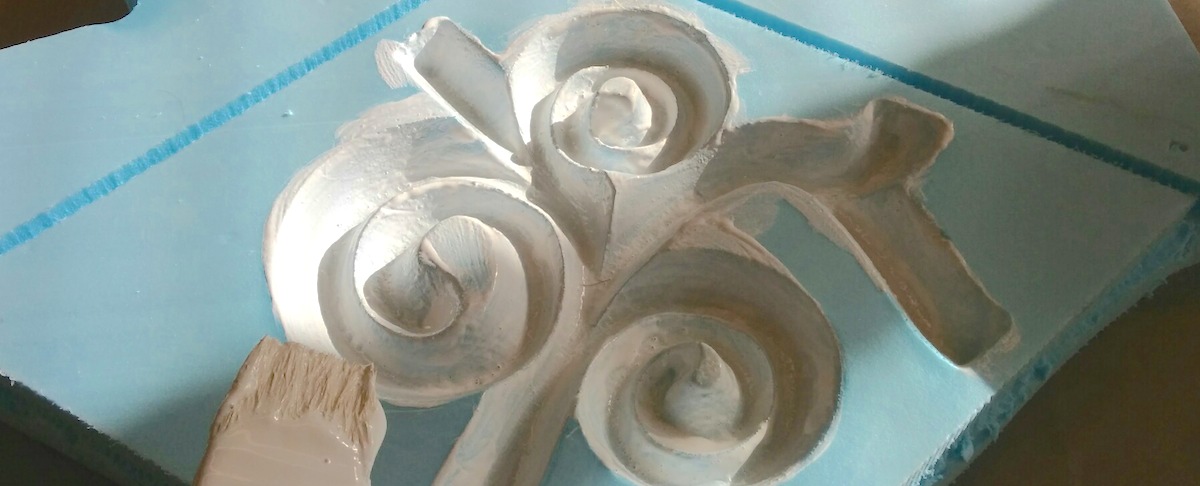
I don't think the gesso'ing helped in the end. The coating I put on was more uneven than what heatgunning had done.
Casting
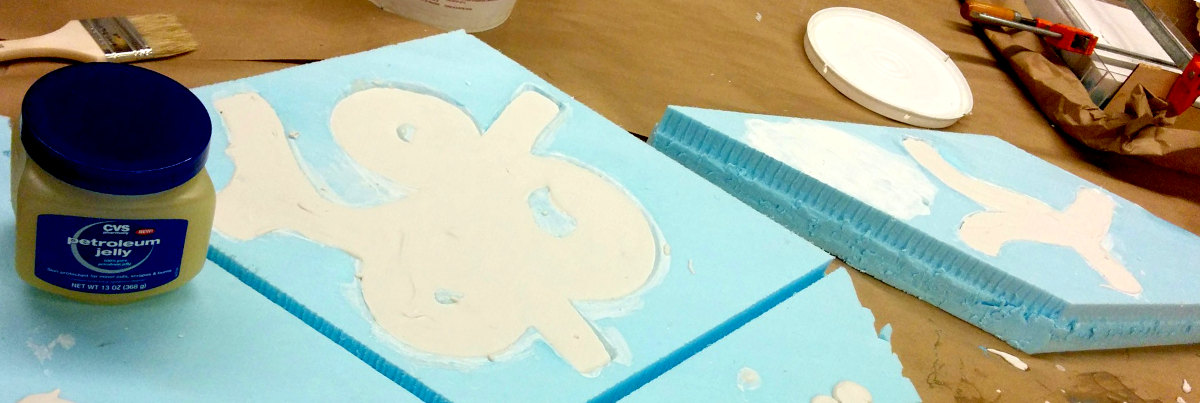
I first coated the inside of my mold with vaseline which in the end saved the mold during demolding. Note to self: put vaseline even on bits that you don't intended to cast on the offchance the material gets spilled on to it.
This part took about 1.9kg of hydrostone to cast. A mistake I think I made here was that I used somewhat lukewarm tap water to mix the hydrostone with. It started setting more quickly than I expected and you can see lumps on the top and more on the bottom.
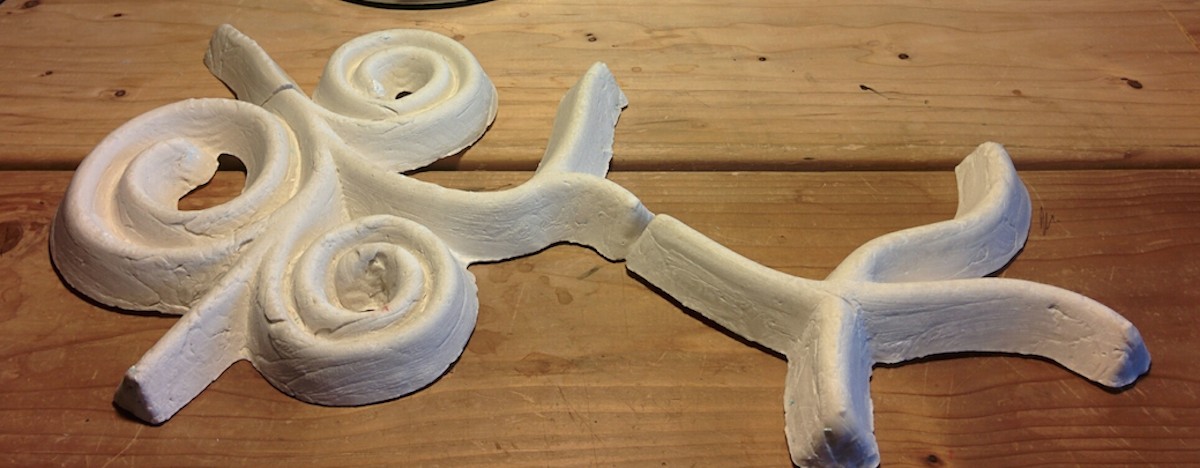
Well, here we are. A bit of a lumpy start to the penrose tiles. Good news though is that the mold survived this process and in theory could be churning out more tiles even as I write this.
Part Deux
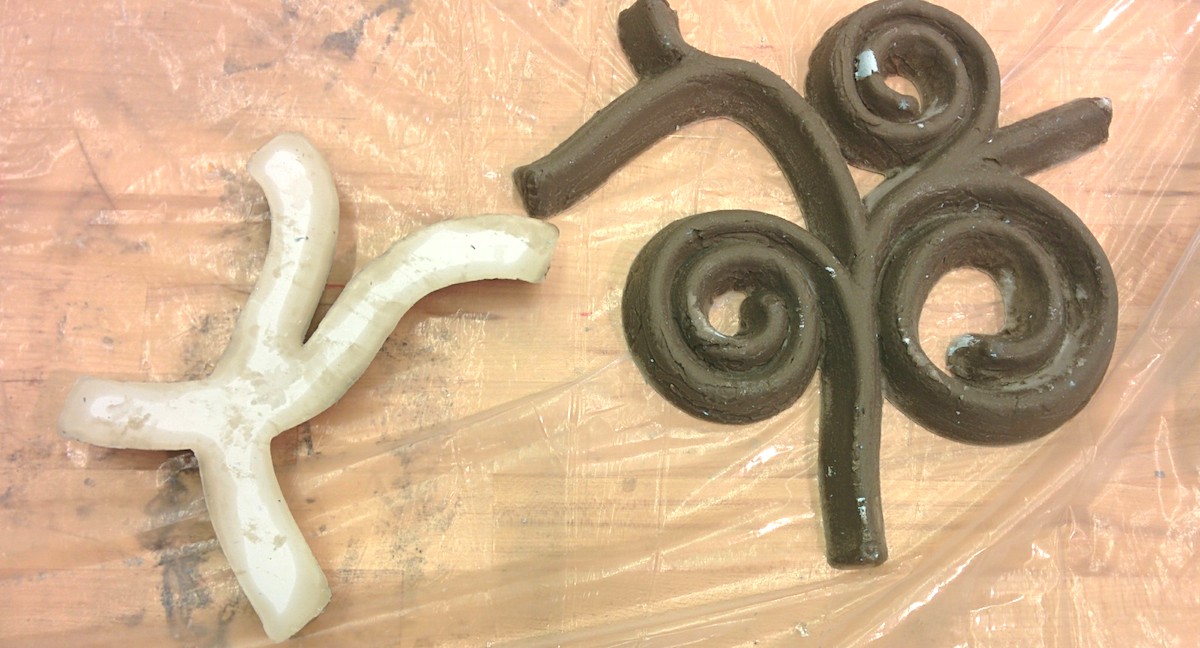
I recast with Hydrostone Super-X in mold lined generously with petroleum jelly. Here is the cast part after 36 hours:
Neil saw it and advised me to bake it in the oven. Apparently that gets hydrostone to loose the moisture.