I started with the 3D scanning part of this week's assignment. I decided to scan a small foam fish with the Sense, a 3D scanner whose software also allows you to edit your scan.

The Sense and the fish.
Scanning the fish was way more difficult than I expected. Manually moving the Sense slowly and steadily all the way around the fish without the Sense losing track of where it was was a huge pain. It took me at least 30 tries to get something I thought was clean enough to use. Once I got a decent scan, I cleaned up the mesh, trimmed the bottom surface flat, and exported the file as an .stl.
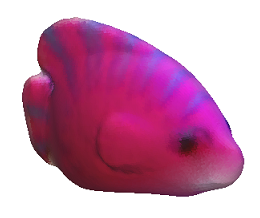
A (relatively) clean scan.
I then scaled the fish down and printed the fish on the Makerbot Dual Replicator. It turned out recognizable, albeit a bit blobby (unsuprisingly).
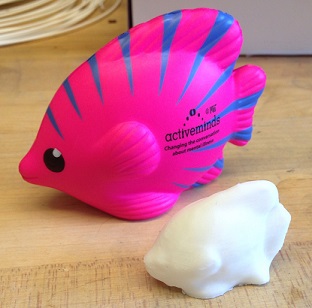
The printed fish next to the original.
For the 3D design part of the week, I wanted to take advantage of the Dimension printer's dissolvable support material and make something that absolutely could not be made subtractively. I ended up using SOLIDWORKS to CAD three nested spheres with heart and circle cutouts.
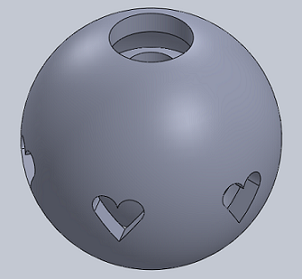
The SOLIDWORKS model.
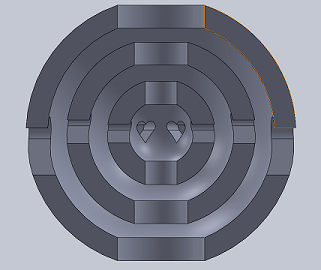
A section view of the spheres.
I exported the file as an .stl, making sure to use mm as the part units and to save the entire assembly in one .stl file. Then I sent it off to Charles (my lab instructor) for printing in ABS on the Dimension.
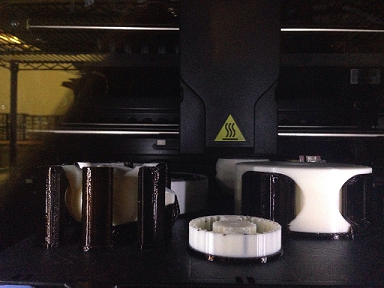
The Dimension in action (my part's in the back!)
When the print was out of the printer and done soaking, I actually had 3 independently rotating spheres!
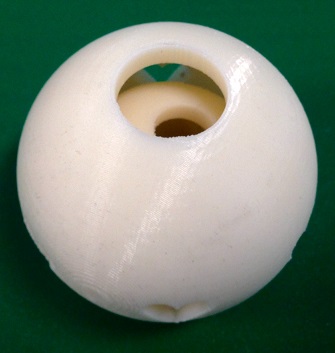
A top view.
