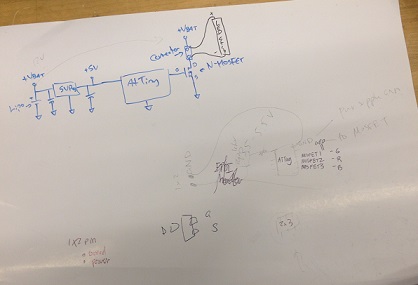
This week, I wanted to make some kind of output device with the LED strips I'm using for my final project. I started by sketching out some basic design based on the schematic in Adafruit’s tutorial. Major thanks go to Jeff and Bianca for helping me make a design that wouldn't blow up on me. The main thing I learned was how regulators work; I need to give 12 V to my LED strip but the ATTiny44 could only handle 5. To take care of this, I used a 5V regulator along with two 1μF capacitors.
Design
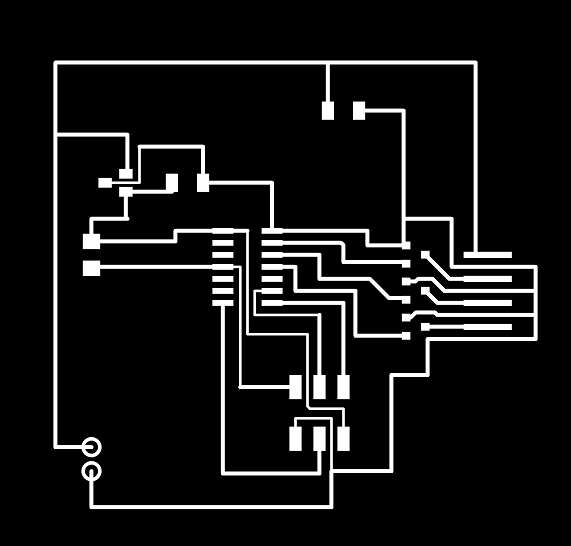
I then used Eagle to make a schematic + board and then route the board.
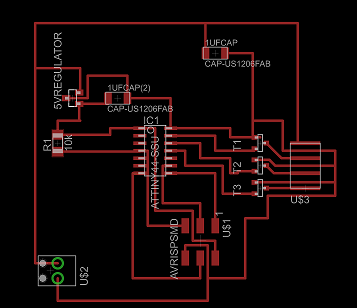
So much circuit is happening right now.
I had to edit the size of some of the traces in order to make sure the close traces actually got cut.
Ready
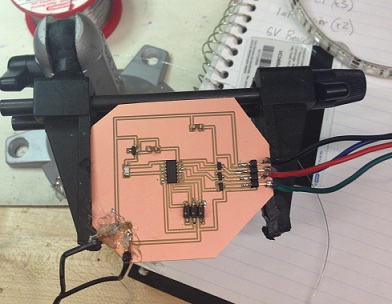
Once I milled the board on the Modela using the fab modules, I used an Xacto knife to separate the two traces that didn't fully cut, then stuffed the board. It turns out stuffing a board with wires is really hard if you're as bad at soldering as I am. I got lots of help from Dana and Sean. The power source was hot-glued down and kind of messy.
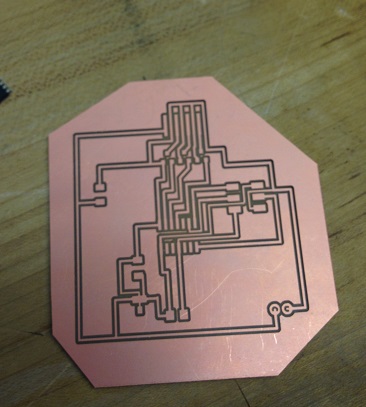
The board right off the Modela
All stuffed.
I then tried to get the board working in an Arduino environment using this tutorial, an AVR ISP, and lots of help from Dana. Unfortunately, the solder of the power source was finicky and we couldn't get the board powered for long enough for Arduino to recognize it.
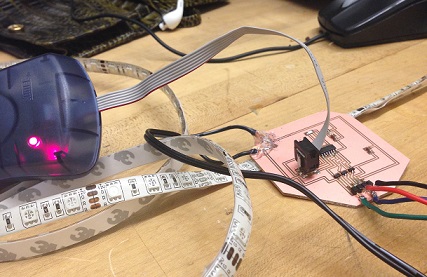
Red lights are no fun.
I never did manage to get the board working in time for class, but I plan on coming back in, resoldering the board, and trying again.