I ended up completely re-conceptualizing my final project from my week 1 idea. After seeing the ‘Swing Time’ Exhibit in Boston, I was inspired to create some kind of linkage of light and movement. When I moved into my room in East Campus, there was a hard point in my ceiling and I’ve been wanting to take advantage of it for a while. I decided I wanted some kind of swing or hammock-type setup in my room that I could relax and read in.
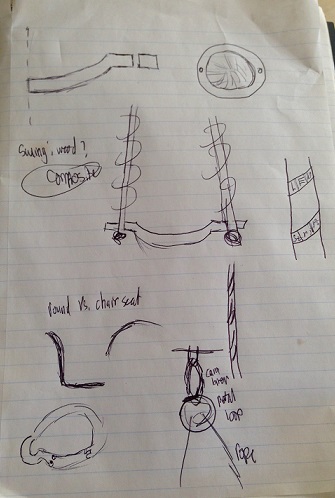
Some initial sketches
I ultimately settled on a swing with a circular composite seat, with LEDs that use accelerometer input to change the color of the lights. Since I have struggled with electronics this entire class; I was trying to keep it relatively simple.
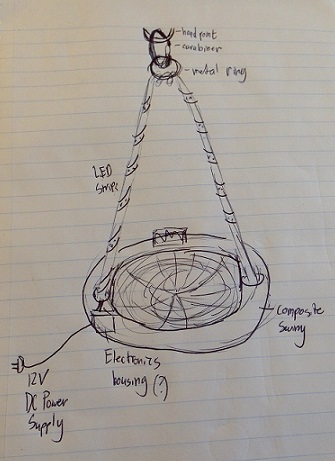
The final design
I was super excited about this design...then dead week rolled around and I realized I had wayyyy less time than I needed to finish my lofty electronics goals. I decided to just get my LED strips from Output Week working and code some kind of pattern for them to flow through. I also scaled down the swing composite to be a tiny prototype (~6 inches) as opposed to wrestling with the full-sized composite swing.
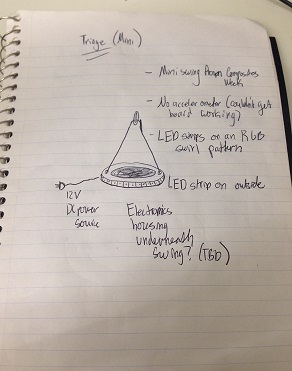
Some revisions
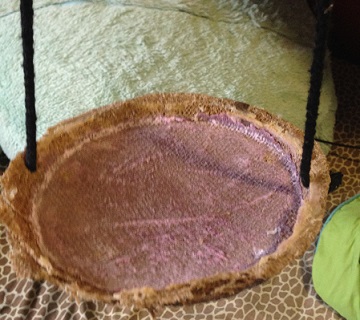
For the swing, I used the same mold as I did in week 7, but I decided to use 5 layers of burlap instead of 6 layers of linen for something a little sturdier.
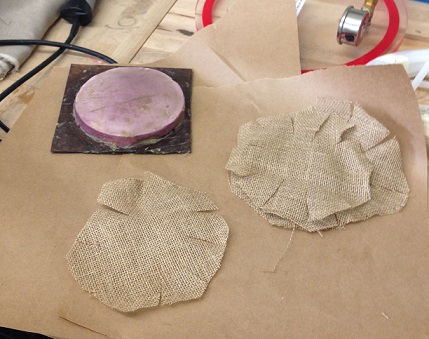
Composites!
I made sure I used the same kind of epoxy and resin this time and even more paste wax than last time to make release easier. I stacked up my layers, got the vacuum bag going, and let the composite cure for 24 hours. Once it was dry, I drilled two holes through the sides and threaded and tied up my rope.
Composites!
I then hooked it up to a carabiner to see how it hung.
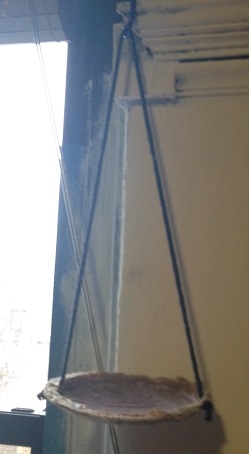
It's a swing.
To make it a little prettier, I made a cushion out of some linen scraps, hot glue, and batting, and gave it a cute rider.

At least it's adorable.
To get my board from week 10 working, I started by using a heat gun to melt off the hot glue and solder, then I scraped off the corner of my board, trimmed and stripped my wires, and started again. Because some of the copper traces in the corner peeled off, getting the power to work turned into a multi-hour process. I ended up using the outside of the board as ground, using a 2X2 header to isolate and solder power and ground wires, and then making a connector using copious quantities of heatshrink to keep everything together. What I got, however, was a board that was consistently powered on!

So much cleaner. So much more function.
I tried connecting to the Arduino environment but was still having issues. I did notice that my ATTiny was getting much hotter than it should be, so I checked with a multimeter and found that 9 volts, not the maximum 5, were going through the ATTiny. I re-soldered the regulator and found that I could now connect to the Arduino environment. More importantly, my lights finally turned on! I tried modifying some Arduino code from this tutorial and to get the lights to cycle, but I was not able to get it to work and decided to call it a night.
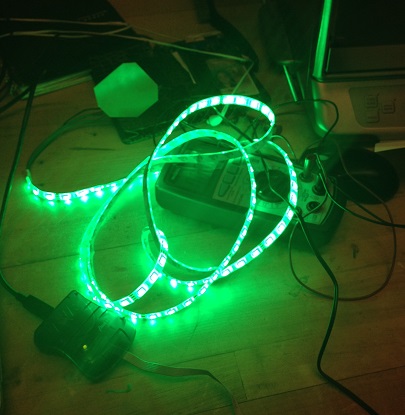
It's alive!
I’m so amazed at how much this class has taught me, especially in terms of taking my electronics skills from 0 to where they are now.
Shout outs go to Bianca for all her Eagle help, Sean for wire soldering assistance, Dana for lots of debugging help, Tiandra for being my shop buddy, Jessica and Morris for 1 AM Verde’s runs, and the entire staff of the class for making this semester so productive.