|
|
MAS.863 How To Make (Almost) Anything
– Fall 2014 Richard Li Composites Manufacturing Week 8 Filamentary composites are fascinating materials that take advantage
of the synergy of the constituent materials. As a common example, carbon
fiber reinforced plastics (CFRP) are made of carbon fibers glued in place
within an epoxy matrix. Carbon fibers are highly engineered fibers that have
high mass specific strength and stiffness while epoxy matrices provide the material
to carry shear and allow effective transfer of stresses between fibers.
Through this interaction, very lightweight high performance structures can be
fabricated as is typically desired in aerospace, racecars, and sporting goods.
But beyond having impressive mechanical properties, CFRP are
also making an entry into the music industry. As an example, carbon fiber
cellos are prized instruments that emanate loud and full sounds. More
importantly, CFRP is more durable to the elements (corrosion) and have high
fracture toughness – thus rendering the instrument more resistant to
drops or crack initiation and propagation. I’ve been itching for a CFRP instrument for some time, and my grad
stipend only goes so far in buying one. Owning and playing a guitar already,
I wanted to add another one to my collection: the ukulele.
The ukulele is a great example of an application for CFRP. As a small
instrument that is meant to be portable and played outside on a Hawaiian beach,
a lightweight and environmentally resistant material would be highly desired.
Additionally, as a first initial shot at making a more complex CFRP geometry,
this would serve as a great starting point for experimenting with the correct
processing in making CFRP instruments before scaling up to larger ones such
as a guitar! It’s a long and ambitious journey for a week, but the composite
fabrication part will be documented here at the very least. Designing
the Ukulele and Mold Designing a ukulele for CFRP is not as straightforward as replicating
geometries of a traditional wood Ukulele. Considerations on drapability (which will be discussed later), seams, and
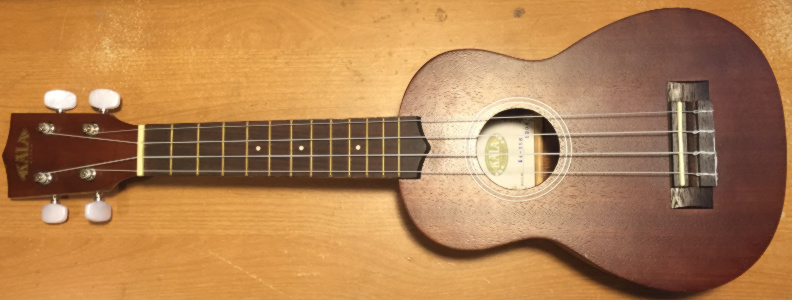
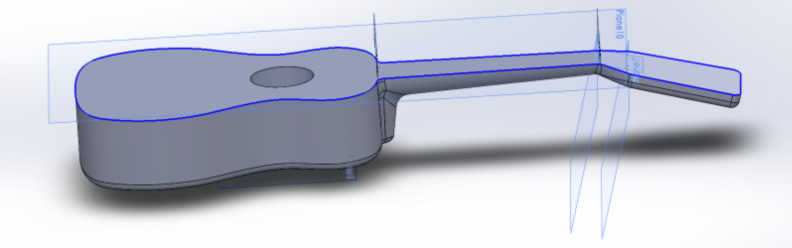
final edges will have to be considered carefully to ensure a good looking part. In this case, I started off with the
KALA Soprano Ukulele and modified the geometry to incorporate smoother edges
and rounded corners. One of the biggest dilemma I had in making this was
deciding between using one large positive foam mold on which I could lay up
my fibers, and then use the foam to my advantage as a sandwich structure core
that will help carry shear. However, after much discussion with David Constanza (complex geometry composite layup and infusion
master), it seemed that the best approach would still be using two negative
molds in order to achieve better finishing and have easy mold reusability. Having
a positive mold would result in a large seam where the fibers have to
overlap. Thus a negative mold was designed so the instrument assembled at the
front edges as is typically done for stringed instruments already. However,
the ambitious part is to make the entire body/bottom half as one single
piece.
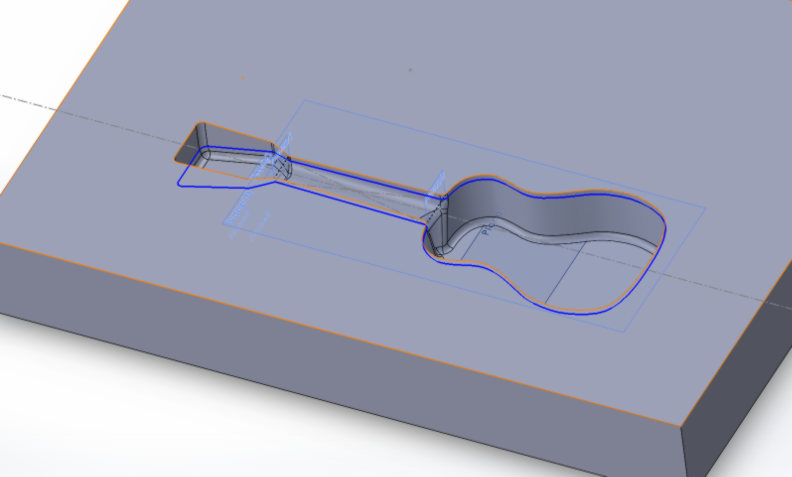
With the part finally drawn in SolidWorks,
I discovered Mold Tools, which are incredibly helpful in designing the
parting surfaces and automatically generates the entire surface that can be
imported into MasterCAM for toolpath
generation. A great tutorial on that can be found here: http://grabcad.com/questions/tutorial-solidworks-mold-tools
The G-code generated for this via MasterCAM
used a ½” diameter ball endmill for both a
rough and finish pass in order to achieve the smooth and “drapable”
corners. More detailed tips on programming in MASTERCAM can be found in the
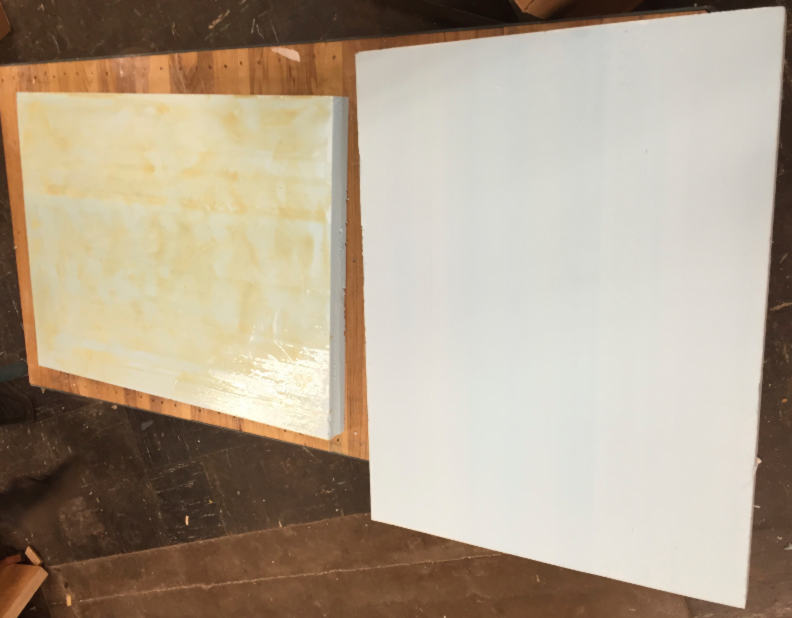
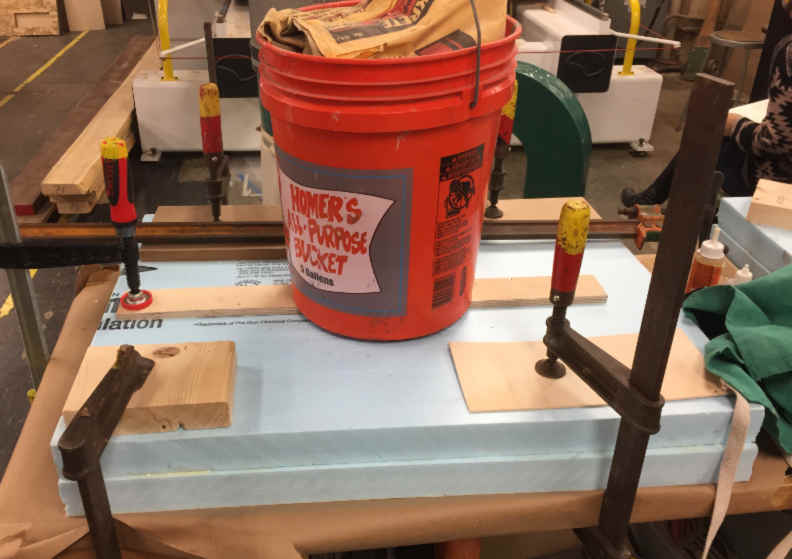
pages from previous weeks. Making the Mold The stock material was prepared for two 2” thick foam sheets by
putting Gorilla Glue on one side and smearing it evenly. Water was sprayed on
both surfaces afterwards.
The two surfaces were clamped together overnight to ensure good
adhesion
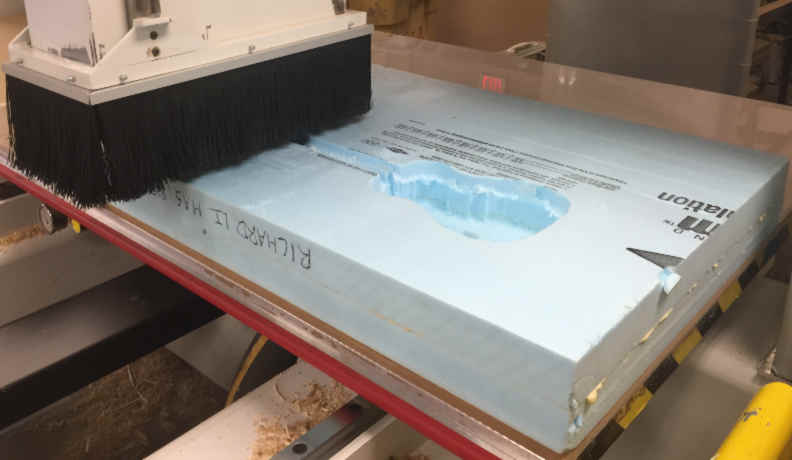
Stock was placed at the origin on the ONSRUD router, and g-code was
imported to start the cuts.
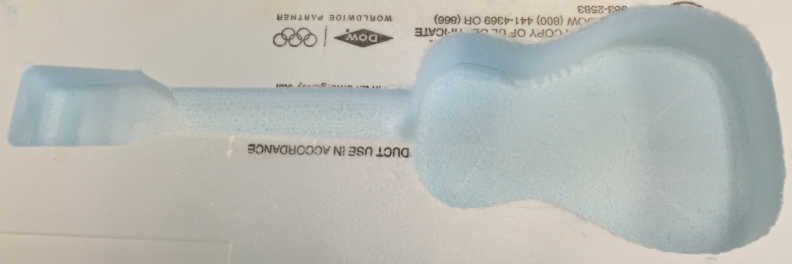
Afterward the finishing pass, the mold looks ok, but still has a lot of
fuzzy on the surface. Sandpaper did not help much since the material was very
soft.
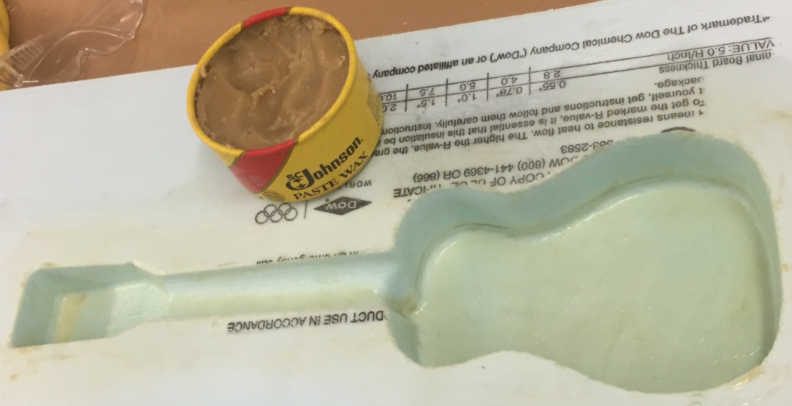
Entropy SuperSap 100 Glue was then used to
laminate and fill in the surface for 4 hours before more sanding was done
again. Finally, generous portions of Paste Wax was
applied to all the mold surfaces.
Making
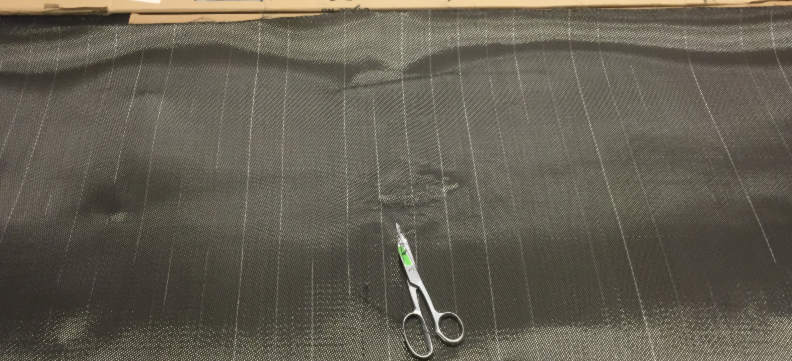
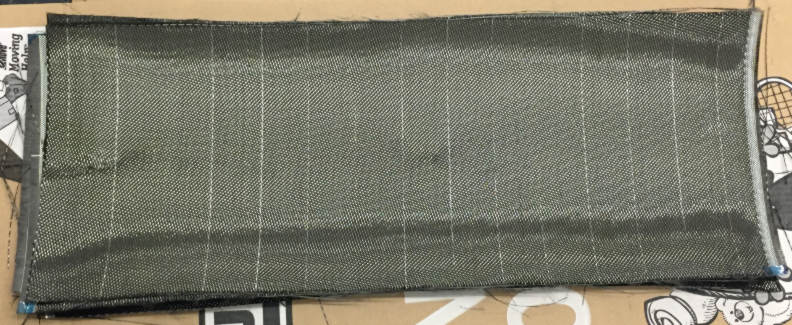
the Body Carbon fibers sheets were first cut to size using
serrated fabric scissors to prevent fiber slip. Care was taken to prevent inhalation
and skin irritation using masks and gloves.
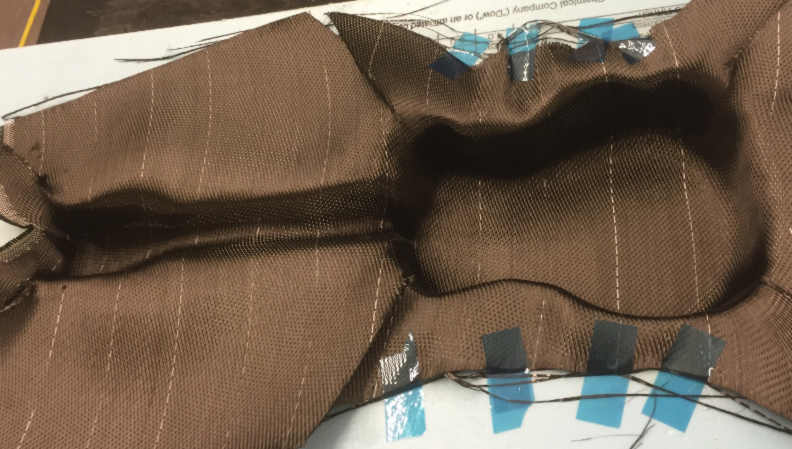
Vacuum assisted resin
infusion (VARI) was desired as the resin application method because of the
high quality and low void fractions that could resin compared to wet layup
(which may entrap air pockets as wet fabric are placed). However, when the
dry carbon fiber weaves are placed within mold,
there were drapability issues that prevented the
fabric from sitting nicely on the sharper corners even with the help of blue
flash tape.
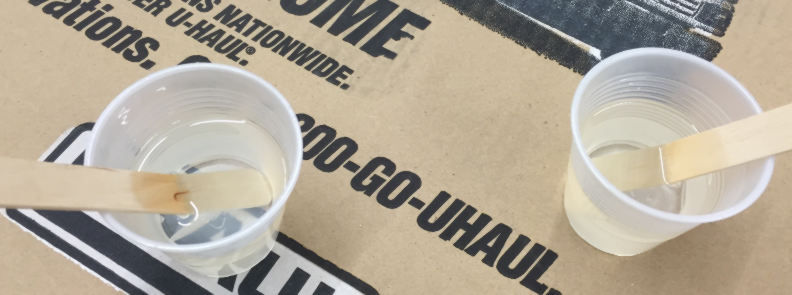
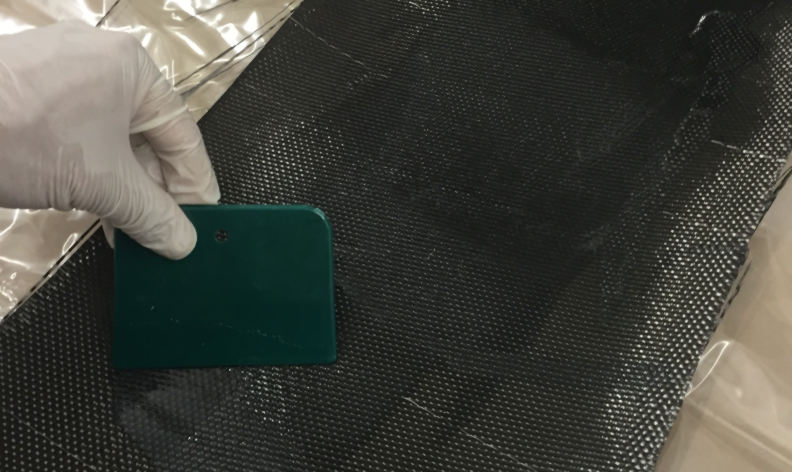
As a result, it was
decided at the last minute to switch to a wet layup method as wetter fabric
allows for better draping and conformation of fabric to mold. Entropy CCR
Epoxy/Hardener was mixed as that provided a nice clear matrix, and the longer
1-hour work time needed to apply resin to all the plies. Shear mixing was
done in cups and wooden sticks slowly to prevent void formation.
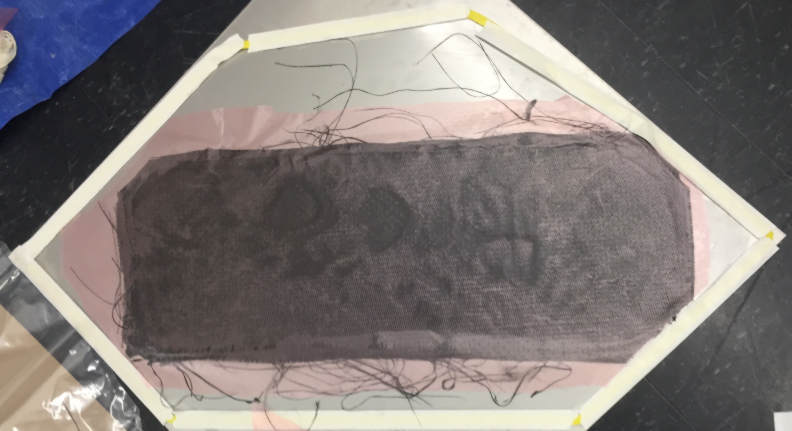
Resin was then applied
onto the weaves and squeezed on both the front the front and back sides.
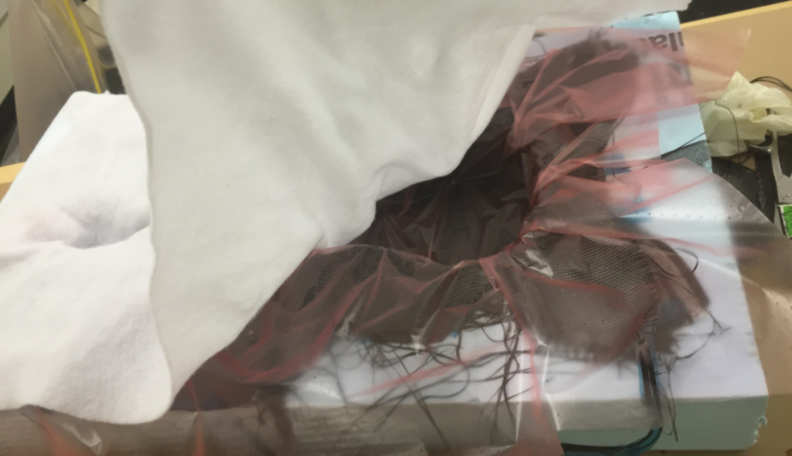
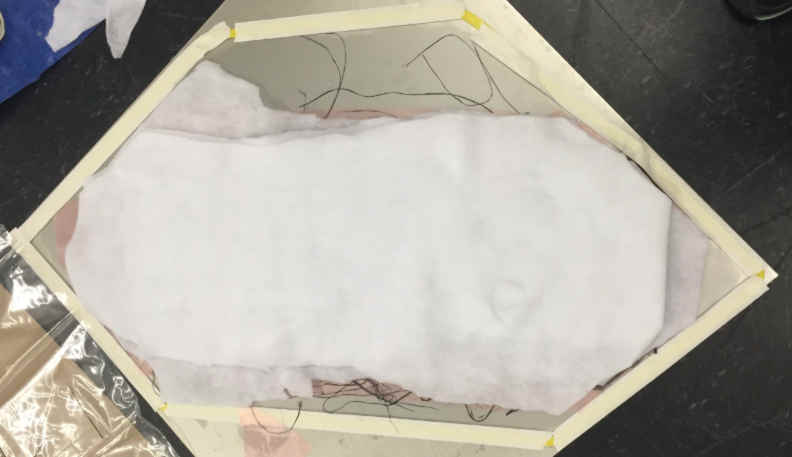
A marked improvement in drapbility was noticed for the wet plies. 5 were placed
inside the mold before being covered with porous peel ply (the red sheet) and
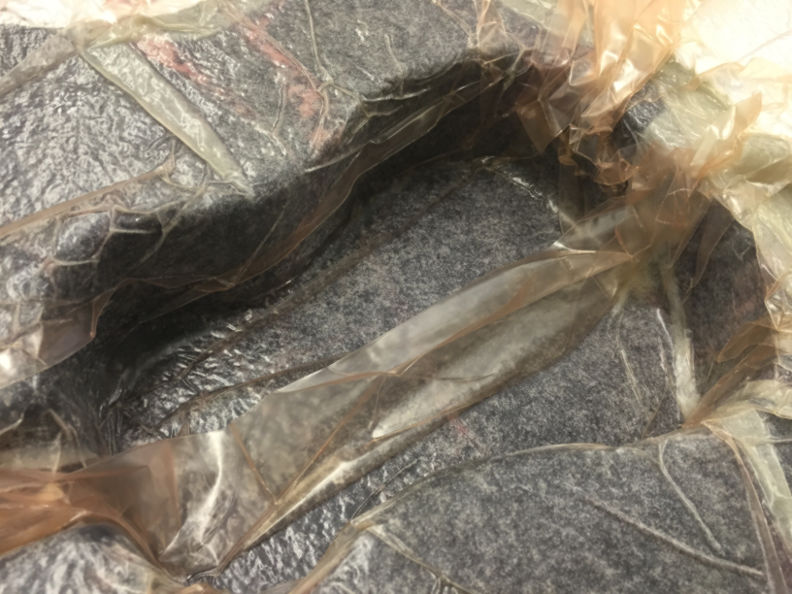
the bleeder breather material (which wicks up excess resin, and also allows
for air transport in the vacuum).
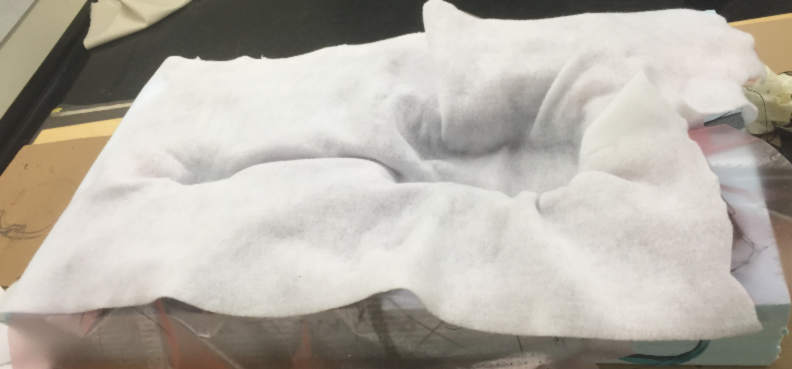
Here is the bleeder
breather tucked in:
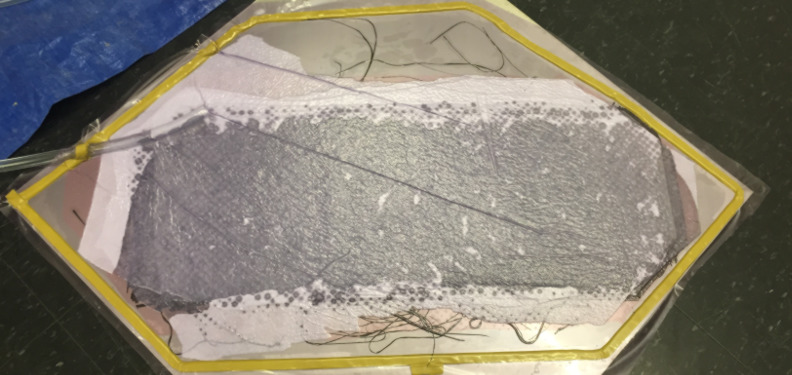
The entire assembly was
then vacuum bagged, and the sides of the mold were held down as the vacuum
evacuated the entire bagging:
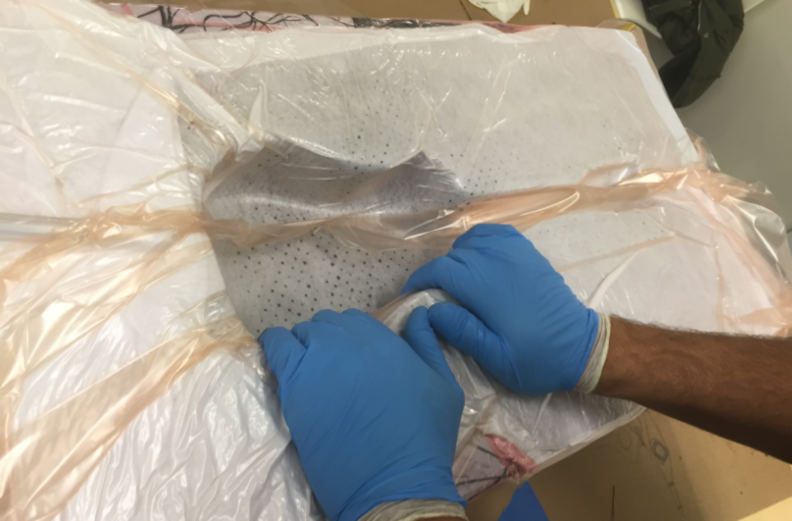
Soon, all the excess
resin was wicked up to the bag surface, and creases in the bagging was given
to allow for conformal normal pressure on the layers.
As this utilized the
clear epoxy, its cure time is significantly longer (24 hours) compared to the
4 hours of the Entropy Super Sap 100. However, the conformality
looks decent overall from visual inspection.
Making
the Soundboard, Neck, and Headstock Front Panels The parts facing the front are to be waterjet out of a flat CFRP laminate. As a result, a wet
layup using the same methodology was applied onto a flat metal plate. Note
that metal plate was cleaned thoroughly, and the vacuum tape was applied
directly to the top surface of the plate. The interior was the rubbed with
paste wax again prior to a lay-up of 6 wet carbon fiber plies, and then the
peel ply on top.
Bleeder breather was trimmed and placed on top:
And finally vacuum bagging was stuck onto the vacuum
tape, sealing the whole lay-up between the bag and the metal plate.
Resin wicked up to the surface quickly once again, and
the assembly is left to cure for 24 hours. Next
Steps Coming soon - the remaining steps are to: 1.
Carefully
remove the flat laminate and the body from the molds. 2.
Waterjet out a slightly
oversized soundboard, neck, and headstock front panel out of the flat
laminate. 3.
Fill the inside
of the neck, heel, and headstock with expandable polyurethane foam such as
this: http://www.uscomposites.com/foam.html
4.
Use a diamond
saw to trim down the excess from the bottom so that it has a nice flat rims
that can come up and meet the soundboard, neck, and headstocks for gluing. 5.
Line the inside
of the rims with the kerfed lining for musical
instruments such as this: http://www.stewmac.com/Materials_and_Supplies/Bodies_and_Necks_and_Wood/Mandolin/Kerfed_Lining_For_Mandolin.html
6.
Attach small
bracing/stiffeners on the inside of the body and under the soundboard. 7.
Epoxy the front
and bottom halves of the ukulele together. 8.
Sand off the
excess from front halves until the edges are flush with the sides of the
instrument. 9.
Coat all
surfaces with filler, epoxy, and clearcoat until
all the surfaces are glossy and ready. 10.
Use a diamond
grit core drill to make holes into the headstock for the tension adjusters,
and then screw in the components: http://www.amazon.com/Generic-Ukulele-Chrome-Machine-Mounting/dp/B00EQ29KNG/ref=sr_1_3?ie=UTF8&qid=1414970338&sr=8-3&keywords=ukulele+parts
11.
Glue on the fretboard, bridge, and string the instrument. 12.
Tune the
strings and jam on! |
|
|
|
|
|
|
|
|
|
|
|
|
|
|
|
|
|