Laser Cutting
Using a laser cutter is basically like using a printer. You first draw whatever you want to print, then you "print" it. The laser is literally connected to your computer like a printer, so the button you push is labeled "print". To draw you can either draw vector lines, or take an image that will then be burnt out pixel by pixel, which is called rastering. For my project I used SolidWorks to draw out the outlines and exported as DXFs. To make all the windows I used a feature called Linear Patters, which let me draw one window and then duplicate it across the part. That way I could quickly change their geometry and orientation. I fiddled with the angles they should be at so the marble didn't come in one side and fly out the other.
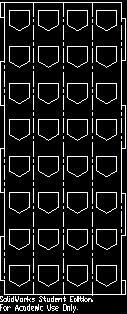

I opened my DXF in CorelDraw and spent some time trying to decide which printer settings. In CorelDraw you can color the lines differently and assign them different printing settings accordingly. I needed the outline cut all the way through, and wanted the edges cut through the waffle so the cardboard could fold like a living hinge at that point. By changing the power and the speed on the laser I was able to achieve this. As you can see above I used construction lines in the SolidWorks drawing so the lines were dots and dashed, which helped fold it easier.
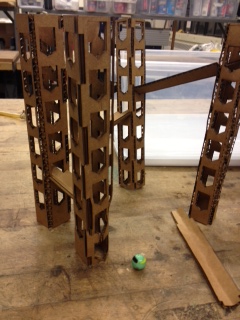
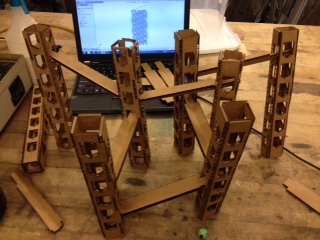
After designing the 2D shapes to cut out I layed out the cardboard on the bed and printed. Besides adjusting some of the dimensions, I quickly noticed that the pieces folded much better when the corrugate of the cardboard was perpendicular to length of the piece. I also found that cutting a dotted line along the folds allowed dots to be cut through all the layers of the cardboard and a full line cut most of the way through the rest, so it folded easier than just a solid one level cut. I've previously made many things in SolidWorks, but I got to use a new feature to me called Linear Driven Patters to make all doors.
Vinyl Cutting
Vinyl cutting runs a little blade around so you can cut through thin materials like vinyl, paper, fabric, or thin copper sheets for cutting flexible circuits. This is what the Roland Vinyl cutter we have in the FabLab looks like.

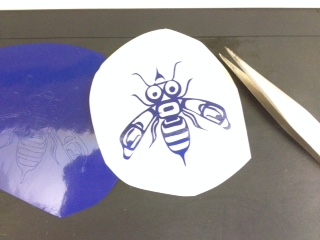
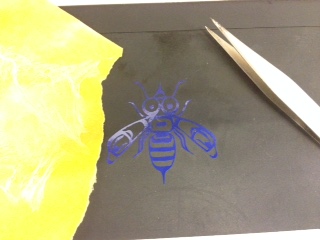
I started by cutting out a sticker using this image of a Tlingit style bee. The image originally came from a painting, so I turned it into a black and white vectorized version, which can be done on Illustrator, InkScape, or once it is a black and white PNG you can use the FabModules to vectorize. I then printed it to the vinyl cutter like how you print to a standard printer or the laser cutter.

Once it was cut out I peeled away what I didn't want with tweezers and used a piece of tape to peel the rest off the back. I then stuck it onto my computer and peeled away the tape.