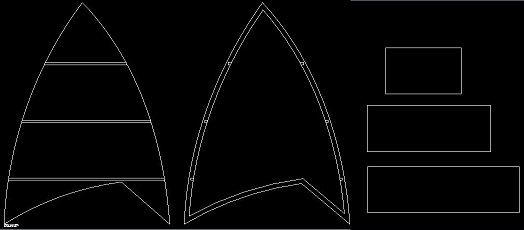
Designs from SolidWorks.
I originally planned on pocketing the notches on the back board (left most image), and sliding the shelves into it, but then I realized they wouldn't really add much support (...and I was having difficulty selecting them on the Shopbot for pocket cuts since the vectors were attached to the outer edge). I also originally planned on having 2 copies of the middle image as the bookshelf frame, leaving the whole thing very open, and using them as support for the shelves, which would slide into the notches. I had to scale down the object before printing though, and was worried the notches would be too small, so I got rid of them, and figured I could just use one frame to sandwich the shelves with the back board.
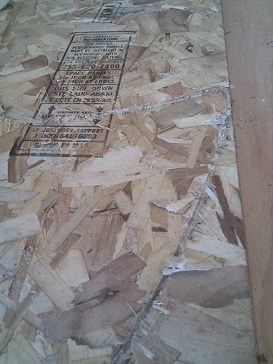
Not good!!
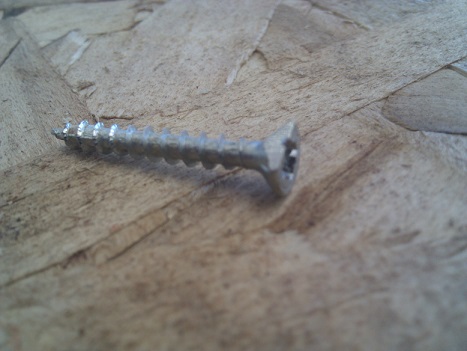
I cut one of my pieces on the same board as someone else, and had to scale it down quite a bit to make it fit (wasn't sure how much OSB was left and wanted to be conservative) We told the Shopbot accurate board dimensions, but then zeroed the x,y a few inches away from the bottom leftmost corner. The few inches away from the true board origin made a large enough difference in our cutting that the Shopbot went a little past the board on the other end (because it thought the board extended farther than it actually did). We stopped the machine and reinputted accurate dimensions for the board starting at our origin, as well as rearranged some pieces that were miscut before. After starting the machine again though, we realized the toolpath would intersect with a couple screws on the board. We stopped it again after it just grazed a screw, and also repositioned these.
Shopbot in action.
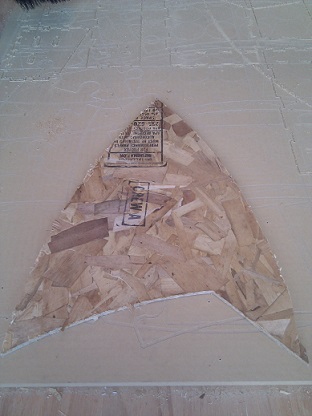
Successfully cut the backing out!
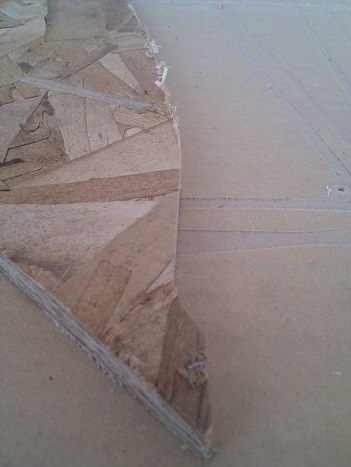
Because of our rearranging the board dimension, part of the toolpath went past the available board on the piece. But it wasn't too bad, and I figured it'd be fine to use.
Not so nice edges. Should make sure tool cuts all the way through board next time.
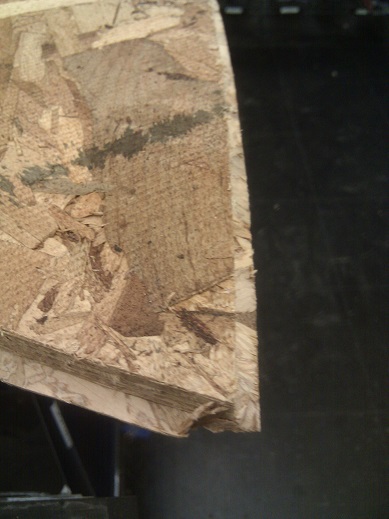
I cut out the rest of my pieces (frames and shelves) later in the day. I didn't measure the board before starting this time though, and just used the same cut depth as before (.55in) -- I think this is why most of the pieces weren't cut all the way though. I had to use the jigsaw (I think that's what this is called?), to go around all the cuts again to get my pieces out. Sometimes I'd accidentally go on the wrong side of a cut, leaving extra board behind -- that's what's pictured here.
Somewhat done.
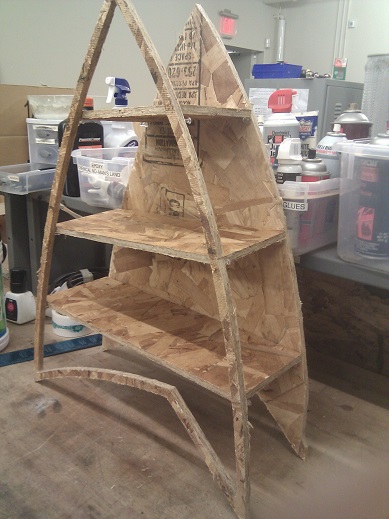
After cutting all the pieces out, and doing some sanding to help with the very rough edges, I put together the bookshelf. I'd like to do more work on it (sand some more, maybe paint), so I wanted to just temporarily put it together. In a sort of sketch move, I just stuck in safety pins on the back board and frame under each shelf, to get an idea of what it would look like. The final product is pretty small (26'' x 22'', instead of my original 48'' x 36''), but I'm thinking of just using it as display shelving for some of my pottery and glass art.