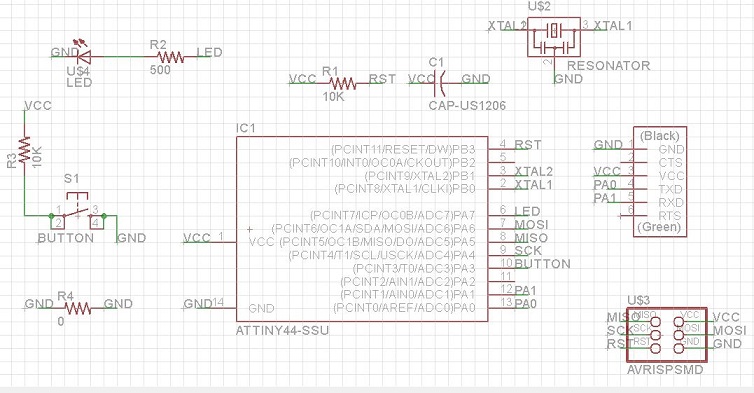
Schematic from Eagle
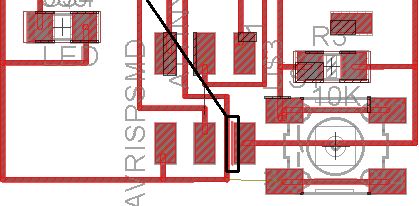
Trying to get wires to fit and make clearance! After running the DRU check on my board, I realized I had a lot of modifying to do to make sure everything would be correctly milled.
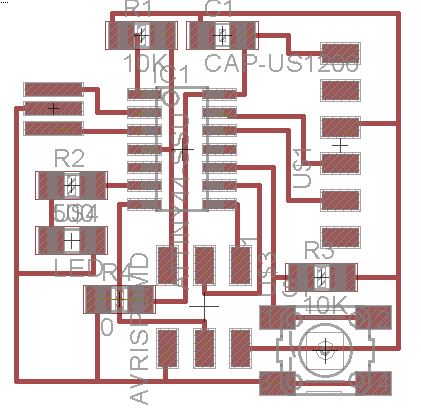
Final board design
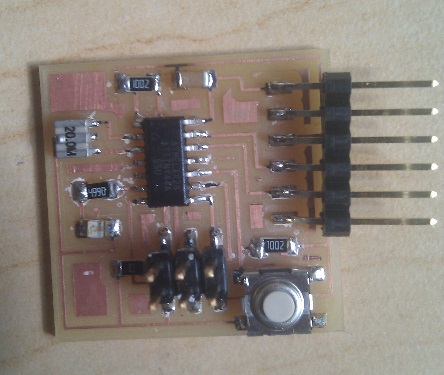
This week we used Eagle to create an echo hello-world board with an additional LED and button. This was my first time using Eagle, and second time making a PCB. I found this tutorial on the fab academy site incredibly useful, especially with figuring out where and how I should connect the LED and button! Eagle was a bit annoying to use -- my biggest problems with it were making sure all of my components were actually connected (I had to redo some connections until they worked), and arranging all the wires so that they fit nicely on the board.