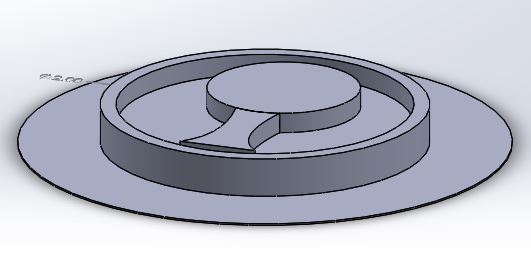
The initial SolidWorks design. The concept of negatives and positives had me confused for a while, but after drawing out the design a bit, I figured it out. This is a positive of my design, with an added plane at the bottom. It was used to make a negative in Smooth On. Which was then used to make a positive out of chocolate! The plane at the bottom creates a flat surface on top of my final mold, to stop chocolate from overflowing.
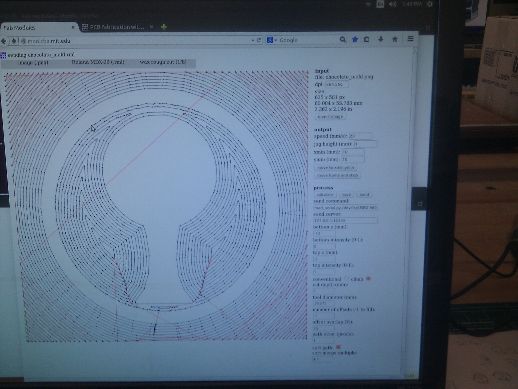

I created a simple png in Paint based on the SolidWorks file, and milled out the image on the left on the modela. I used a depth of -2mm to -12 mm, and a 1/32 mill (in hindsight, 1/8 would have been much faster) in rough cut. The mill started to hit the top of my surface near the end, I realized because some parts were too deep and narrow. I stopped it, which caused a couple not-so-smooth places on my mold, but they're in areas I don't care about, so it's fine. I realized I didn't want my tree to be at the same level as the top of my mold, so I quickly made the image on the right, and milled the tree and border down 3mm as well.
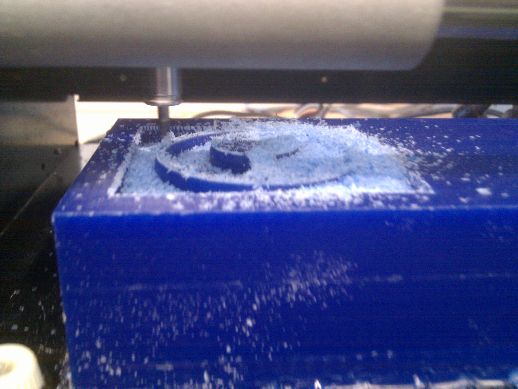
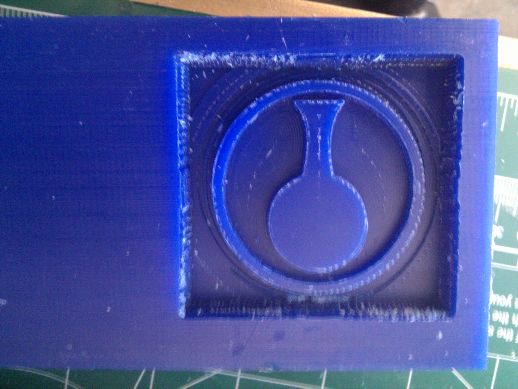
Milling, and final product
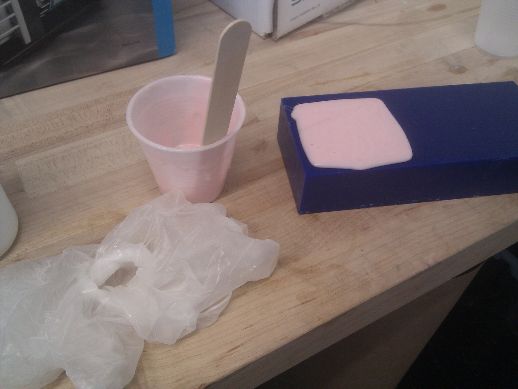
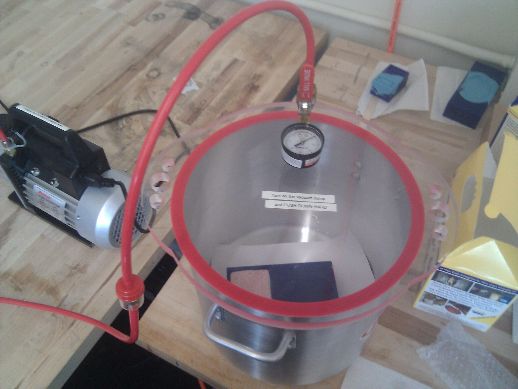
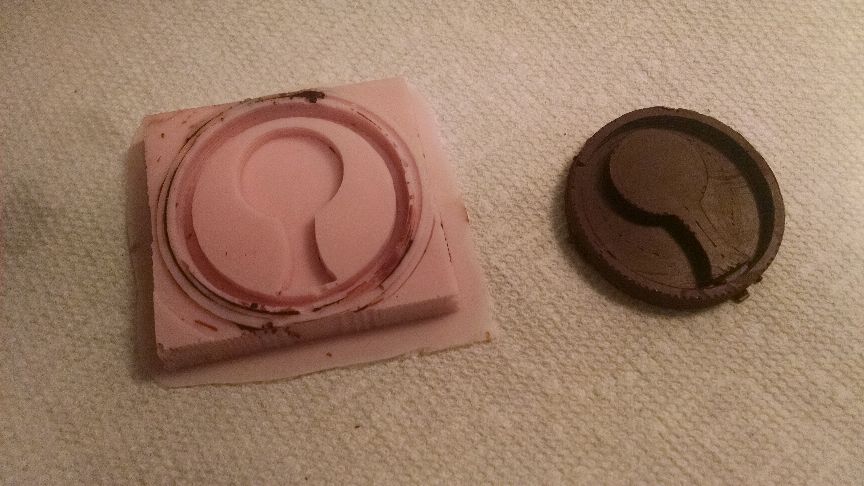
I used the Smooth On 940, which is food safe. I mixed 10:1 by volume instead of weight (which is what the packaging said)...but figured it wouldn't make too much of a difference. I put the mixture in the vacuum container like instructed, and also put my mold into the container for a few minutes. I had a small hiccup here, when I couldn't figure out how to remove the vacuum to take my parts out. Realized that I just need to turn the small knob in the back to release pressure. But my mixture was in there for more than the recommended two minutes. I didn't want to restart the process though, so I just used it.
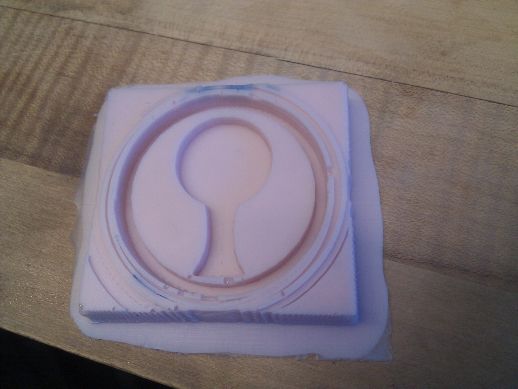
Final mold!
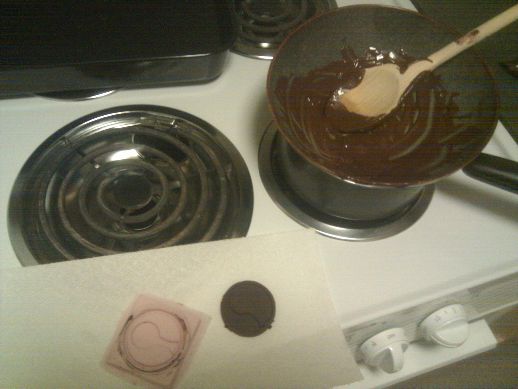
Tempering chocolate to put in the mold. I just poured the chocolate in and put it in the freezer for a few minutes. The results seemed pretty good to me.