Week 6: Molding and Casting

Adventures in Making

Casting Moon Crater Model

Step 1: Think Positive, then Negative, then Positive

This week's emphasis was designing and creating molds for casting. The key new process in this week's assignment is the backward design thinking from finished product through the multiple steps of the casting process. To end up with a "positive" final cast, we needed to create a flexible "negative" mold. But in order to create this flexible mold, we needed to go one step further and mill an original hard wax "positive".

hard wax grandparent mold --> flexible parent mold --> final product child

MAKING GRANDPARENT MOLD: The first mold we created was milled from hard blue machineable wax. We designed a file that the Modella or Shopbot could mill as a "positive" of the object we ultimately wanted to create, plus any additional features our required in our casting process (different if 1 or 2+ part casting). I chose a 1-part casting, so the only add'l feature my cast required was a "moat" around my object in the hard wax to create walls for my flexible negative mold (I initially forgot this-more on that soon).

MAKING PARENT MOLD: We created the second "negative" flexible mold by making a cast of the first mold. Into the hard blue wax mold we poured light blue silicone rubber called Oomoo. We mixed the Oomoo in a plastic cup. There are 2 different colored Oomoo mixtures to combine in a 1:1 ratio: one is robin's egg blue, the other light aqua. Mix with a back and forth shearing motion (instead of folding like batter); this custs down on bubbles. Mixing took 2-3 mins. Pouring (with stick aid) took 3-5 mins., 1-2 hours to set. Putting it in a convection oven (100-150 degrees) for 30-60 minutes speeds up the process.

CASTING CHILD CRATER: From the Oomoo negative mold I cast a positive crater heightmap our of Drystone. This was a simple 1-part casting, designed to have a flat bottom. I didn't have a "moat" around my object in the hard wax and therefore didn't have walls for my flexible negative mold, so I had to create them.


  • Project: Create hard wax positive mold, cast flexible negative mold, cast object
  • Tool(s) + Materials: Photoshop, Fab Modules, Modela MDX-20 Milling Machine, Machinable Wax, Oomoo Silicone, Drystone Casting Media
  • Date: Week 6: October, 2014
  • Skills: 3D->2D->3D Creating a "heightmap" from a b+w photograph, milling heightmap on Modela, Designing molds, Casting

Project 01
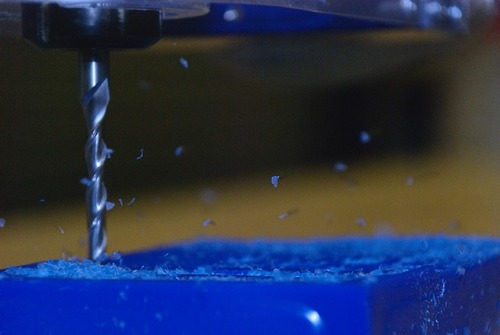
Machinable Wax. Photo from Invention Factory.
Project 01a
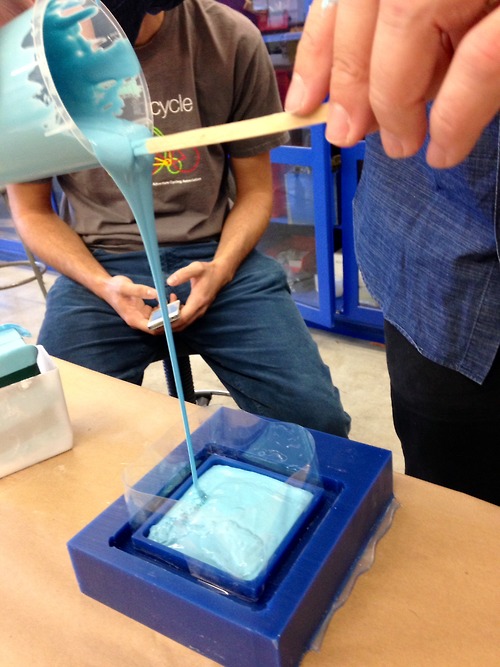
Jonathan pours sample flexible parent mold out of Oomoo. Tip: using the mixing stick to guide the pour cuts down on bubble formation. Note: clear tape is a great way to create additional wall height for an oomoo mold.
Project 01
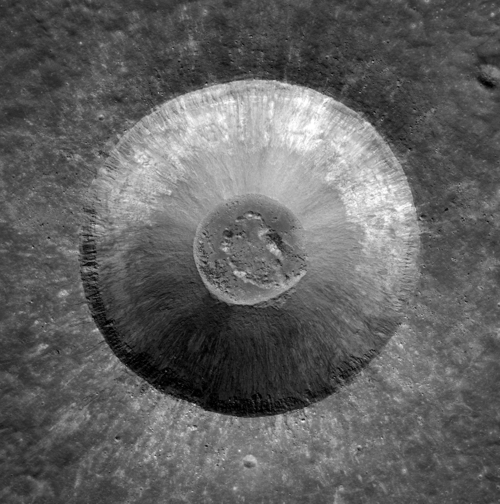
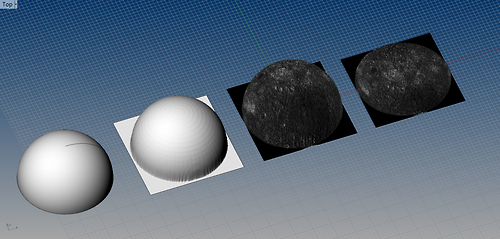
Moon Crater Photo of Lichtenburg B. Converted from .jpeg to .png in Photoshop.
Project 01
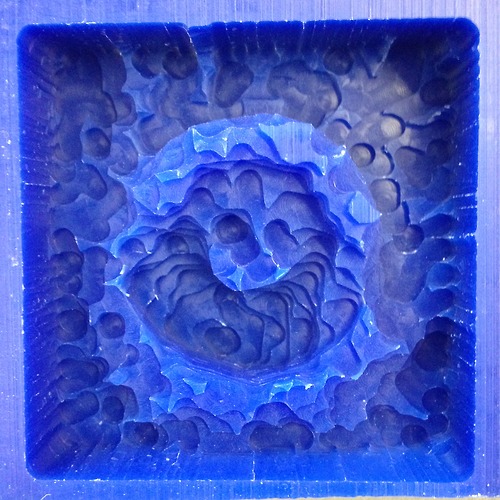
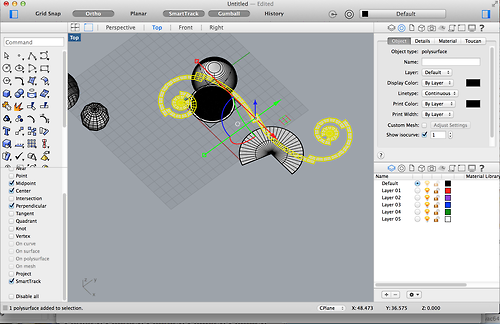
Here is the wax mold (positive) of the Fabmodule heightmap of crater photo. White in the photo reads as "high", black as "low." Milled on Modella w/ 1/8" endmill"
Project 01
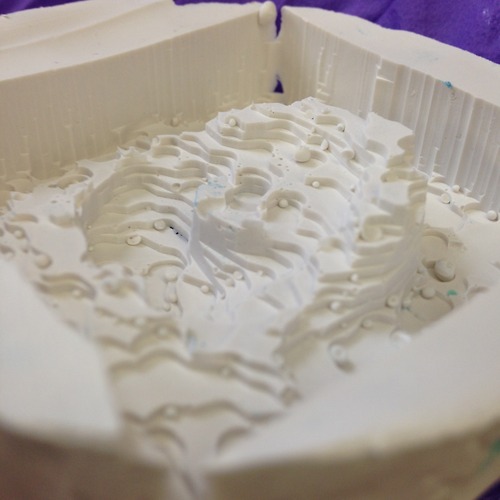
And here is the Oomoo (negative) mold.
Project 01
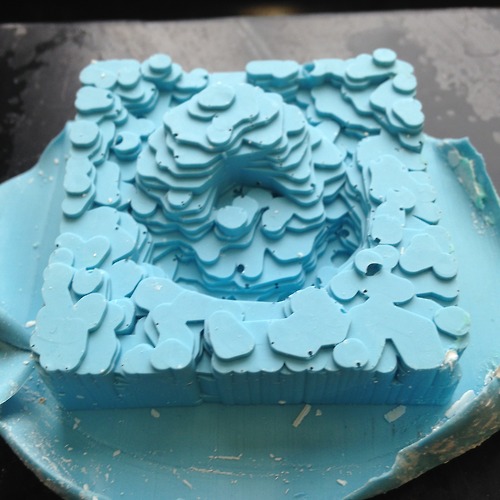
Cast heightmap of crater in Drystone. Those aren't bubbles; they're moon stones. Okay, they're bubbles. I tried to cast the mold upside down. Bad idea, as there are no venting options for inevitable air bubbles.
Project 01
Digging for air. I tried to create one by sealing the bottom of my casting situation, flipping it over and digging a hole out of the top. Complete butchery! Messy fun.
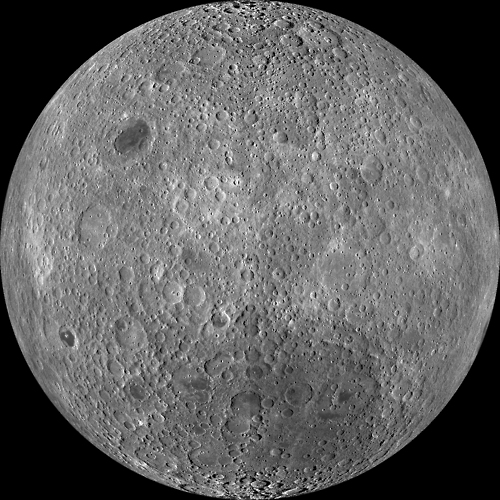


Farside of the Moon

Step 0: Get to know our moon

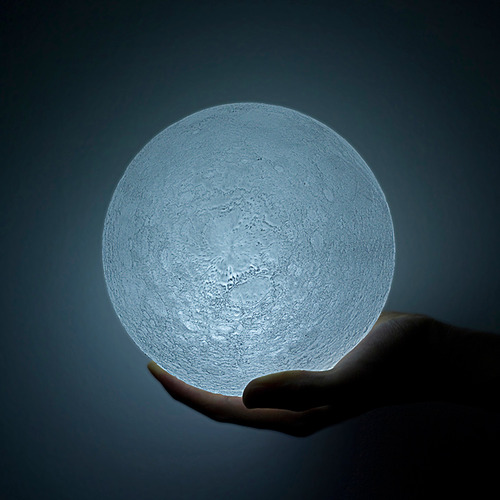
One of the coolest outcomes of this week has been getting to know our moon. When I was casting about for ideas, I found Joseph Morrow's Cast of the Gale Crater (from HTM 2011). I started pouring through photographs of our moon. I realized I'd never seen a photo of the farside of our moon. I imagined making a 2-part cast of our moon using topo data - how cool it would be to hold the moon in your hand and study the far side just by turning it over; we could rotate the moon in our hand and see it turn, something gravitational tug of war never let's us see.

Project 01b2
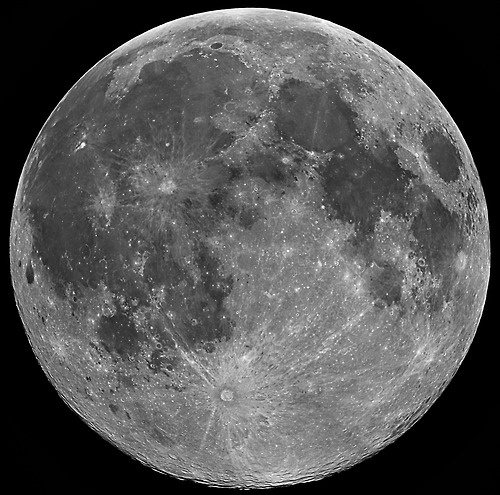
Nearside of the moon
Project 01b
Farside of the moon

The Moon! The Moon!

Japanese designer Eisuke Tachikawa created this LED Supermoon Lamp. It would be so cool to try and cast this out of clear material (may be silicone) with an LED inside.

Project 01
Eisuke Tachikawa's Supermoon lamp with topo surface comes from data collected by the Japanese lunar orbiter Kaguya.
Project 01a
How to get the heightmap over a half sphere?
Project 01a
Jonathan Grinham (our TF for Molding + Casting) figured out how to do this in Rhino via the "drape" function: build the hemisphere (sphere then split command); while in the top view use the drape command (default settings); then height field command using your image (select mesh points instead of nurbs and click the texture mapping option); then apply UVN map to surface command. You can then clean the mesh up by splitting it and using the mesh cap command.