Week 6: Molding & Casting
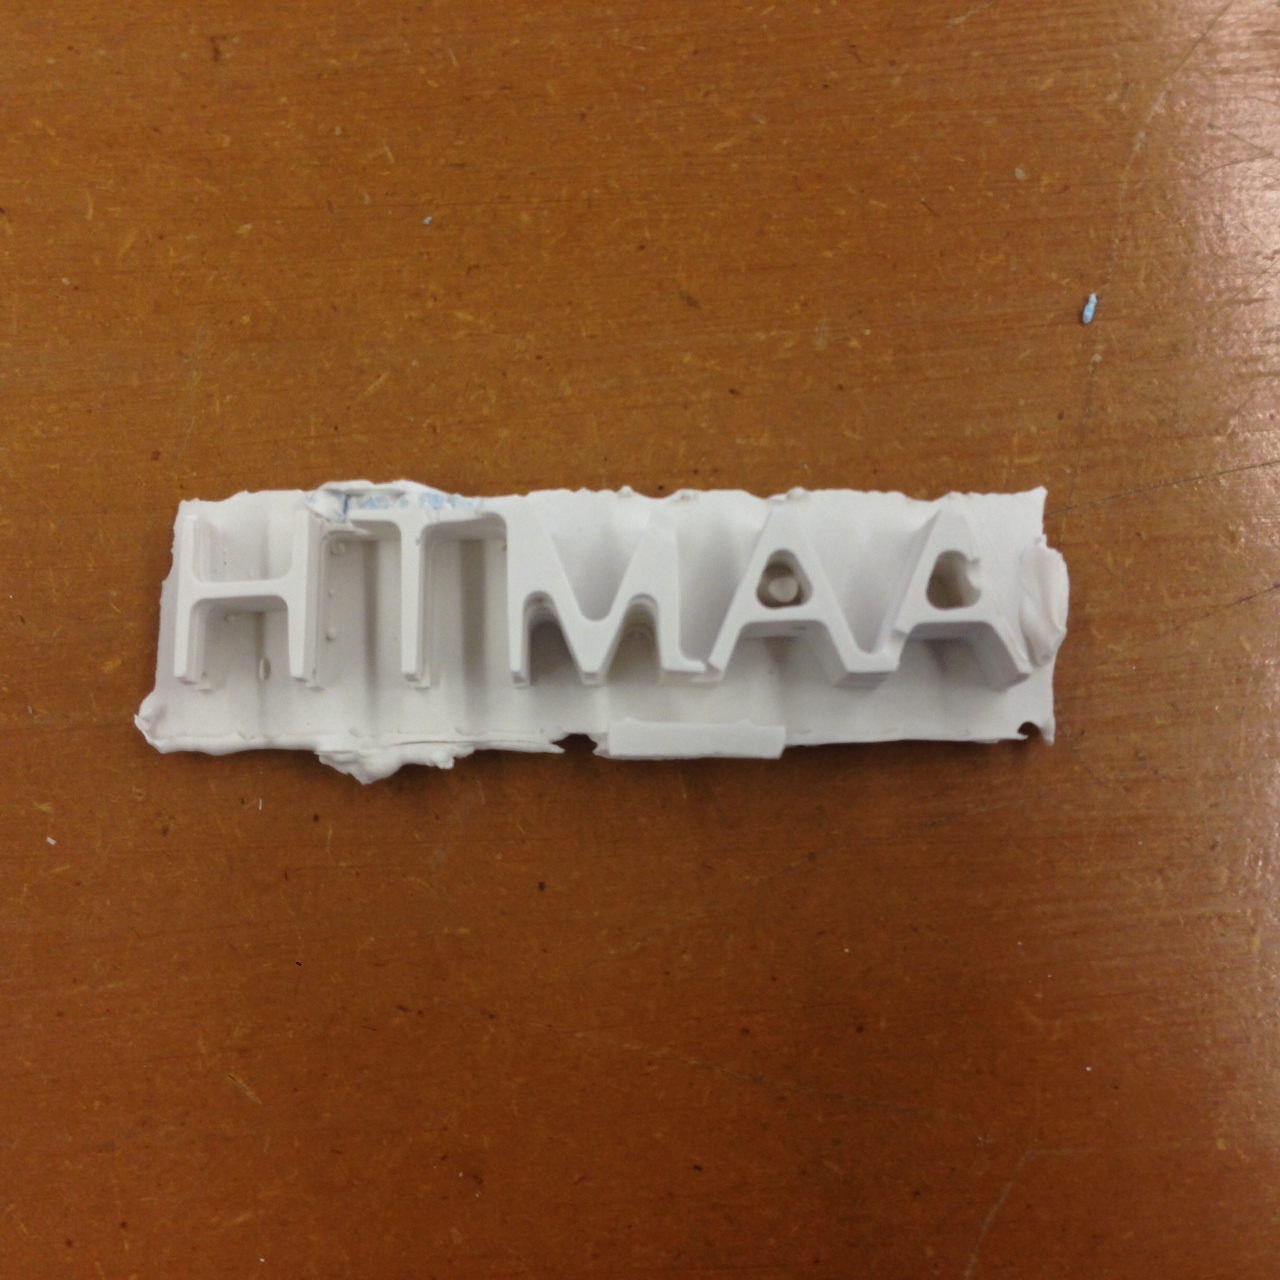
This week I did molding and casting exercise. I made a table
decoration sign, which says "HTMAA" in memory of this class. :) The
final product is as below.
The steps of making it is as follows:
First, I made a design file in *.png format. I went the more
complicated route of making an *.stl in Rhino and converting it to
*.png. In retrospect, I should have just made a png file directly.

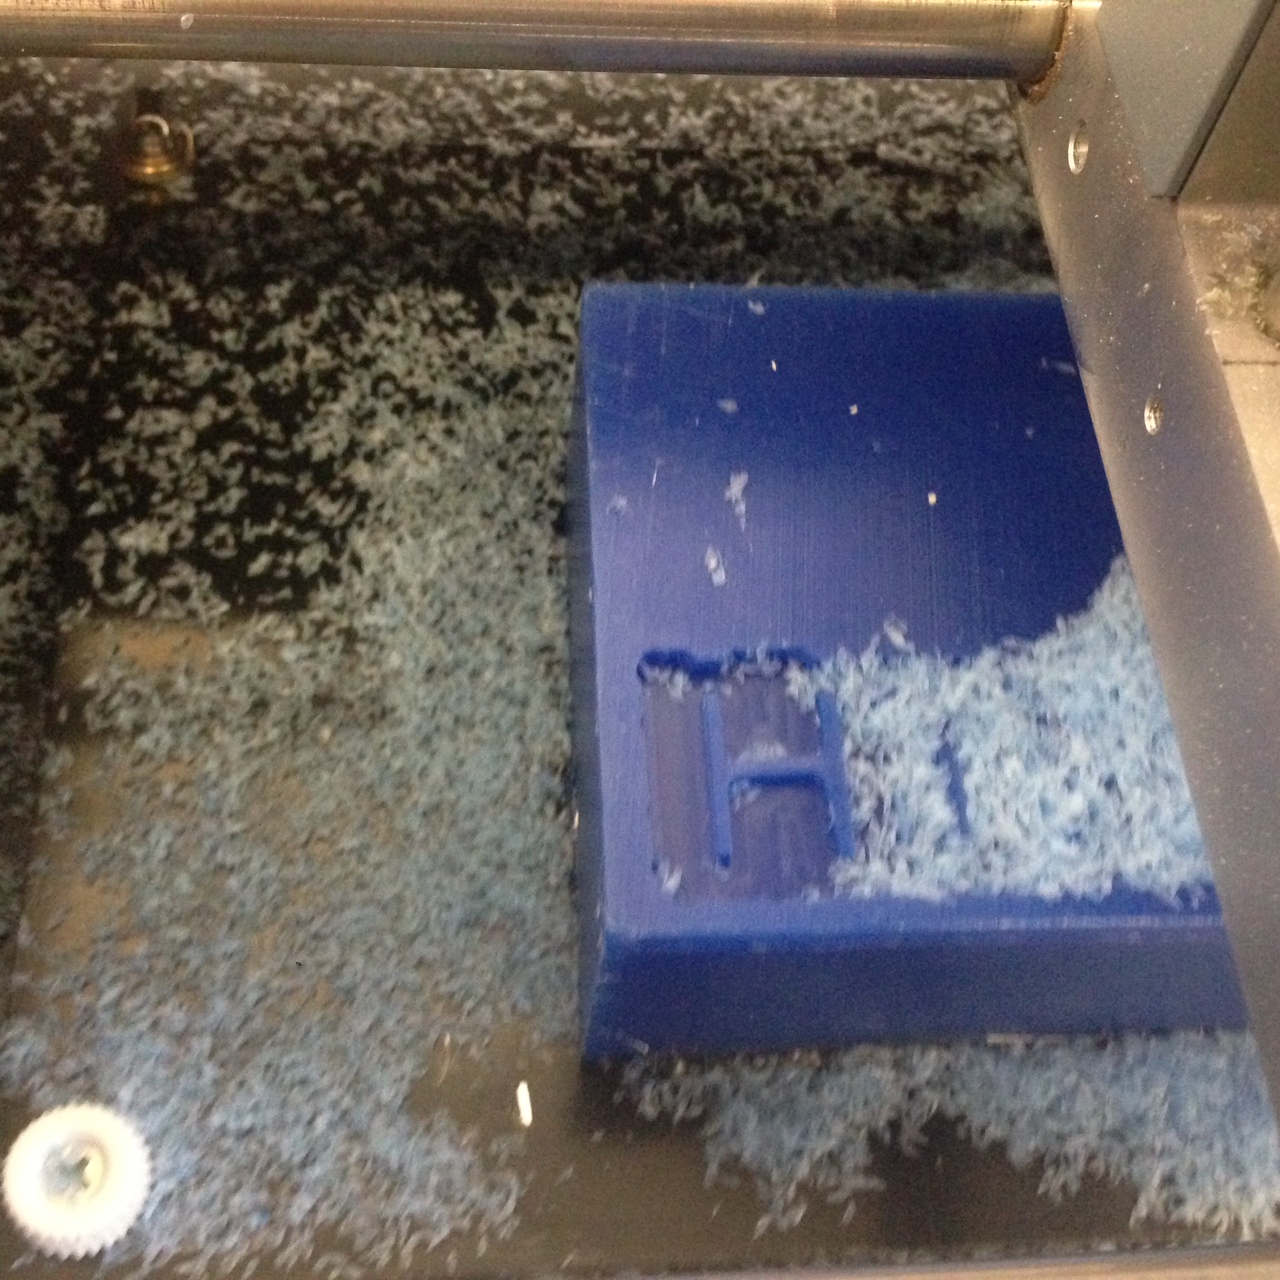
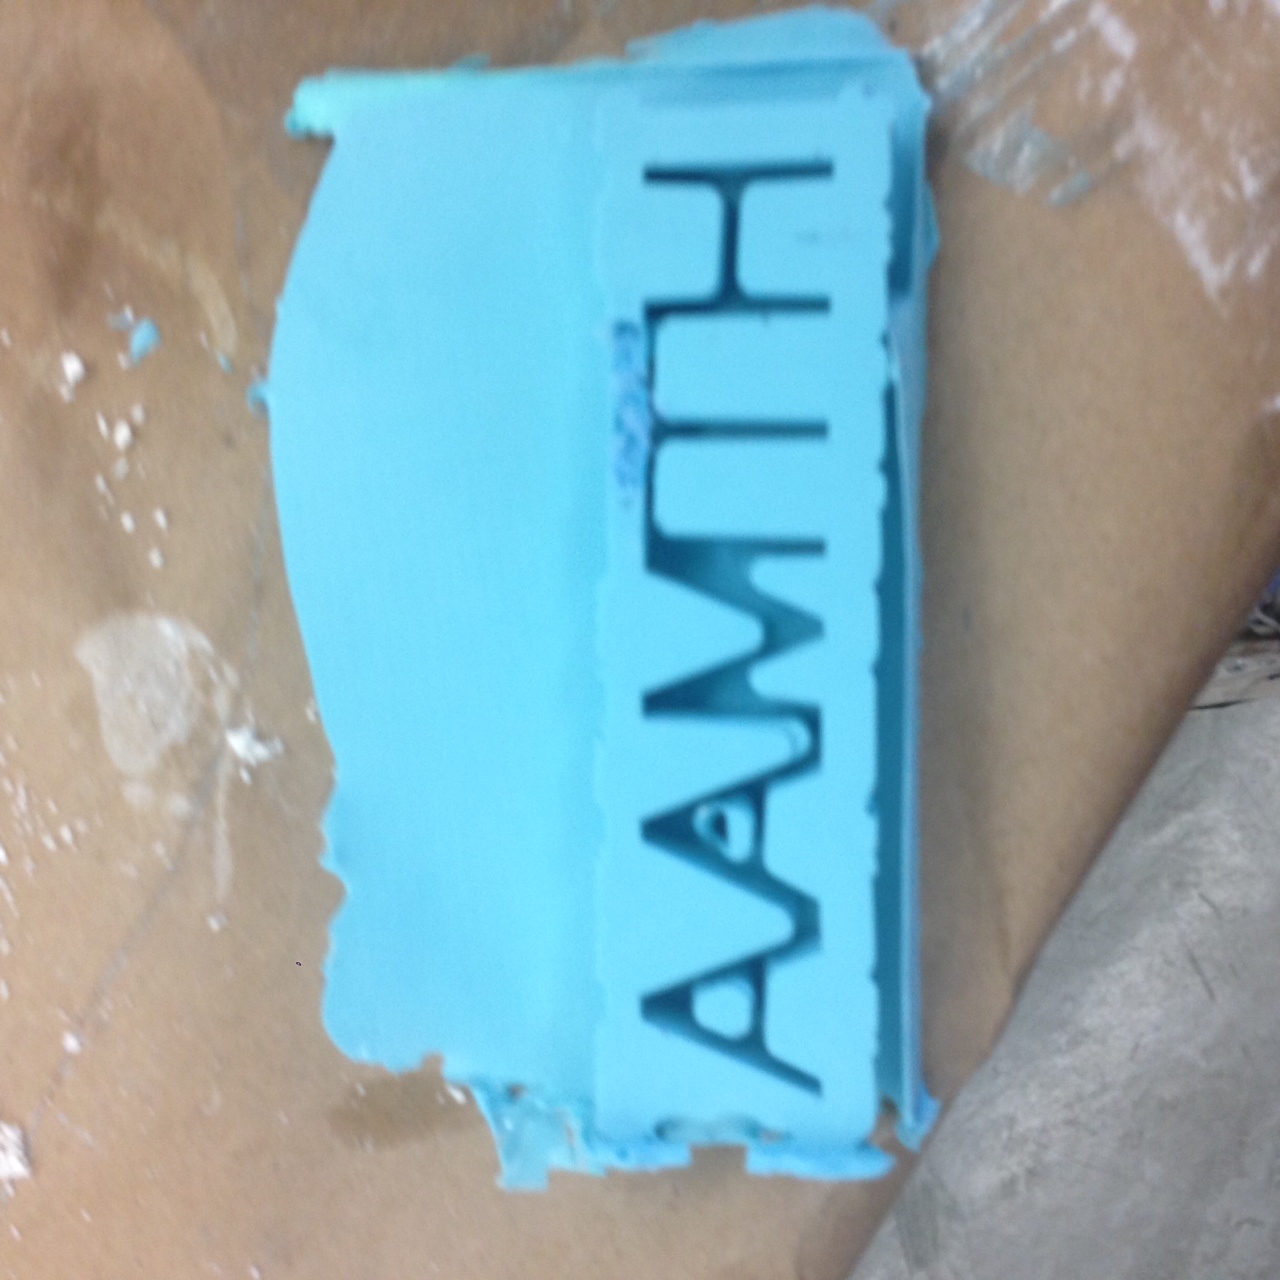
Next, I made a sample object using PCB machine and machinable wax. I
used fab module and chose 1/8 was rough cut as my setting.
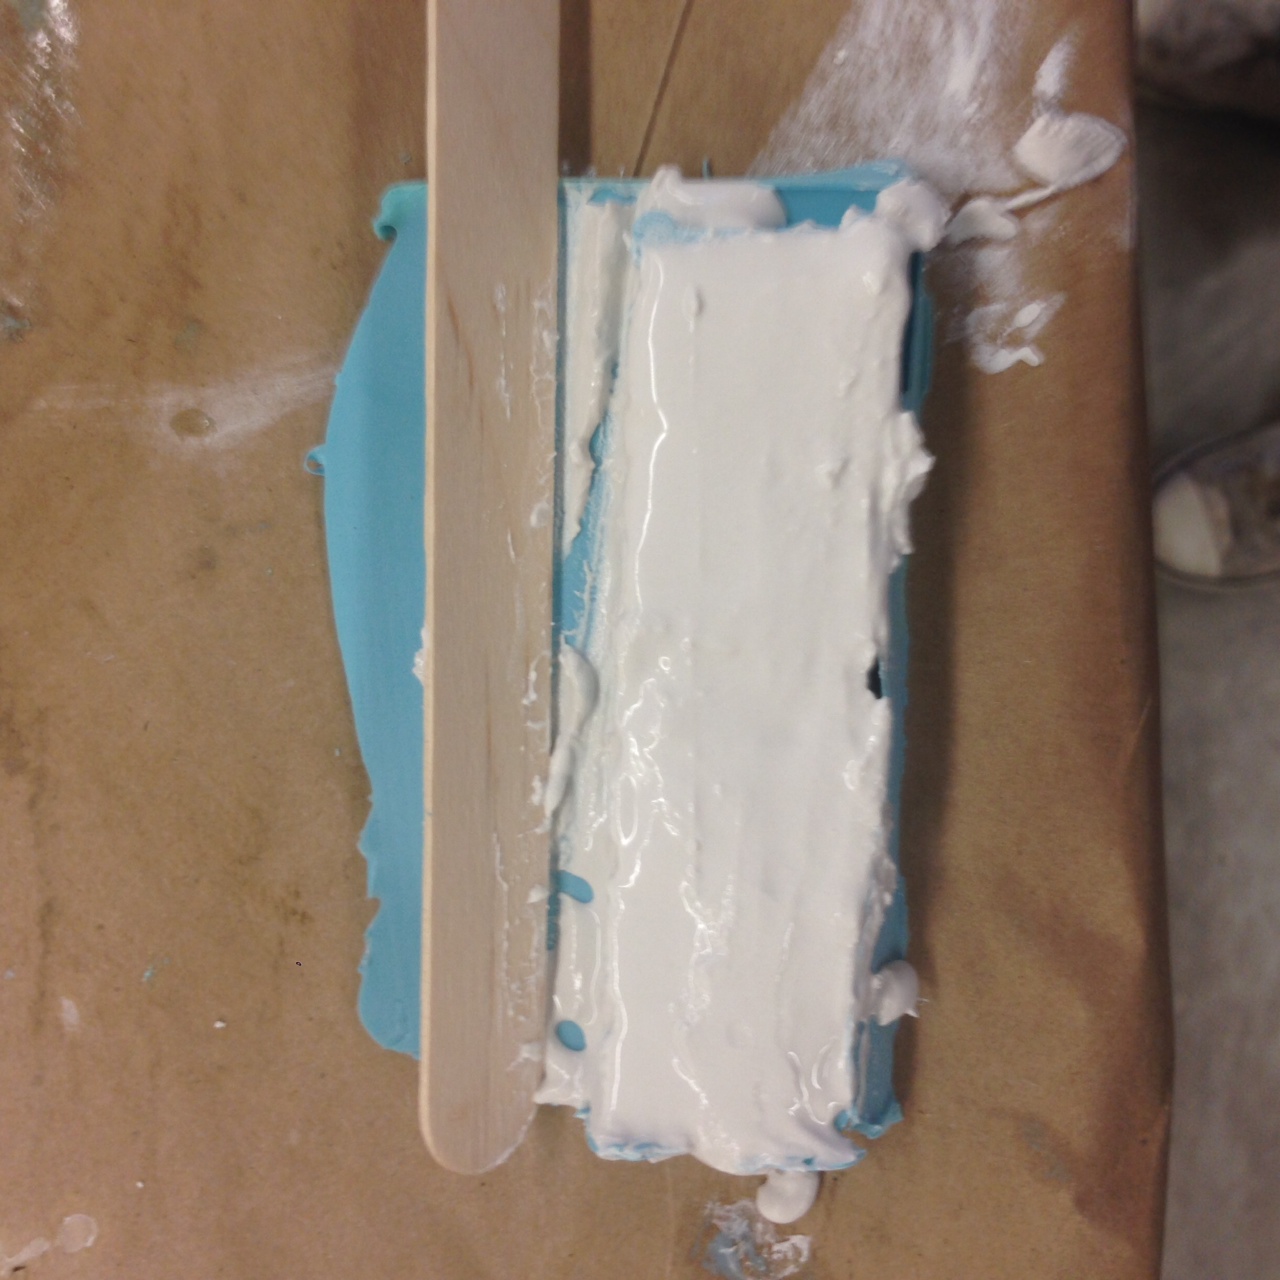
Then I made a mold using the blue and green liquid. It took an hour
in the oven to become solid.
Lastly, I did casting using the flexible mold. It was very easy to
take out the final product from the mold. To further refine the
product, I used sand paper to polish some part.
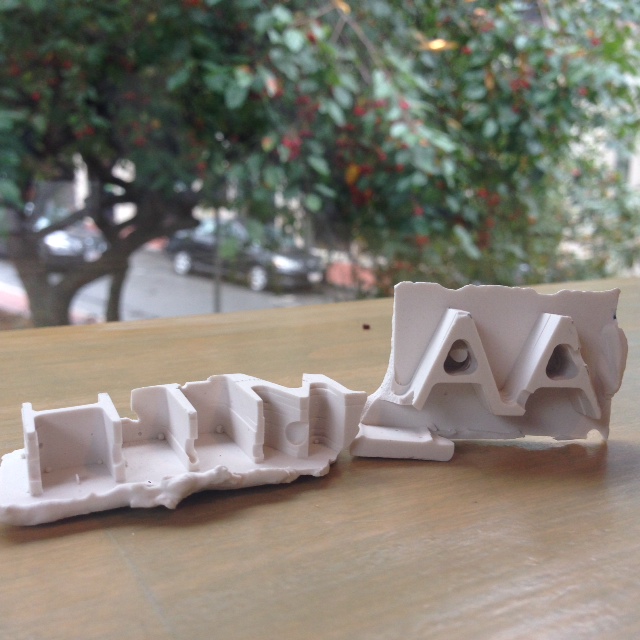
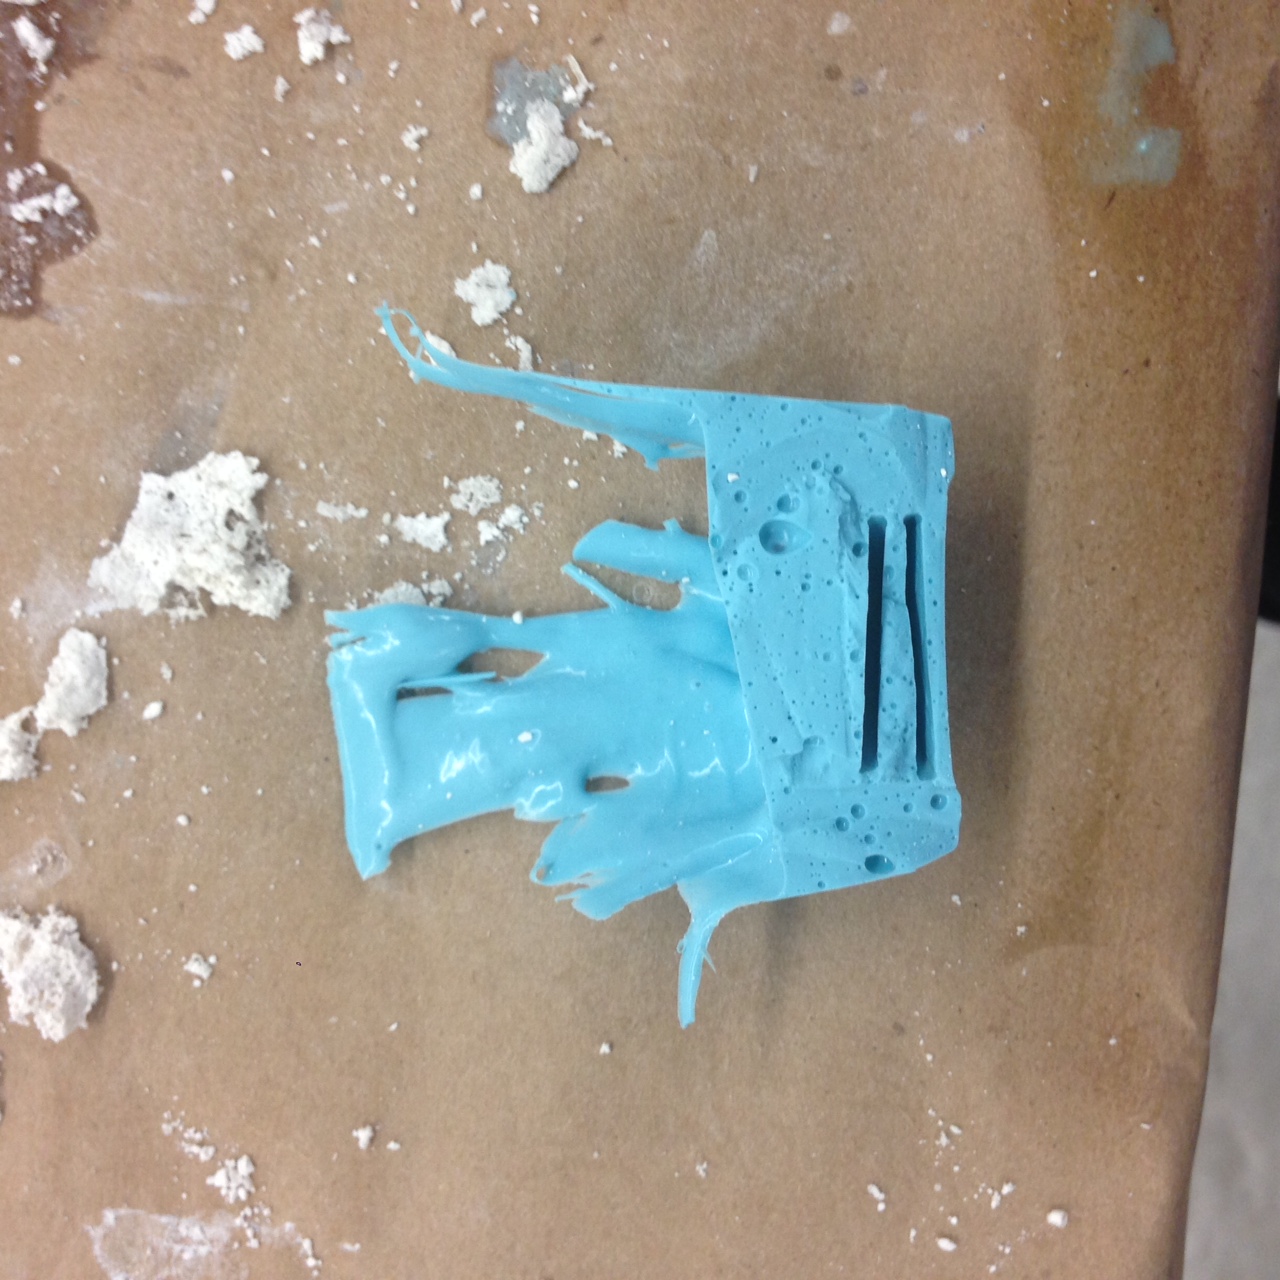
I also tried two other projects, which are fun. The first one is to
try to implement the classic molding & casting application - to
make money (coins). It turned out that it's not that easy with the
materials I have. I guess there is a point to use liquid metal since
it can fit into the mold much better.
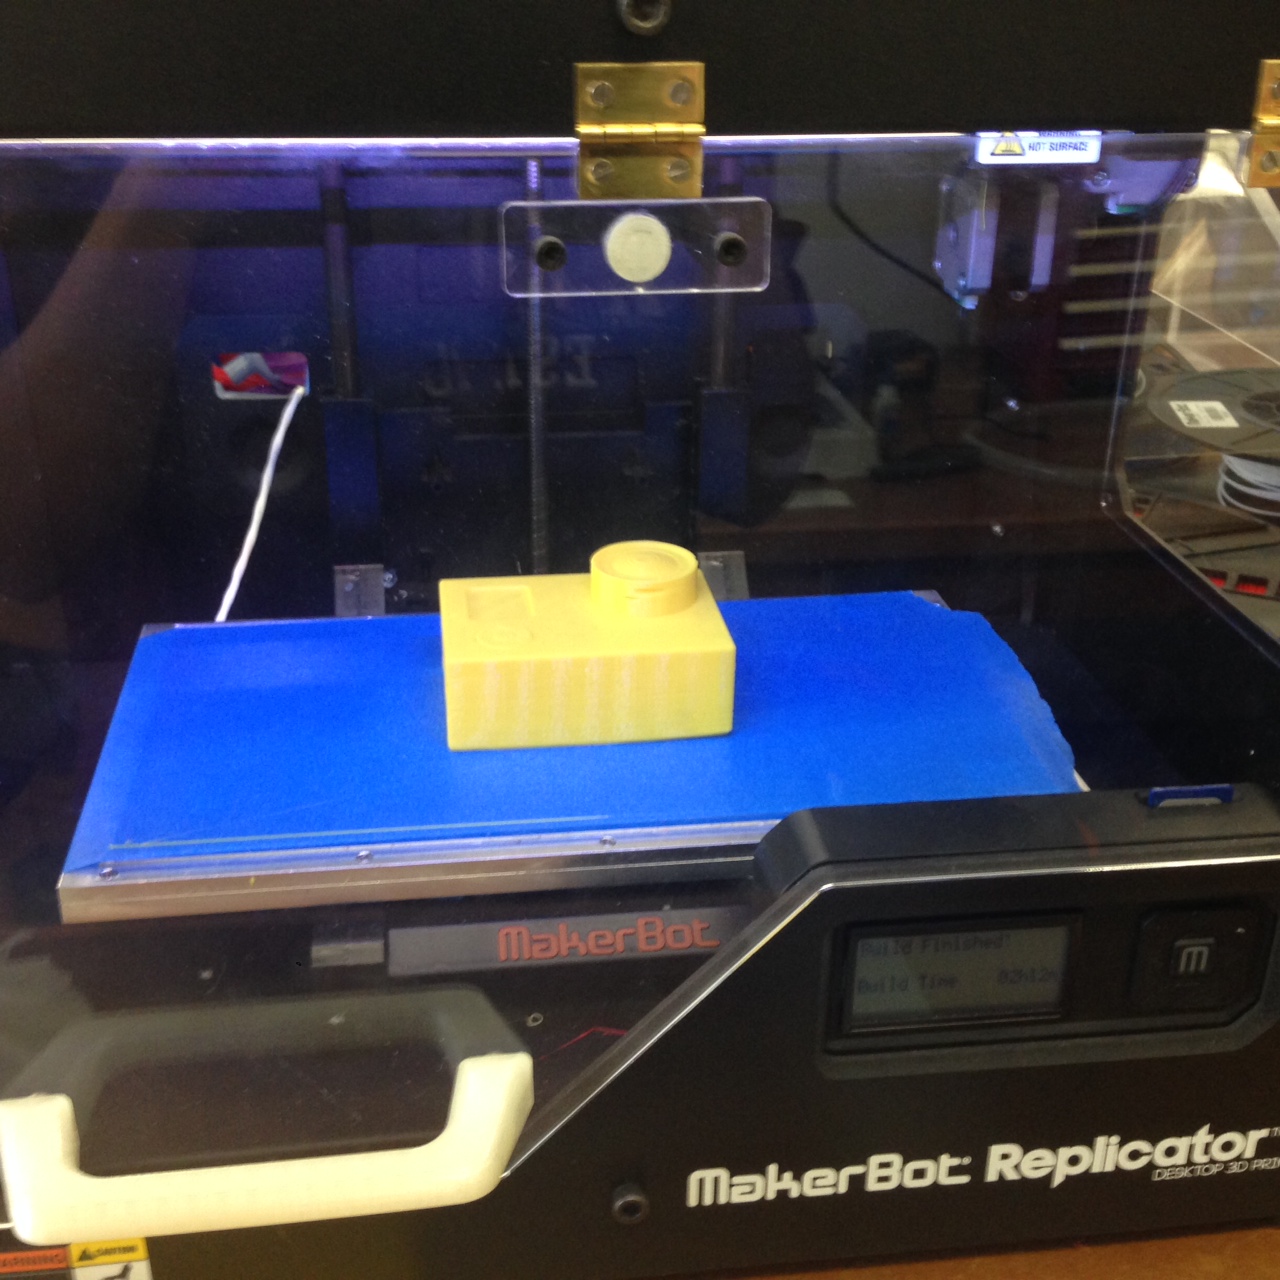
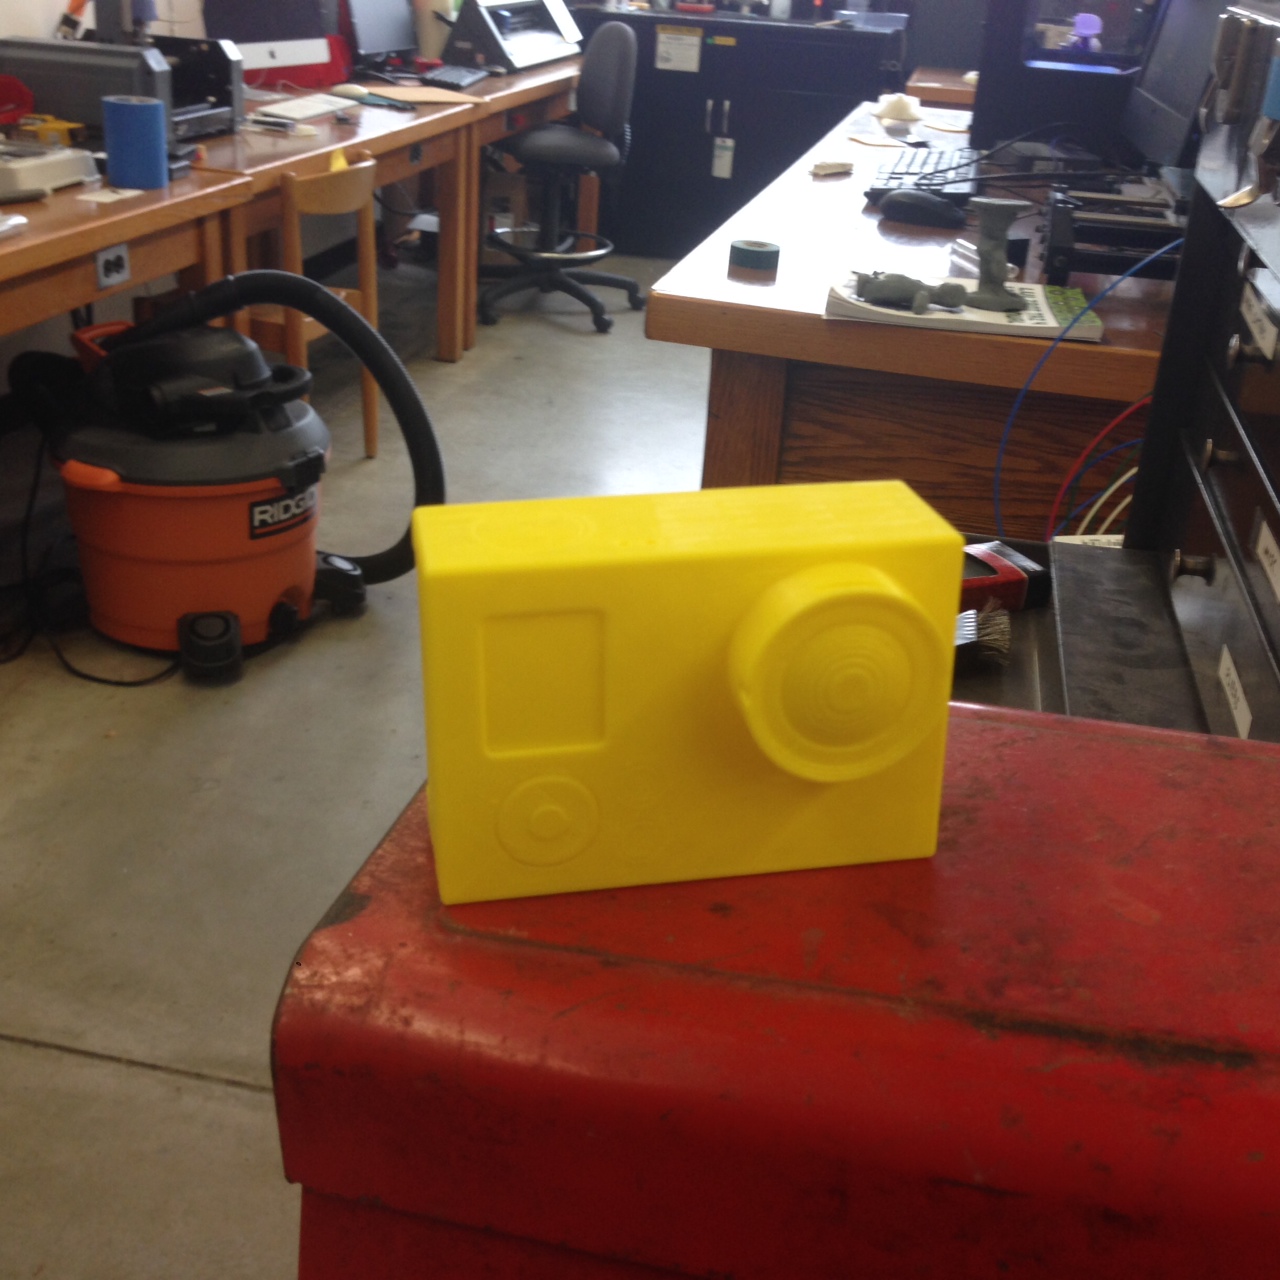
For the second idea, I 3D printed a Go Pro camera. And made a mold
out of a box that is slightly bigger than the 3D printed camera.