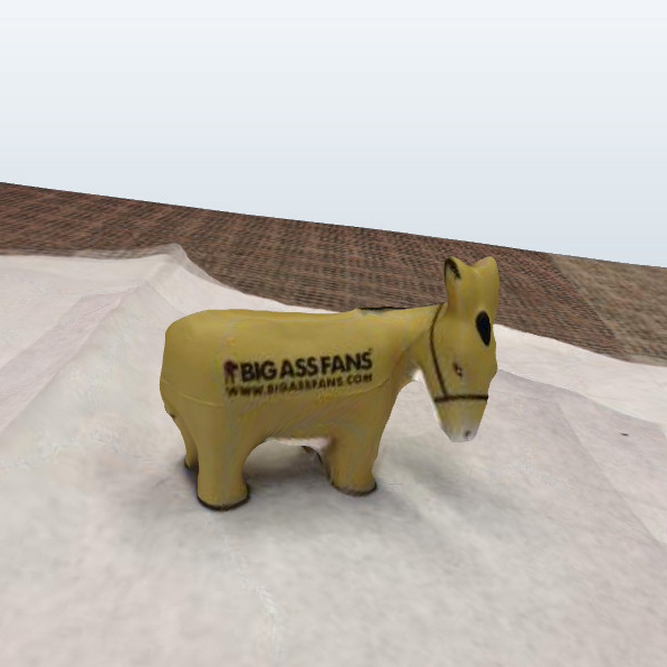
The assigment this week was to use one of the many 3D scanning options available to scan an object. I chose to use the mobile app 123D Catch to get make a 3D scan with my phone, and I was very surprised with the quality of the outcome.
We also had to print something that could only be made using an additive process. I used this as an opportunity to learn how to use the Fortus printer in my lab which is awesome but a little bit intimidating.
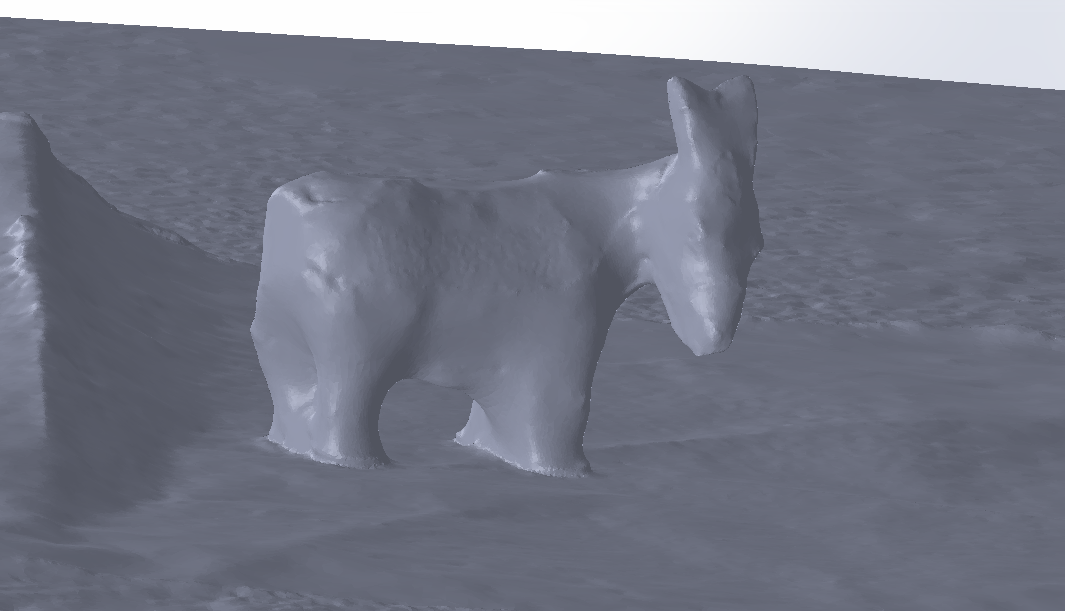
This turned out to be way easier than I anticipated. I simply downloaded the app, took some pictures, and 20 minutes later (it takes some time to process) I had a 3D scan! The app's gui makes it really easy to understand the process and to know which angles you still need to get. Literally anyone could do this. I scanned a plush donkey that I got at the career fair. I tried putting a piece of white paper below it to distinguish it from the floor, which worked well in the 3D image that was generated, but made no difference in the .stl -- everything (donkey, paper, floor, powercords in the background) is one big surface in the .stl. I also tried to get really close to the object as I was taking the pictures and took my time to make each picture precise. I had to take 26 pictures in all. After the pictures were submitted, the program took about 20 minutes to process them and create the 3D files. I received a link in my email to an automatically generated project page where, after signing in, I could download a .obj, .3dp, and .stl. See them here. Overall I was very satisfied with the performance of this app.

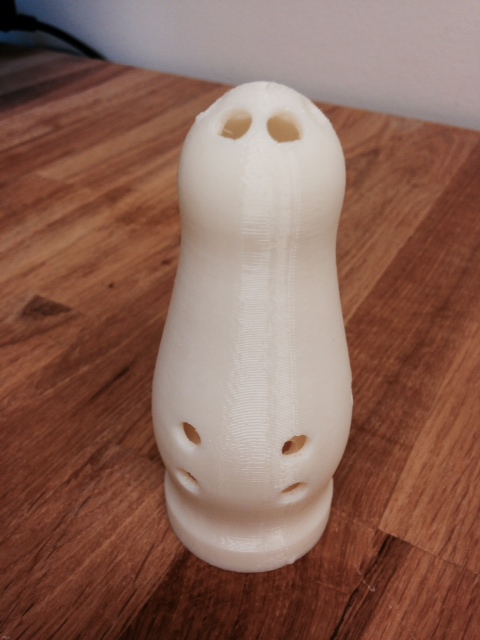
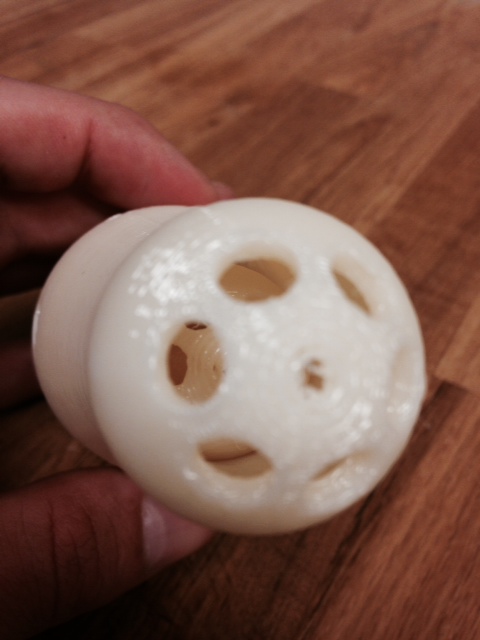
For this part of the assignment, I made a matryoshka doll that does not open. This could only be made additively because it has nested parts and very limited access points. I created the part in Solidworks by making a sketch with a spline and a couple of straight lines. I then revolved the sketch and used the "thin-walled feature" option to turn the revovled spline into a .1" thick shell. I created the smaller dolls using the exact same process except that the sketches were copies of the original sketch that were transformed with the "scale" function. One trick I found was that to make a revolved/extrued thin-walled feature, the sketch needed to be open-ended with the ends meeting the axis of rotation at right angles. Otherwise the revolution would intersect itself and the shape would not be created. This was not the case for a normal revolved extrusion.

After creating the Solidworks model, I used the Isight software that came with our Fortus printer to create and prepare the STL file. I had some weird issue with units -- I created the original file in inches but it must have been converted to mm when I turned it into an STL. Then when I loaded it into Insight, it wanted to read it as inches again so it got really huge. I had to load the file in mm in order to get it to come out right. I'm not exactly sure what happened but the good thing is that Insight warned me that the part was going to be too big and gave me options to change it.
Next I sent the image to the printer and began the job. It took 7 hours to print and I had to scrape some of the pieces of old jobs off of the build sheet in order to get the build sheet to flex properly and adhere to the vacuum bed of the printer.


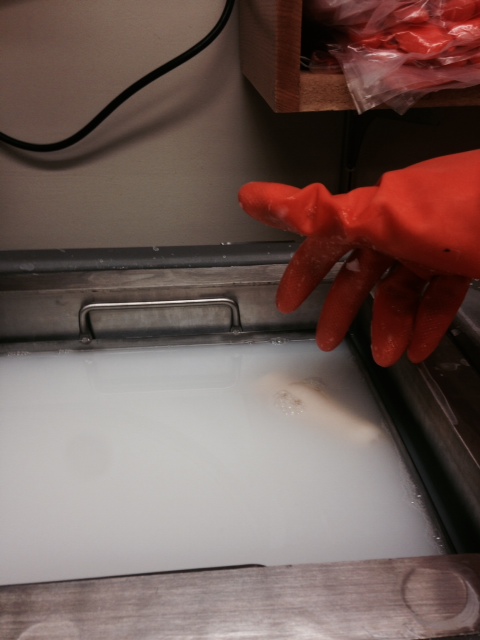
The last step was to put the printed part into a solvent bath to dissolve the support material. This took about 6 hours.