This week's assignment was to create something by casting. In order to practice all of the steps, we were instructed to create a positive with machinable wax (making sure to use 3D toolpaths), use the positive to create a negative, and then cast into the negative. I decided to make a miniature viking shield out of chocolate (a little bigger than a chocolate coin) because we are having a viking-themed halloween party at my house, and I think it would be cool to be able to cast little shileds out of chocolate at the party.
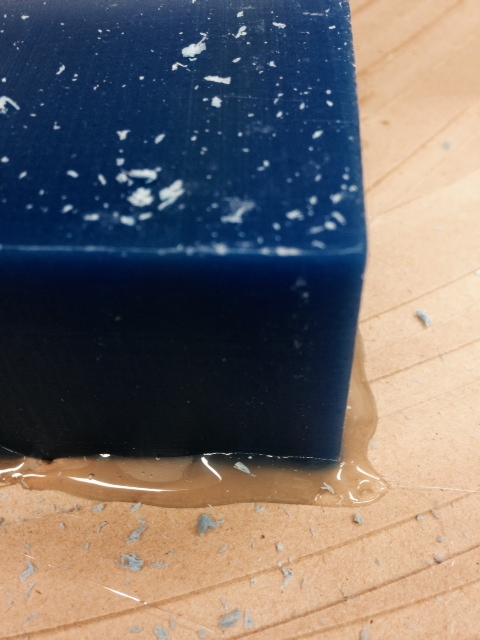
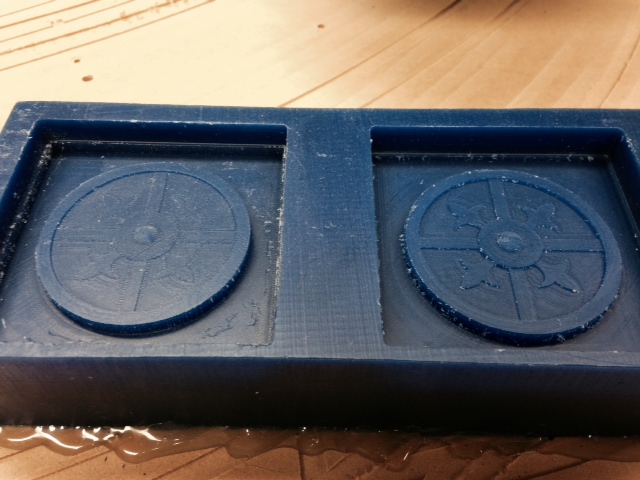
First I designed the shield (positive) in Solidworks. I made two different versions with cuts of different depths because I wasn't sure if the casting material was going to be able to pick up very fine detail (I had flat features that were only raised or lowered by .005"). I then created a mold and toolpaths in Partworks 3D. I was using my lab's desktop shopbot and found that the precision was more than adequate. The only real problem I had with using this machine was that the software insisted on doing rasters for both the rough and finish cuts (there was no option to change to profile except for a final pass on the rough cut). Since I had circular parts, this made some unneccessary edges. I used an 1/8" end mill for the rough cuts and a 1/32" end mill for the finish cuts. Total cut time per mold was about 20 minutes. I fixed the machinable wax to the table of the shopbot using hot glue. I think I used a little too much because it was very difficult to remove afterwards
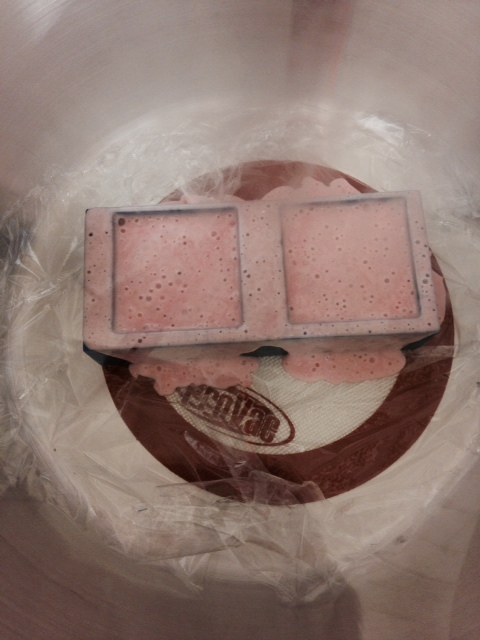
The next step was to create the negatives. I used Smooth-Sil 940 which is a food-safe silicone material. I mixed the two components according to the instructions (1:10 ratio by weight, mix for 3 min). The material was very viscous and it was impossible to not incorporate giant bubbles into the material. So the next stop was to vacuum degas. I poured the material into the wax mold and set the whole block inside the vacuum chamber. It swelled up quite a bit and then when it hit 29-30 mm Hg, it collapsed and I lost a lot of material out of the mold. To remedy this, I released the vacuum, added new material, and degased again more slowly, being careful to let the material settle a little before popping all of the bubbles. I kept it at 29-30 mm Hg for a few minutes, turning the pump on and off to replace pressure that would slowly leak out.

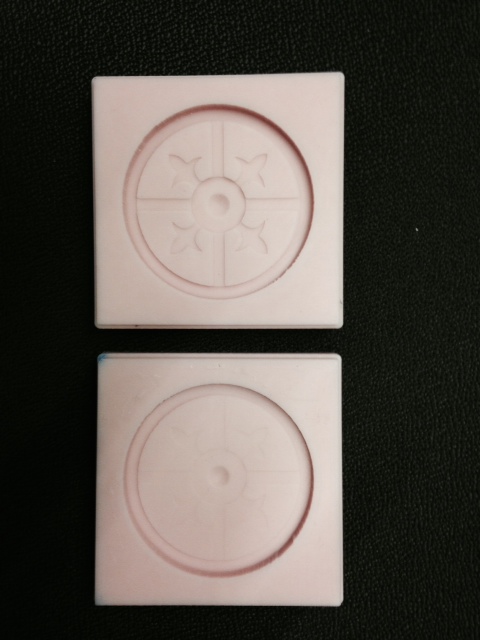
I let the material cure for 24 hours and skipped the optional few hours of baking. The molds were great, and I think the baking step was unnecessary.There was material all over the outside of the wax that had spilled over, but this actually made it easier to extract the molds from the holes. After pulling them out, I cut off the extra material.
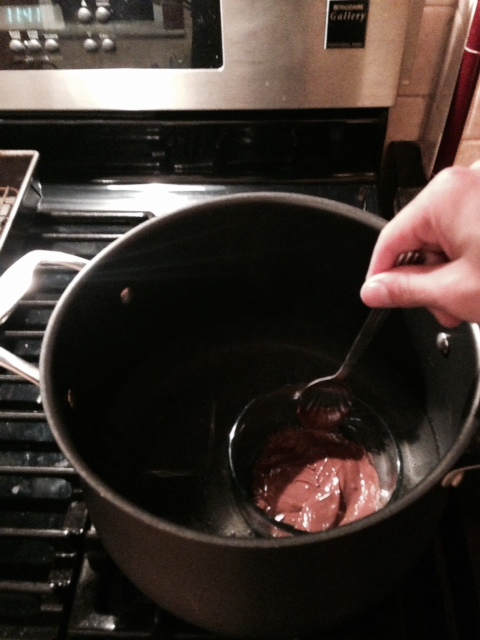
Now that I had two completed molds, the final step was to cast the chocolate. I used normal Hershey's chocolate, a couple of sticks per mold. First I tried to shortcut the chocolate melting process and just stuck it in the microwave. DON'T DO THIS. Just stick with the program and melt the chocolate using the double boiler technique. I cut the bars into really small pieces, put those in a pyrex dish, then floated the dish in a pot of near-boiling water. Stir constantly. The chocolate melted with no problem. I spooned the chocolate into the molds and let it sit out on the counter overnight.
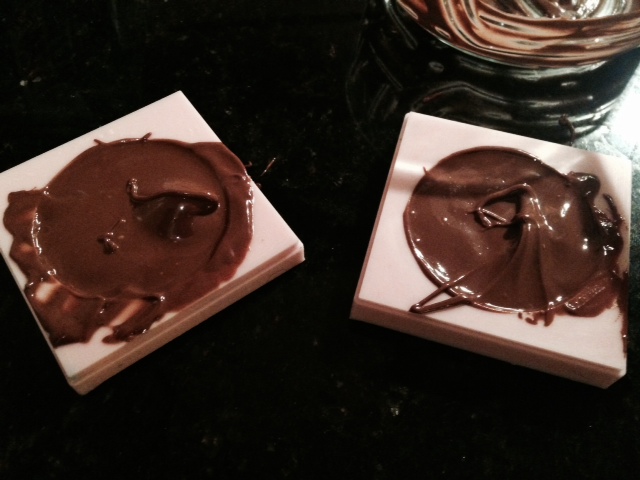
In the morning, the chocolate was solid and came out of the molds pretty easily (I wasn't very careful with one and broke it in half). I was surprised to find that even the mold with very fine details left an impression on the chocolate. Next time, I'm going to try letting the molds cool in the freezer to see if I can speed up the process of solidifying the chocolate

