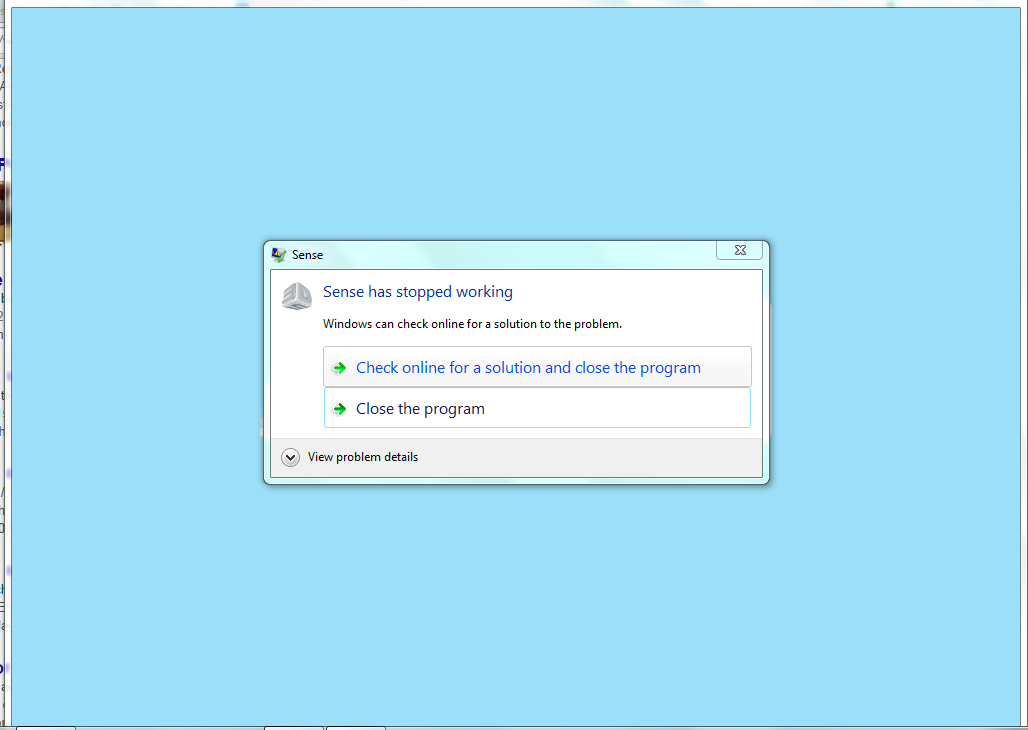
I tried installing the Sense software, but the software crashed repeatedly on my computer. The Sense website had no support. Thus, I decided to use the 123D Catch software. However, it was not supported on my phone! I tried to use the computer version. Luckily, I found a phone that supported the software, and took a scan of a toolbox. (Initially I tried to take a scan of a vacuum cleaner, but 123D Catch crashed when I sent it the pictures I took.) I put the toolbox on a table, inside, and took pictures if it at every location the 123D Catch app asked me to. The app shows two circles with different divisions that rotate as you move around the object, and as you take pictures of the object in different locations the divisions turn blue. I made sure to remove any blurry pictures I took in the the review phase of the app, and sent my ~31 pictures to the website. It took a long time -- many hours -- for their system to process the pictures, but once it was done it came out looking like this:
As you can see, even though the object is very simple, it doesn't do very well; it picks up a lot of unnecessary background and the object still has huge holes in the sides. Nonetheless, it managed to get the little handles on the sides of the toolbox, which is pretty impressive!

However, the printer was being used most of the time, so I stole into one of the other architecture shops and quickly used their MakerBot. For a quick print, since I am still learning 3D modeling, I decided to model and print the cup in the Rhino tutorial here.

Loading the PLA into the printer was straightforward; I fed the PLA through the guiding tube and into the nozzle, the nozzle grabbed on, pulled the PLA through, and quickly extruded a foot-long segment of melted PLA, wherein I told the Makerbot to stop being so hungry by pressing the red Makerbot button. I placed a level on the stage; it looked level everywhere, so I did not bother to level it. I began to print from the SD card:
3D printers sound eerily like modems, slowly extruding information into reality...
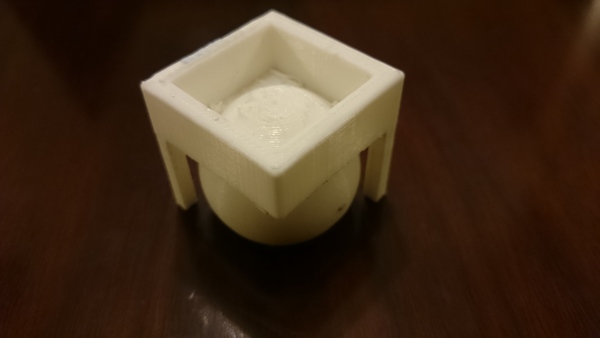
Here is the final product, with one of the pieces of the press-fit construction kit being used as a coaster:
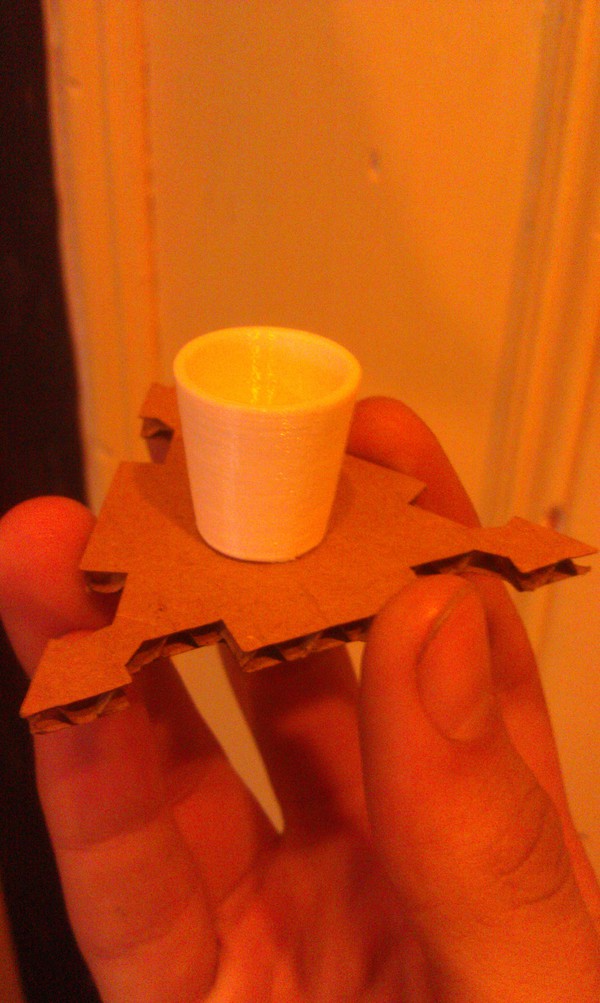
This was much easier than I expected! I remember these MakerBots being really really finicky four years ago. I will be more confident printing more complicated objects in the future.
A little later and a little more confident, I decided to print the other model. However, I could not find a roll of PLA anywhere, but I found a 4 meter roll of PLA lying in one of the architecture shops. I used the makerbot software's estimates together with a the informtation about weight-to-length conversion here to determine that I should have enough material, and tried to print it.
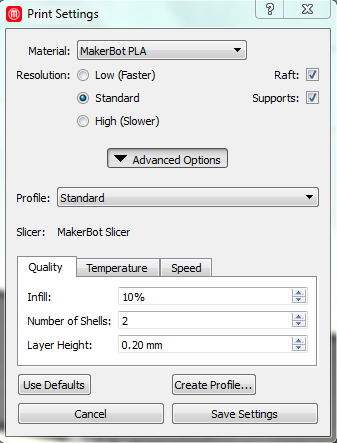
I should note that the makerbot desktop software is very straightforward to use. Bellow are some screenshots of settings I used:
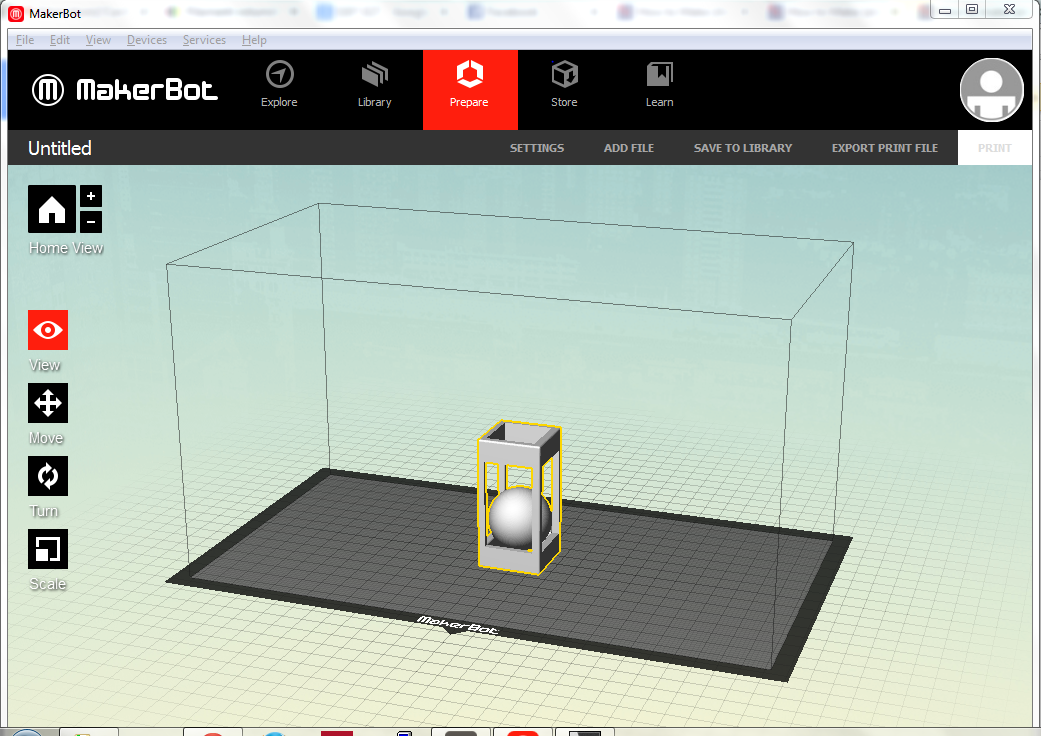
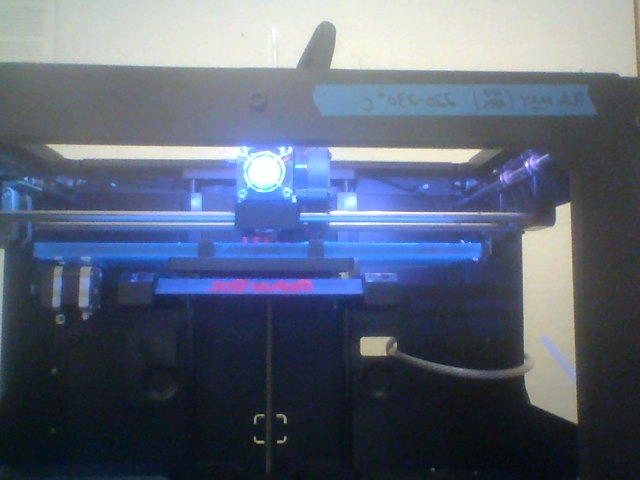
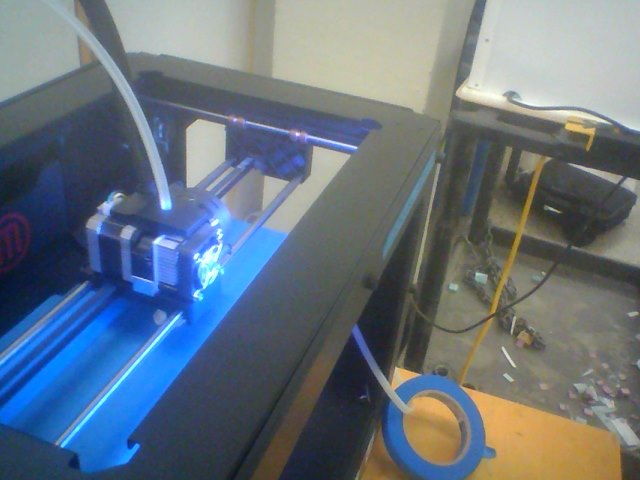
And here is the printer printing:
Sadly, when I came back the next morning, I realized that I had done a miscalculation in length, and that the printer ran out of filament halfway through:
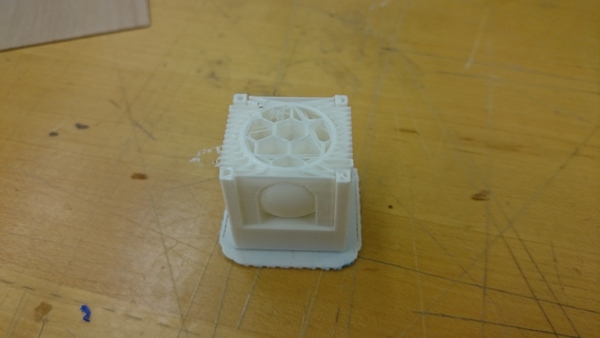
Nonetheless, I removed the supports to see what it would look like. I used a screwdriver to pry it off of the main piece; sadly it was stuck tightly enough to the thin legs that two of them broke off in the process of removal:

This did not come out how it was supposed to, but upside-down it makes a pretty cool inkwell.