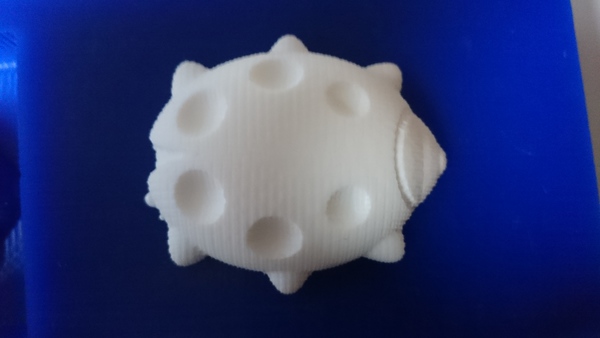
For this week, I ended up making a lady bug, after playing around with other ideas and finding that my Rhino modeling skills did not let me execute them in a sufficiently quick manner. The ladybug was cute and fun to design:
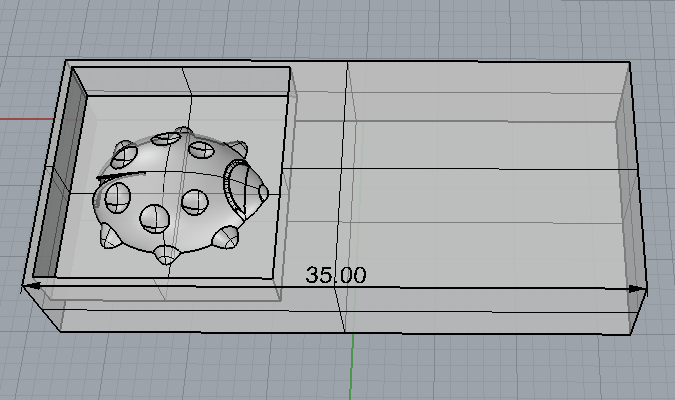
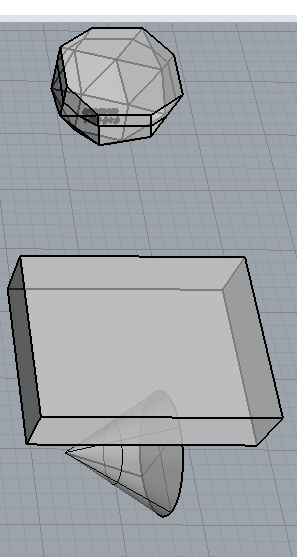
Initially I was going to make the snub cube I did not make in the first week, with the coxeter diagram for the polyhedron itself engraved on it, but I decided that making a one-part mold first is best. Below are some snapshots of pieces of that model:
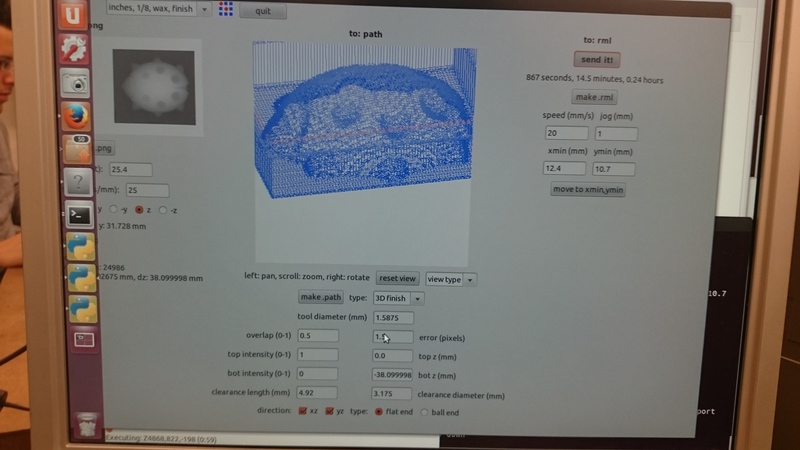
The shopbot was busy when I was around, so I used the online fab modules to do path planning for the modela:
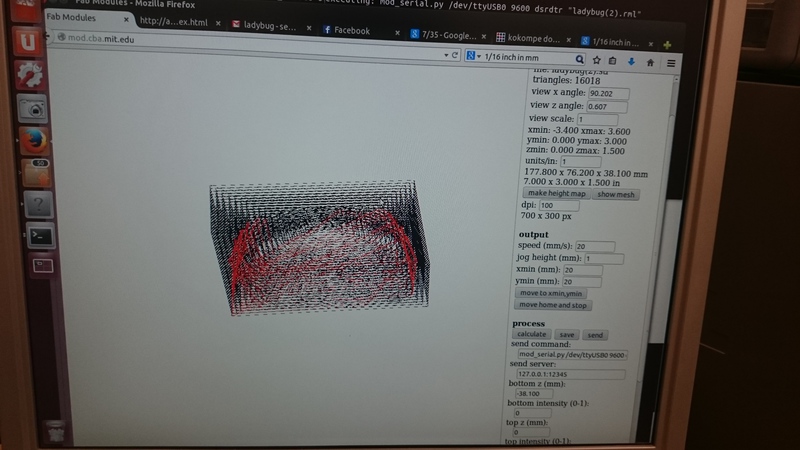
There were some strange glitches where it did not seem to do the Z axis planning, but eventually the modeled toolpath looked good. I very carefully zeroed the 1/32" tool on the wax to make sure that everything was perfectly centered; the 1/8" tool is simply too big to make sure you are centered with the corner.
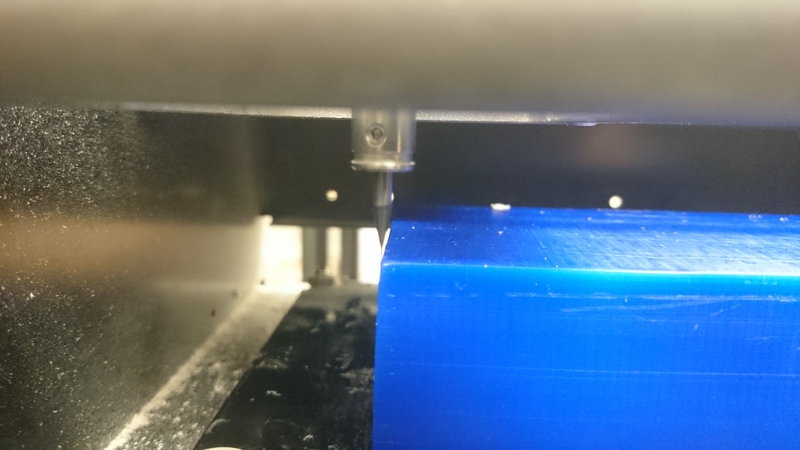
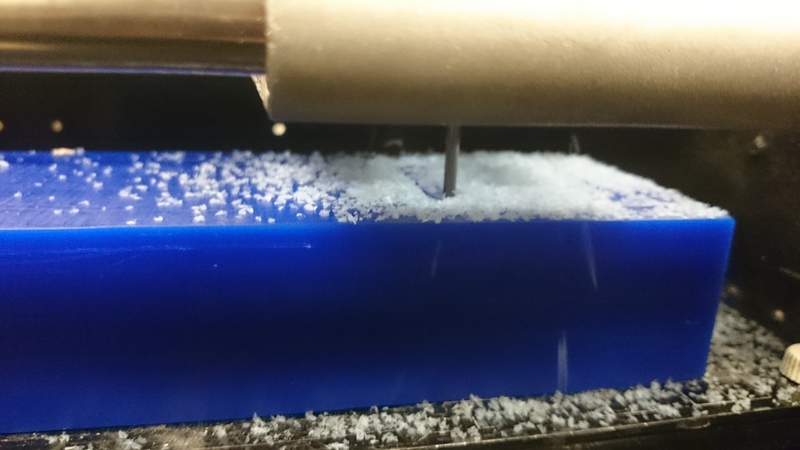
I then put in the 1/8" tool and began the rough-cut process
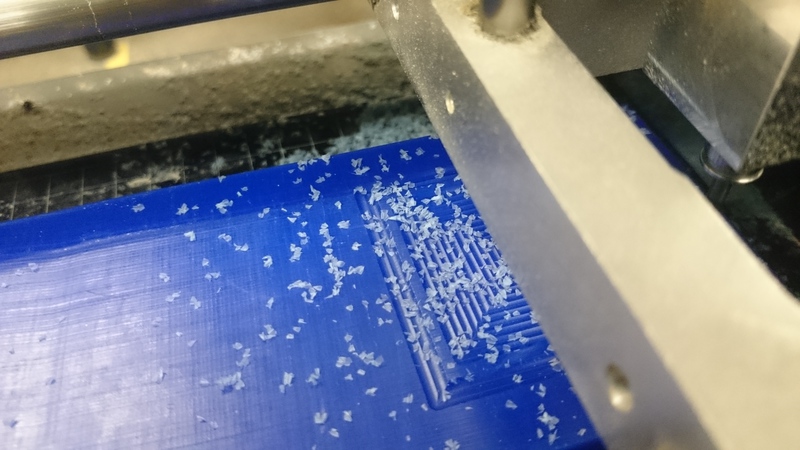
It is oddly breautiful and makes a lot of junk which gets in your hair when you clean it off. Wax machines beautifully.
Then, to do the fine cut, I decided to try to use the complied fab modules to do the path planning for the 1/16" tool. Since the 1/16" tool has a shank different from the tool width, I used the "clearance diameter" and "clearance length" options (which were at the time not available in the web version) to generate a toolpath that does not cause problems with the sharp walls of the mold. The "clearance diameter" setting is the shank width; the "clearance length" setting is how high the shank is from the tip of the tool. The path is then planned by placing a circle of the relevand diameter and height away from the tool tip, and making sure that circle avoids any material.
The generated path was very successful, and dealt with the sharp walls very well:
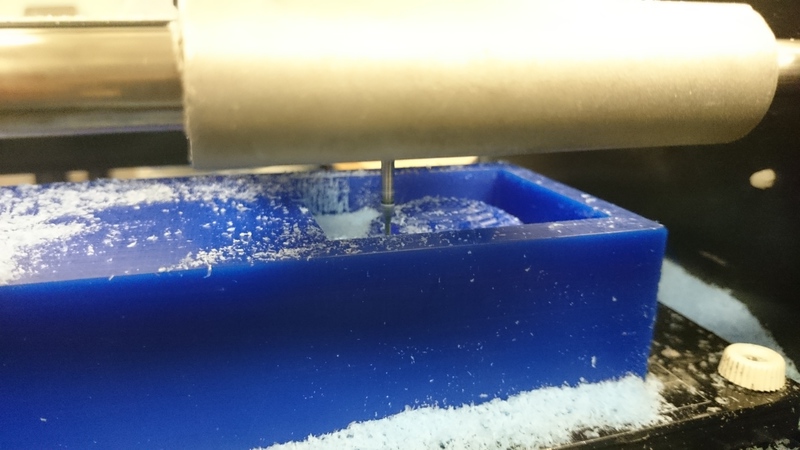
Notice how in the above video, the tool goes down a little bit in the wall, then moves away from the wall and proceeds downwards. This demonstrates the path-planning I described above.
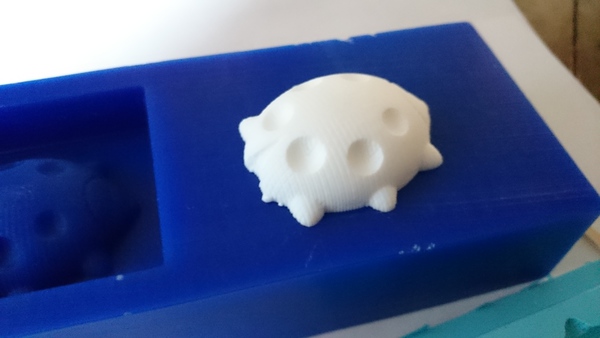
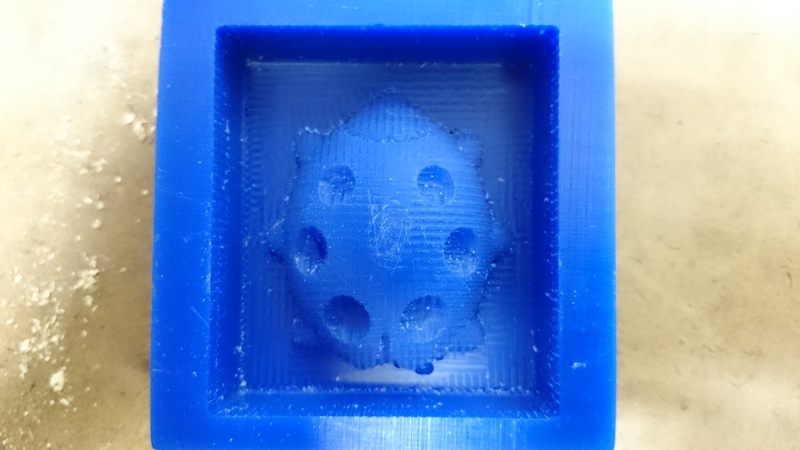
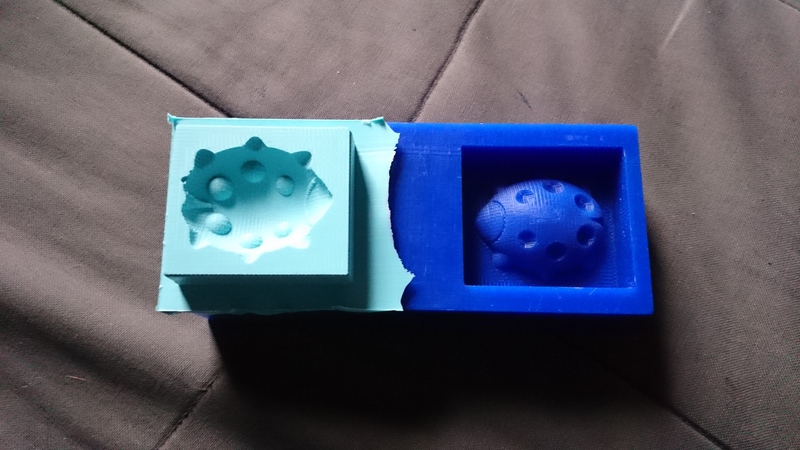
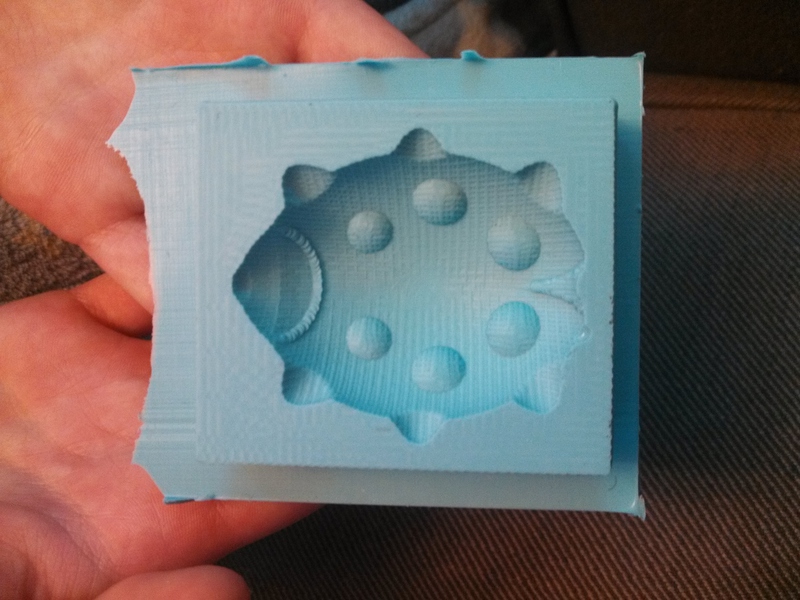
The mold came out looking great! There was a fair amount of scalloping; it may have come out better with the 10 mil endmill, but the cutting time for that mill was very long. On the top there are some scratches; these are from a not-very-successful attempt to sand the scalloping off. I may have used sandpaper that was too low-grit.
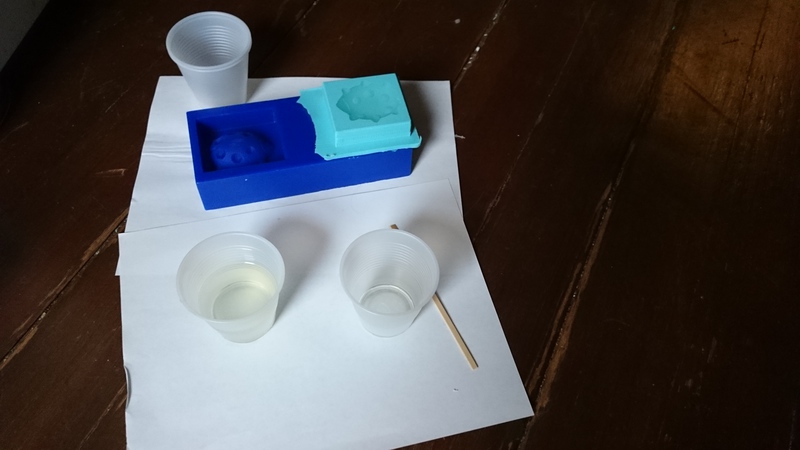
Casting the oomoo was straightforward; I estimated the necessary volume by filling the mold with water and pouring the water into a cup, filled plastic cups with the correct amounts of the two oomoo materials; mixed one cup into the other, spent 5 minutes stirring, 5 minutes looking for bubbles, and then poured. (Note: the bubbles really do take a little while to come out! It initially seems like there are no bubbles in your mixture, but then one by one they begin to appear.)
I poured relatively quickly, so there are probably some bubbles in the mold. However, the final mold seemed to look relatively nice, with only one small bubble near the back side of the ladybug.
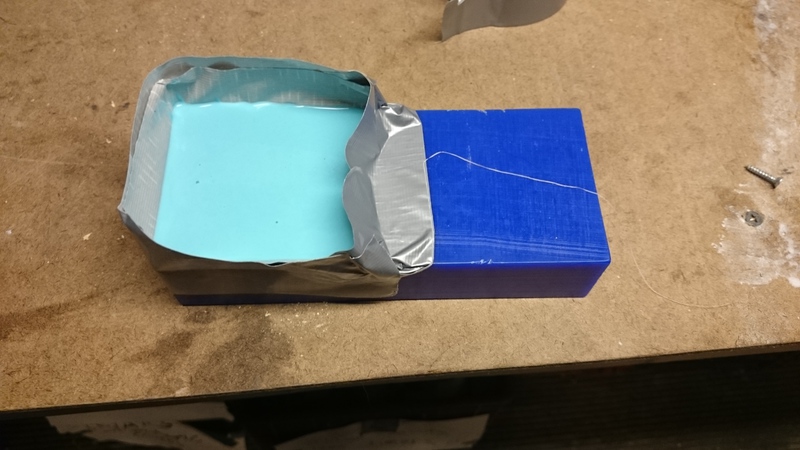
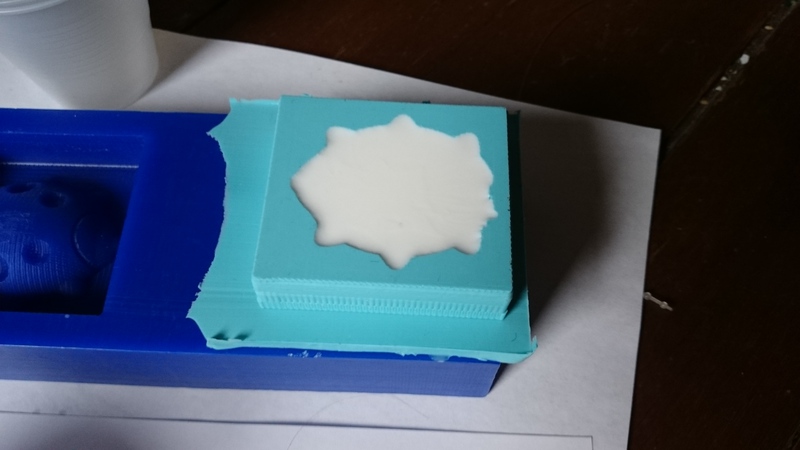
I used the Liquid Plastic smoothon to do the main cast. I prepared two cups and a stirring stick and filled the two cups with reasonable amounts of the each of the liquids (I did not even measure the amounts this time). I mixed the cups, spent 120 seconds stirring, 120 seconds waiting for bubbles, and then poured, as I had heard that this plastic cures very quickly. The below picture has the plastic already poured, and one of the cups is filled with the remains:
I went for coffee and came back to a completed piece!
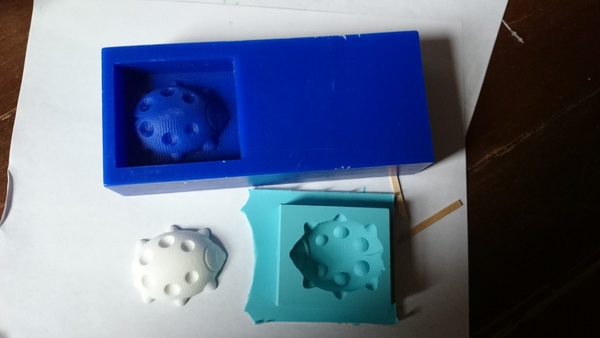
It came out easily even without mold release, and it looks great!