Week 14: Final Project Wearable POV Hat
WEARABLE POV HAT
For my final project I wanted to make something that had lights and was wearable. So inspired by POVs on bicycle wheels I decided to make a POV for the head. I started out by doing a few cardboard mock-ups to get a better sense of the form and how far off the head my arms would need to project to protect the wearer from getting hit by the spinning LED blades I had envisioned. Once I had a good sense of the shape I used Rhino to create my parts.

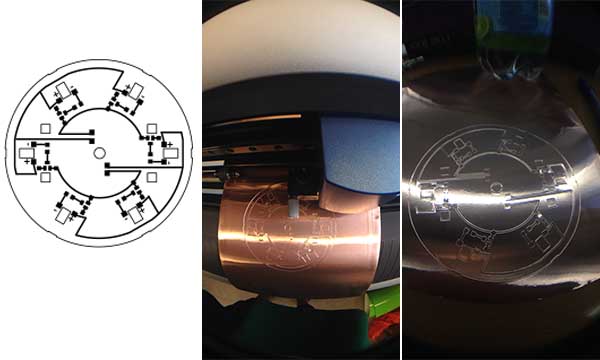
Initial concept sketches and circuit board layout
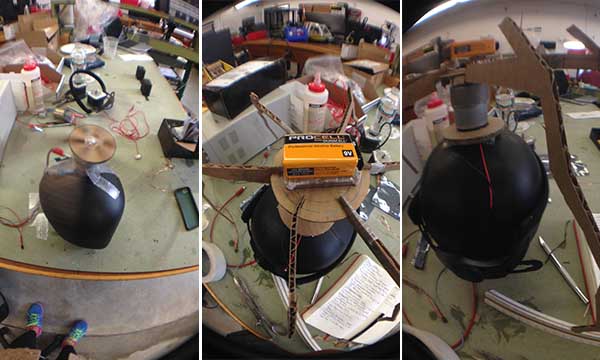
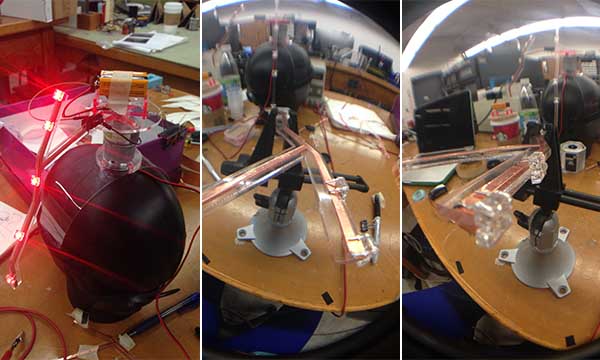
Motor time. Once I had a shape I liked I spoke with Rob Hart and we started testing different motor options that would spin my hat. I first tried the stepper motor, but ultimatley went with the DC motor. Rob and I figured it would be better for what I was trying to achieve.
More testing. I ordered 4-pin superbright LEDs. I wasn’t quite sure just how bright these lights would be, but they were extremely bright. Using my rhino file I was ready to laser cut my parts out of plexi.
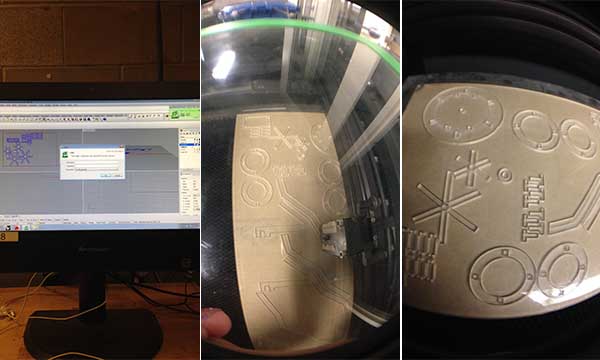
I used 1/8” clear plexi for my parts.
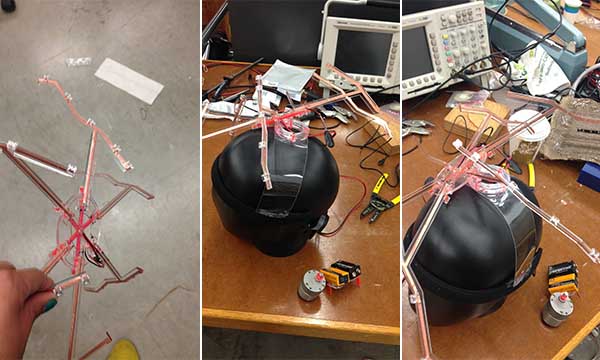
Arm trace layouts. Since I planned to run the LEDs down all 6 arms, I decided to make circuit traces that lined both arms providing function and aesthetic with one side of the arm acting as the (+) and the other as the (-) for my 4-pin LEDs. So I once again made the traces in Rhino and then cut them into copper using the vinyl cutter.
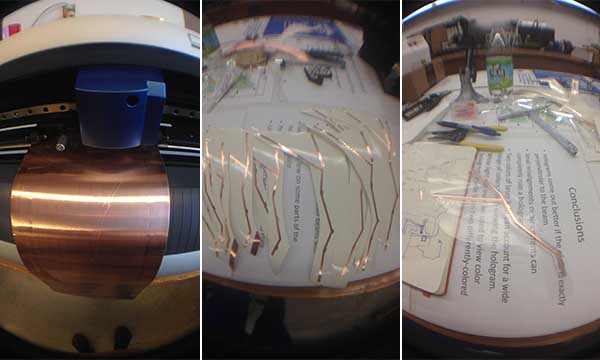
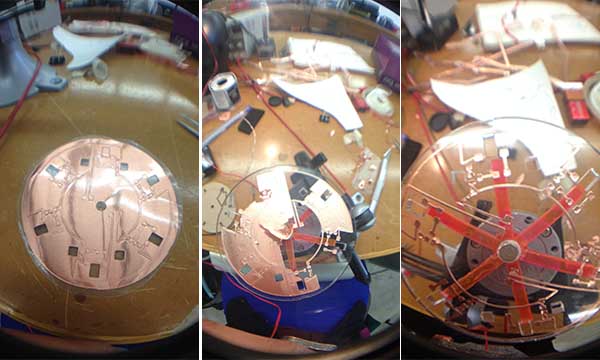
Once cut I used the clear adhesive tape to make it easier to actually apply the copper traces to the plexi arms. When I was done laying the copper traces on each arm I began soldering on my LEDs.

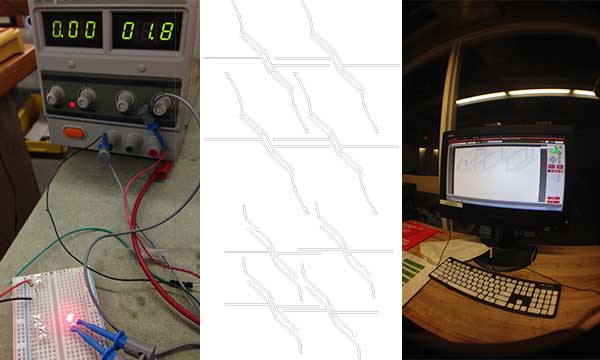
Circuit testing. Working with Nadya and Rob was very helpful. I am clearly not a circuit boarding expert so the help and guidance they gave me was very helpful. On the far left is a simple circuit layout that Nadya helped me with so I could start running test on my lights once I started to assemnly the arms of hat with the copper traces and LEDS.
First test was a success! Lights were bright and my DC motor was working.
Arms + Motherboard. I drew my circuit based on the previous test circuit I had made with Nadya. Allowing each arm to somewhat work independently, but still be tied to the same board. I split my traces in half so that my LEDS had more power and would be brighter. Using the 6 arms I divided them into 2 sets with 3 arms to one 9V battery. Once again I used the vinyl cutter and I was stoked on my success. It came out very clean. Using an Arudiuno I also started messing around with various light fading scripts.
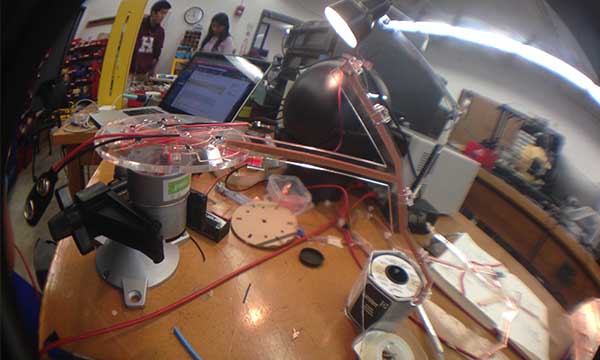
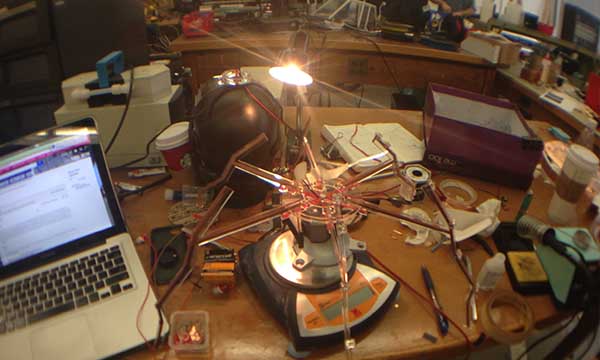
Tramua hits. As you can see my model looks a tad broken and it is now. As I was leaving the Harvard Physics lab for MIT to present this project - a student hurrying out of the elevator ran into me and the box my wearable was in and it all crashed to the ground.
I spoke with Rob and I plan to be back in the physics lab end of this week and next week to re-build the broken parts. In the last stretch of work I was so focused on finishing my project for the class presentations I didn’t take any photos of the fully functioning hat. I really enjoyed making this project and watching it come to life so I will be back in the lab and have verison 2.0 soon.