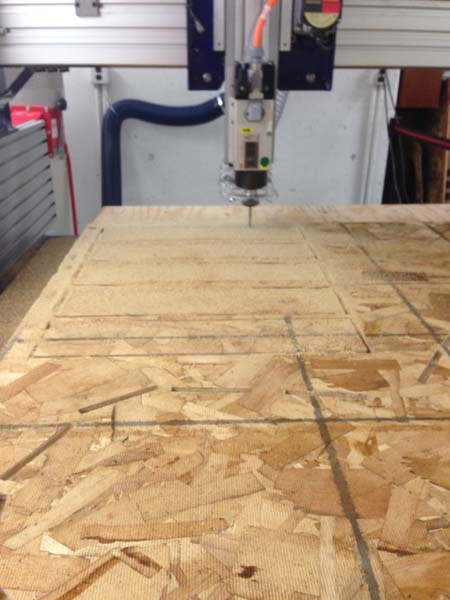
Printing in progress
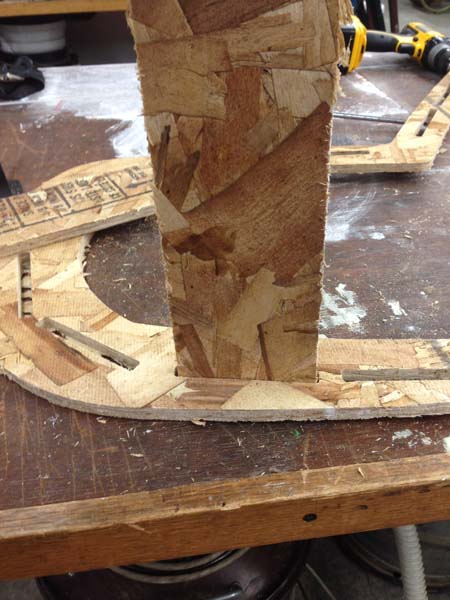
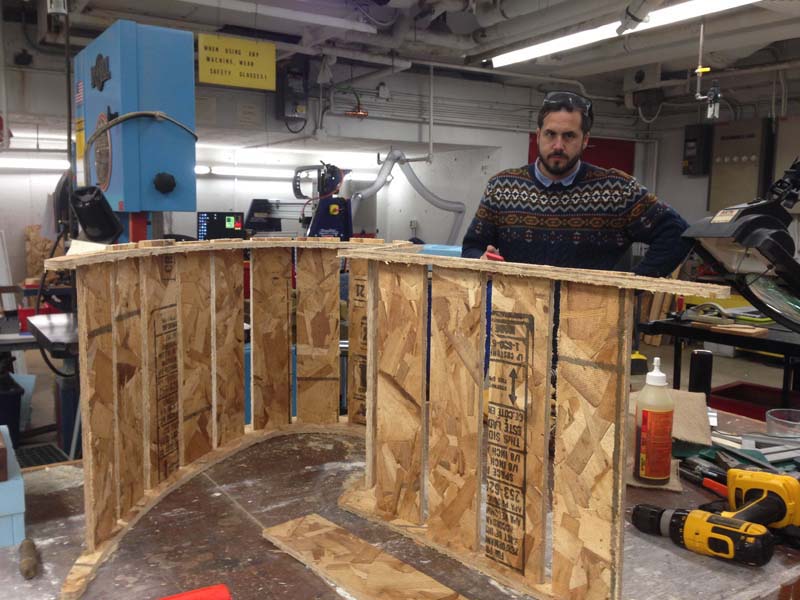
First press-fit test. My initial design had pressfits that measured exactly the same as the width of the wood i.e 0.453 inches. However after doing a test peice I realised that the slot widths where fine but the width of the slabs to be inserted has to scaled down considerablt.
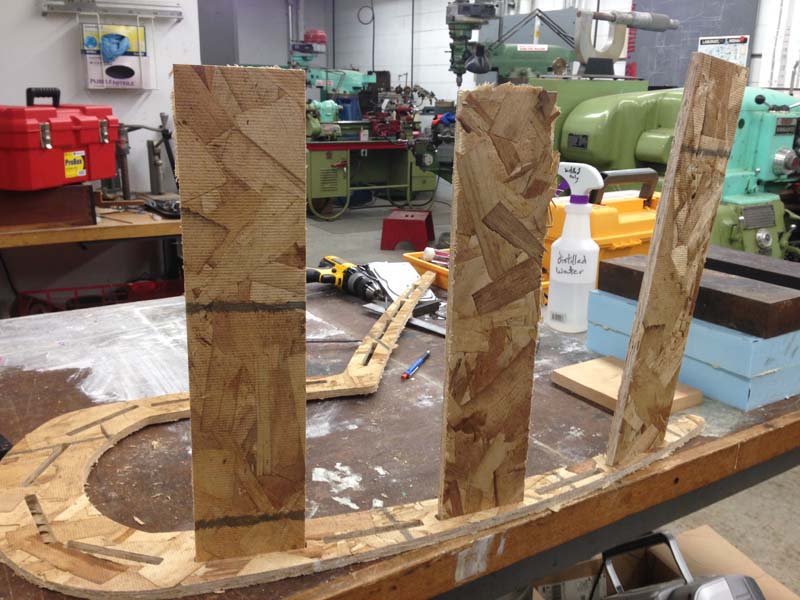
I then went on to do a three test peice each with the slabs scaled down to 94%, 95% and 96%. The 95% scaled down version seemed to be the best fit. It was neither too tight nor too losse. It was just perfect! So I rescaled all my slabs to 95%. EVerything else went smoothly once I had figured out the pressfits.
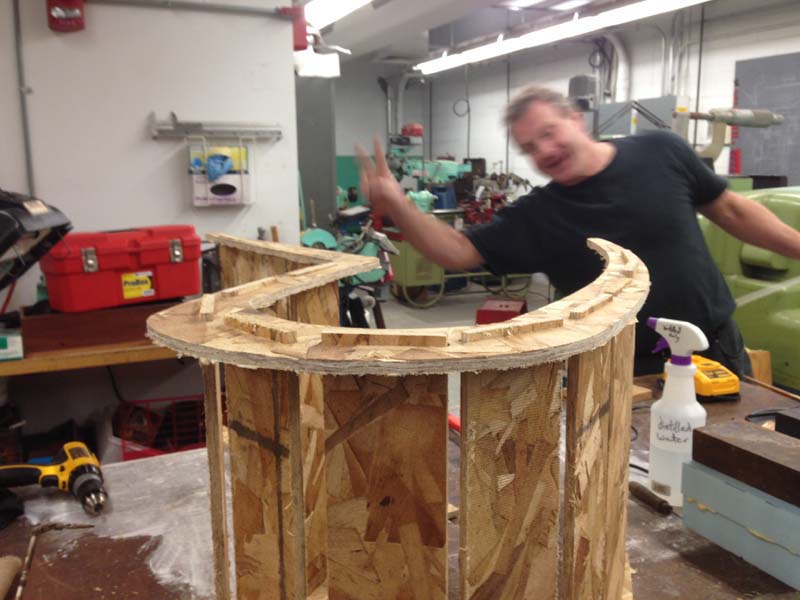
Daniel's suggestion to use a rubber hammer to hammer down some of the slabs worked out great. I was initially trying to bang it down with my fist. Since this was a pretty rough wood, it was bound to have inconsistencies. Hammering it down gently with the hammer made the job so much more easier.
David overseeing the job.
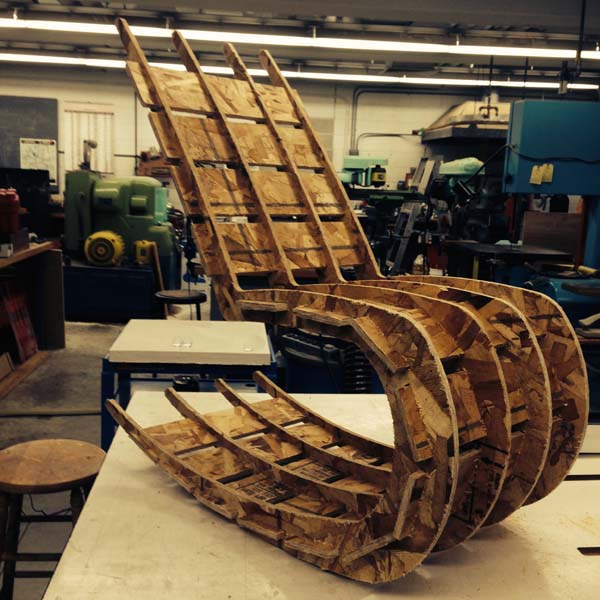
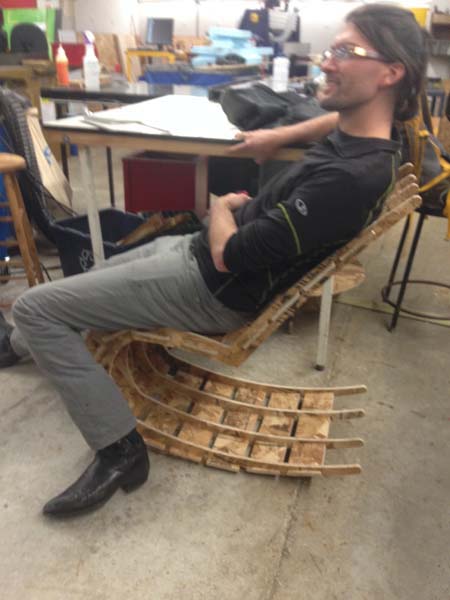
My fully assembled press-fit rocking chair! It turned out to be pretty sturdy. I'm thinking of adding a few slabs along the z-axis to make it more sturdier.