How to make (almost) anything

by Thrasyvoulos Karydis

CBA Phone Shelf
Press-fit Construction Kit

Step 1: The phone!

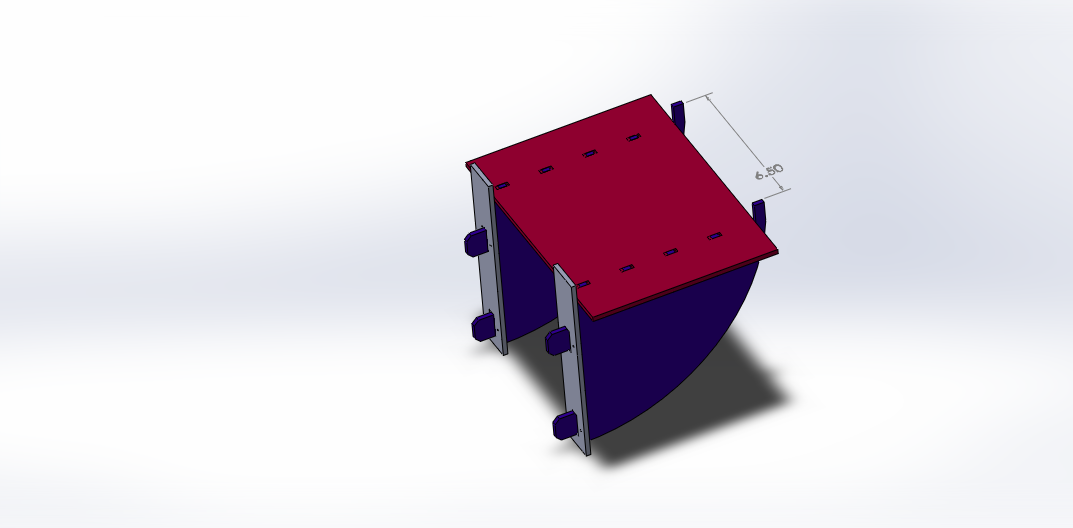
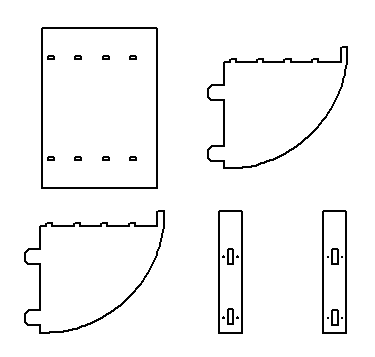
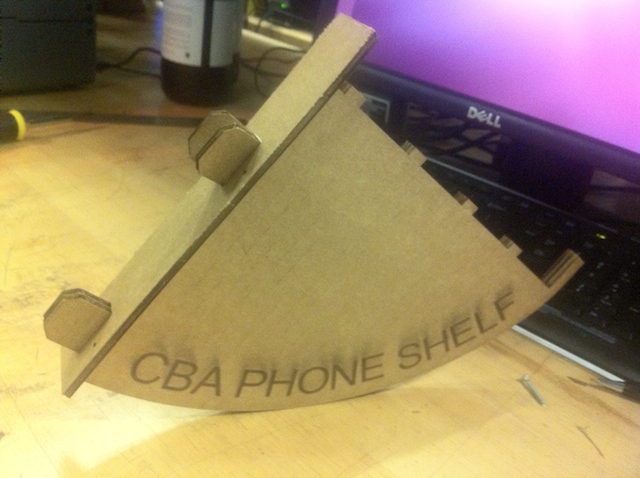
This week's assignement was to create a press-fit construction kit, using the laser-cutter. I decided to create a shelf to mount the lab phone in E15-015, which turned out to be both fun and useful!

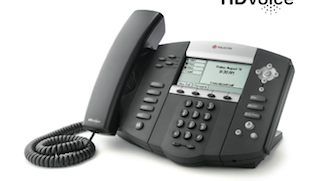
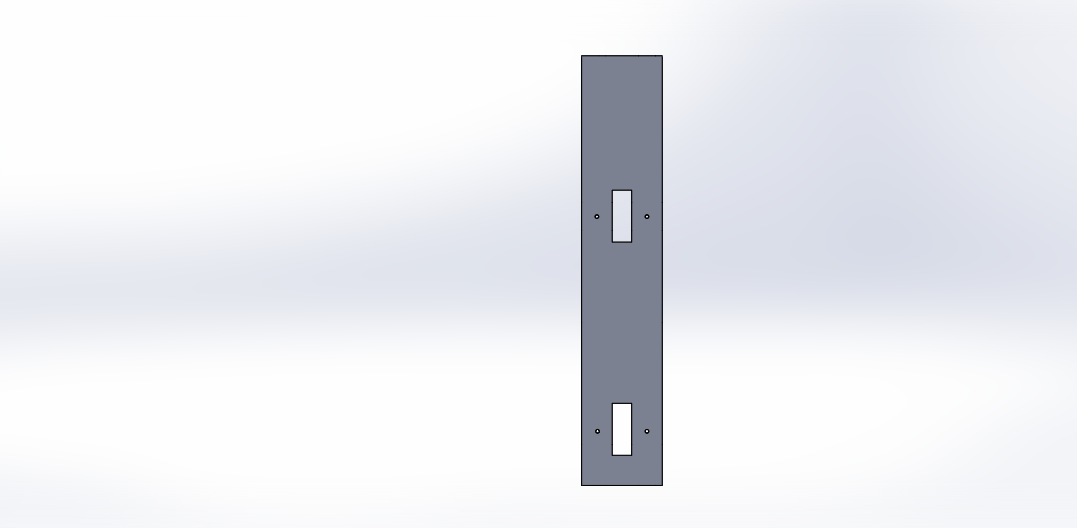
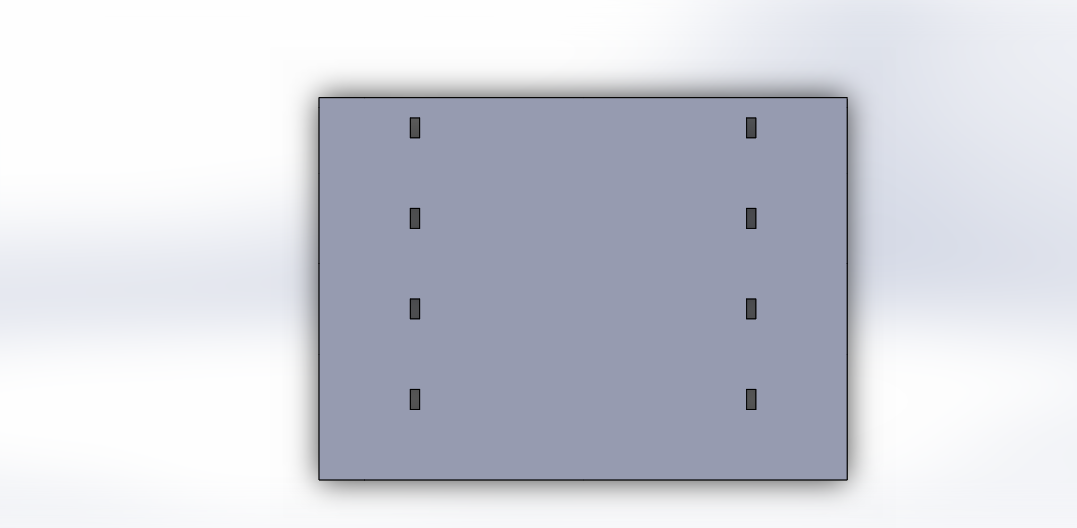
Firstly, I calculated the dimensions of the shelf, consulting the datasheet of the Polycom IP550 phone.

Step 2: The design

Click to see more images of the design

Having the dimensions, I designed each part of the shelf using Solidworks 2014-2015. It was my first try ever with Solidworks, but after watching the tutorials included in the installation I quickly felt the power of this tool. Designing the shelf parts was relatively easy. The only negative thing was that I had to manually spread dimensions across each different part. With only 3 pieces, the latter was not a problem but for next week I should learn to use parametric dimensions in Solidworks, or change to another parametric-design friendly CAD tool like Rhino w/ Grasshoper or Antimony.

Click the image to see more images of the design.

Step 3: Preparing the input to the laser-cutter.

In order to cut the different parts in the laser-cutter, I had to generate a drawing for each of them. I did that using the "Drawing from Assembly" tool of Solidworks. In the drawing area I imported 5 views and hid every part except one, different in each of them. Thus I generated all the drawings in one file, while being sure the dimensions were correct.

Afterwards, I exported a .dxf file form Solidworks and opened it with CorelDraw 4 (on the desktop connected with the laser-cutter) in order to re-dimensionalize for test-prints, actual cardboard thickness, etc.

Step 4: To the Laser-Cutter!

To laser cut the parts, I used the Epilog Laser-cutter with settings:
Vector: Speed 75, Power 50, Freq 718
Raster: Speed 75, Power 12, Freq 718

Click the image to see more images of the laser cut parts.

Step 5: The installation of the shelf.

With my brand new laser-cut shelf on hands, I ran into the lab to mount it in its final place. For the mount I used 8 screws. I had cut driving holes for the screws with the laser cutter, so the screwing was smooth and did not break the cardboard's internal structure. The result was so satisfactory!