How to make (almost) anything

by Thrasyvoulos Karydis

Intro: Composites

This week we were introduced to the fabrication of compsite materials. omposite materials (also called composition materials or shortened to composites) are materials made from two or more constituent materials with significantly different physical or chemical properties, that when combined, produce a material with characteristics different from the individual components. The individual components remain separate and distinct within the finished structure. The new material may be preferred for many reasons: common examples include materials which are stronger, lighter or less expensive when compared to traditional materials.

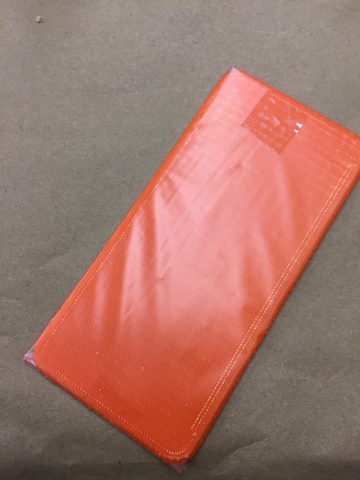
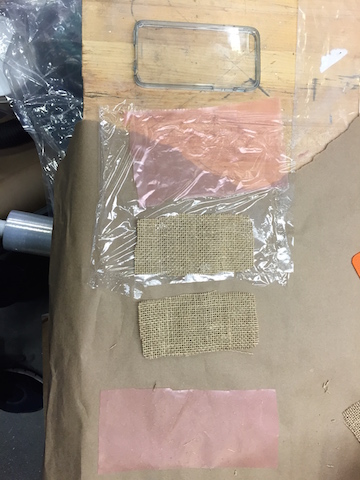
For my project, I decided to construct an iphone 6 case out of composite burlap with epoxy. With all this hype going on about iphones being bent, I want to make sure that mine will stay straight! To construct the case, I 3D printed an Iphone 6 replica which I found here (see image on the right). I will use this as the tool for the composite. I coated it with thin mold releasing film so that I can later on remove the replica and... use the case for my phone!

Step 1: Preparing the tooling

To start the procedure I had to prepare the needed layers of burlap to match the size of the iphone case. In addition to the 3D printed iphone as a tool, I decided to use also a pre-fabricated plastic iphone case, and reinforce it with burlap on the back, in the case the pure burlap case would be too hard to use.

I used two burlap layers as the plastic was already quite hard by itself. To successfully integrate the epoxy within the burlap you have to pull the vacuum and apply pressure , thus you need a bleeder and a breather. The first is just a thin mold releasing film that I punctured holes through it (click on the image to see the tool) and its purpose is to let the excess epoxy flow out of the burlap. The latter is a layer of a fiber-ish material (like cotton) that makes sure the air can flow evenly out of the composite and also acts as an epoxy trap.

Step 2: Creating the composite

The epoxy I used was SUPER SAP 100 from the fab lab inventory. It has ~15min working time (i.e. between mixing with hardener and applying it) which is quite enough. The process I did was:
1. Apply an amount of epoxy on the burlap layer away from the tool and distribute it evenly.
2. Transfer the epoxied layer on top of the tool and align it carefully.
3. Redistribute the epoxy on the surface using a stick and remove the excess amount. Repeat for every additional layer.

Be very careful with the epoxy as it likes to stick everywhere. Seriously, everywhere! After 10 minutes of work I had epoxy all over my clothes and while I was removing my gloves I left some epoxy on my hands too. It actually goes away happily with some soap and water, but if you leave it to dry on your clothes it just stays there.

Step 3: Removing the air

To pull the vacuum I used a clothes compressing bag. Those bags come with vacuum suction valves to draw out the air in the bag by a regular vacuum cleaner or pump. They are shut really well using a closing strip and they maintained happily a nice vacuum for more than 2 hours. If you click on the image, you can see that as soon as the air was pumped out, the epoxy started flowing through the bleeder and into the breather, a sign of the pressure being applied uniformly on the surface of the tool. I put my too case attempts one on top of each other, using a release material between them and then pulled the vacuum every 2 hours.

The result!

The results were not as satisfactory as expected with the 3D printed tool, but the strengthening of the plastic case worked just fine. It increased the strength a lot and the weight difference was not noticable. The appearance seems a bit appalling at first sight but it actually gives a nice provincial tone to the case. In any case, in the future I can just add one more layer of a fabric that I like with epoxy to custom-tune the appearance of it.