For composites, I designed a “lap table.” I usually use an old drawing board when I work or eat on my couch, but the rectangular shape made it quite uncomfortable/awkward to balance on my lap. Well, no more! I present to you….this bean shaped lap table instead.
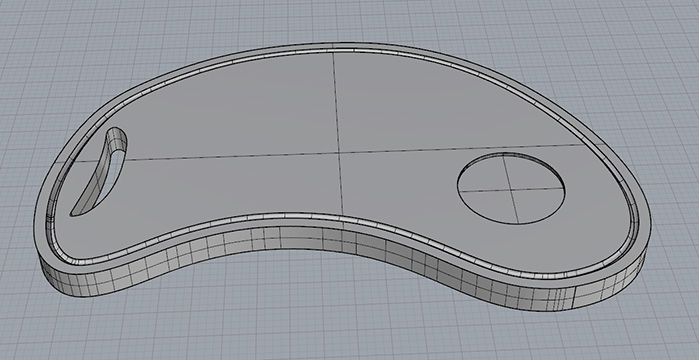
The design in Rhino was pretty straightforward, I made a pretty organic looking shape by messing with curves and control points!
I decided to use the shopbot this time, just to get familiar with different tools. I had help from a TA setting up the router and it went pretty smoothly!
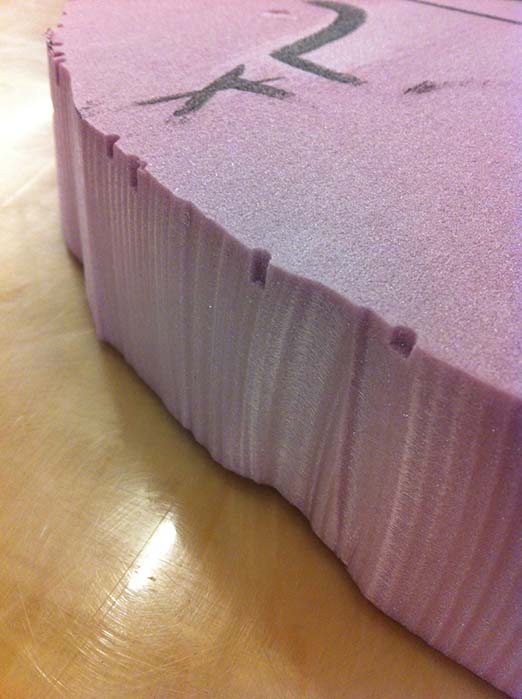
My foam was 2” thick so instead of cutting the piece out on the shopbot, I figured it’d be easy to just cut it out with a hot wire cutter once the top and outline was milled.
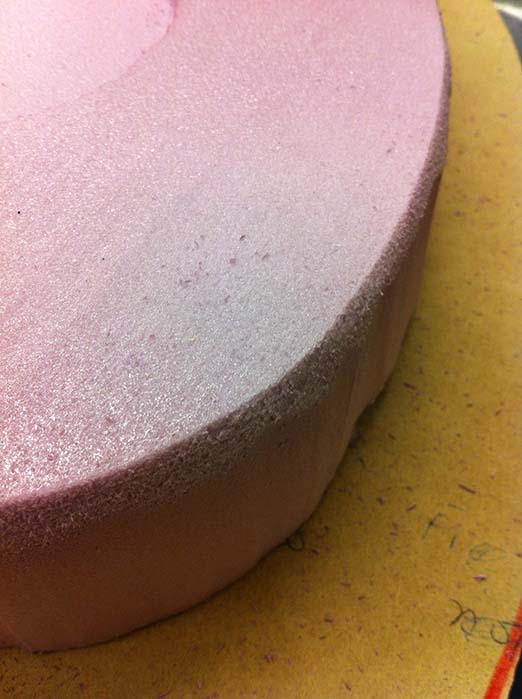
Not the most pristine job, but nothing a block sander couldn’t fix!
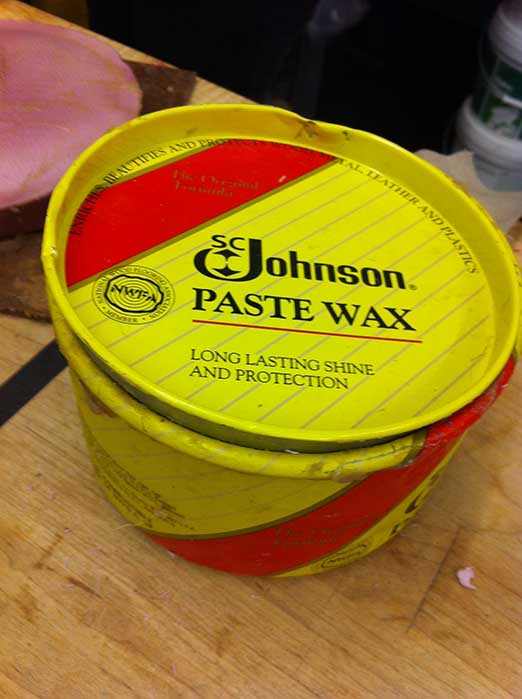
I then glued my foam mold to some MDF and coated it with part wax.
It was pretty smelly and gross.
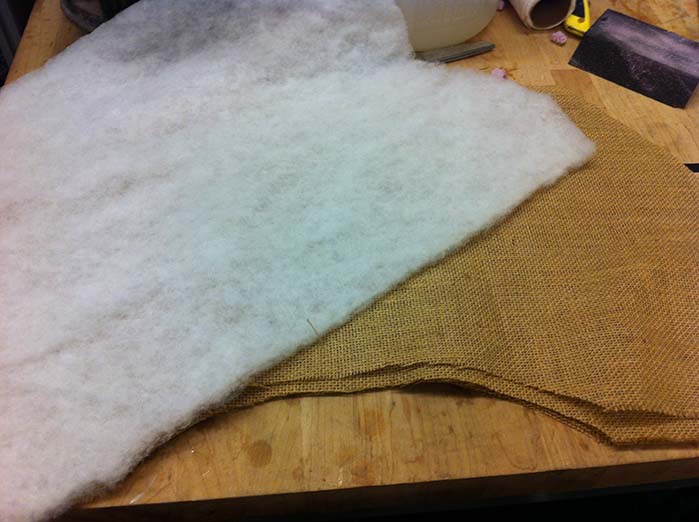
I then cut out my burlap and batting so that I could have them on hand once the Epoxy was ready.
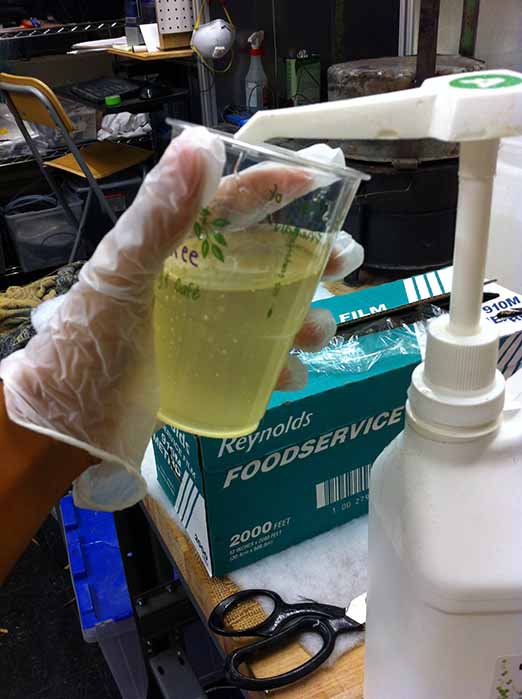
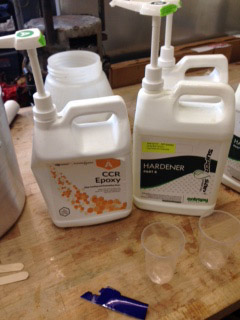
Then it was time for mixing! Two parts Epoxy, one part Resin.
I coated the burlap layers and started smoothing them on to the foam mold. Pretty messy, but fun!
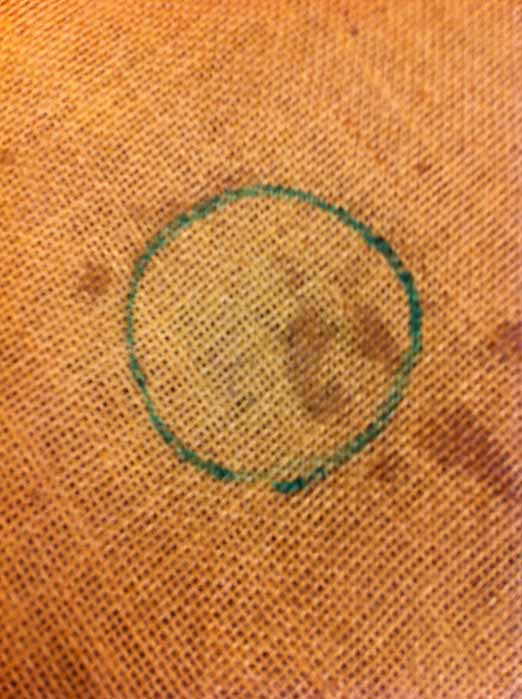
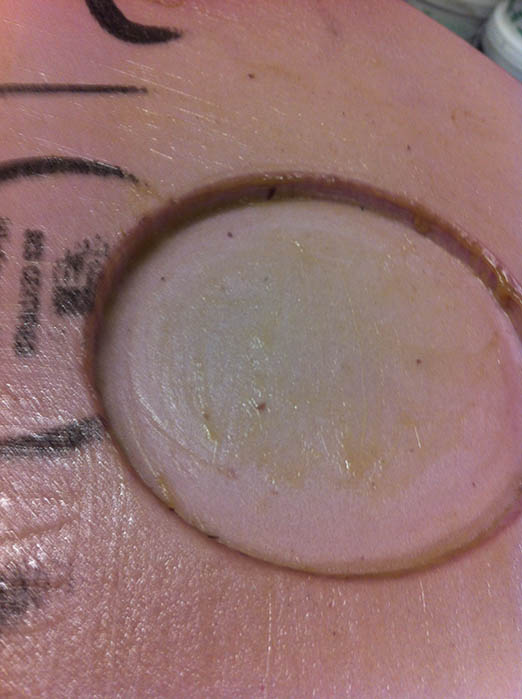
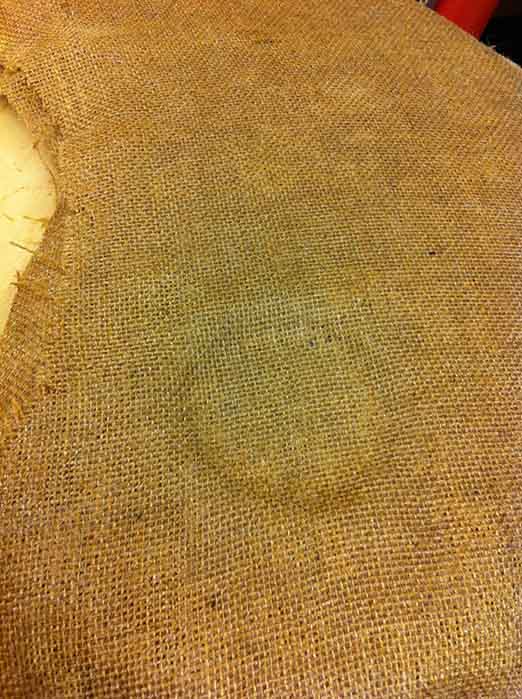
After about two layers I realized that my cupholder was beginning to get filled up with burlap (in retrospect I realized I made the indent too shallow), so I decided to cut out a hole where the cupholder was in the remaining burlap. It seemed work well.

6-ply of Burlap later, I added layers of plastic wrap on top.

Note: My wrists started itching after a while, and I realized that I had a few cuts on my arm that probably got some Epoxy on them. Either wear long sleeves, long gloves, or be super careful about getting this stuff on your skin! An apron would have probably been a good idea as well.
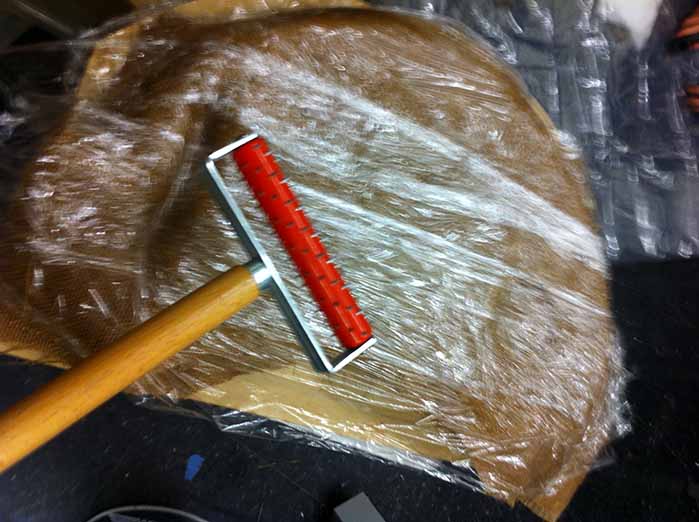
This medieval torture tool happened to be conveniently lying around the shop, so I used it to poke holes in the plastic wrap.
Just kidding- but you were definitely convinced for a second, weren’t you?
Next, I put layers of batting on top of the plastic wrap to soak up any extra Epoxy.
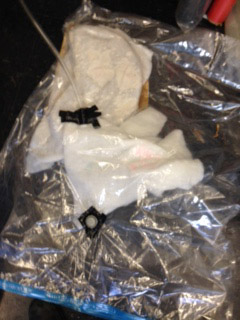
Finally it was time to put everything in the vacuum bag. I used tubing for the vacuum, and taped up the multiple rips that happened before everything was secure. Note: Make sure you cover the end of the tube with batting so that the bag itself doesn’t get caught in it.
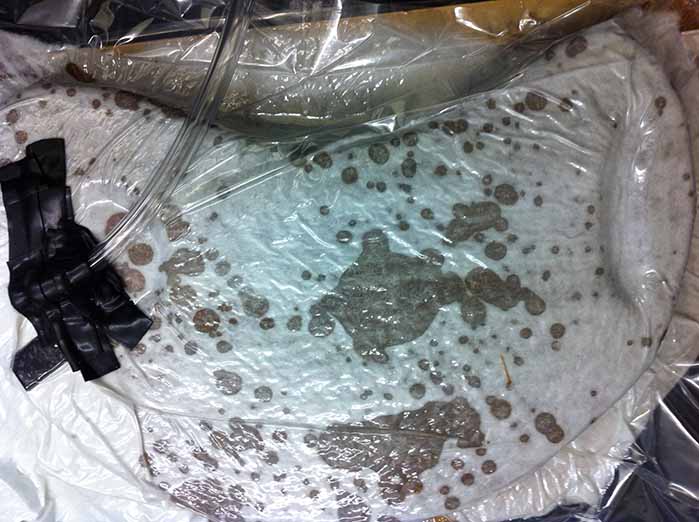
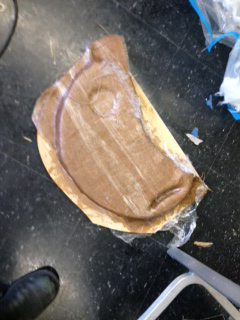
After it was all sealed up we left it overnight (a friend and I put our pieces in the same bag)…
And the next morning had a horrible realization…
We had mixed two different brand of Epoxy and Resin! The correct reaction didn’t happen and everything was still soggy in the morning. At this point I didn’t have time to redo the whole process. It was pretty disappointing. Maybe if I have time in future weeks I can try again…