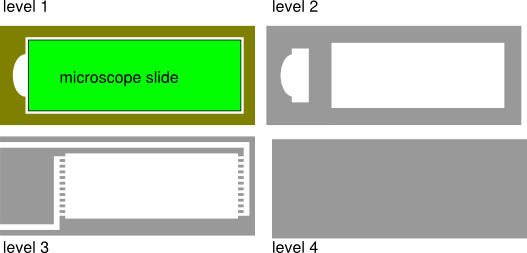
2.5D Inkscape model of microscope flow cell
For the 3D printing portion, I decided to try and fabricate a flow cell to hold a standard microscope slide. In biology, there is a technique called immunofluoresence which involves putting a piece of tissue on a microscope slide and then treating it which different buffers holding antibodies, stains, washing buffer etc. In practice, this involves a lot of sitting, pipetting, and making sure you don't mix things up. It can be pretty tedious, so I thought it would be interesting if this process could be automated using a flow cell. I started out with an Inkscape model, which at this point in the class I am pretty familiar with. The snap to grid function combined with the geometrical algebra tools makes it really easy to lay out exact 2D geometry.
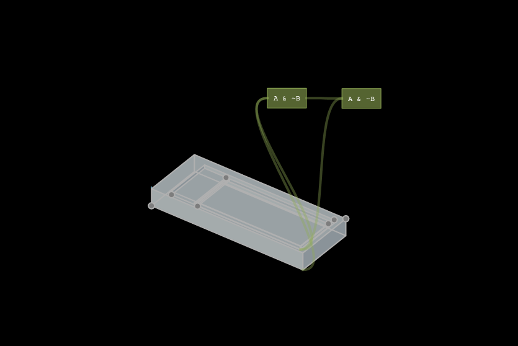
Making a preliminary 3D model in antimony
I first tried to convert my 2D inkscape/mental model into a 3D model in antimony. Antimony was one of the first 3D CAD tools I played with for the course, and oddly enough it felt like the most intuitive. Similar to how I built things in Inkscape, modeling in antimony consisted of drawing boxes of appropriate size, translating them to the right place, then doing geometrical algebra operations to get the proper final object. Next, I had to export to a .STL file so the 3D printers could read it. Antimony has a resolution setting when exporting .stl files. I chose the standard resolution.
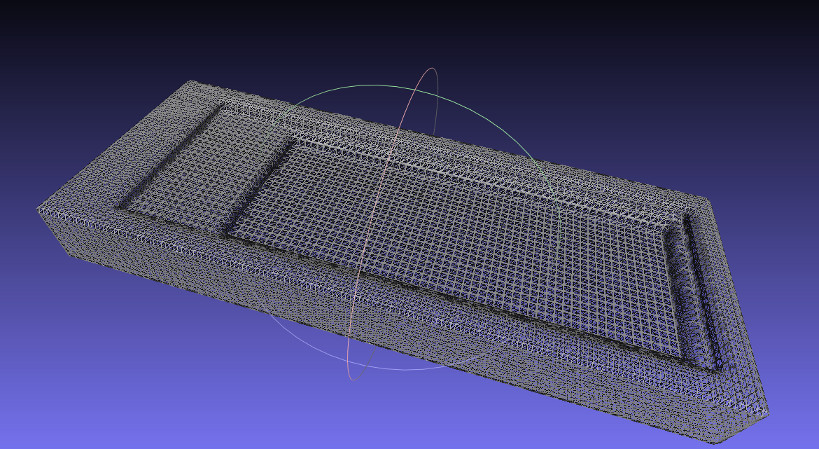
The .stl file from antimony opened in Meshlab
Upon opening the .stl file in Meshlab I ran into a few issues. First, at low export resolutions the sharp edges of the geometry specified in antimony get slightly curved. Second, antimony does no sort of optimization on the output mesh, it is regular and unnecessarily dense. The first issue of the curved edges was resolved partially by increasing the resolution antimony exported the .stl at, but this increase in resolution made the second problem of redundant polygons worse.
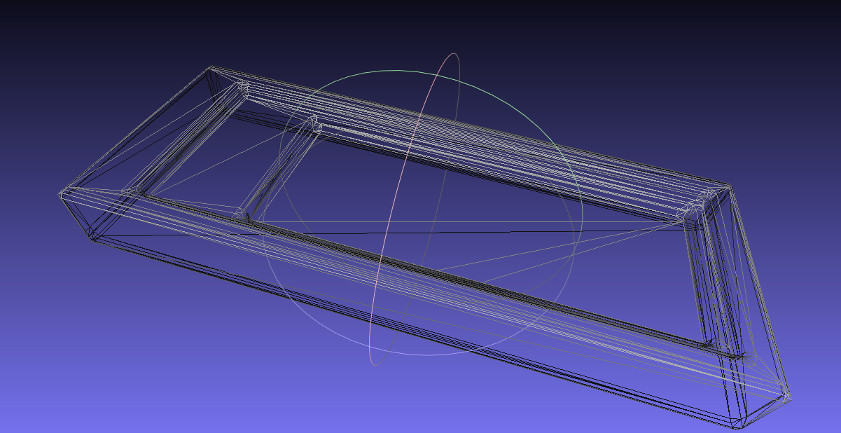
Antimony model reduction to 512 faces by Meshlab
I needed to reduce the number of polygons in the geometry specified by the .stl file. Thankfully, Meshlab is a very powerful program that has lots of built-in algorithms for these sorts of manipulations. Unfortunately, there are so many built-in functions that it can be difficult to figure out how to do what you want. After some googling, I found this helpful page from Shapeways that described a function for decreasing polygon count in Meshlab. This was the "Quadric Edge Collapse Decimation", which worked as intended and reduced redundant polygons down to the target number you provide. A fun side effect of giving the algorithm a lower number of target faces than could describe your object is that it would start destructively removing faces. I got a bit sidetracked taking spheres from antimony, exporting them as .stl, and then "crushing" them in Meshlab using this approach to make some interesting digital geometry from complex shapes.
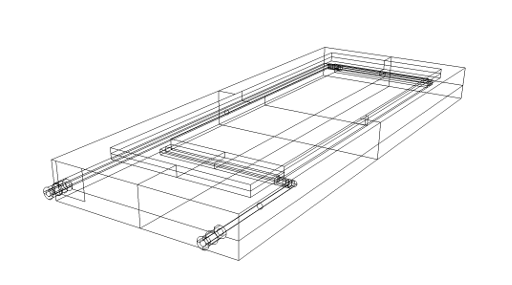
A completed 3D model in Rhino
Ultimately though, I ran into an insurmountable issue with antimony. It turns out (as far as I can tell), antimony can only place cylinders with a certain orientation (that is flat surfaces perpendicular to the Z axis). I wanted to make sideways cylinders for the flow channels of the device, so I had to switch to a different CAD tool. I also accidentally overwrote my most advanced antimony model while making some interesting geometry to view in Meshlab. Anyway, I was happy to see that Rhino has a free Mac beta version. I had played around with SolidWorks for a bit, but it was on a Windows 8 tablet which really left a lot to be desired. Having Rhino run on Mac was really critical to my ability to work productively. I was also happy to see that Rhino had snap to grid, and geometric algebra tools like Inkscape. It is basically Inkscape that just extends into the Z dimension (at least for my purposes). A few rectangles, cylinders, and difference operations later I had a working model.
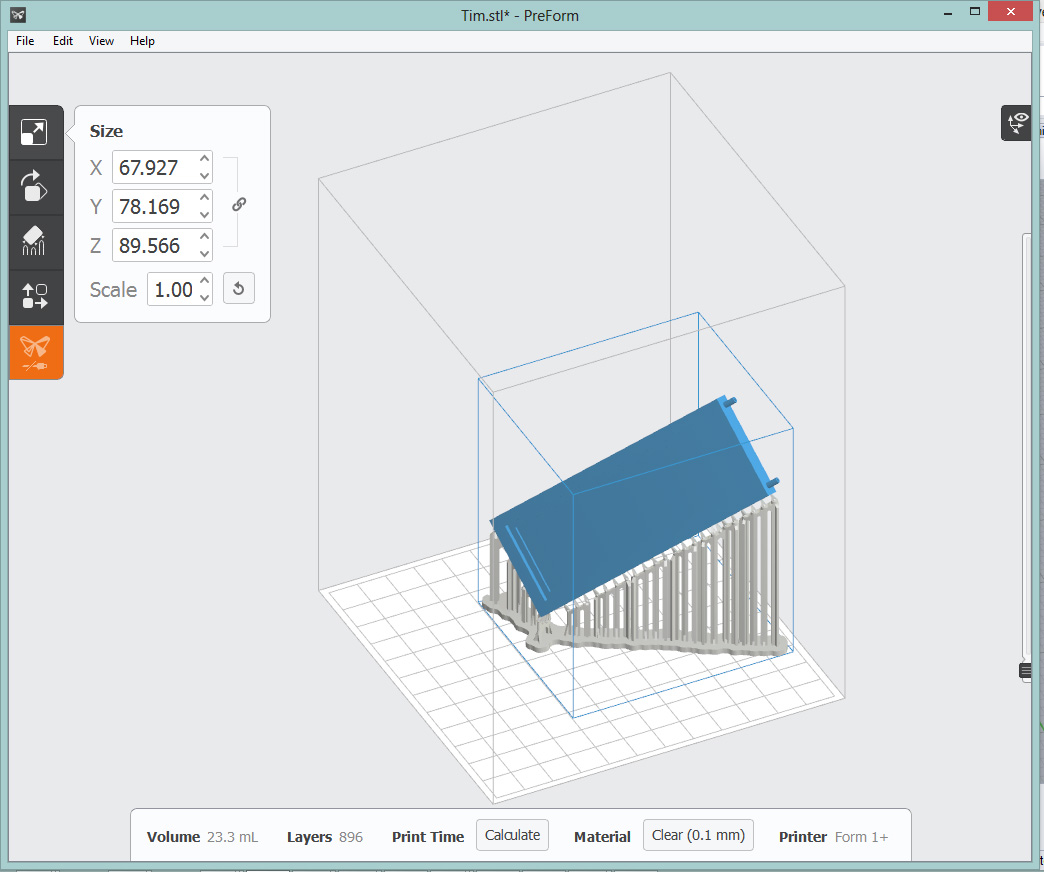
Pre-print check by Carrie in the FormLabs software
I emailed the Rhino model to the TAs and Carrie very helpfully set it up so it would print correctly on the FormLabs Form 1+ resin stereolithography 3D printer. Counter intiutively this meant having it be printed at a 45˚ angle, but this trick let the overhangs be printed without supports. I chose the FormLabs printer because the resolution was a bit tighter than depositive 3D printers, and I wanted a water tight flow cell.
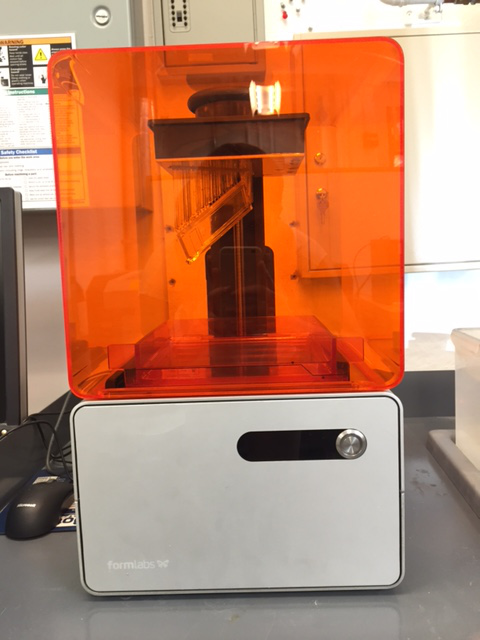
A laser printed flowcell!
3 hours later I had a successful print!
Cleaning with isopropanol
Some dunks in the isopropanol tank helps clean off uncured resin.
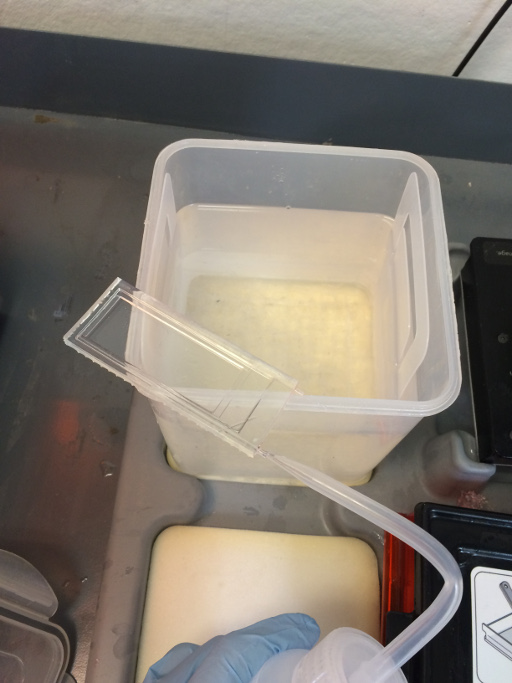
Flushing flow channels with isopropanol
Manually cleaned the flow channels with isopropanol from a squeeze bottle to make sure there wasn't any uncured resin in the flow channels.
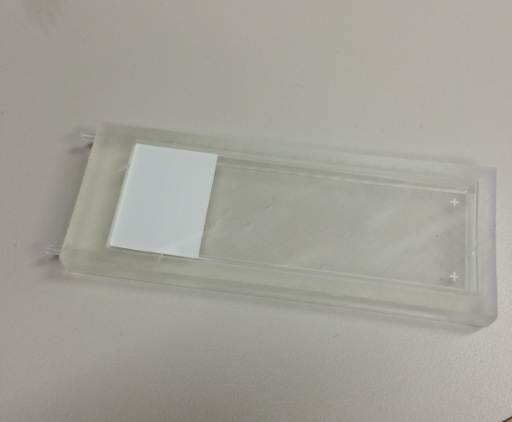
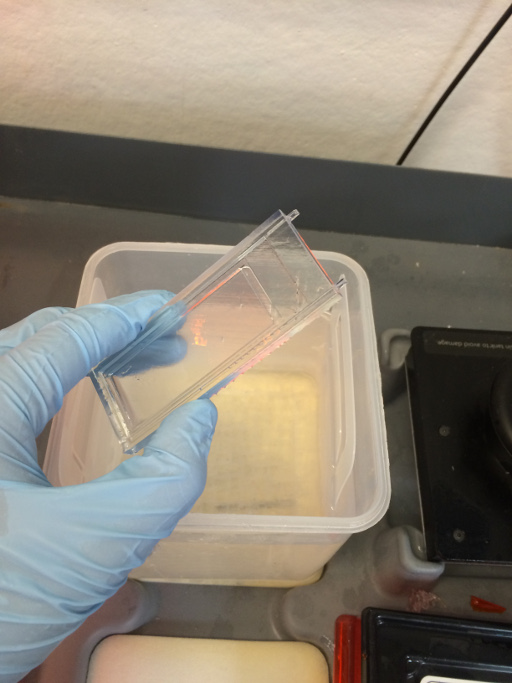
Microscope slide fits well
After a few days drying to make sure there wasn't any more uncured resin, was happy to see the microscope slide fit fine.

Some warping visible after a few days
But all was not right! The flowcell had become visibly warped whereas it was flat when first printed. What caused this? Is this a typical thing with FormLabs printed objects? I'm not sure, but at least in my case there was an obvious couple mm bend after a few days in very mundane conditions.
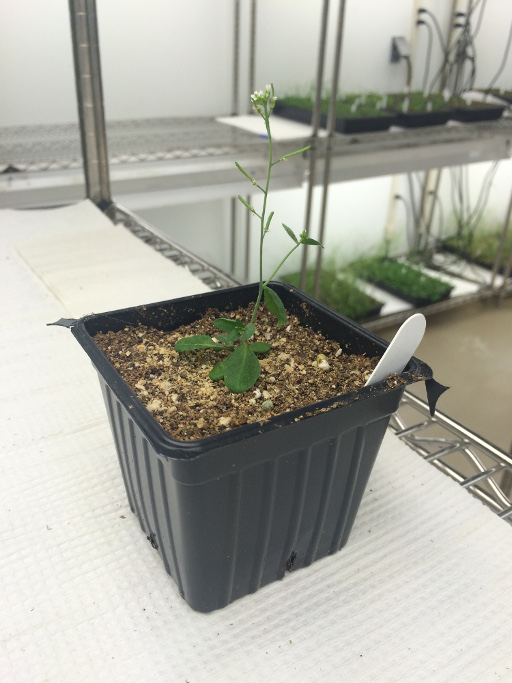
Trying to make a 3D model of Arabidopsis thaliana
For 3D scanning I wanted to scan a real-life object. I work with a lot of plants for my research, so I thought it would be fun to get a 3D model of a plant. I used the 123DCatch app on my phone and tried to get some models of plants. First I tried to image the branching structure of Emmananthe penduliflora, a wild species we have it the lab, but 123DCatch couldn't handle it. This is probably because there were a lot of overhangs that would be difficult to figure out just from a series of images. Next I tried to capture a single Arabidopsis thaliana plant. This is the standard model plant in research.
Microscope slide fits well
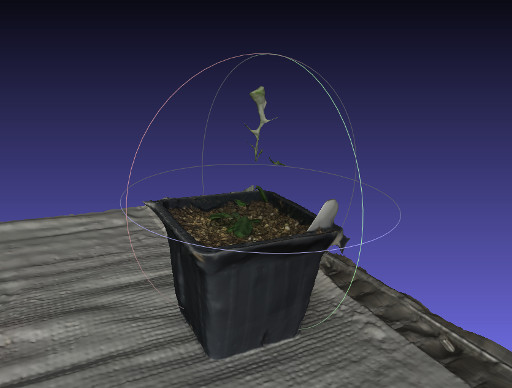
With ample photos, 123DCatch was able to build a model through photogrammetry. However, it left a lot to be deserved. While some structures of the plant were captured, namely the rosette leaves at the base of the plant, the stem and brances of the plant weren't really captured. Additionally, the model of the apex of the plant was pretty blobby. This might be due to the fact that the plant did move a bit while I was taking photos, there is airflow in the greenhouse that is slightly moving the plants all the time. Notably the soil was ridiculously detailed. It felt really realistic while viewing the .obj file (downloaded from 123dCatch) through Meshlab.
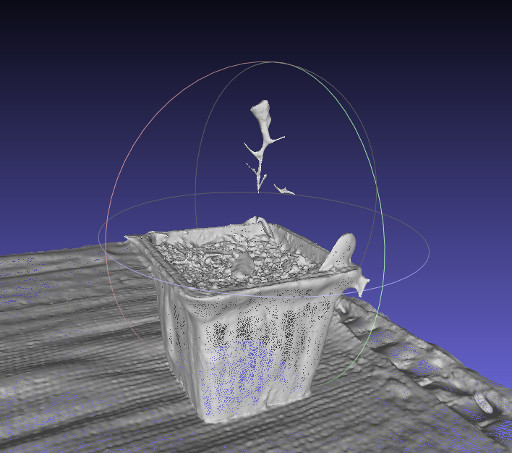
Mesh of the 3D plant model
The mesh was pretty absurdly detailed. Things like the pattern on the shelf the pot was sitting on and the rippling on the pot were easily picked up. Additionally, the mesh on the soil was impressively detailed. Despite the poor quality of the model that came out, I'm quite impressed by 123DCatch. Afterall, this is a technology that anyone with a camera phone could use. For certain types of objects, it seems to do extremely well. In order to 3D print this object, there would have to be a lot of post-processing. The base of the pot is empty, and the Arabidopsis model isn't contiguous. But, if you're looking for a 3D model to print of some soil in a pot, this did a pretty good job.