Week 9
Composites
Harvard Shield
I wanted to make a literal shield of Harvard (e.g. that you can hold as a piece of armor) out of burlap composite. Such a shield would be useful for Halloween costumes (Captain Harvard instead of Captain America) or for thesis defences.

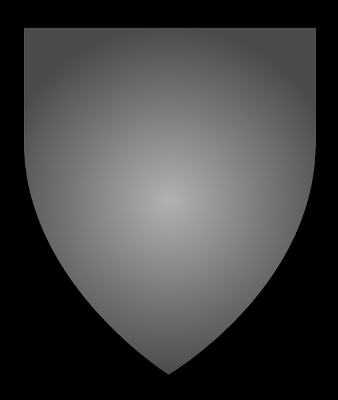
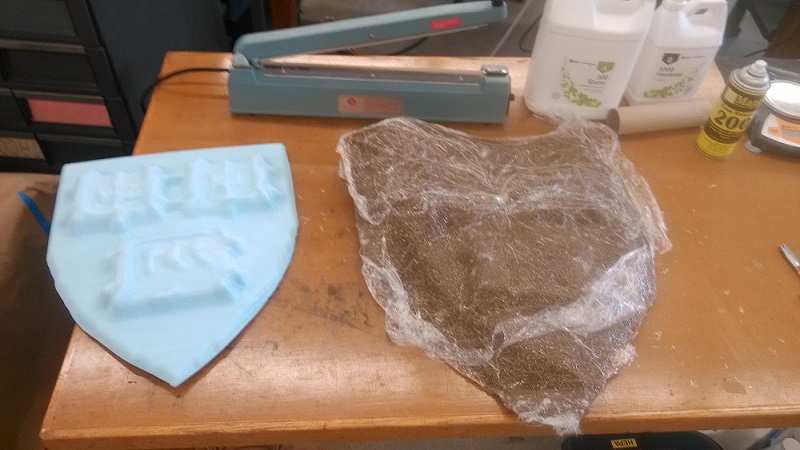
To make the mold, I converted a large image of the Harvard logo into a grayscale image, and then used the heightfield function in Rhino to make the STL model, as in Week 7. I started with a black background, and added a less dark shield face. I tried to get some concavity to the shield by using the circular gradient tool in Gimp. Then I added the three open books from the Harvard logo, being careful to change the black lines in the original logo (which would translate into troughs in the 3D model) into white lines.
The final composite making step left much to be desired. The resulting composite was a bit distorted across the shield face for unknown reasons. More basically, I might have used only two layers of burlap instead of three to have better defined features. I used the foam base, one layer of burlap for insulation, one layer of plastic wrap, three layers of burlap with epoxy applied to each, and then a top layer of plastic wrap along with an absorbing layer. I neglected to put mold release on the plastic wrap layers, which made extraction of the final composite itself impossible--it still has plastic wrap stuck on it. I also trimmed the burlap pieces (final product layers and insulation layer) too closely, such that my epoxy leaked out of the product layers and went into the insulation layer, such that at some points along the edges, insulation and product layers became inextricably stuck together too!