Networking and Communications
This week, the assignment was to design and build a wired (or wireless) network connecting at least two processors. I chose to focus on networking a couple of ATtiny45 microcontrollers via I2C (also known as TWI). I didn't have any experience with networked communication before this week, and this seemed like a pretty useful + common means of communicating between devices. I also wanted to accomplish this using the Arduino IDE, as I am a little more comfortable with it as a programming environment.
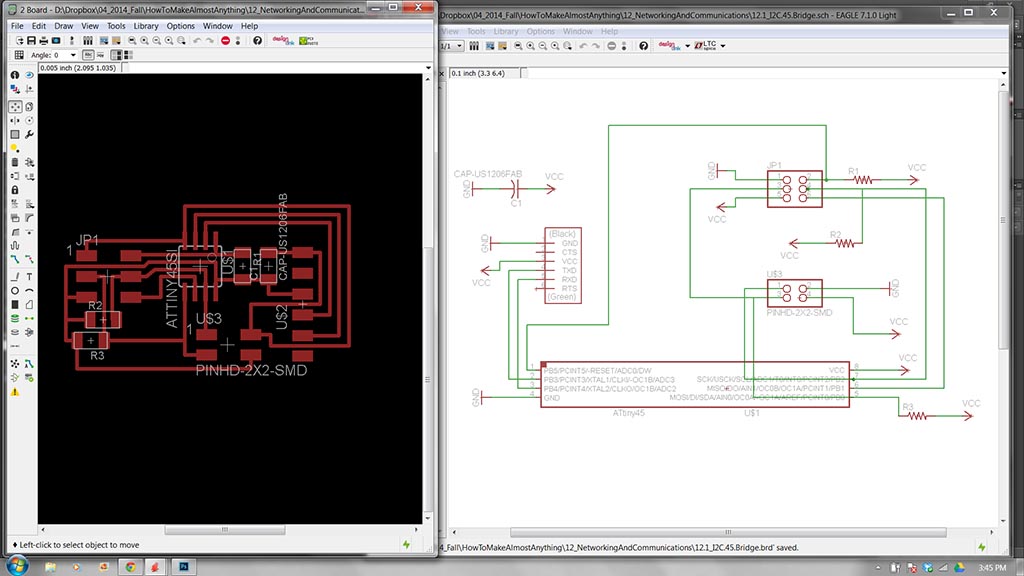
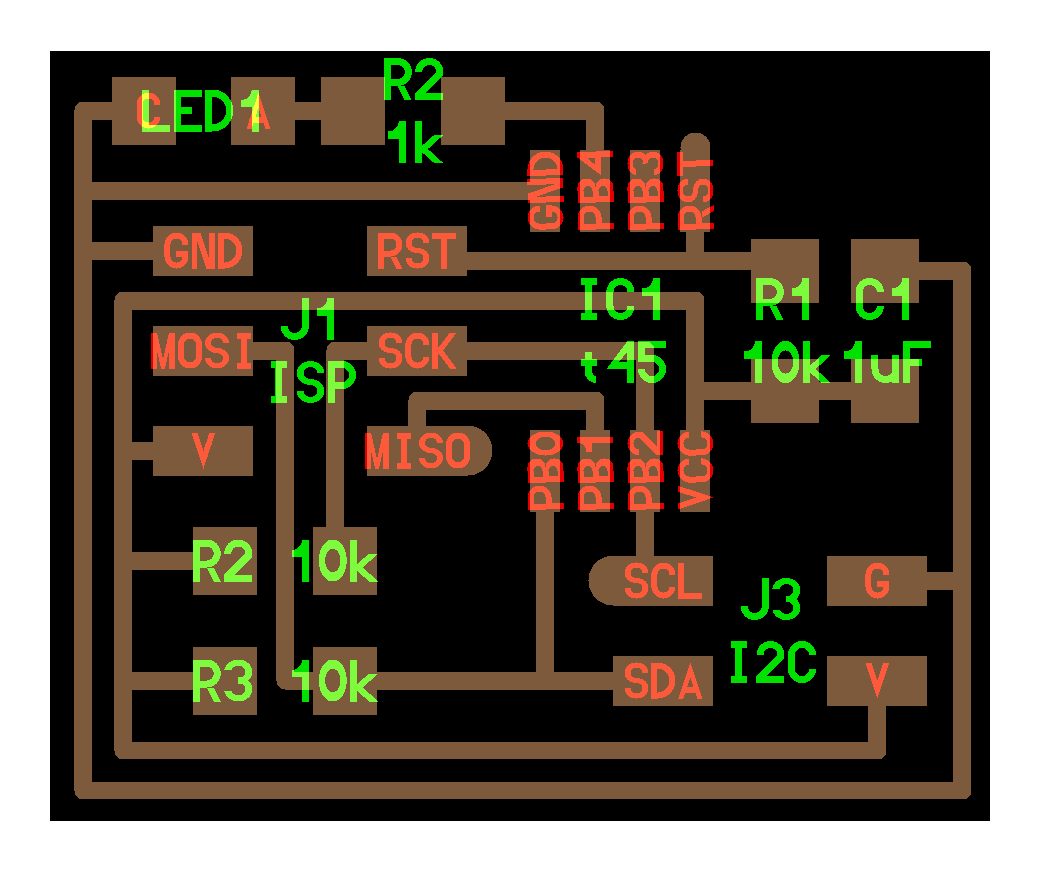
To begin, I redrew Neil’s hello.I2C.45.bridge board. This was pretty straightforward - not too many components + I was able to set the fuses on the first time in Arduino.
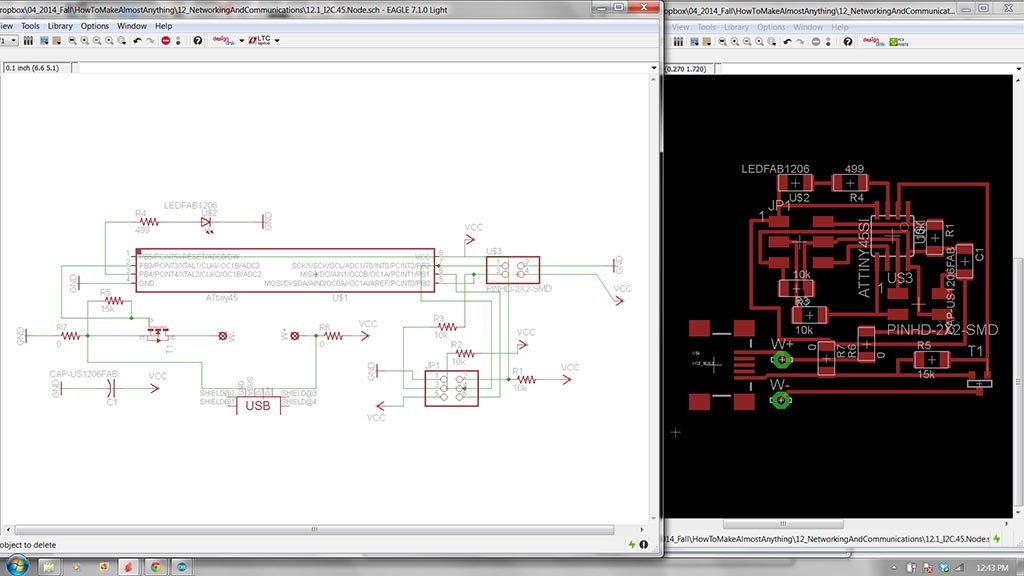
I started with Neil’s hello.I2C.45.node board as a base for my Node/Slave boards, but decided to add some extra functionality. Basically, I added the Shape Memory Alloy circuit I designed last week to a leftover pin on the ATtiny45. This portion of the circuit can be powered in two ways - either via an independent mini-usb connection or it can be connected to the power supply on the board via a couple of 0 ohm resistors (R6 and R7 in the schematic).

Above is a breakdown of the ATtiny45 pin configuration that shows the capabilities of each pin.
<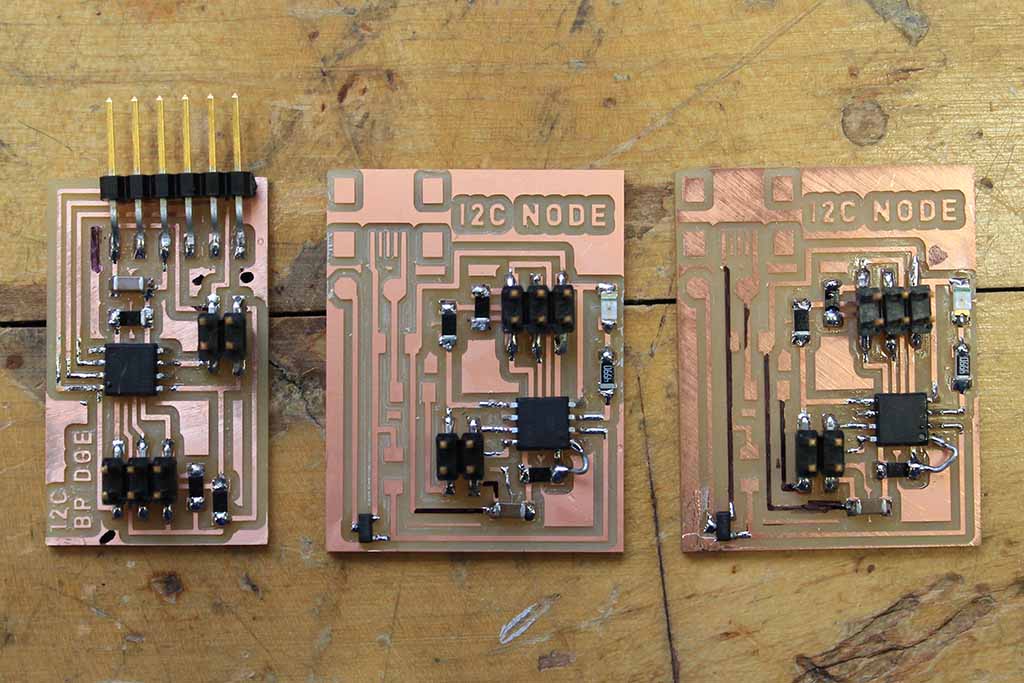
My three finished boards. I've been using black marker to keep track of where ground is on my boards - I've found it saves a little brain power when programming - I You might also notice a small jumper on the reset pins of my node boards (lower RH pin in image). I forgot to connect it to my circuit when designing the board - this simple fix took me a little while to find...
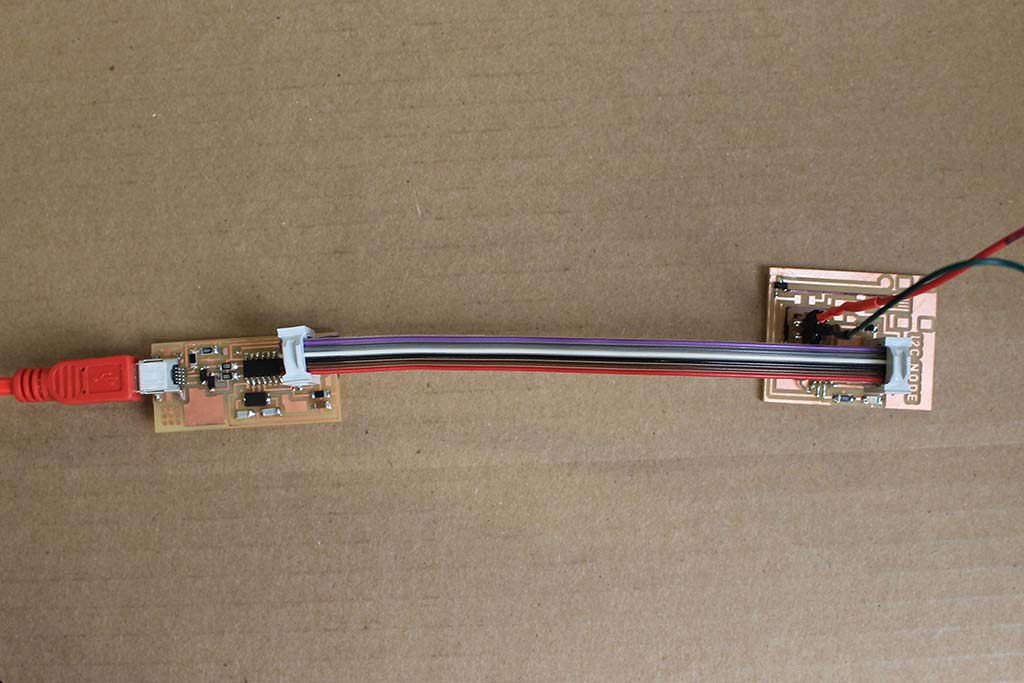
Programming the I2C Node boards required me to connect them to an external power source. Once I (with some help from Rob Hart) diagnosed + fixed my reset pin issue it was no trouble to upload a simple blink sketch to the boards.
After doing a little bit of research, I realized that the ATtiny45 won't work with the arduino-specific Wire Library. It requires the TinyWireS and TinyWireM libraries. You can find them here
So here's where I hit my main stumbling block:
I realized that most of the arduino-specific stuff is designed to work with the ATtiny85 not the ATtiny45. After a non-trivial amount of google searching, I went to the Atmel website and searched for some example .c code showing how to use the USI module for I2C communication
.
This is where I found the most useful information, though even after reviewing the application notes posted on the class site and as well as a few other primers regarding I2C, I still can't claim to understand how to implement all of the steps.
For using the ATtiny45 as a Master: Master C Header //
TWI Implementation //
Example Master Code
For using the ATtiny45 as a Slave: Slave C Header //
TWI Implementation //
Example Slave Code
At this point I'd be thrilled to get a couple of networked LEDs to blink based on serial inputs... Hopefully
I started with Neil’s hello.I2C.45.node board as a base for my Node/Slave boards, but decided to add some extra functionality. Basically, I added the Shape Memory Alloy circuit I designed last week to a leftover pin on the ATtiny45. This portion of the circuit can be powered in two ways - either via an independent mini-usb connection or it can be connected to the power supply on the board via a couple of 0 ohm resistors (R6 and R7 in the schematic).
Above is a breakdown of the ATtiny45 pin configuration that shows the capabilities of each pin.
My three finished boards. I've been using black marker to keep track of where ground is on my boards - I've found it saves a little brain power when programming - I You might also notice a small jumper on the reset pins of my node boards (lower RH pin in image). I forgot to connect it to my circuit when designing the board - this simple fix took me a little while to find...