Light Painting Machine
...
- Project: Machine Making
- Tool(s) + Materials: Laser Cutter; Modela MDX Milling Machine; Soldering Supplies; Fab Parts: Motors, Cardboard, Rails, Circuit Boards, Wood Glue; Bandsaw
- Date: Week 13: December, 2014
- Skills: Laser cutting, milling/soldering/programming circuit boards, coding.
Not pictured: "World"
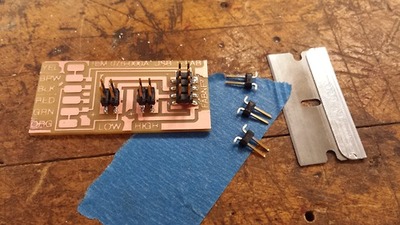
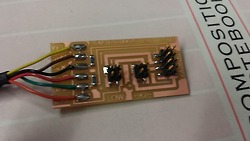
Work Stream 1: Electronics
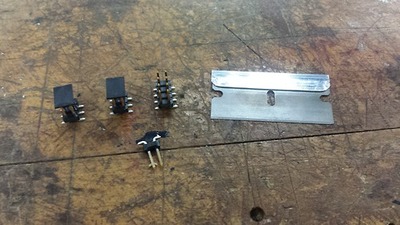
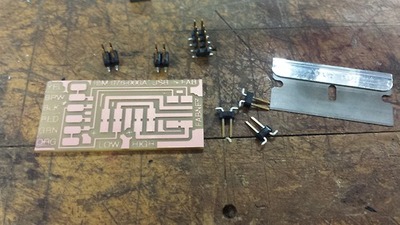
We started out by collecting the parts and milling the fabnet adapter that Nadya mentioned. The board needed one eight pin connector, two 600 ohm resistors, and one 4 pin connector. Milling the board was relatively simple once we downloaded the traces and made the outline in eagle.
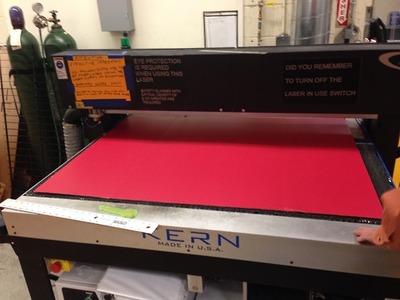
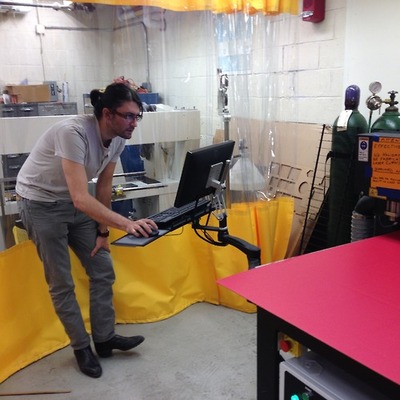
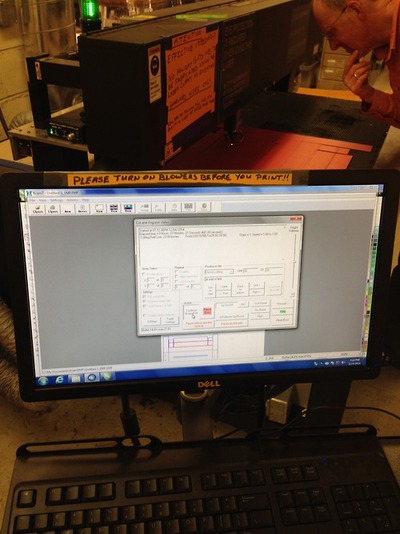
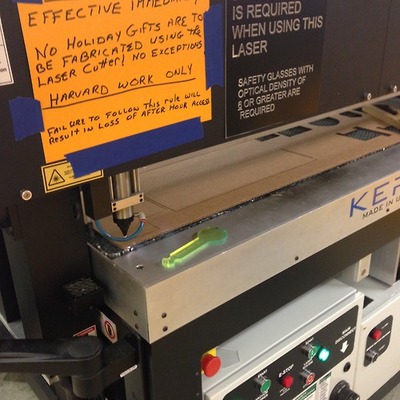
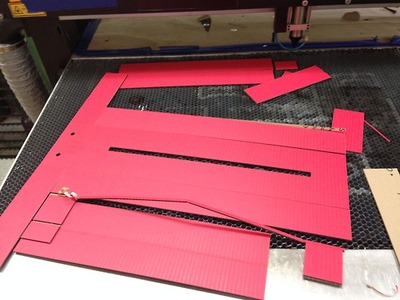
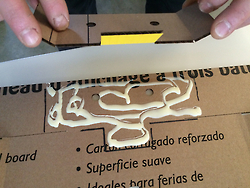
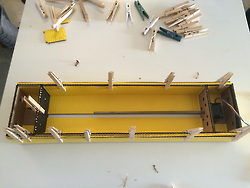
Work Stream 2: Laser Cutting
We downloaded cardboard cut files here
Board one should be cut face/color up while board two should be cut face down. We ended up flipping some of the pieces, but it just adds more character to the machine that we are making.
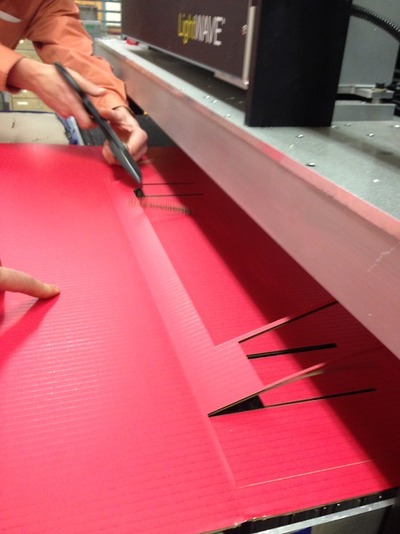
Etched lines cut top latey and corrugation but not through bottom layer. To achieve that, we ran a test round and decided on the configuration.
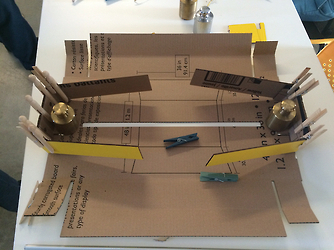
We cut enough parts to make four sets of axes.

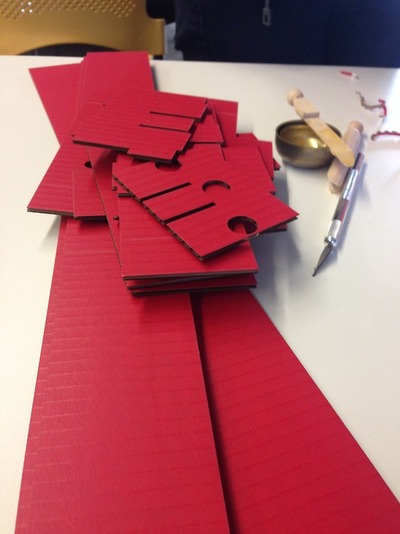
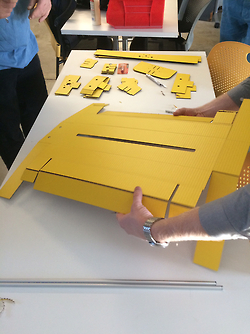
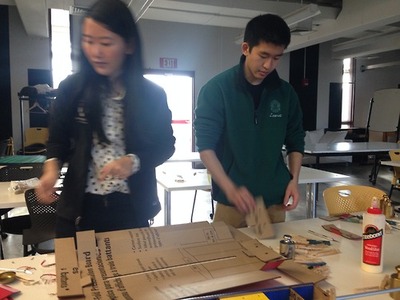
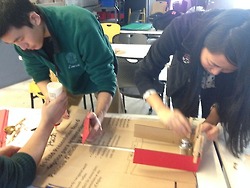
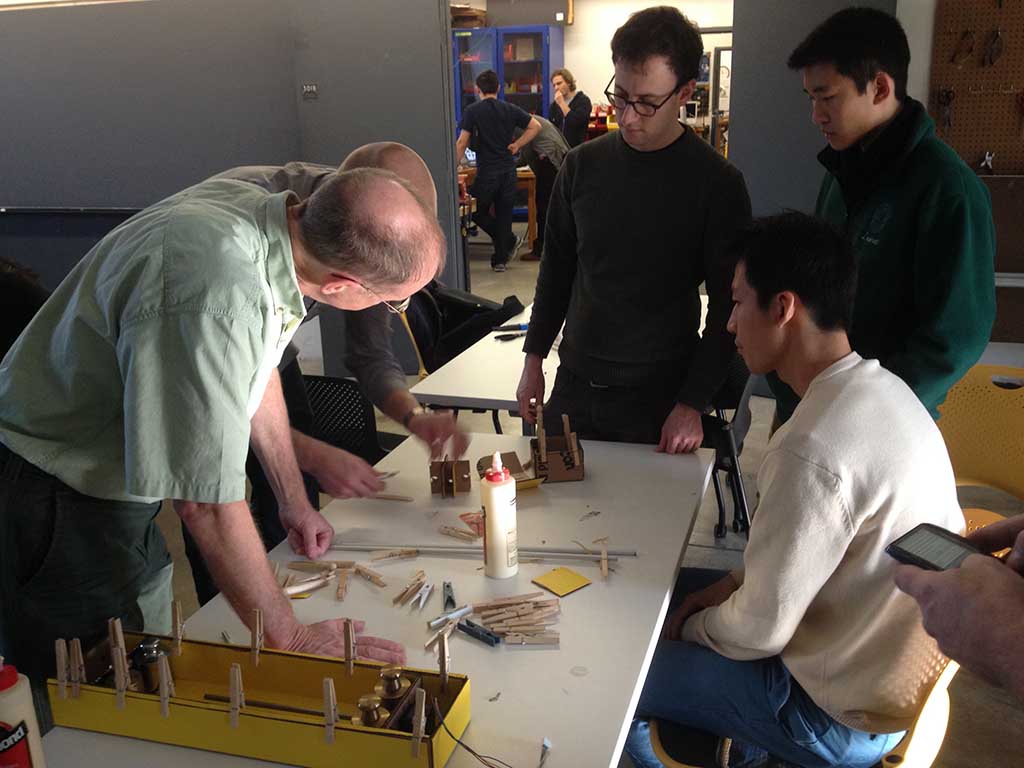
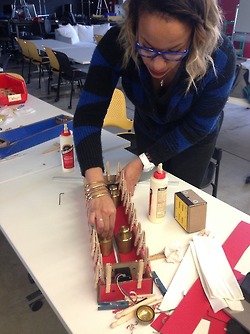
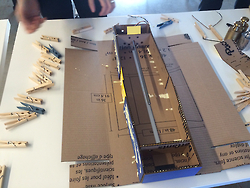
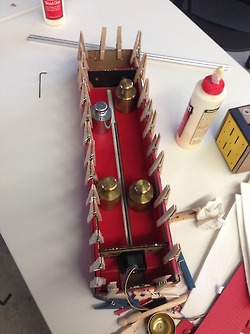
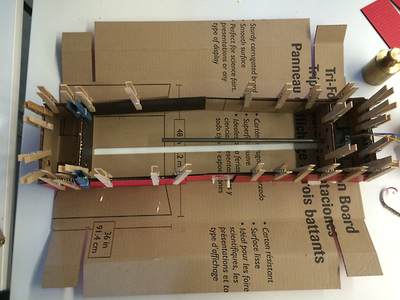
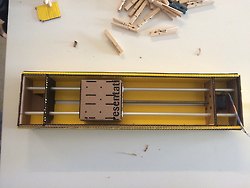
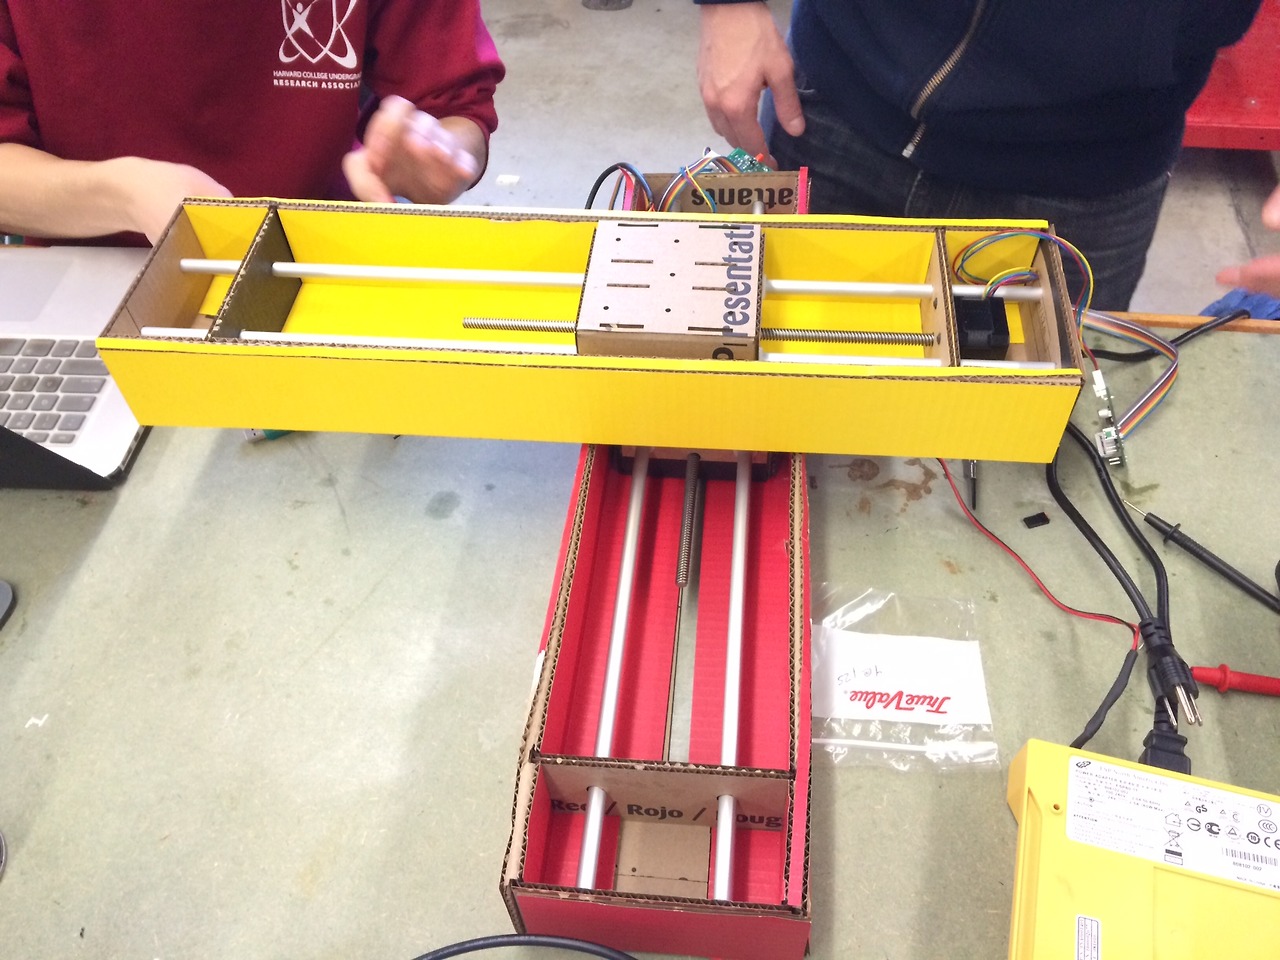
Work Stream 3: Physical Assembly
First of all, group the parts according to their colors.
Folding and gluing the parts together.
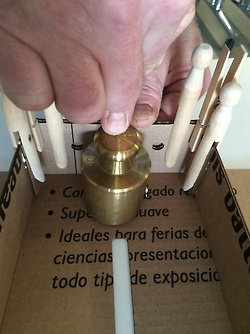
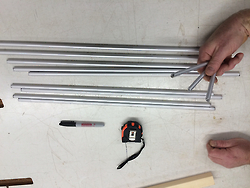
Aluminum shaft were cut.
Put in motor and aluminum shaft into the cardboard frame.
Clippers, markers and weight were our friends in
assembling the axis.


Work Stream 3: Programming
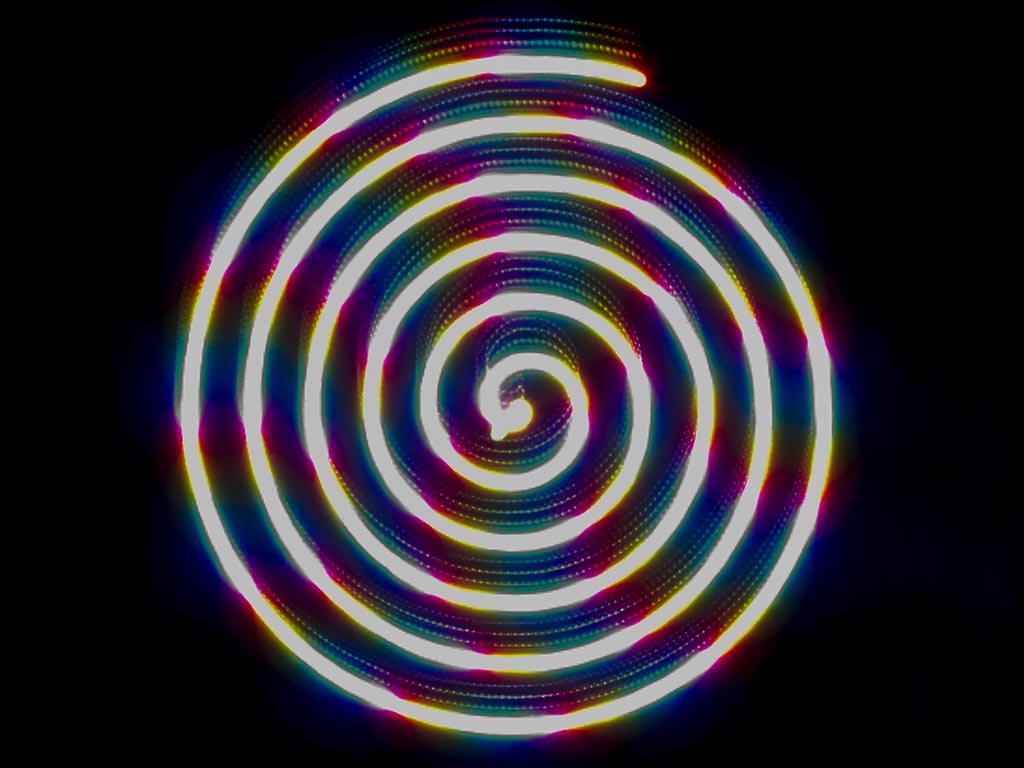
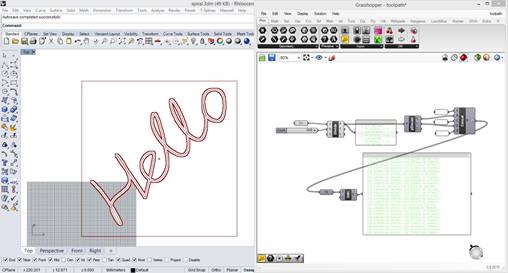
Tool Path: The tool path was generated as a string of coordinates in the format [[x0,y0],[x1,y1],[x2,y2]]. The team developed a number of tool paths as NURBS curves in Rhino, sized to fit the workspace of approximately 200 x 200mm. These curves were then imported into Grasshopper, where they were divided into hundreds of waypoints. These points were then lexically formatted into the format accepted by the python code.
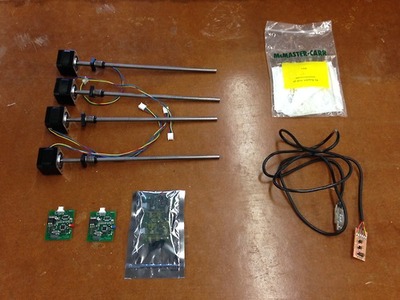
Work Stream 4: End Effector
We decided to use Andrew's rainbow board as our end
effector.
Machine in Action
First 2-axis Movement
This was our first two-axis movement
Work Stream N: WORK STREAM
Work Stream N+1: Documentation
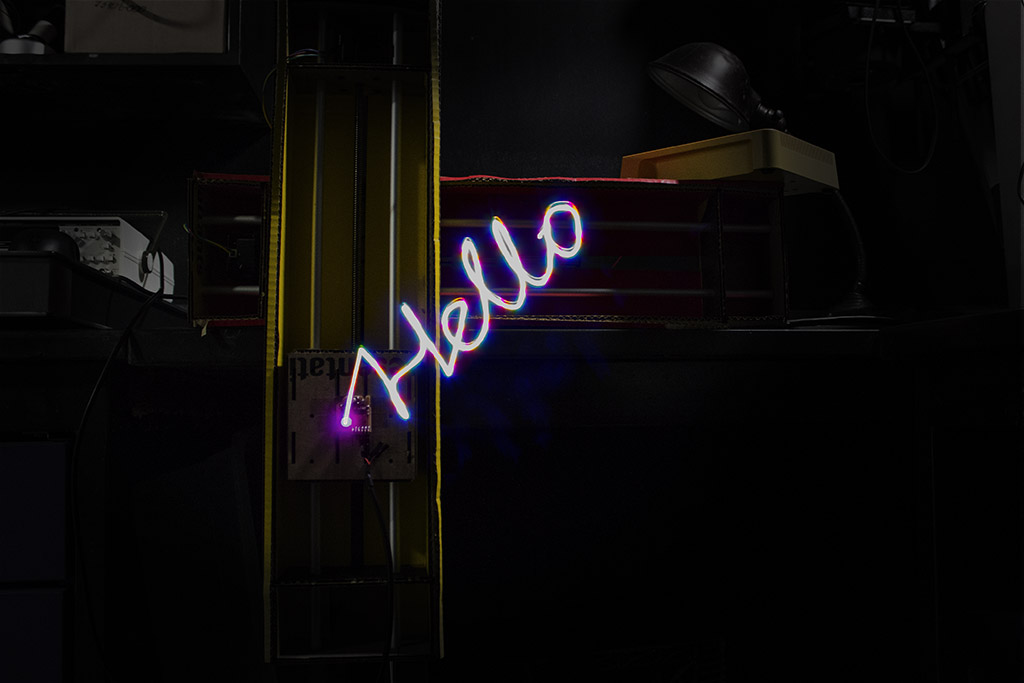
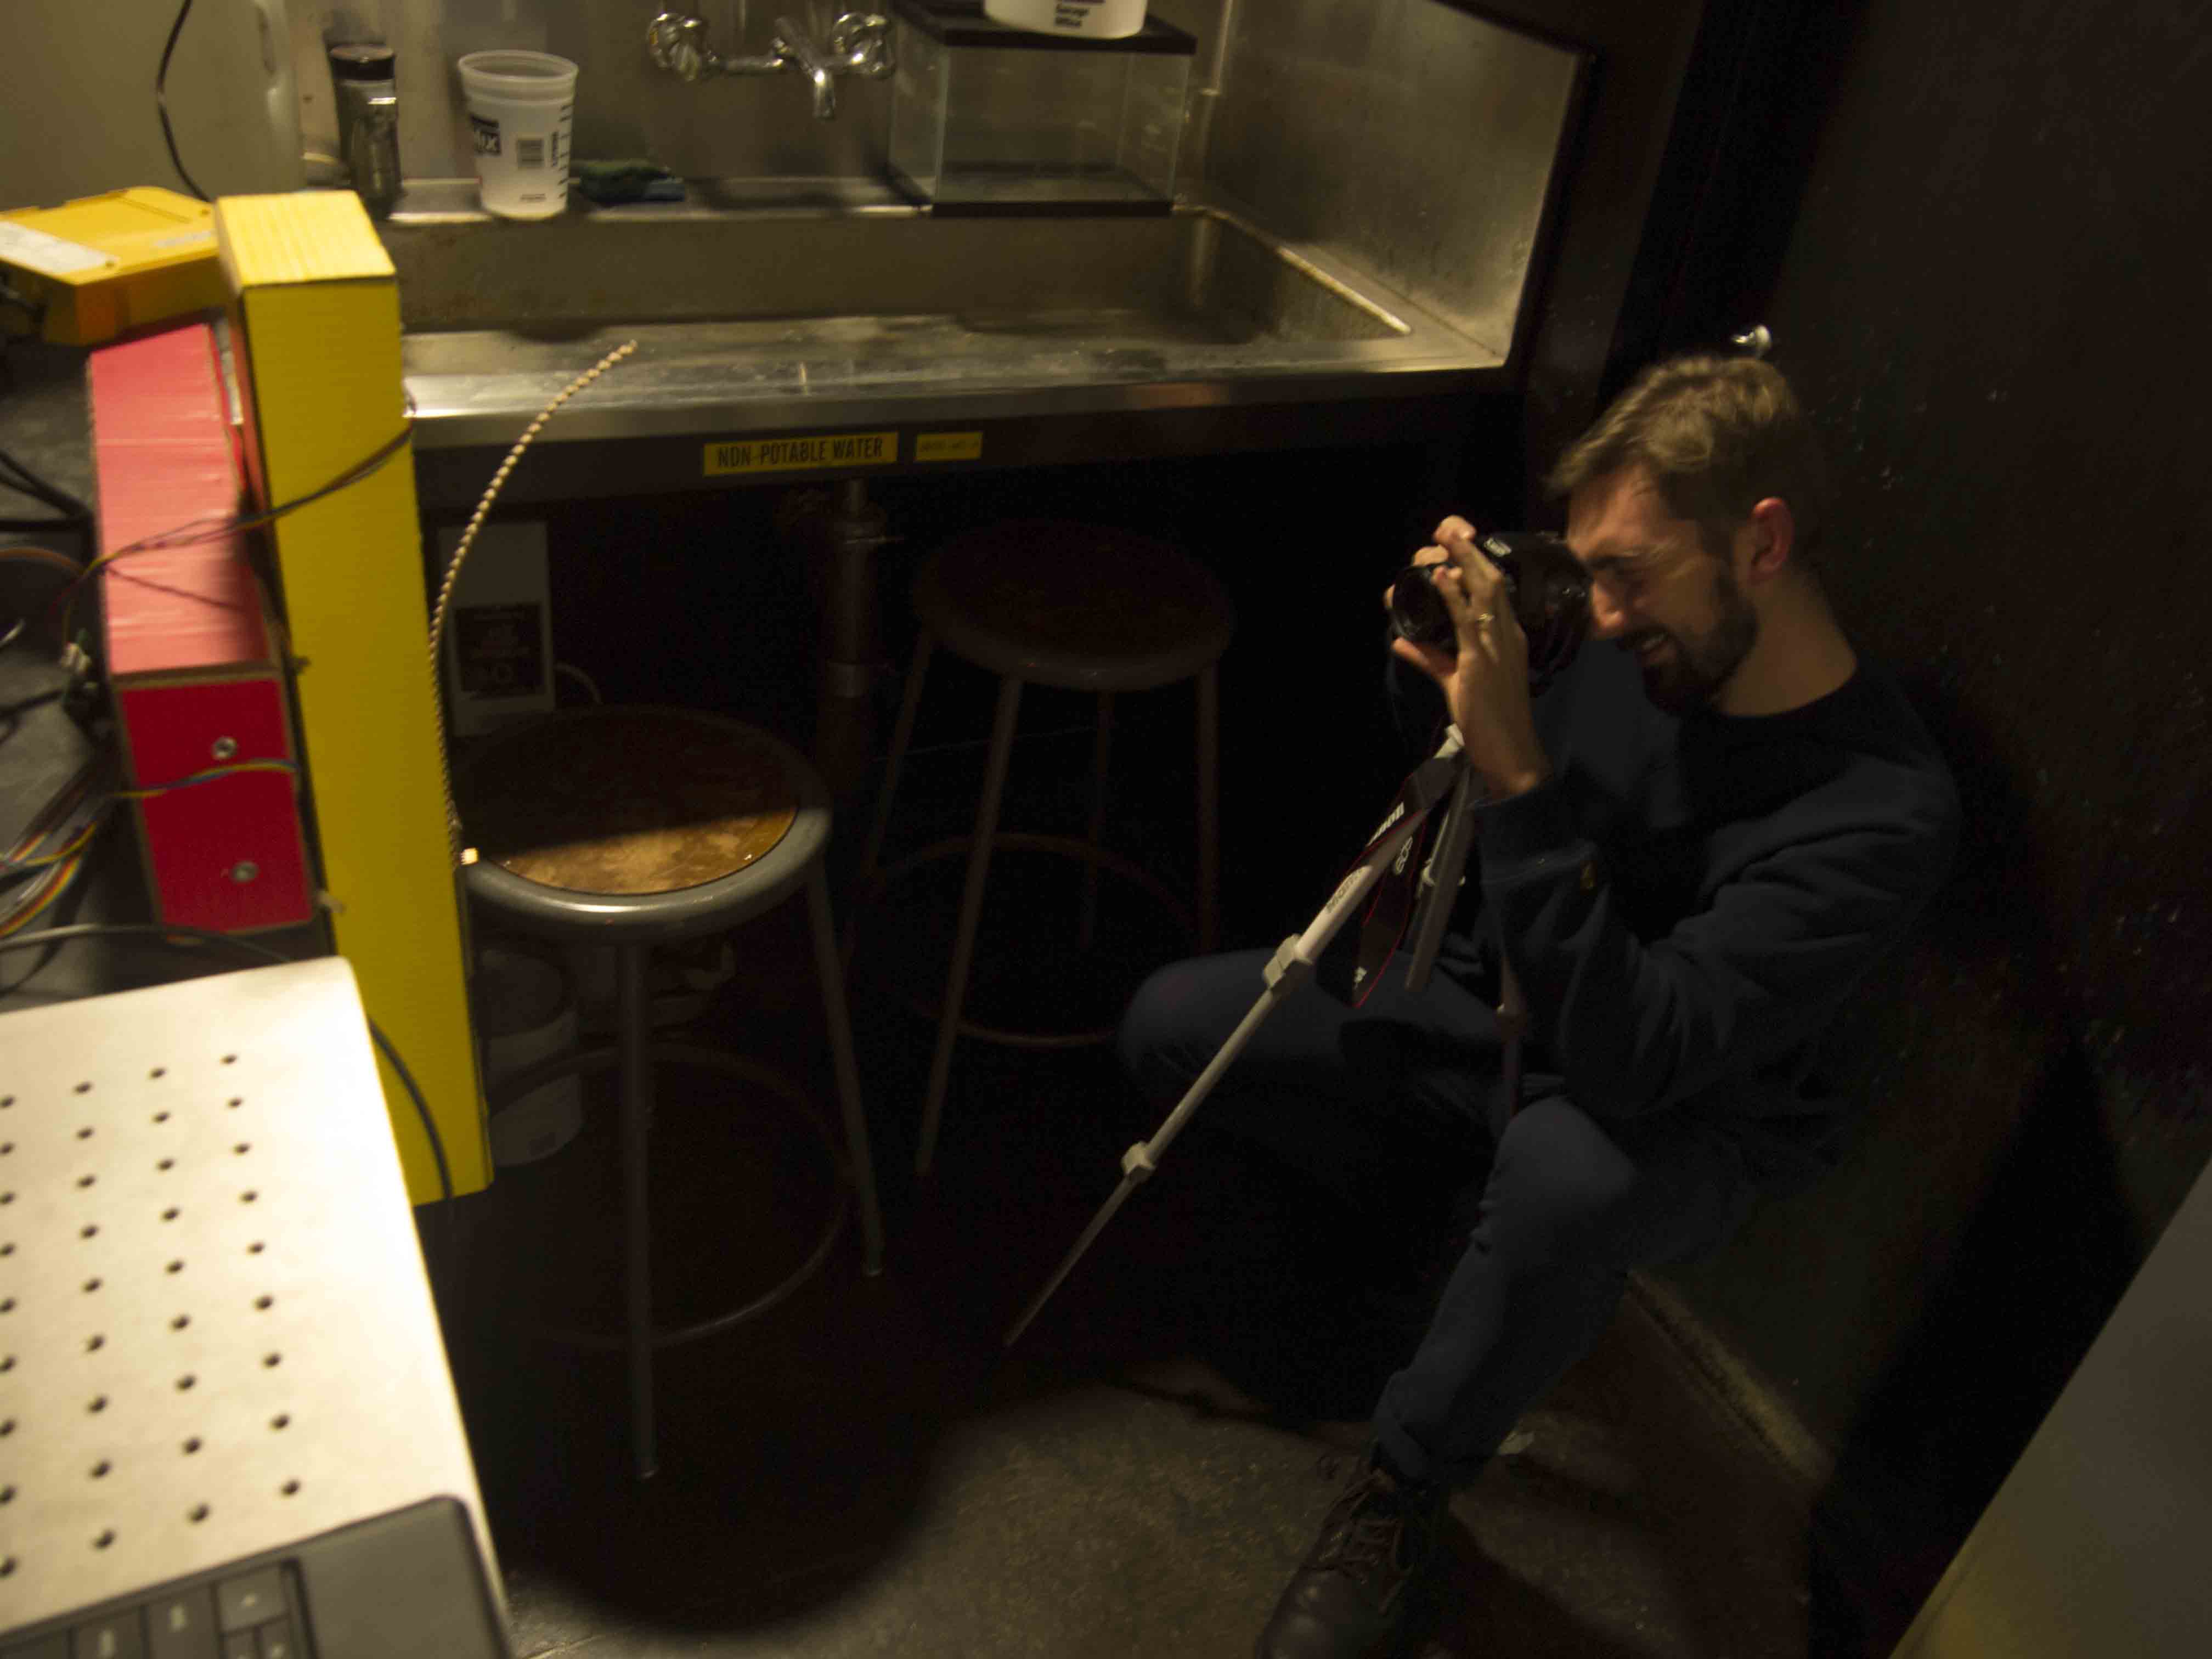
We set up a camera in bulb mode to allow for long exposure times our project required. The sprial toolpath took about 3 minutes to complete, the "Hello" toolpath took about 2.5 minutes. Bulb mode allows the shutter of the camera to stay open for as long as the shutter release button is depressed.
comments.