PCB Fabrication with the Modela
Spoiler alert: this is not a great tutorial. It's mostly a log of what I've done to re-learn how to make PCBs with the Modela and the Fab modules. That being said, having a list of all the steps can be useful, especially if you do not make your PCBs right after the demonstration.
Machine setup:
Shop: IDC, OS: Ubuntu 14.04 LTS
Initial system state: Modela off, no endmill
Turn on the Modela.
If the View LED is On click View (it will place it in Work Mode)
If it starts to spin press and hold Up & Down at the same time to cancel the current job. It should stop spinning.
Make sure that there is a sacrificial layer installed. It's typically made with a big PCB with a machined pocket.
Remove any residual tape
Tape a small PCB on the flat surface. Make sure it's steady and flat.
Initial files & software setup:
Obtain the files:
Traces
Outline
Note that they might be available on /Desktop/fab_isp/
***Desktop Fab Module (legacy):***
Log in to the Linux computer, open a terminal and type "fab". It will open a small GUI.
Input: image (.png) / Output: Roland Modela (.rml) / Click make_png_rml. You'll get a bigger GUI.
Load png (traces)
Select Mill Traces (1/64)
Click make .path => you should see a blue path
***Browser Fab Module (new - use this one):***
Log on the Ubuntu machine. Password: m****a
On the Desktop click on StartModuleServer
Open Firefox and go to http://mod.cba.mit.edu/
Click on Input format, select "image (.png)"
Load the traces.
Click on Output format, select "Roland MDX-20 (.rml)"
Click on Process, select "PCB traces (1/64)"
The first time I clicked on "move to xmin,ymin" I received an error message: "could not open port /dev/ttyUSB1". I opened a new terminal tab and typed "dmesg". The Modela was on ttyUSB0, not 1. In the mod.cba.mit.edu browser app I changed the command. This time I received a different error: "Permission denied" (the commands can't be sent from userspace.) The command that worked for me is "sudo mod_serial.py /dev/ttyUSB0 9600".
Make sure to look at the terminal window. You'll have to enter the password the first time you call "sudo".
At this point you should be able to Zero the machine from the browser.
Endmill and Zero adjust:
At this point you can change the Zero in the GUI and the machine should move (if it's not in View mode)
Adjust the XY zero. You want the spindle to be ~5-7mm from the bottom left corner of your PCB.
Load a 1/64 endmill. Carefully adjust the Z 0 by making sure that the endmill touches the top of your board.
The exposed part of the endmill should be 1.5-2cm long, not more.
Make sure that you don't run into the Z limit.
Make sure to tighten both hex screws (but don't over thighten!)
Mill the traces:
I used all the Mill Traces (1/64) defaults
Do not try to make it go faster or you'll break the endmill
Desktop version: Make RML, Send it => New GUI will open
Browser version: Calculate Path => Send Path
Begin Milling, should take about 10 mins
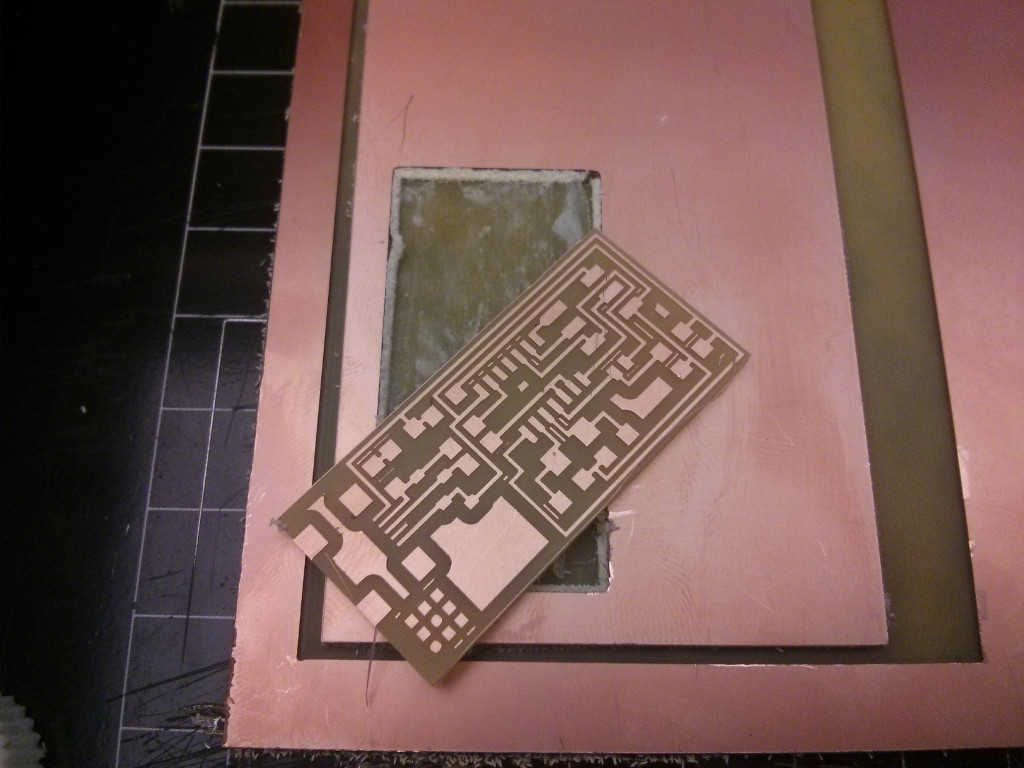
When the machine stops click View and inspect the results.
You will have to vacuum to see the traces.
Do not remove the board!
Mill the outline:
Move the machine to its zero (GUI, Move To)
Do not change the position of the XY 0!
Press and hold the Up button to lift the spindle
Change mill to 1/32
Adjust the Z zero, same procedure as before
Load outline image, click on cut out board (1/32). Keep the default settings.
Mill, vacuum, inspect.
If it looks good remove the board. If it doesn't... start over :)
Clean your mess!
Feel free to contact me at jfduval (at) mit (dot) edu if you have any questions or comments!