In this recitation, we'll show how to use similar techniques to those taught in class this week to create casts using a higher temperature material: Aluminum.
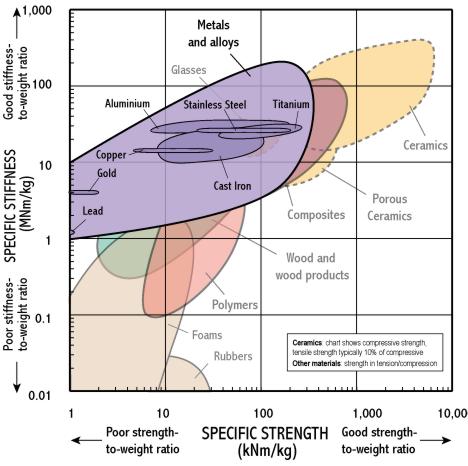
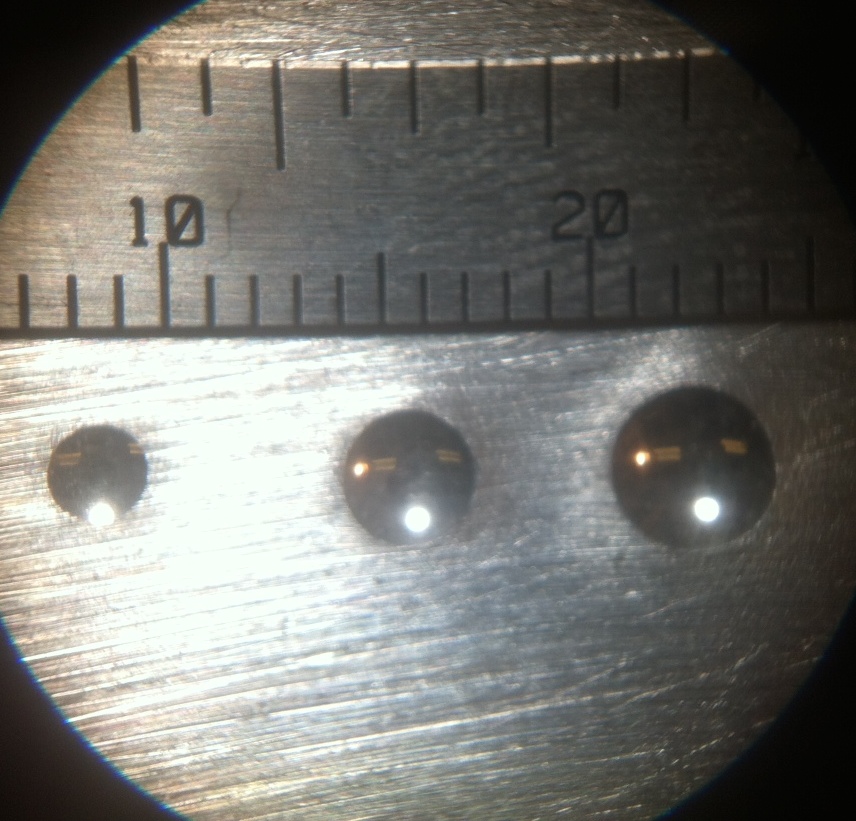
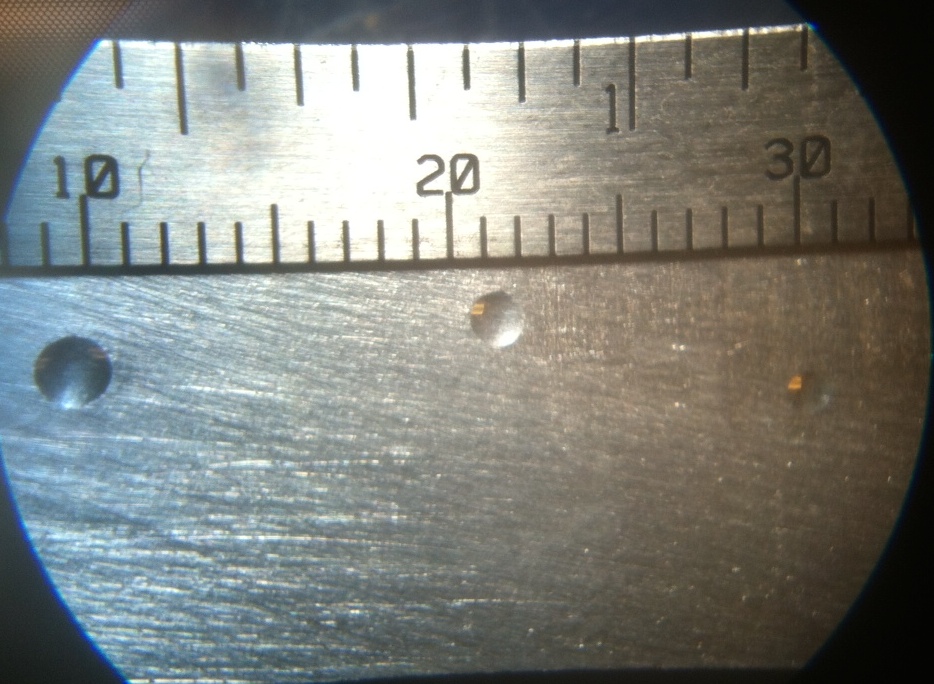
Compared to low-temp alloys, aluminum shines in performance. Consider this Brinnell testing setup:
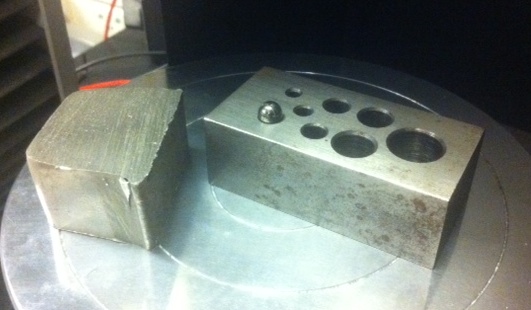
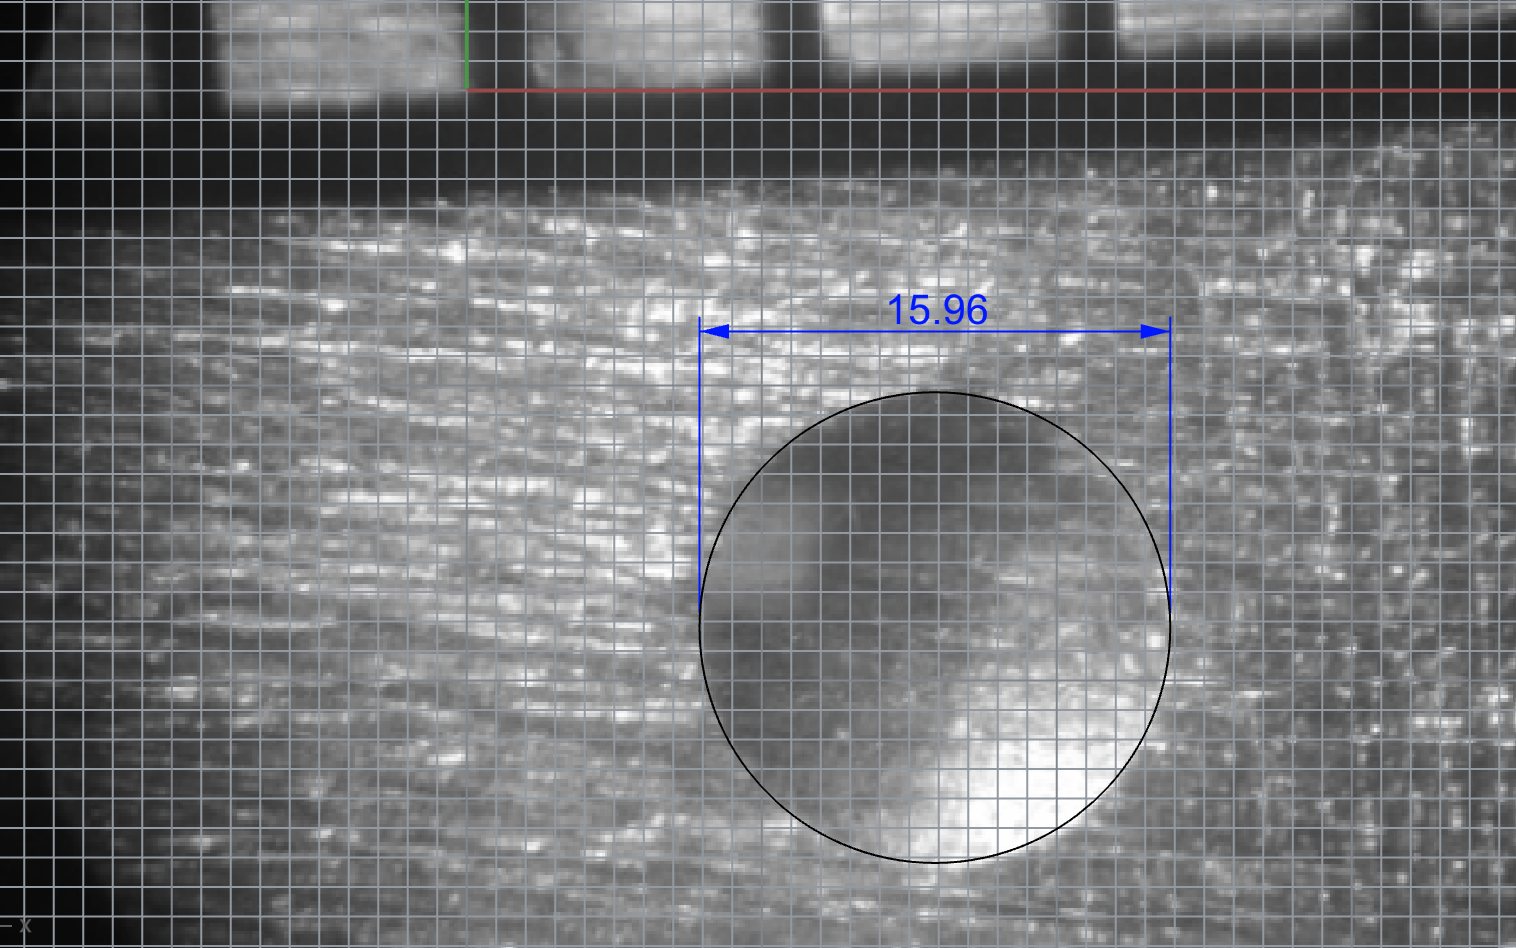
These give Brinell hardnesses of 27 and 102 for Babbit and Aluminum respectively (close to their material datasheets). Check out my NMM page for more details.
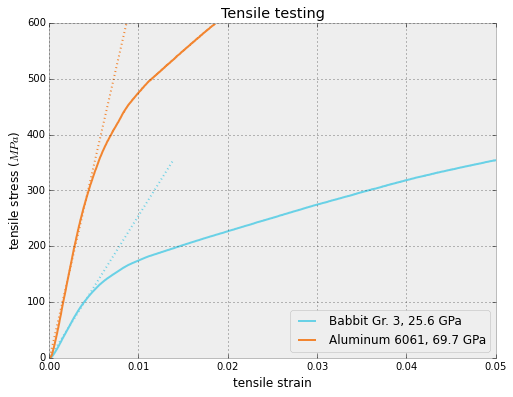
We can also measure material elasticity ourselves, and the difference is clear:
Working with molten metals is an inherently dangerous activity. Partake at your own risk!
Here are some safety tips from aluminum.org:Like the machinable wax and oomoo workflow from the weekly assignment, the first step in the process is to create a positive version of our design. We can use many digital fabrication processes to generate a pattern of our desired shape, including milling wax or wood, or 3d printing.
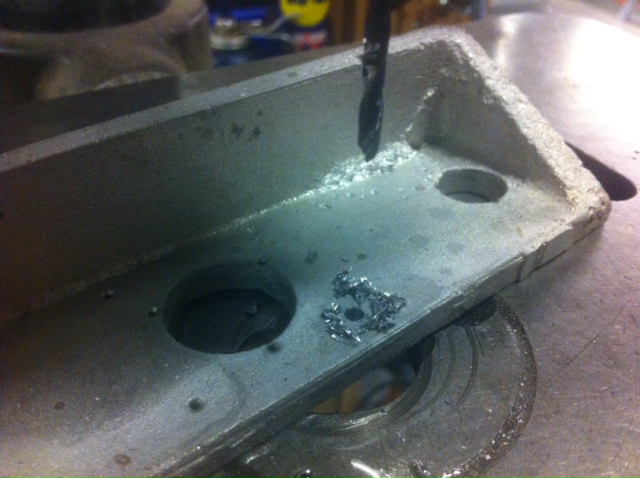
For sand molds, there are a couple things to keep in mind when designing the part. First, remember to put draft on the part to help it come our of the sand. The sand can crumble easily, and proper draft angles go a long way in preventing this. Second, small holes are difficult to create with the sand mold. The 1/2" holes in my model are about as small as you should go. If you want smaller holes in the final aluminum part, you can put small conical "divots" in the surface of the part and drill them later. These divots help the drill bit start the hole in the right place and are surprisingly accurate.

I used Onshape to model the part I wanted. It has a convenient "Draft" tool to do a tapered extrusion. I used 5 degrees for my part.
Our sand molds are formed inside of a wooden box, called a flask. It's a fun project to make these on the shopbot. I designed mine to have a set lengths, with adjustable width set by cutting lengths of 2x4.
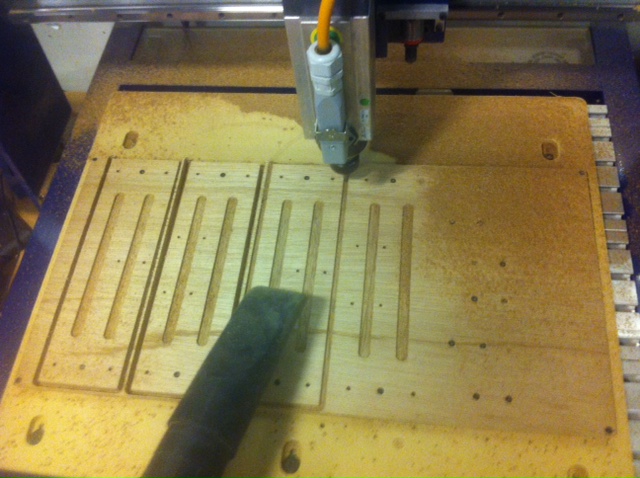
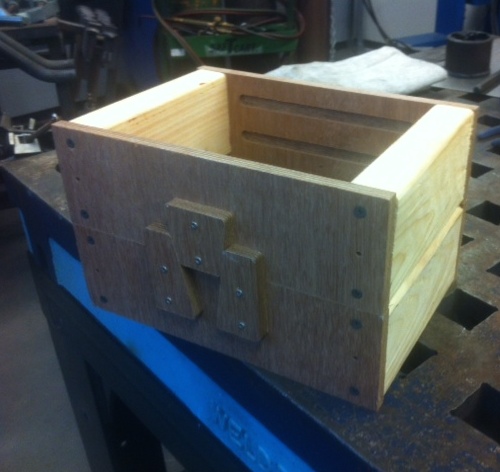
Most flask designs use some kind of kinematic alignment feature, like the angled shapes in mine. This allows us to pack the mold halves, separate them to remove the pattern, and realign them precisely.
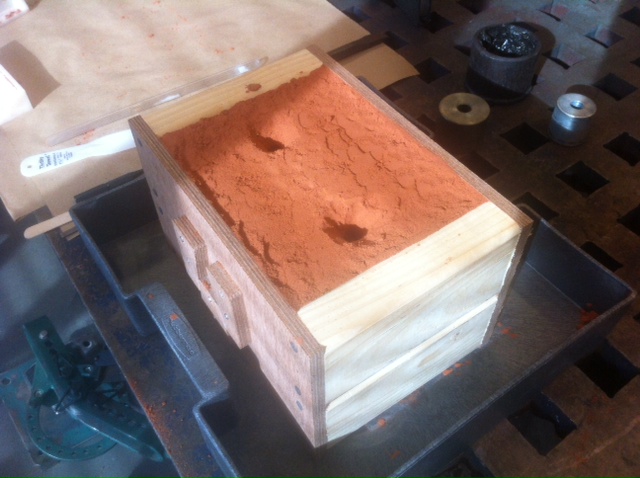
We place the pattern inside one half of the flask, face down on a solid surface. Now we tamp down the sand around the pattern, a little at a time. This can be a time consuming process, but tamping pressure is critical to forming a good part.
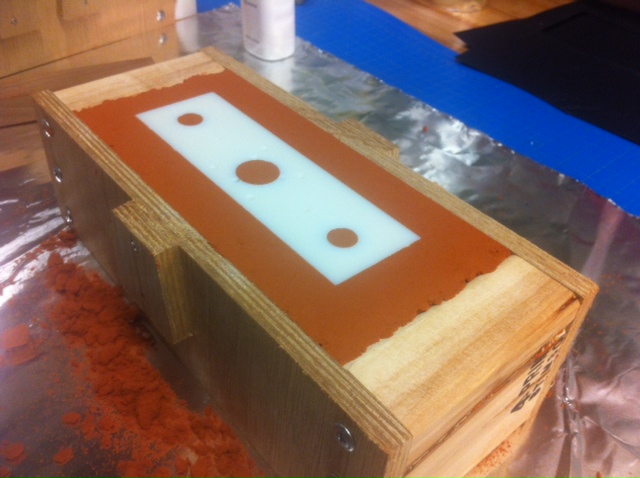
After tamping the first half, we flip it over and apply talc to keep the sand for the second half to bonding to the first half.
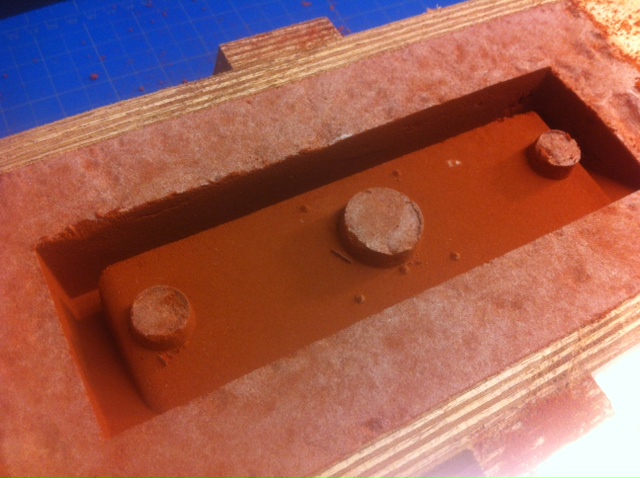
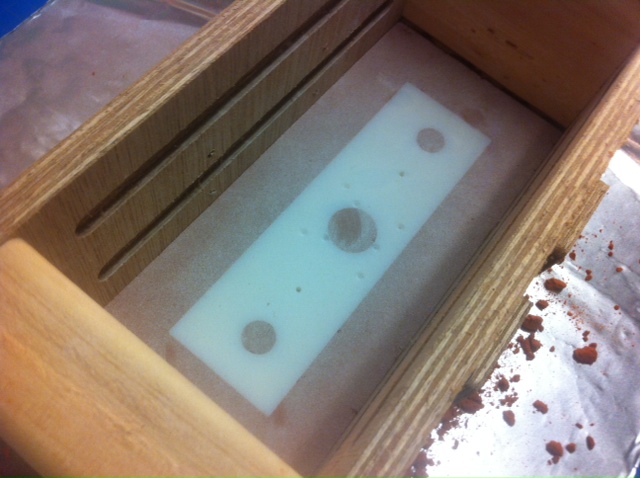
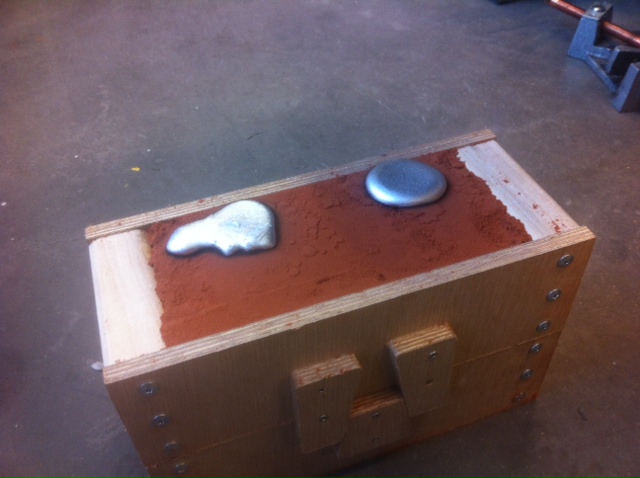
After packing the flask, we separate the halves of the flask, and carefully remove the pattern. It can help to tap it lightly with a small hammer to loosen it from the sand. After removing the pattern, we can use a thin tube to carve out a sprue and riser.
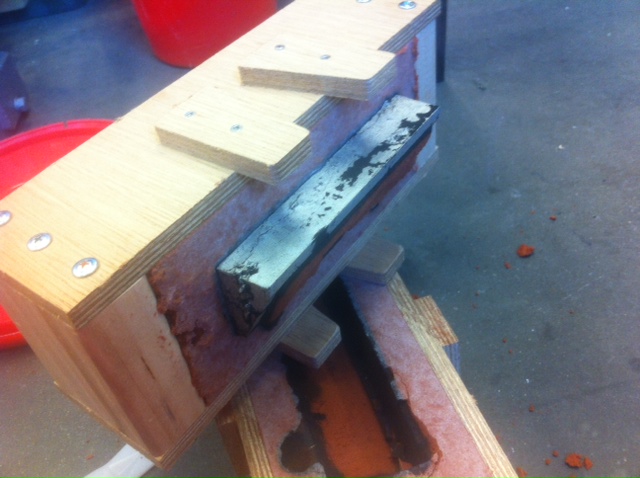
Now we are ready to pour the part. The aluminum takes a while to come up to temperature, so plan plenty of time. Depending on the size of the part, the proper pouring temperature of the aluminum is between 1300 and 1400 degrees Fahrenheit.
With face protection, gloves, a jacket, and leather shoes (or spats), carefully bring the crucible out of the furnace and pour into the sprue.
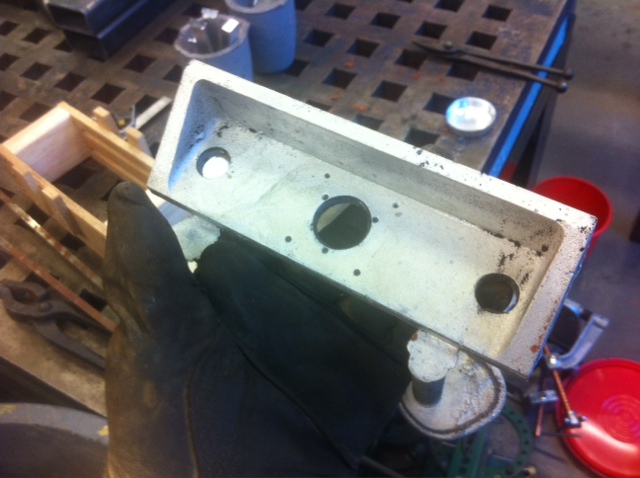
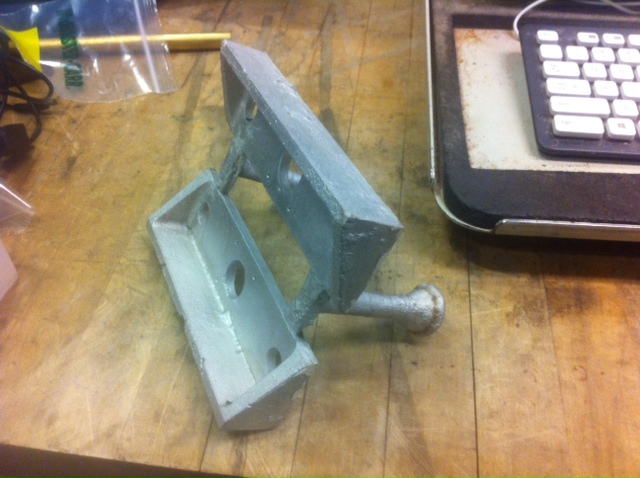
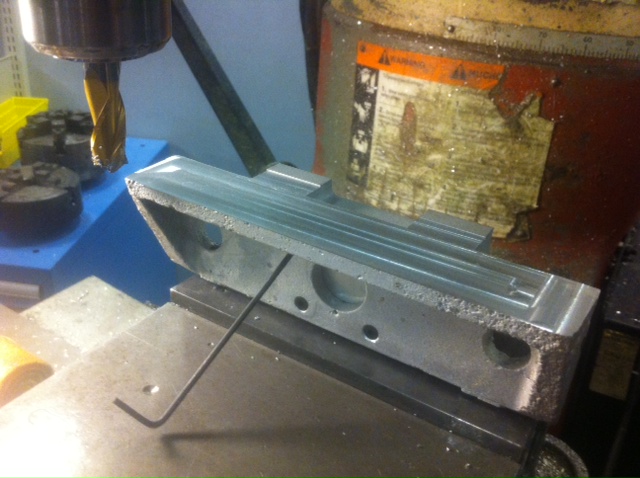
With our cast part, we can easily add precision surfaces with a drill press and/or mill.
Designing patterns for sand casting is a bit of an art, but with proper techniques we can create precise parts with minimal machining and extremely low cost.