How to Make (Almost) Anything
Project 07
Casting and Molding
Input
Parameters: Designing the object, Computer-controlled Milling, Molding, Casting
Tool: Shop Bot
Programs: Rhino, Master Cam
Material: Oommoo, Hydro Stone
Output
Description: Modified Hello-World board. The assignment requires to add a LED and a switch. I chose to add resistors for each of them rather than programming the microcontroller to act as a resistor for the switch like in Neil's embedded programming example.
This project explores how to design an object to mill, make a mold from it and then cast it
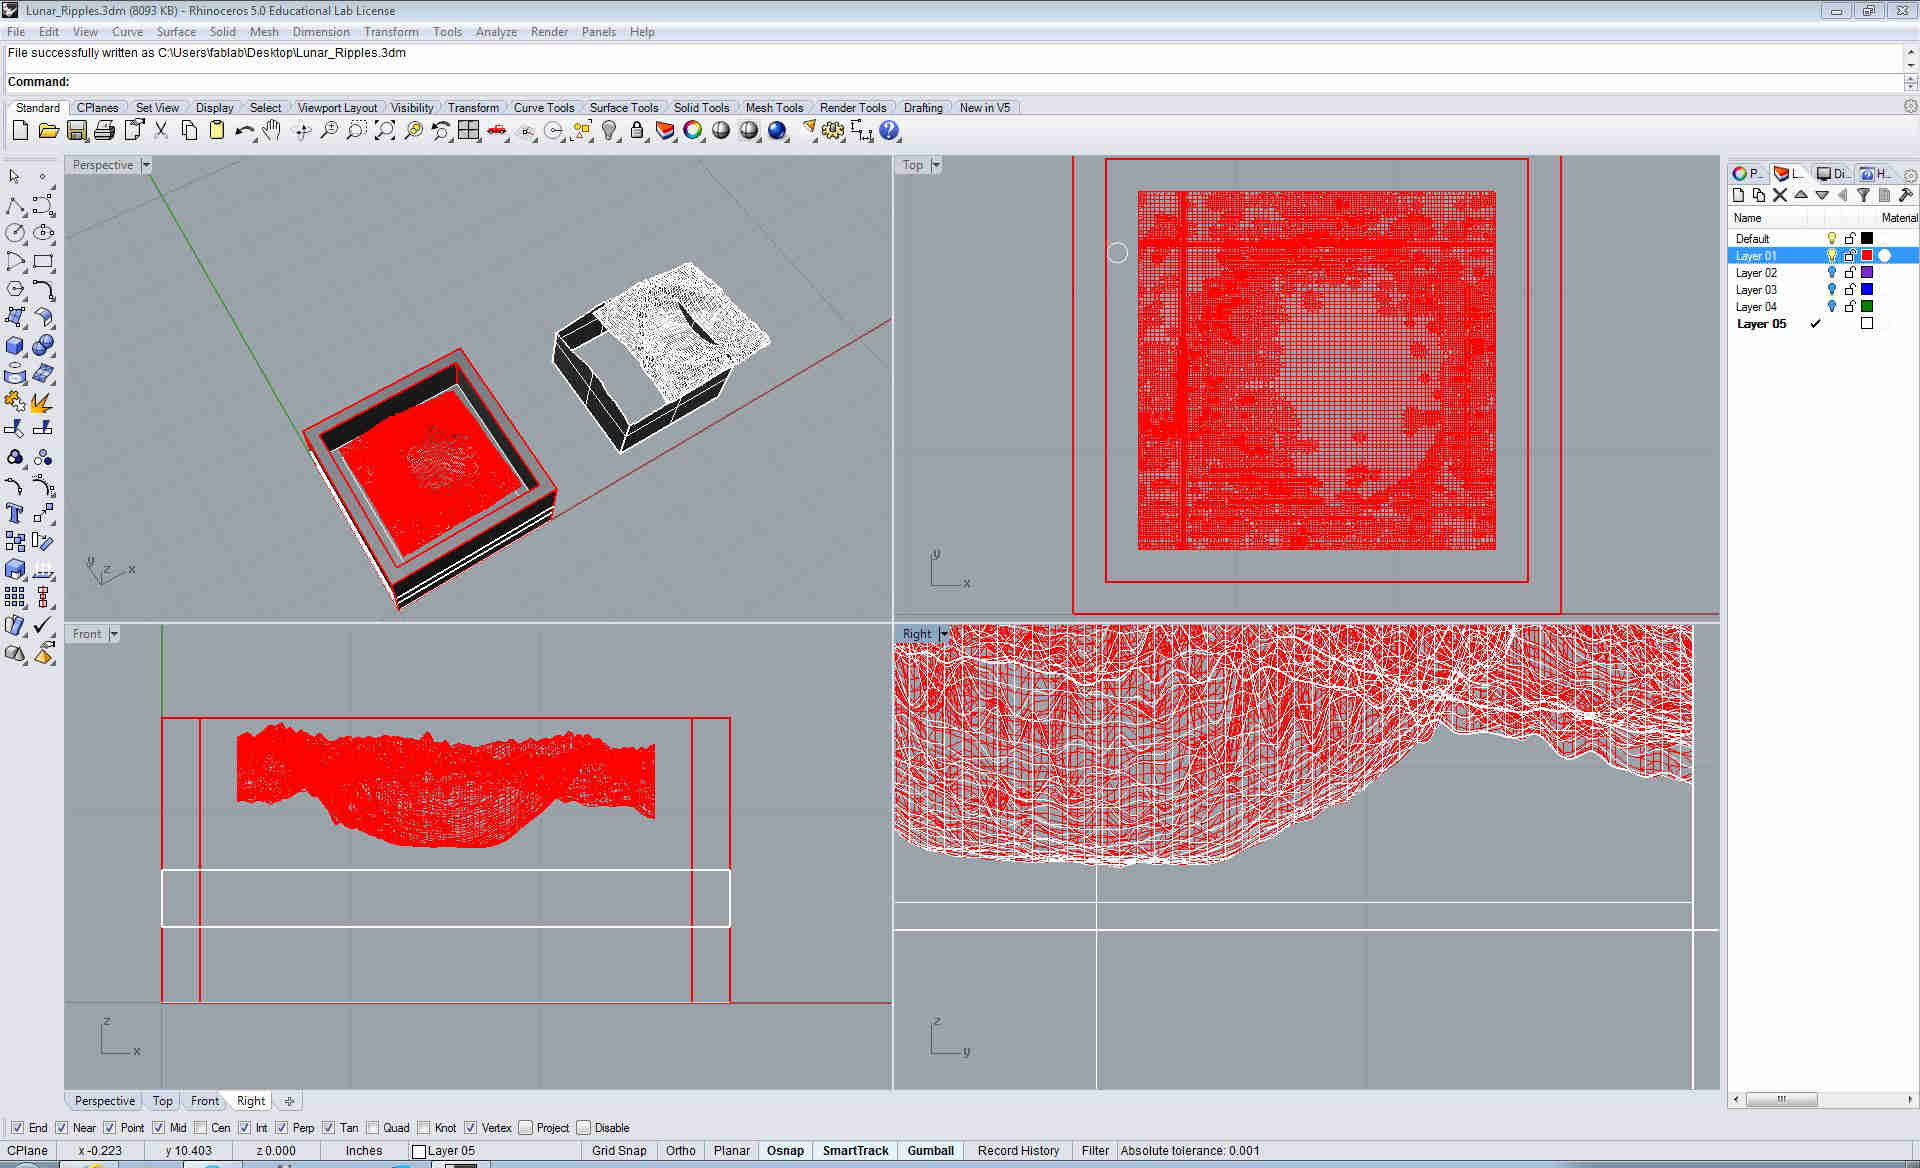
1. Making the 3D object in Rhino
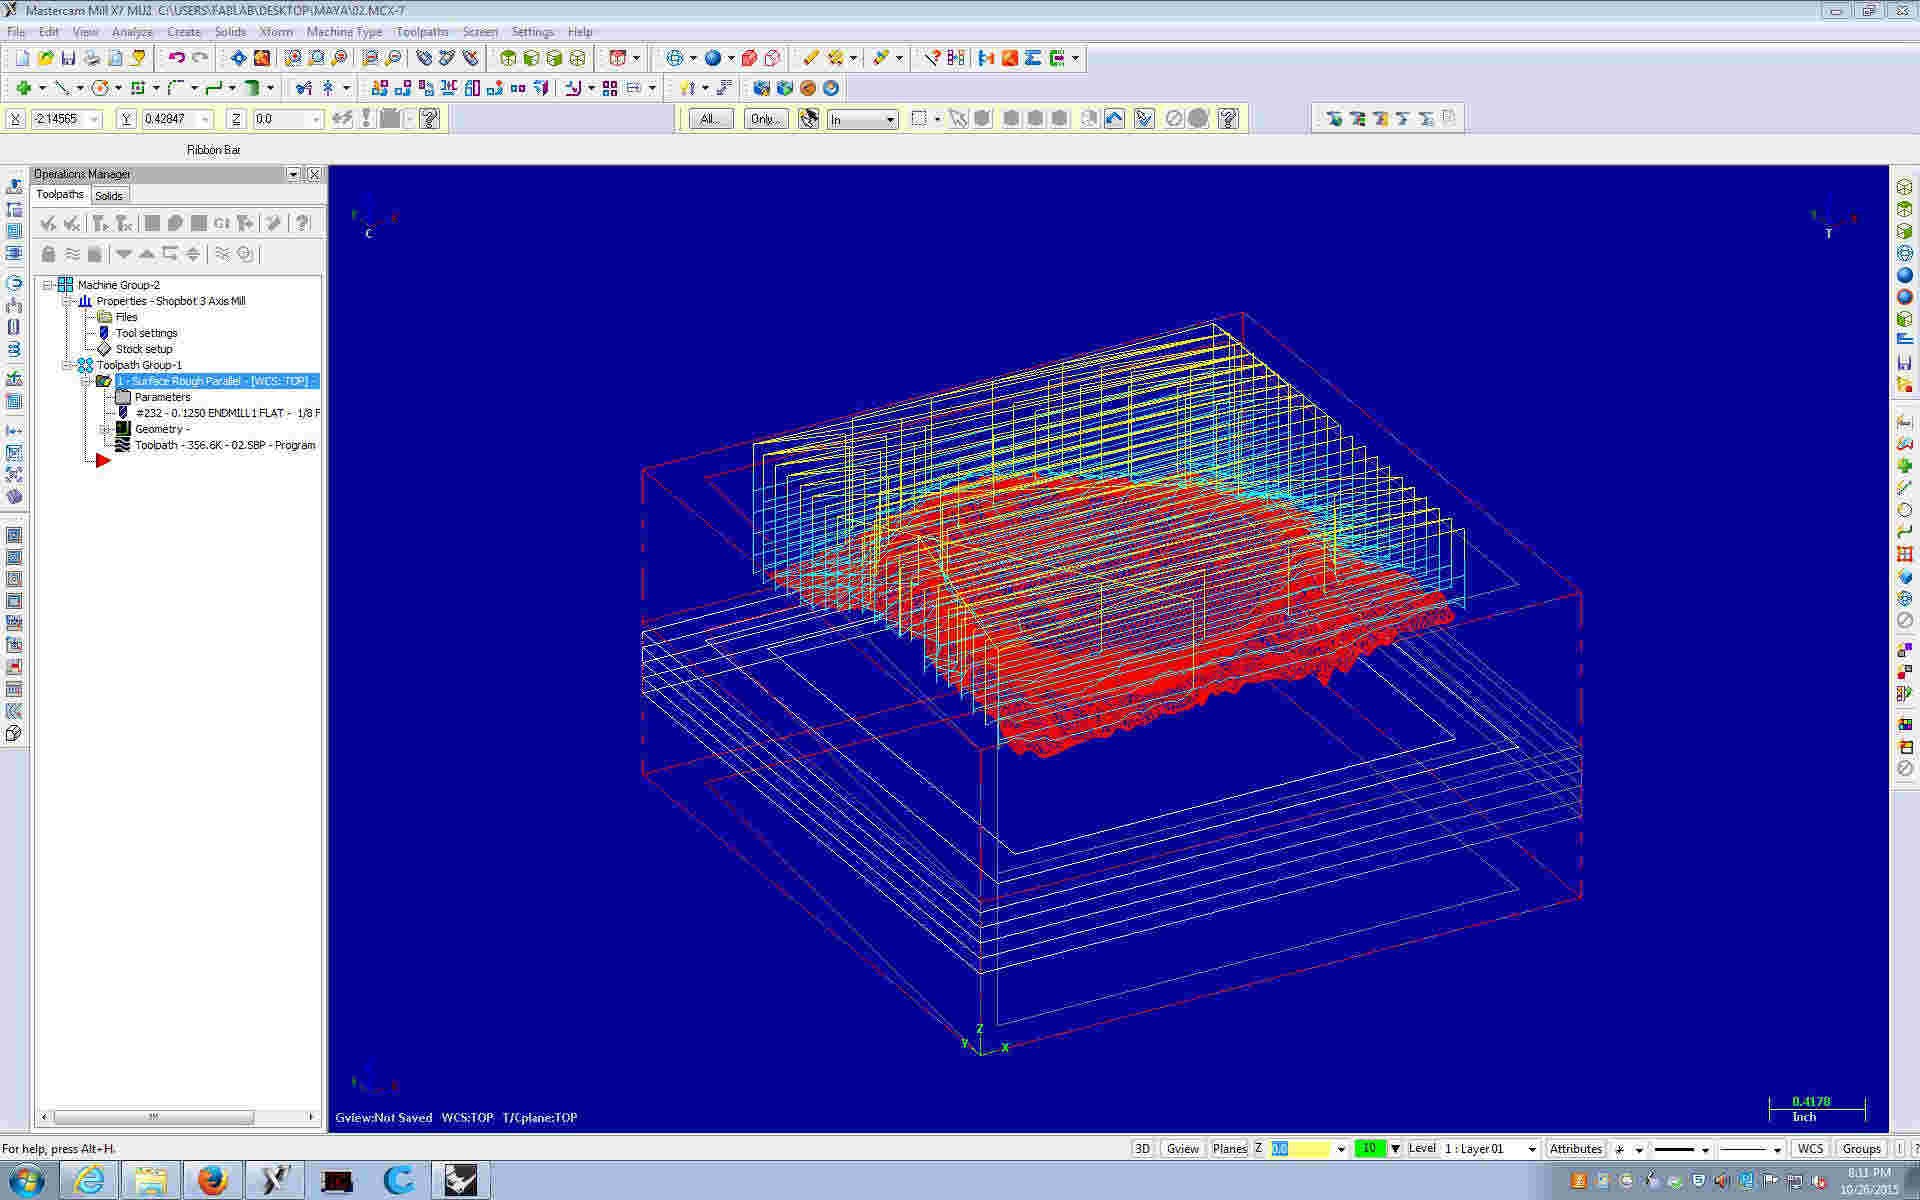
2. Processing the tool paths in Master Cam
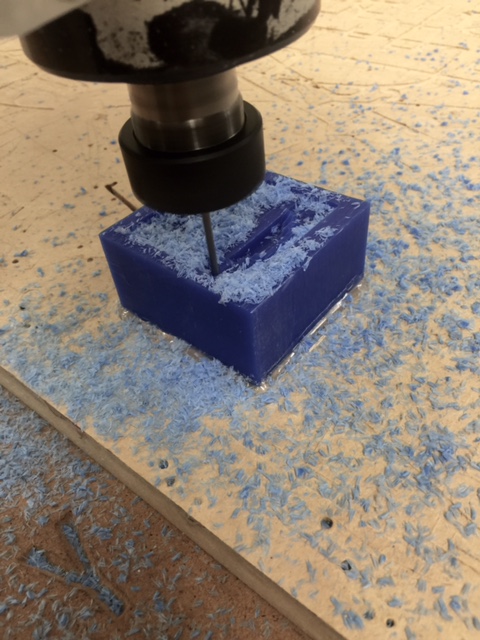
3. Milling the object on the Shop Bot
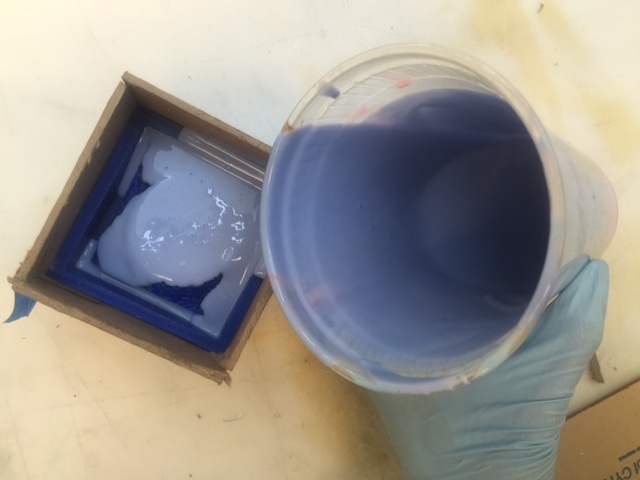
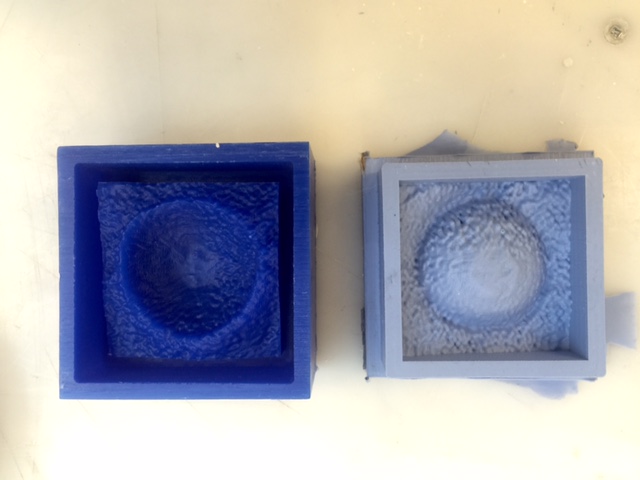
3. Making a mold of the milled object with Oommoo
4. Casting the object in Hydro Stone
Process
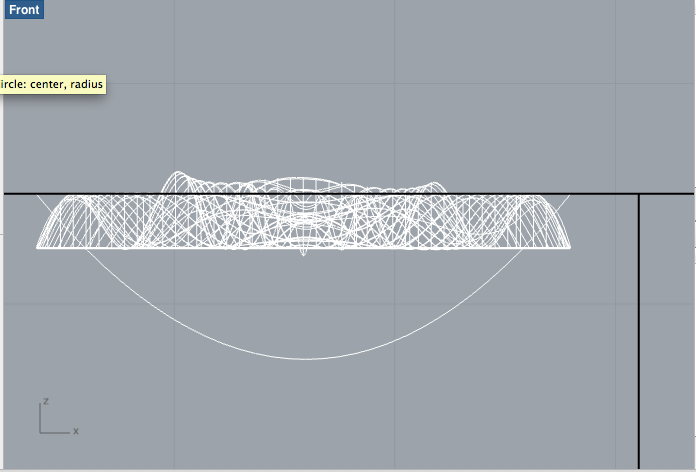
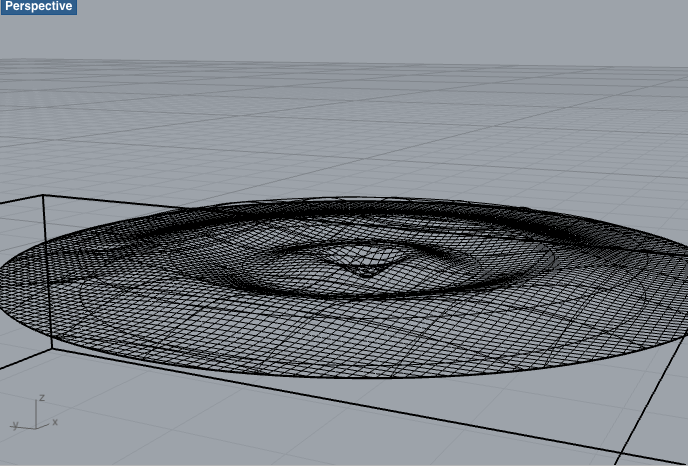
Designing in Rhino: thinking of objects that could not be molded, I imagined objects which textures were contrasting with the solidity of the Hydro Stone
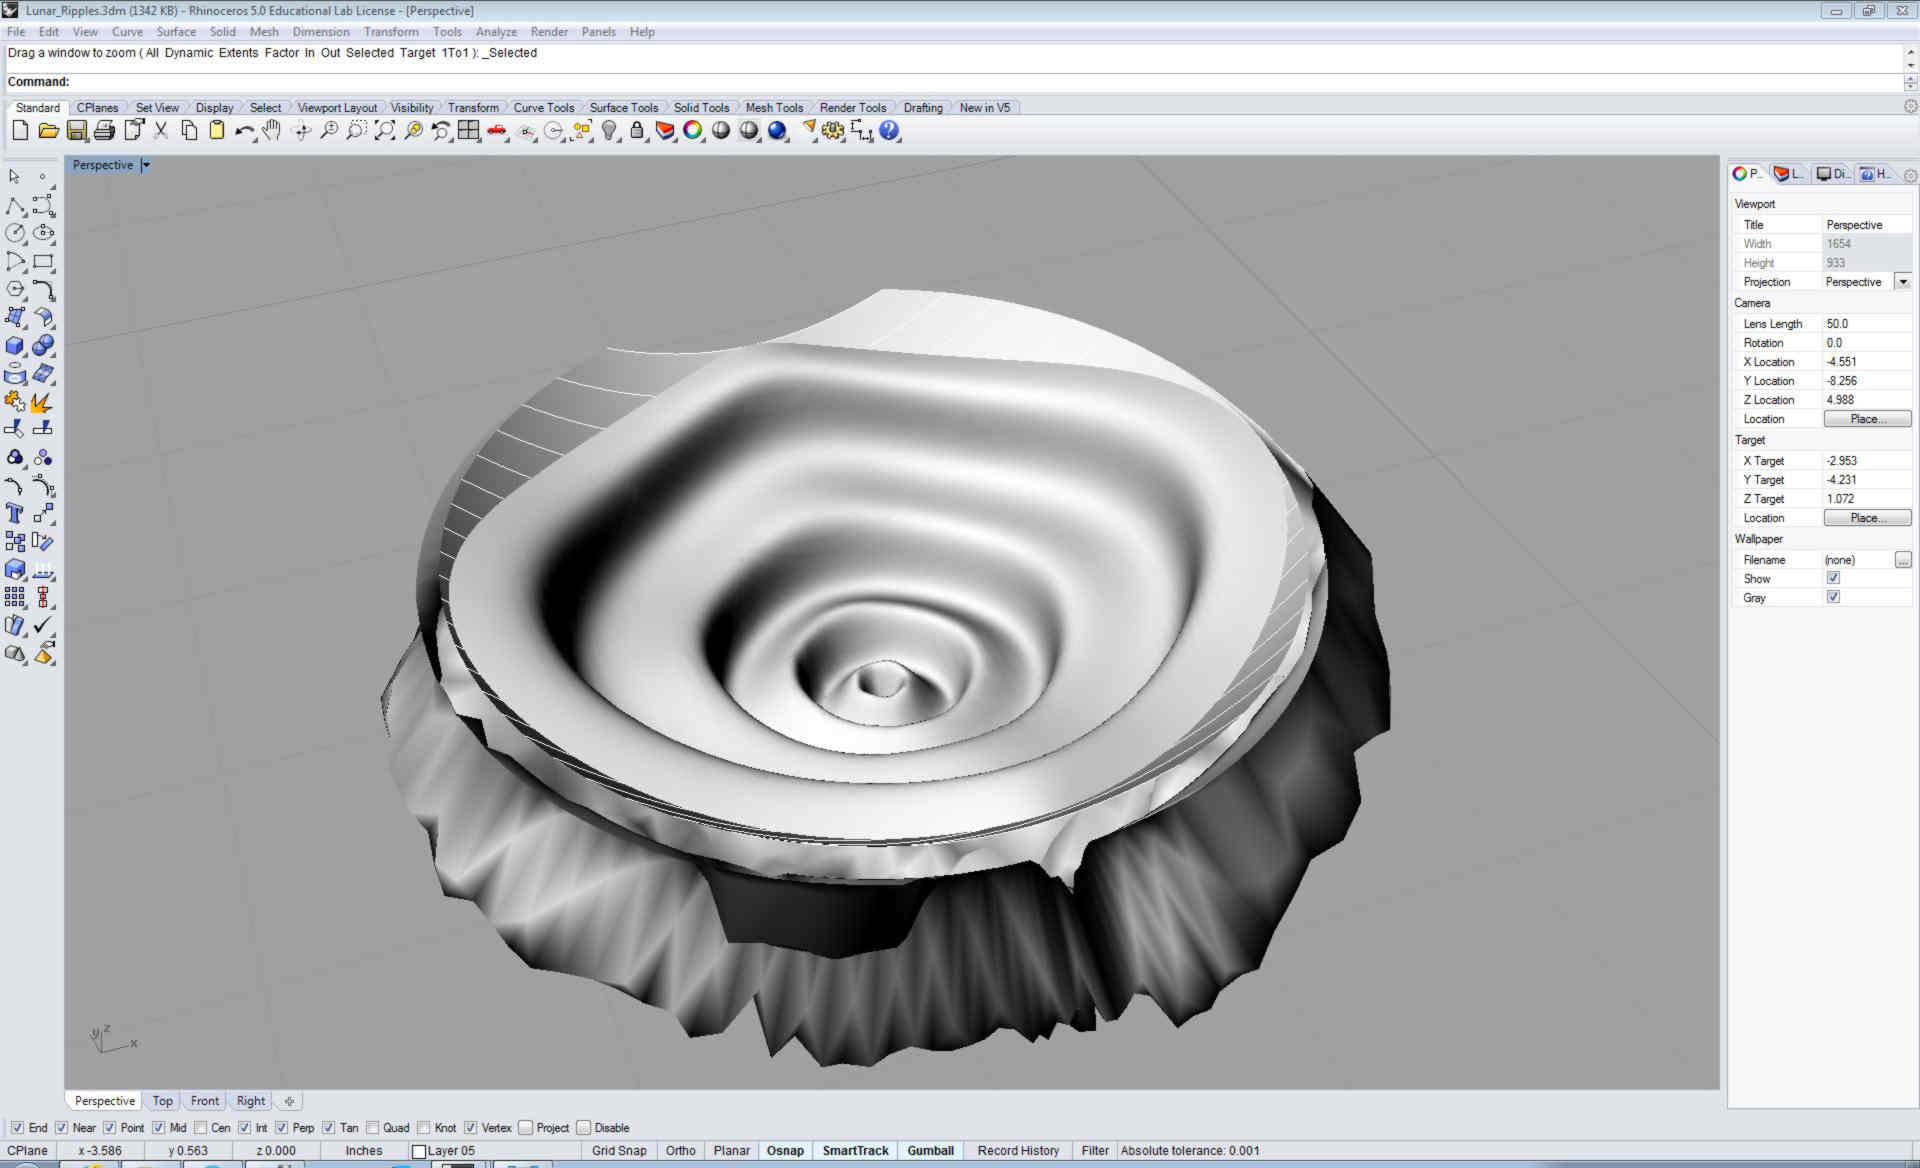
Set on the idea of making water ripples also because of the milling tool constraints of the undercuts, I designed ripples from circles using Patch. I didn't use a Grass Hopper plugin this time, nor the tempting Real Flow or Krakatoa programs to emulate particles flow.
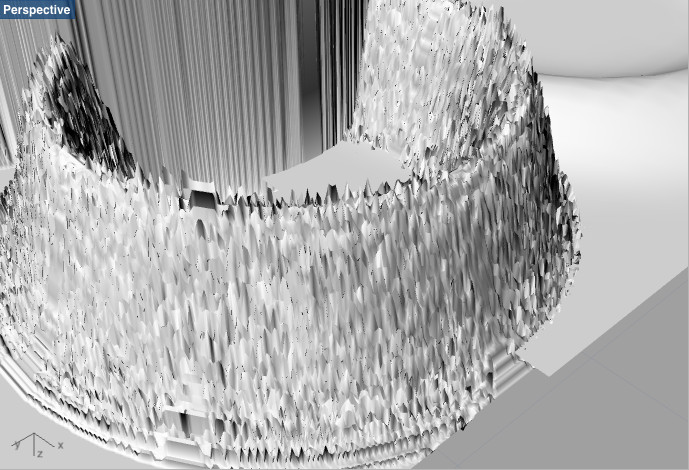
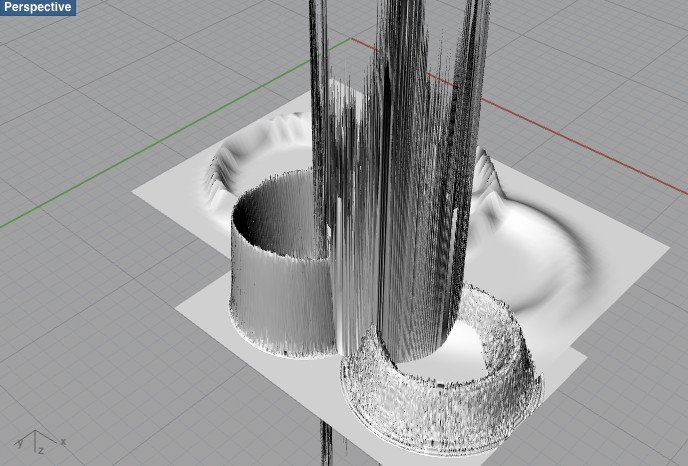
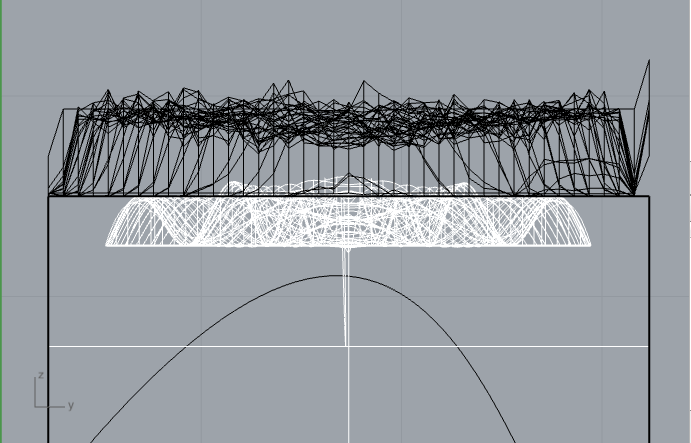
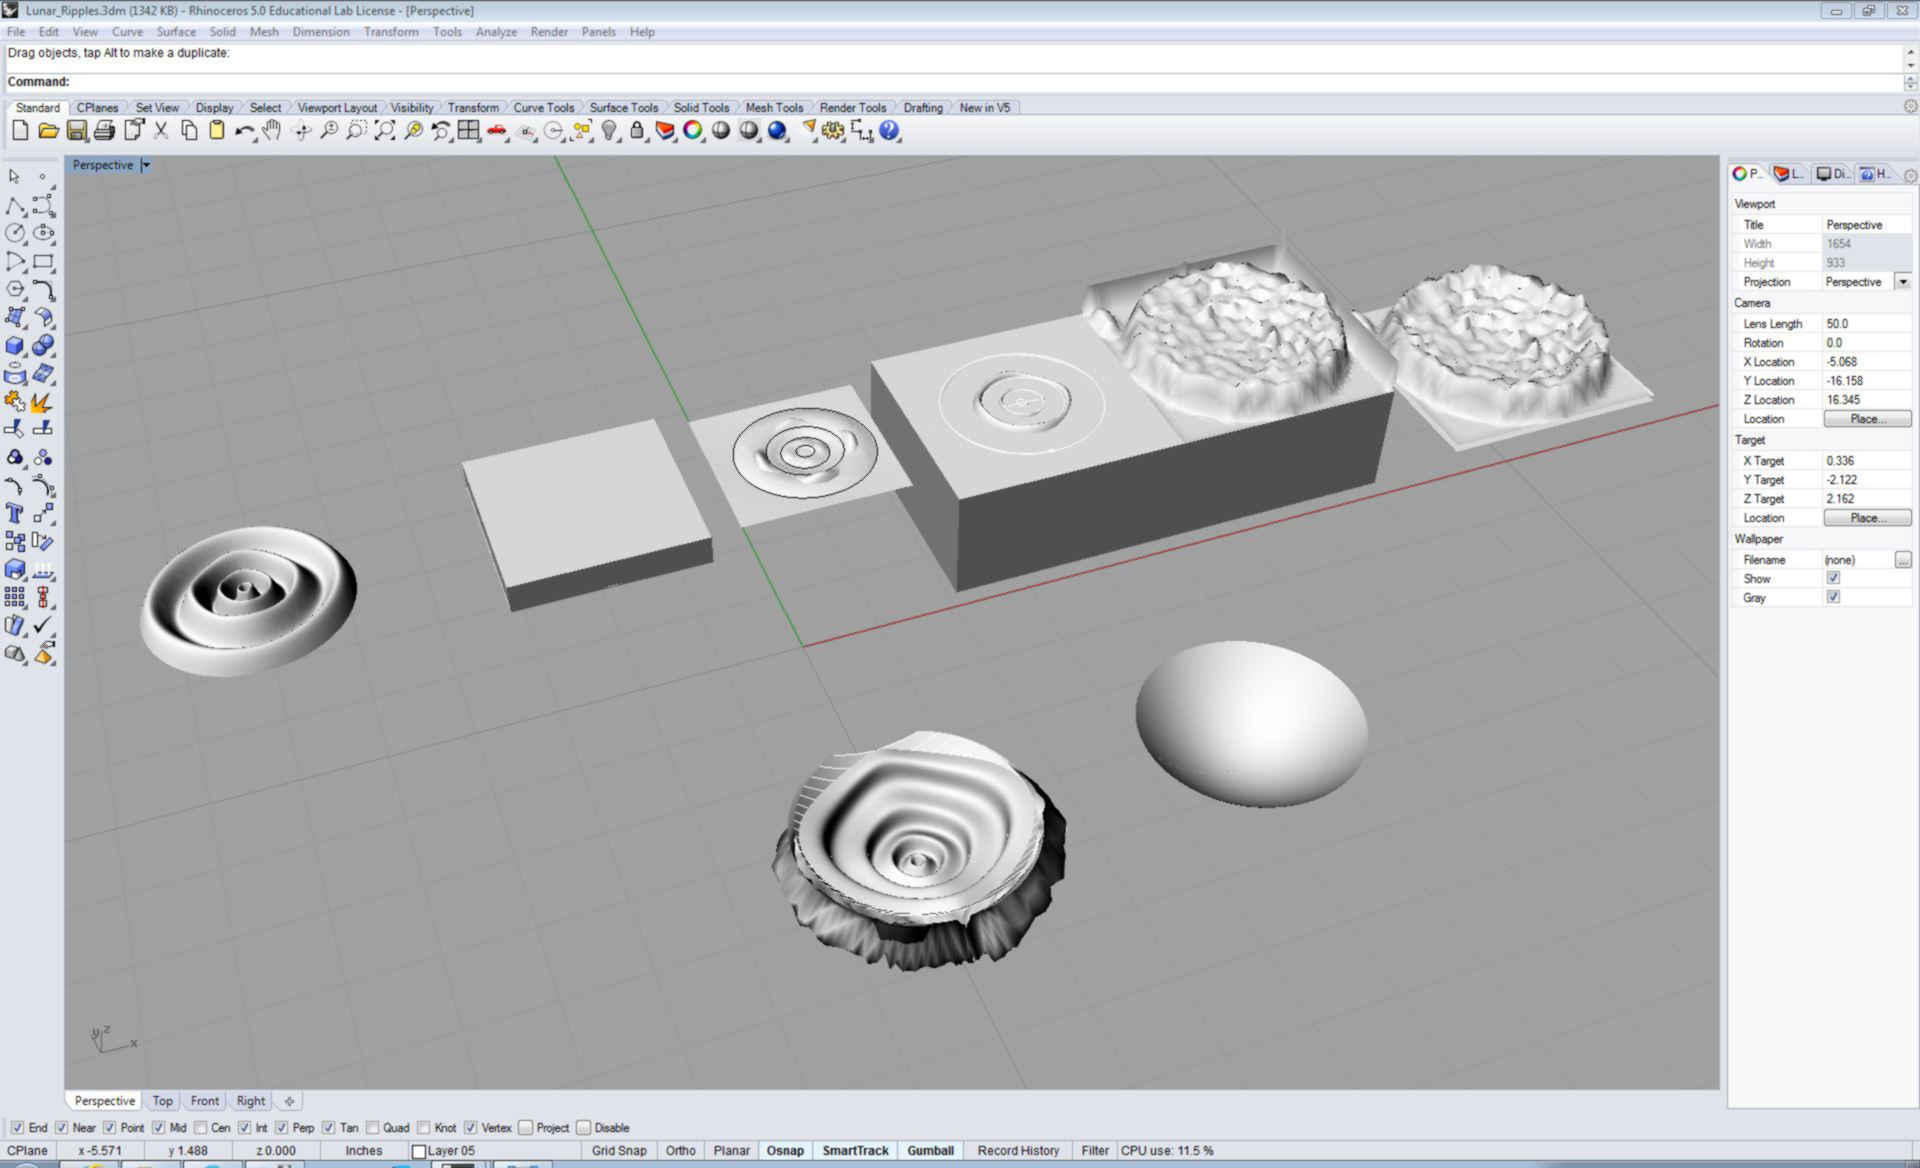
Since I also wanted to explore the Height Field command which allows to import an image to extract heights from gradients and make a mesh or Nurbs surface, I also wanted to use moon craters. The intended result object was a bowl with ripples inside and moon craters outside.
This is where a limited knowledge of Rhino did not allow me to project the ripples surface on a circular surface without morphing it into a hybrid squared circle. I learnt I should have built the ripples from Revolving a curve instead so that it could become a mesh easily projectable on the "bowl"
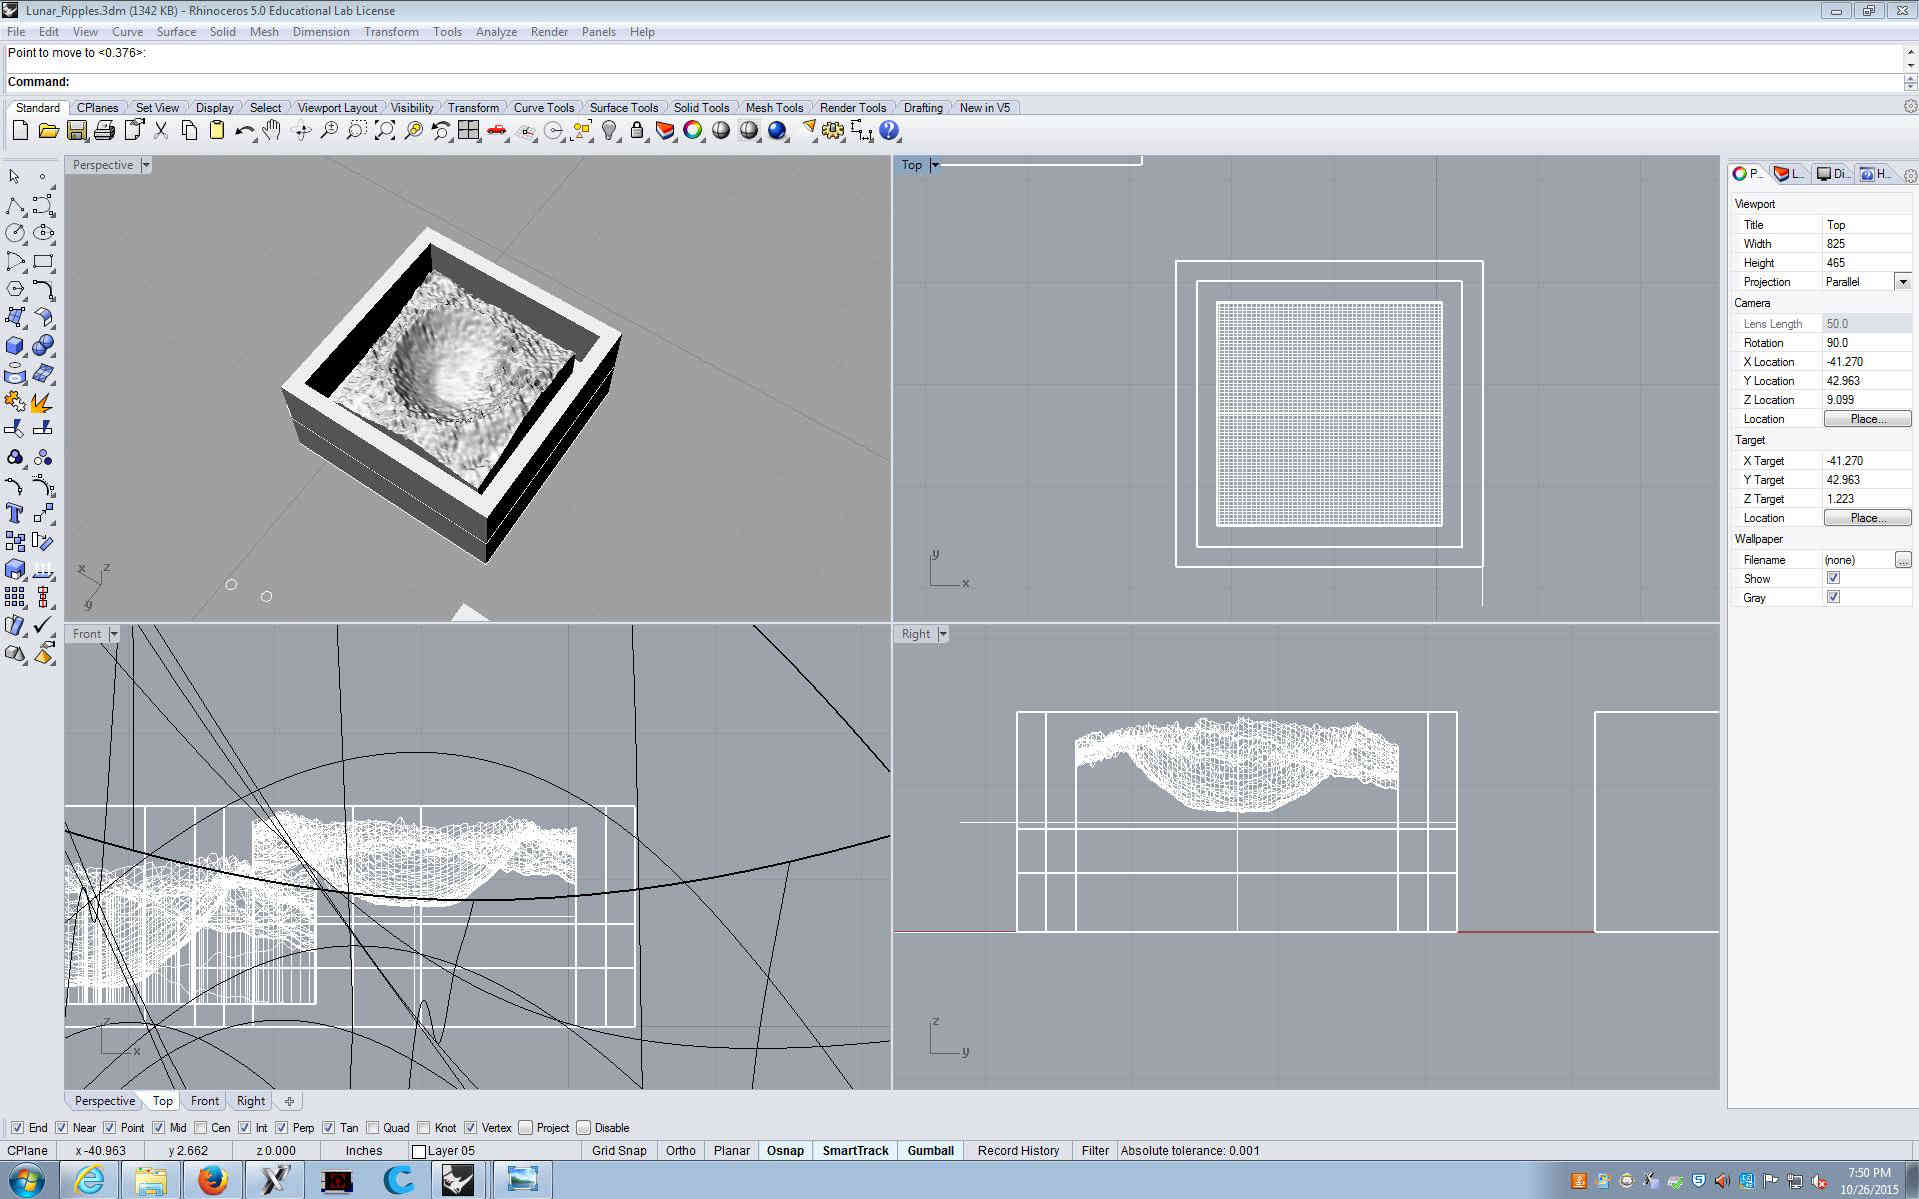
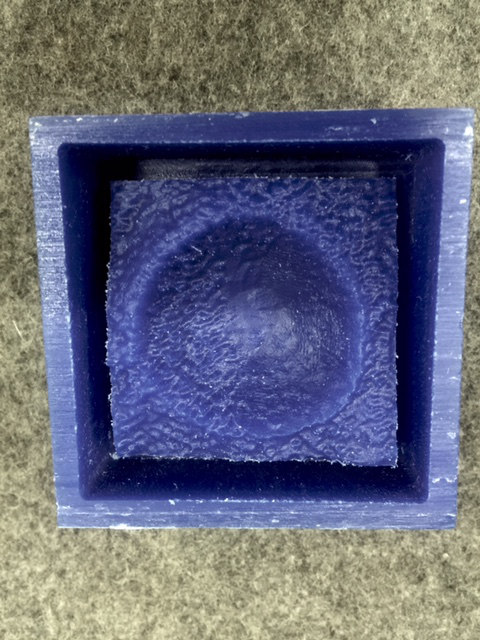
I hence decided to only make moon craters
Having very little molding wax because I wasn't there when it was distributed, I had to scale down my object to 1 crater.
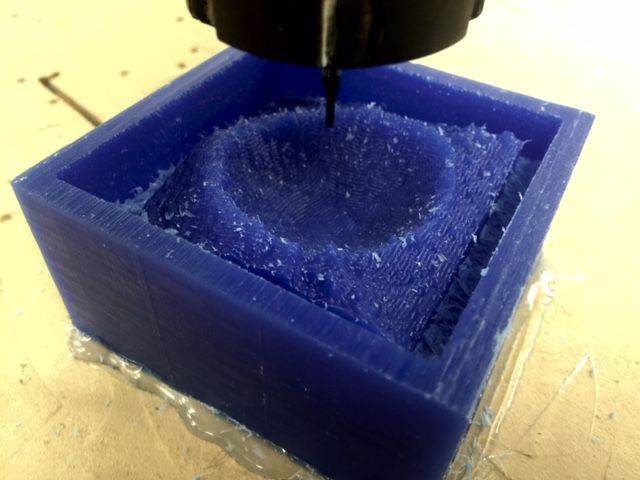
Yet, the milling process of the relief required a lot of work in Master Cam to obtain a certain finish with the 1/8 and 1/16 ball end mill
After the first pass/roughing with the 1/8 end mill, 2 passes with the 1/16 ball end mill with a maximum step over of 0.03 and then 0.01 allowed an interesting finish