Facial and Body 3D Scan and Print
01. 3D scanning and 3D Printing
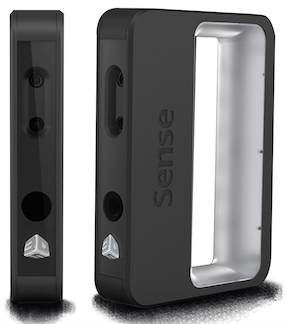
The first focus this week was on 3D scanning. I started looking at the awesome Sense 3D scanner, extremely easy to use, super intuitive and giving really great pictures.
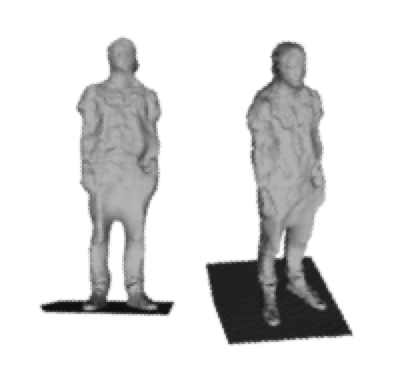
I tried the Sense on different people from the class, having different scans. For some of them (the most hairy), the Sense had trouble to fully do the full 3D image of the head and was only capturing one or two faces. I thus played with the capture settings (from high to medium) to have more volume in the capture. The following picture shows the two settings.
The Sense software is very intuitive and allowed me to fill the gap, consolidate the file and then export the mesh. It keeps the texture. Once the mesh was exported, I could also change it through MeshLab (a little less intuitive). I then wanted to print it. As Ultimaker printer was busy, I decided to use Makerbot. I imported it into Makerbot, resized it, and then printed it.

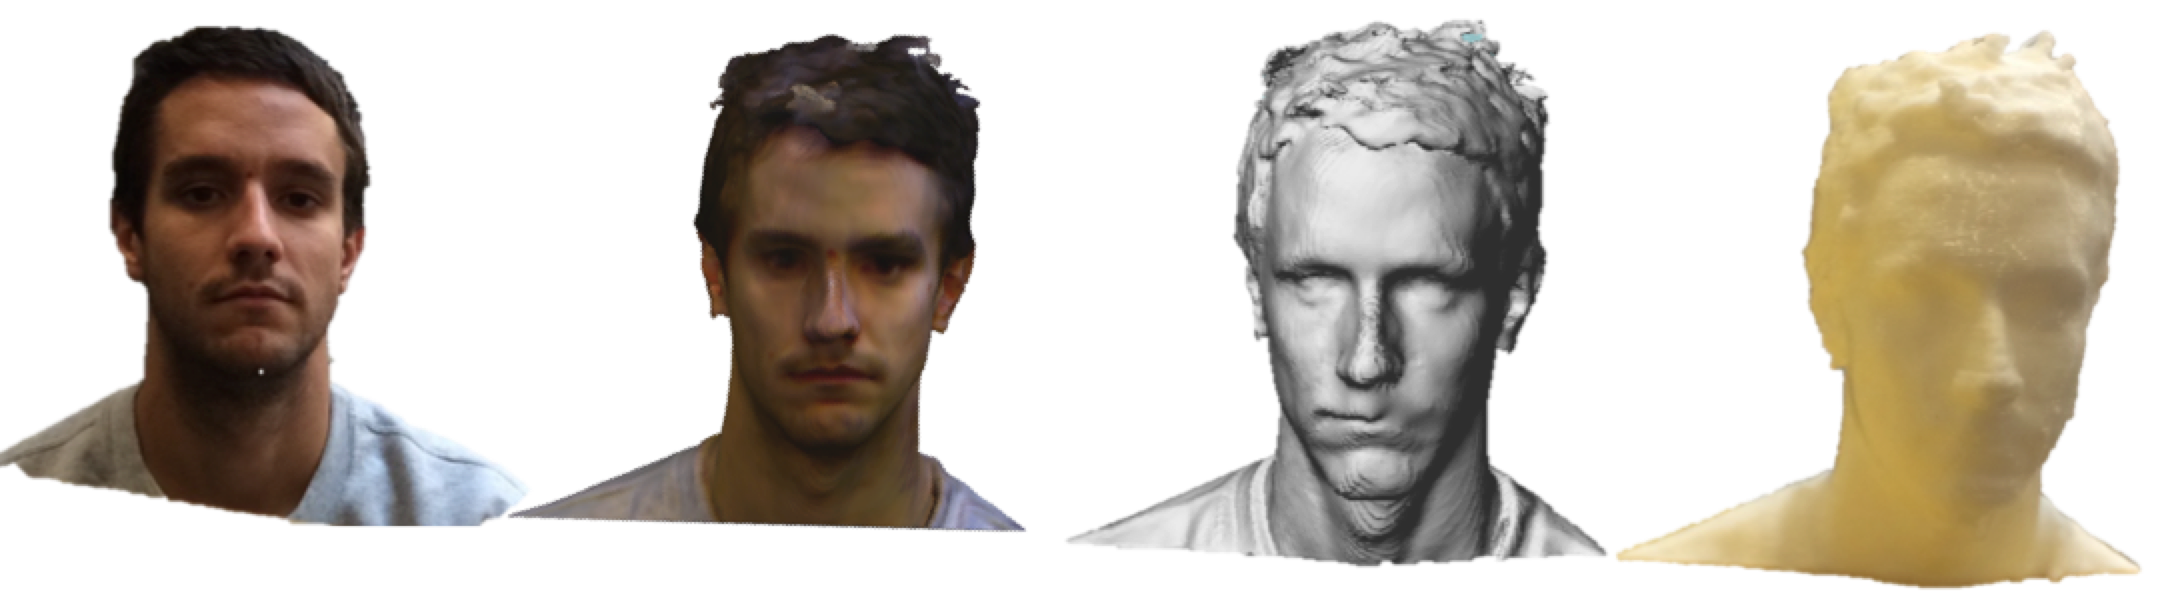
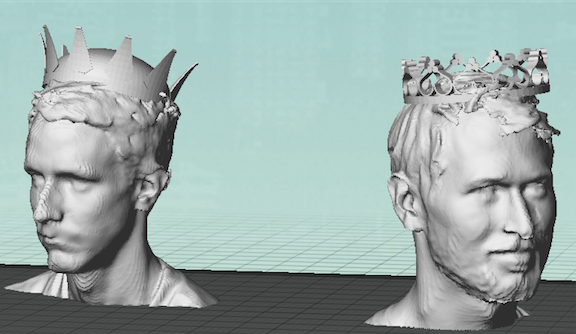
The first picture of the page shows the different steps from the 3D scanning to the 3D printing: Reality, Sense (3D scan), Sense software, MeshLab, MakerBot software, 3D print. Then, I really wanted to make a chess board out of these 3D print: instead of having black and white chess pawn, we would have two different players, with different characteristics depending if they are a king (adding a crown), a queen (making the neck longer), a fool (having a crazy facial expression)... Some first steps are to download CAD models of existing crowns and assembly them with the STL files under the 3D printer software. It is possible to do it through Solidworks or MeshLab but the 3d scan stl files are heavy so Solidworks is very slow.
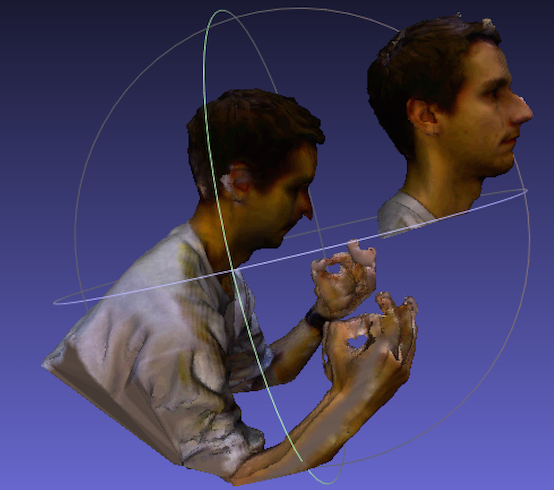
The other step was to use 123DCatch to compare with the first one. I actually wanted to have a full body 3D scan, thing that is more difficult to obtain with Sense, since we are limited with the USB cable plugged in the computer (not very long). It will actually be a good way to capture quickly anthropometrics (used in my research) of a person. We thus went to the corridor and captured the different pictures to form teh 3D scan. Then the processing time is a little long and it was not super easy to obtain the mesh. There is a first visualization tool on 123DCatch. We can see that the 3D scan took the entire room around, which is pretty cool because we can navigate into it.

It is now important to play with MeshLab to crop the part we don't want in the mesh (walls and floor). After I did that, I realized that the bod scan was not of a great resolution and thus I chose not to print it. I think I should take pictures from closer, not trying to always catch the feet and head in all of the pictures but just few of them (the ones from the top are made of that). It should lead to a more accurate and precise sacn of the body without too much for the surrondings.
3D Printing
I wanted to use Antimony to design and print an object that could not be made subtractively. I used mix between Schwartc diamonds and Schwartz primitive, automatically generated in Antimony, blending them with other shapes (shere, torus...) and try to print it. The following is an example of these shapes.
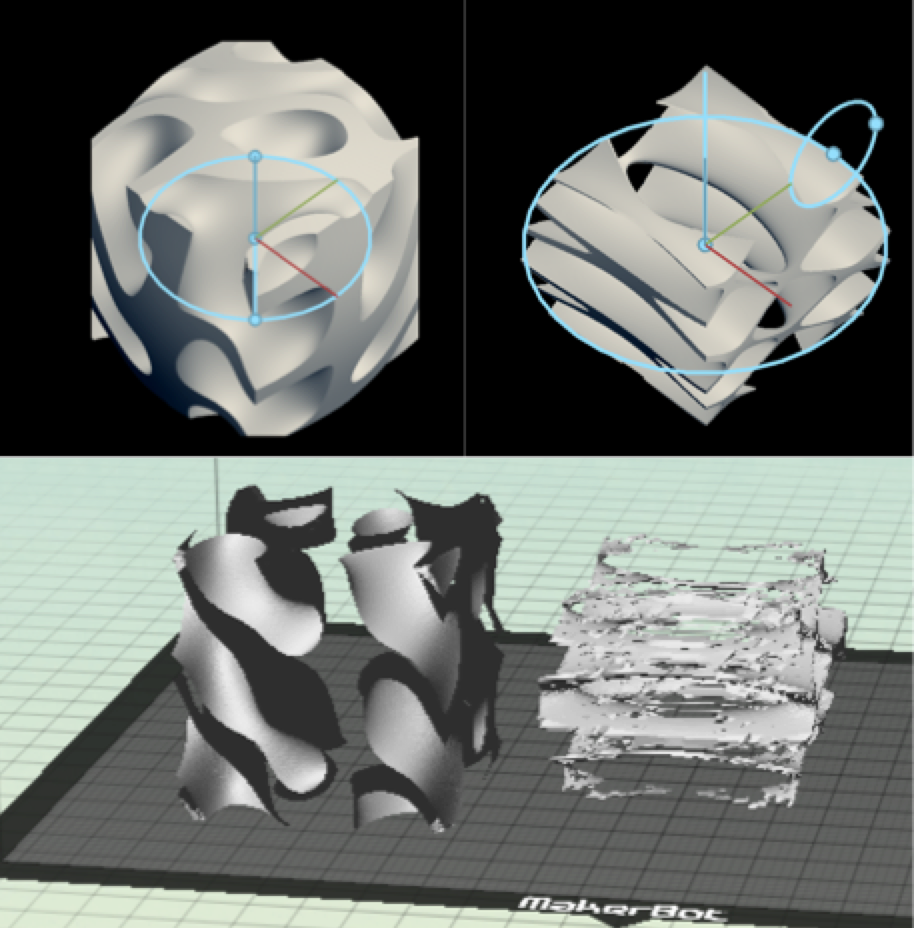
The issue is that there is not enough thickness into these objects for the 3D printer, so I increased the thickness of the object in Antimony and then I could print those shapes using Ultimaker this time that was much more precise and nice.
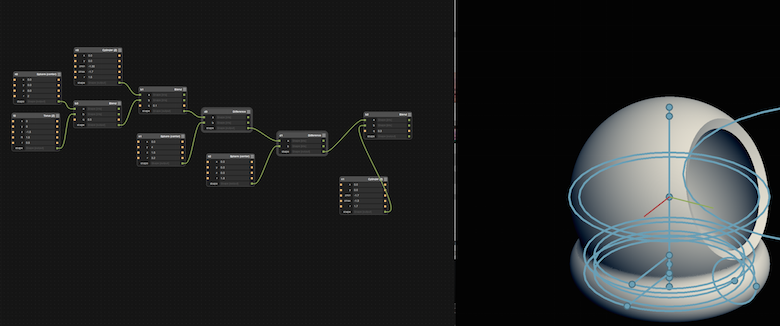
I then had another interest, to create some Christmas tree ornaments combining antinmony designs and 3D scan of NASA spacesuits. The scans were used in my research and can be downloaded here. The first step was to design the surronding of the ornament with Antimony:
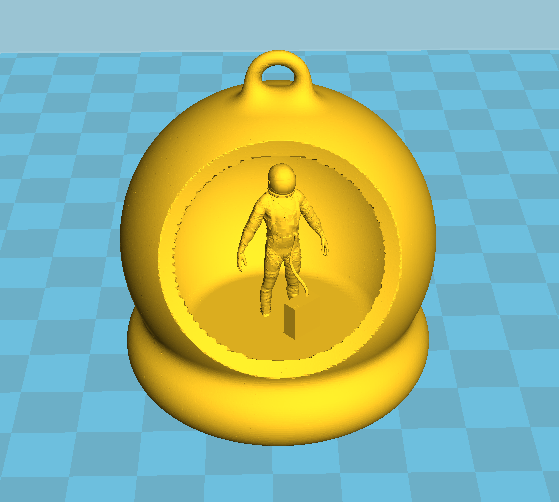
I then dowloaded three different spacesuit models: the Mercury spacesuit, the Extravehicular Mobility Unit (or EMU, the current US flown spacesuit) and the Mark III spacesuit (planetary exploration spacesuit). I used Rhino to position the 3D scan inside the Christmas ornament.

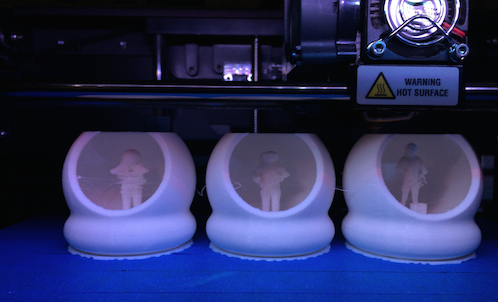
I used the software of Ultimaker to check the design and scale it. I used support, otherwise, it could not print the arms, but it was very difficult to actually properly remove the support from the print

I also used MakerBot to print the 3 different ornaments with the different spacesuits. This time, I did not used support, so the arms could not be printed in a good way, but the details were much better (I also scaled it larger and it printed during 7 hours against 2h for Ultimaker).
Summary
Done
- Facial 3D scan with sense
- Body 3D scan with 123DCatch
- 3D Printing of facical 3D scan with MakerBot
Tools used
- Sense
- 123DCatch
- MeshLab
- Solidworks
- Antimony
- MakerBot
- Ultimaker
To do
- Scan other faces from the class with Sense
- 3D Print the chess board with the faces
- Try 123DCatch closer body scans
- Print KitCube Cubesat for the Satellite Engineering class