Guitar+Yukulele+ Harmonica Stand
04. Computer-Controlled Machining
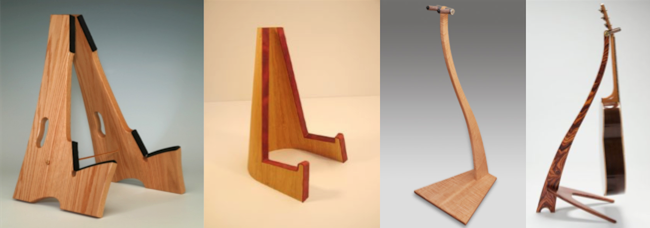
Guitars are complex music instruments that are nice to display but one has to be careful to to have the body of the guitar weighting on the neck. This is why we use guitar stands to display those nice guitars without ruining them. Based on this statement, I have a difficult issue: I don't have a guitar stand. I thus have the choice between not displaying my guitar and thus not playing at all because I have to remove it from the bag and then play (also as I don't see it I don't think about playing), and leaving it outside, laying against a wall and spoiling it a little bit, since it is lying on its neck (and it is also not great to have a guitar standing by itself in my room). So I needed a guitar stand. I thus wanted to build one. Looking at different models on the Internet, I realised there are two schools of guitar stands: the lying method (the guitar is supported by the bottom and back of its body) and the hanging school (the guitar is hanged by the top of its neck). The following pictures give a nice example:
Both schools are actually pretty cool and I really wanted to experienced those. I could have built 2 guitar stands but what I realised is that I also had a Yukulele, so I could combine a guitar stand and a yukulele stand using two different guitar/yukulele stand methods ! The genius in this story is that I also have an harmonica , so I can have not only a guitar stand, not only a guitar + yukulele stand but .... a Guitar + Yukulele + Harmonica Stand !
The first step was to take measurement of the different musci instruments to really scale the stand and try to think about a design. I decided to have the center of the stand being the guitar stand and having the yukulele and the harmonica holders on each sides of the guitar. The following pictures are showing the experimental design and dimensions.

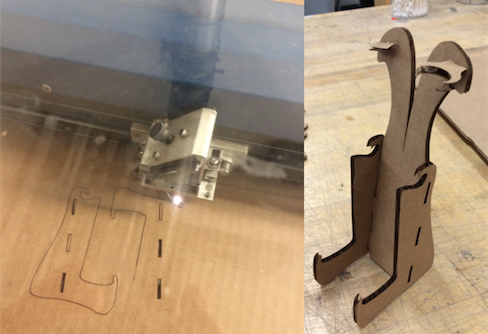
Once I had the raw approximate design, I started to implement it in Solidworks because I was not very familiar with Rhino , but then had troubles so impelemented in Rhino. The learning curve was stiff but I succeed to have a first model, assuming 1/2 thickness of the plywood I wanted to use. I really wanted to have a better idea in 3D on how my design would look like and the wood machine shop was closed so I went to the Architecture shop and used cardboard and the laser printer to print a first mockup of the design. I scaled the whoel design to have the thickness of cardboard with Rhino (instead of the thickness of the plywood).
The next step was then to improve the design in Rhino and also better design the joints: the CNC machine cannot do rectangular shape when inside, so you have to add some "ears". I used different layers for the design and the ears, because it corresponds to different tools. I really learnt a lot in Rhino how to do (2D) geometry and that was great. I also decided to change the upper shape of the stand, making it more visually attractive. I went to measure the thickness of the plywood that was actually 0.458 inches, instead of 1/2. Important to do, because it affects the whole design.
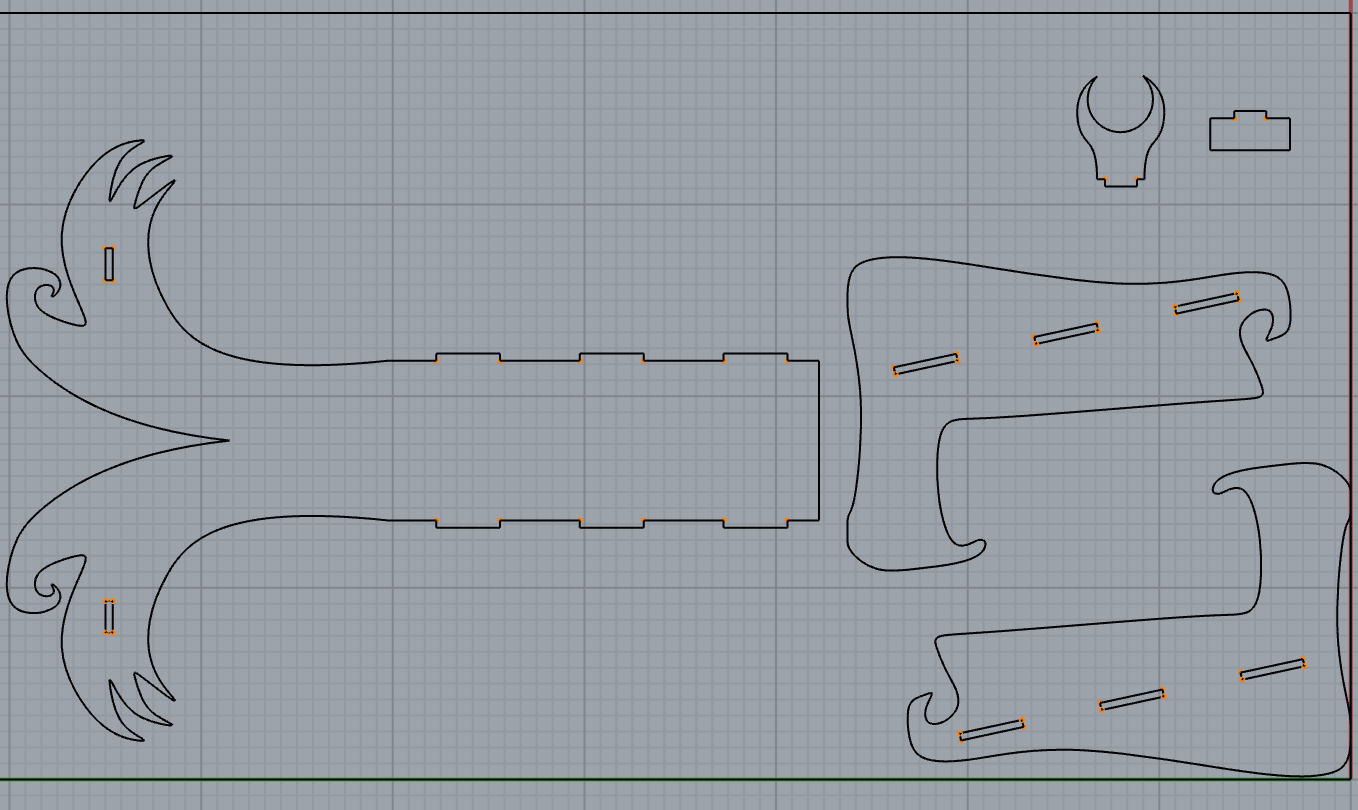
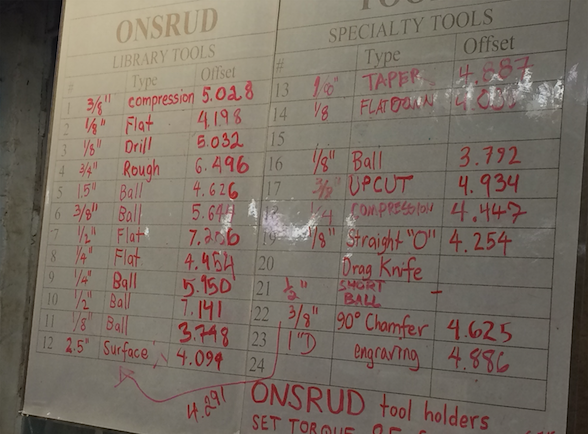
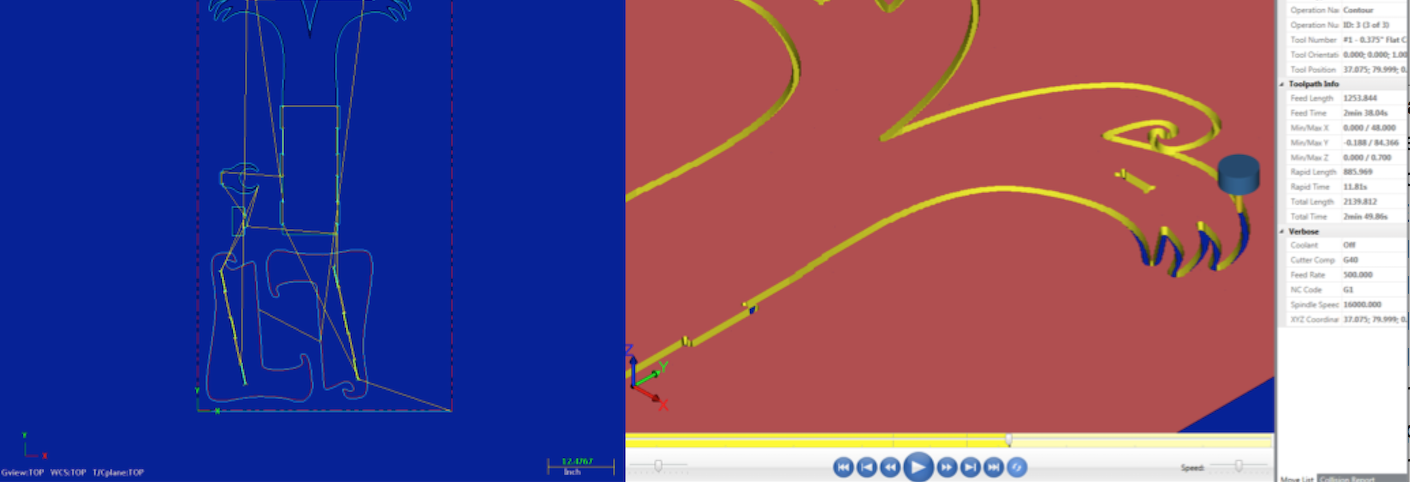
I then exported the Rhino file into MasterCam , and we the help of Ines, we configurated the printing. It is tricky and there are a lots of different steps in the choice of tools, depth, sense of rotation (we wanted to do climb milling). Everything is very well explained in a PDF, made by Julia Litman-Cleper, very well done (but too heavy to upload it here). We used the compression tool 3/8 for the contours and the 1/8 flat mill for the ears.
Once we setup most of the tools, we can visualize the path of the tools in MasterCam. We also neede to be careful on if the mills were milling inside or outside, looking at it through the second small arrow, if it was pointing insde then it was inside, otherwise it was outside.
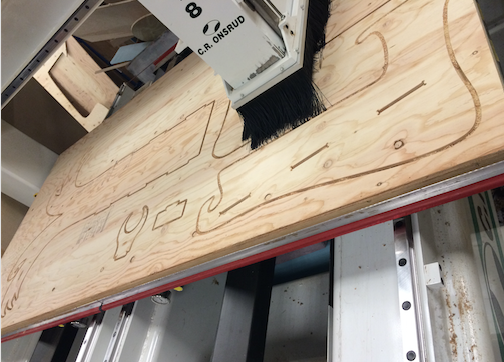
It was then time to actually run it, and look at it:
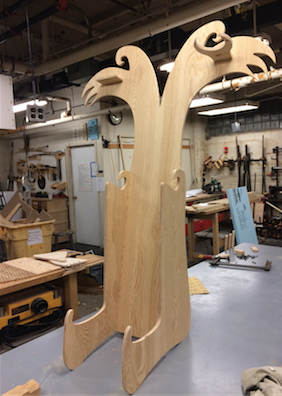
Once it was milled: I could then assemble it, using a wooden hammer to be careful and gentle with the wood.
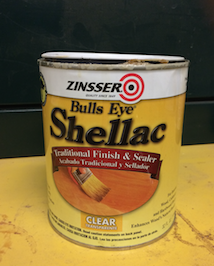
I then wanted to clean it better and have it it protected against water, humidity and to make it smoother. I thus vernished it quickly, with this:
And this is the final implementation of my Guitar+Yukulele+Harmonica stand in my bedroom:
